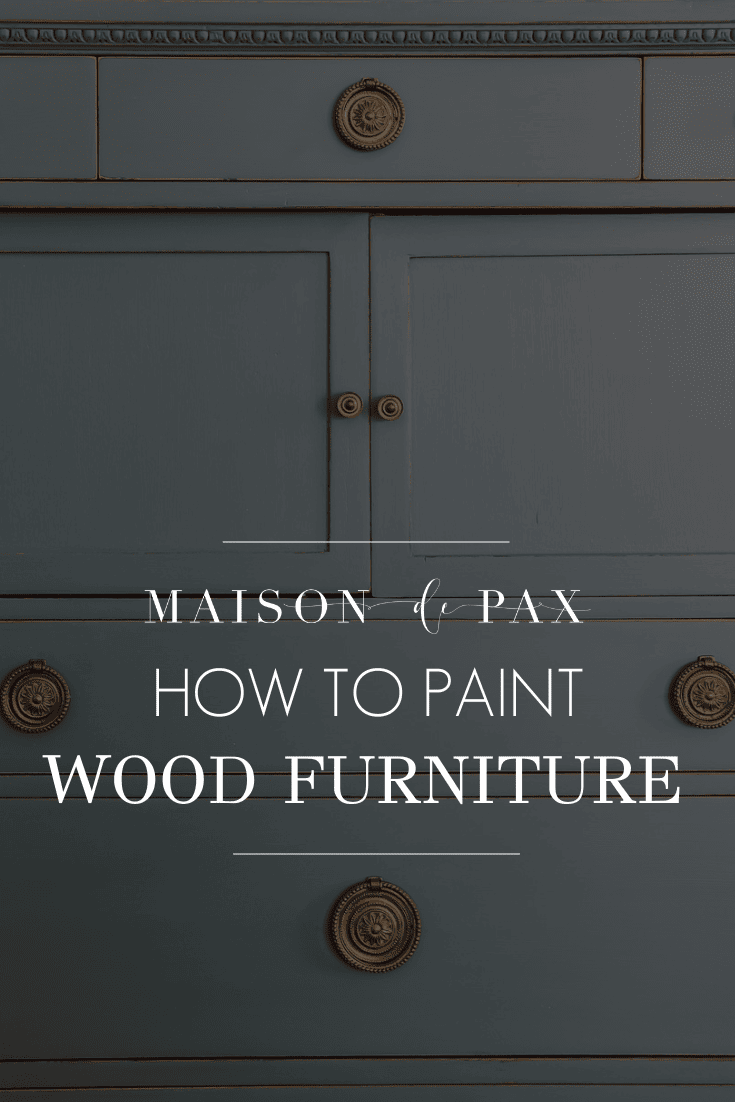
How to Paint Wood Furniture
Learn how to paint wood furniture the right way to get a beautiful, professional finish. Breathe new life into old furniture with this tutorial!
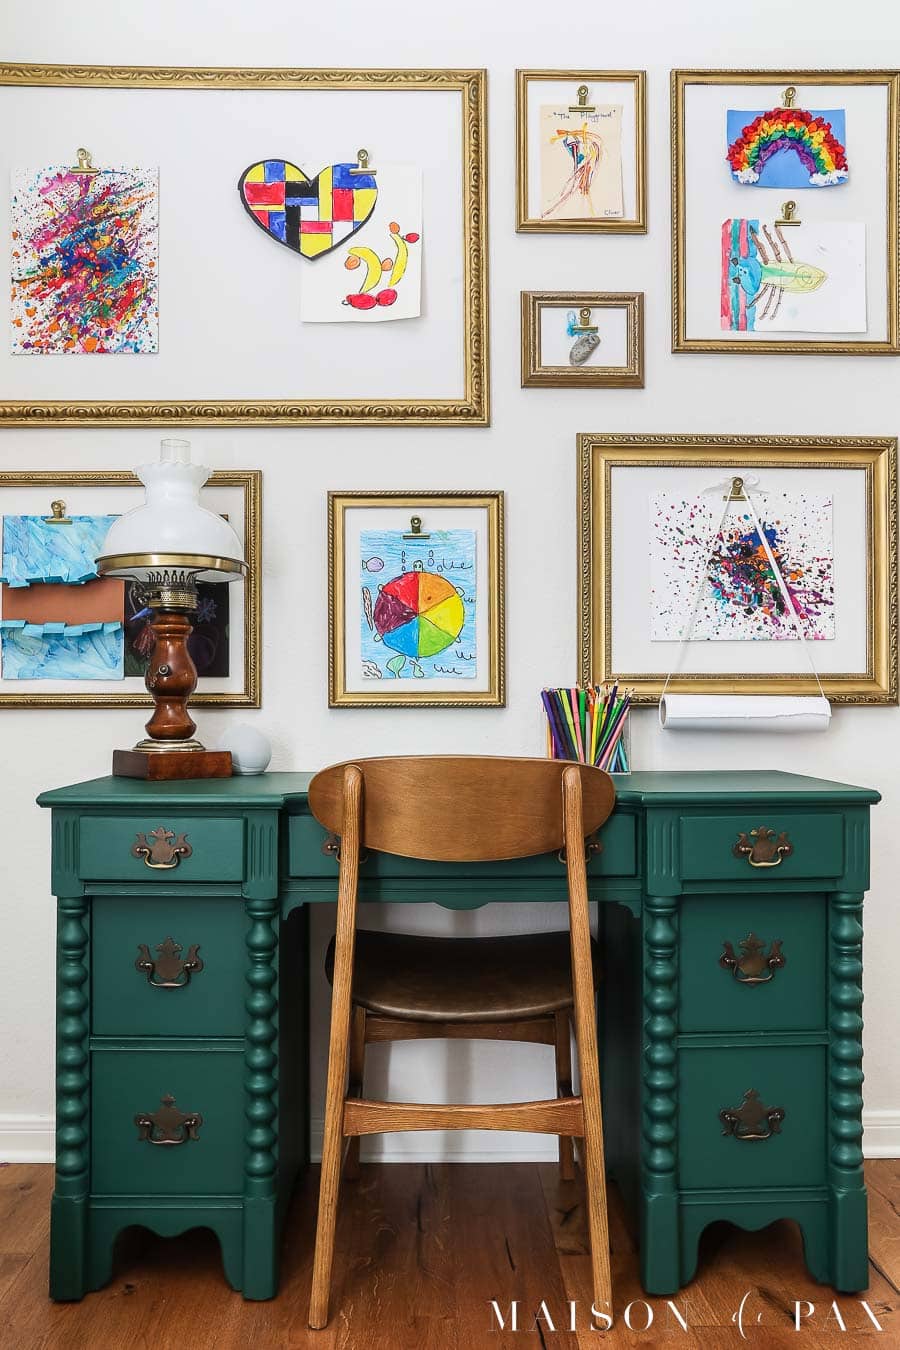
Painted wood furniture can be beautiful in so many spaces. Although I love both stained wood furniture and raw unfinished wood furniture, sometimes painted wood furniture is the best option.
The Case for Painted Wood Furniture
There are three reasons I love painted wood furniture:
- Furniture painting is a wonderful way to breathe new life into a damaged old piece of furniture.
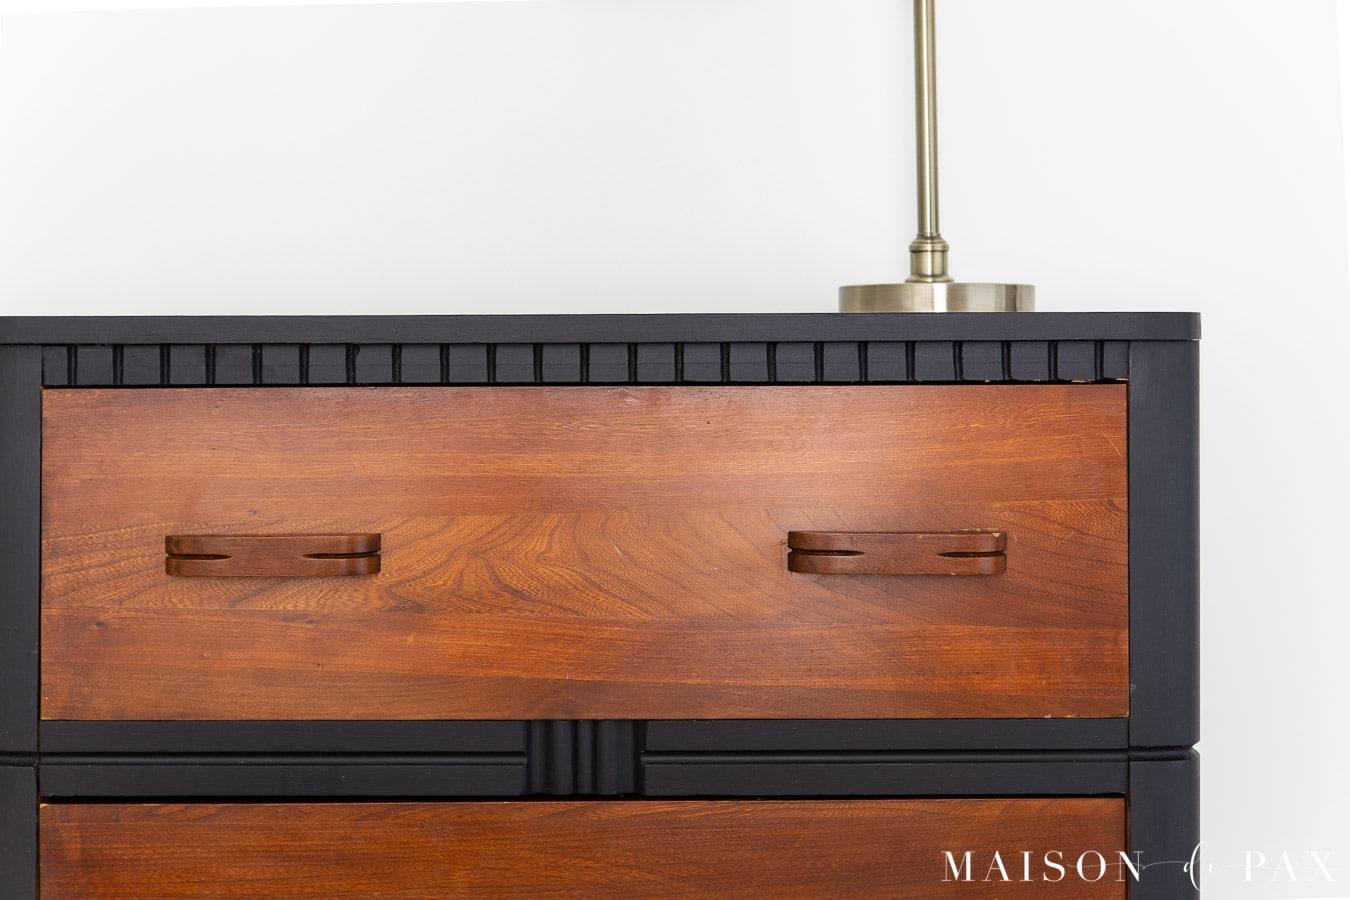
- Painted furniture can bring a different color and texture into a space.
- Repainting an old piece (rather than buying a new one) can be both economical and more environmentally friendly.
Things to Consider when Painting Wood Furniture:
Before I give you step by step instructions, it’s important to understand that there are three factors that will affect the steps of your process. Think about these factors when you get to the “if applicable” parts in the tutorial.
Note: this tutorial is focused on real wood furniture, not laminate.

Previous Finish
Most of the time, you do not need to fully strip off the old finish. However, the condition of the previous finish does affect how you prepare the piece. If the old topcoat is flaking, you will need to remove all the flaking bits.
If it is a particularly glossy polyurethane, you will want to rough it up significantly to help the new paint adhere. If the previous finish is an antique shellac or glossy varnish, then an oil-based primer a good idea. This will also cover stains and stop wood tones from leaching through the paint (which may be an issue if you are painting a light color).
If the finish has a flaw or damage (gouges, scratches, etc.) or if you intend to use different hardware, then you will need to use wood filler to repair those places.
If the piece was previously painted, then you need to know whether it was an oil-based paint or water based. If you intend to put acrylic or latex over oil based paint, you will need to prime. If you don’t know the kind of previous paint, then you will want to prime the piece before painting.
Type of Paint
Do you intend to use latex paint or chalk paint? Or perhaps oil based paint? Each type of paint requires a different prep and finish. Whatever type of paint you intend to use, water-based primers are usually sufficient unless you are covering up a high gloss old varnish (see above).
- latex paint: best to prime before (required if previous finish was oil based); no top coat needed for satin, semi-gloss, or high gloss
- oil-based paint: best to prime raw wood before painting; no top coat needed
- chalk paint: no need to prime; top coat (poly, wax, or oil) needed
- milk paint: primer optional if you want a chippy look but required if you want a solid look; top coat (poly, wax, or oil) needed
- mineral paint (this is my favorite for most furniture): no need to prime; top coat optional if you want greater durability
Use of Piece
Is this a high-traffic piece? If so, then you’ll want a durable top coat. Oil based paint hardens to a durable finish. Satin, semi-gloss, and gloss latex and acrylic paints also harden to fairly durable finishes. For other paints, you’ll want to use a polyurethane, polyacrylic, or hardening oil top coat.
For low-traffic pieces, a furniture wax finish is a sufficient option. All the others listed above are good options, as well. All are available in a variety of high sheen (gloss and semi gloss) and low sheen (satin finish or matte) options.
How to Paint Wood Furniture
With all those considerations out of the way, let’s get on to the process! I have many painted furniture tutorials for you to browse more specifically, but I thought a one-stop shop for the general tutorial might be useful.

Prep
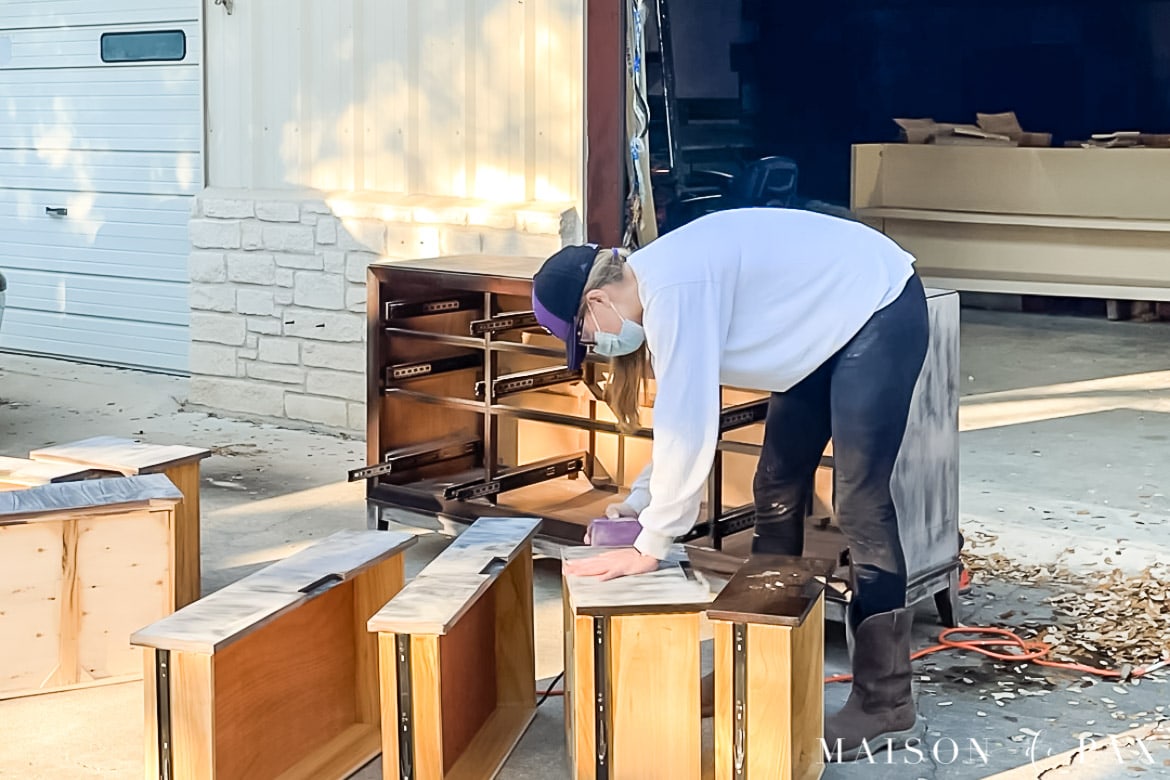
Since this tutorial is for any wood furniture, I am focusing on the actual treatment to the wood. However, if applicable, you will want to start by removing any drawers. Use painter’s tape to cover any hinges. And remove knobs and pulls and other hardware.
Step 1: Clean
Use a TSP or something like Simple Green to remove grime, dirt, grease, and oils from the piece. For extra grimy surfaces, use a scrubbing sponge.
Step 2: Sand
I prefer a palm sander on flat surfaces, but sanding by hand is an option, as well. No matter what kind of paint you are using, I recommend a light sanding with 150 grit sandpaper followed by 240 grit sandpaper. This will help smooth the piece and open the pores of the previous finish to help the paint adhere. Consider a mask when sanding.
Step 3: Fill and Sand again (if applicable)
If you have any damage to fill, use a paintable wood filler. Overfill the hole a bit, let it dry, then sand it smooth.

Step 4: Clean Again
Clean the piece thoroughly. It is important to remove all sanding dust. I like to blow off the dust with an air compressor (optional, but nice) and then wipe off the dust with a damp rag or tack cloth. If you have lots of exposed raw wood, be careful that your rag is not too wet or it will raise the wood grain.
Step 5: Prime, Sand, and Clean (if applicable)
See the considerations above to know whether you need to prime the piece. If needed, use a high-quality primer like Zinsser Bin or Kilz original (both oil based, so you’ll have to clean with mineral spirits). For most pieces, a water-based primer like Zinsser 123 or Kilz 2 will suffice.
I like to apply a coat of primer with a foam trim roller and do my best to avoid brush strokes.
Once dry, give a light sanding with fine-grit sandpaper (240 or higher) to smooth out any imperfections then clean thoroughly.
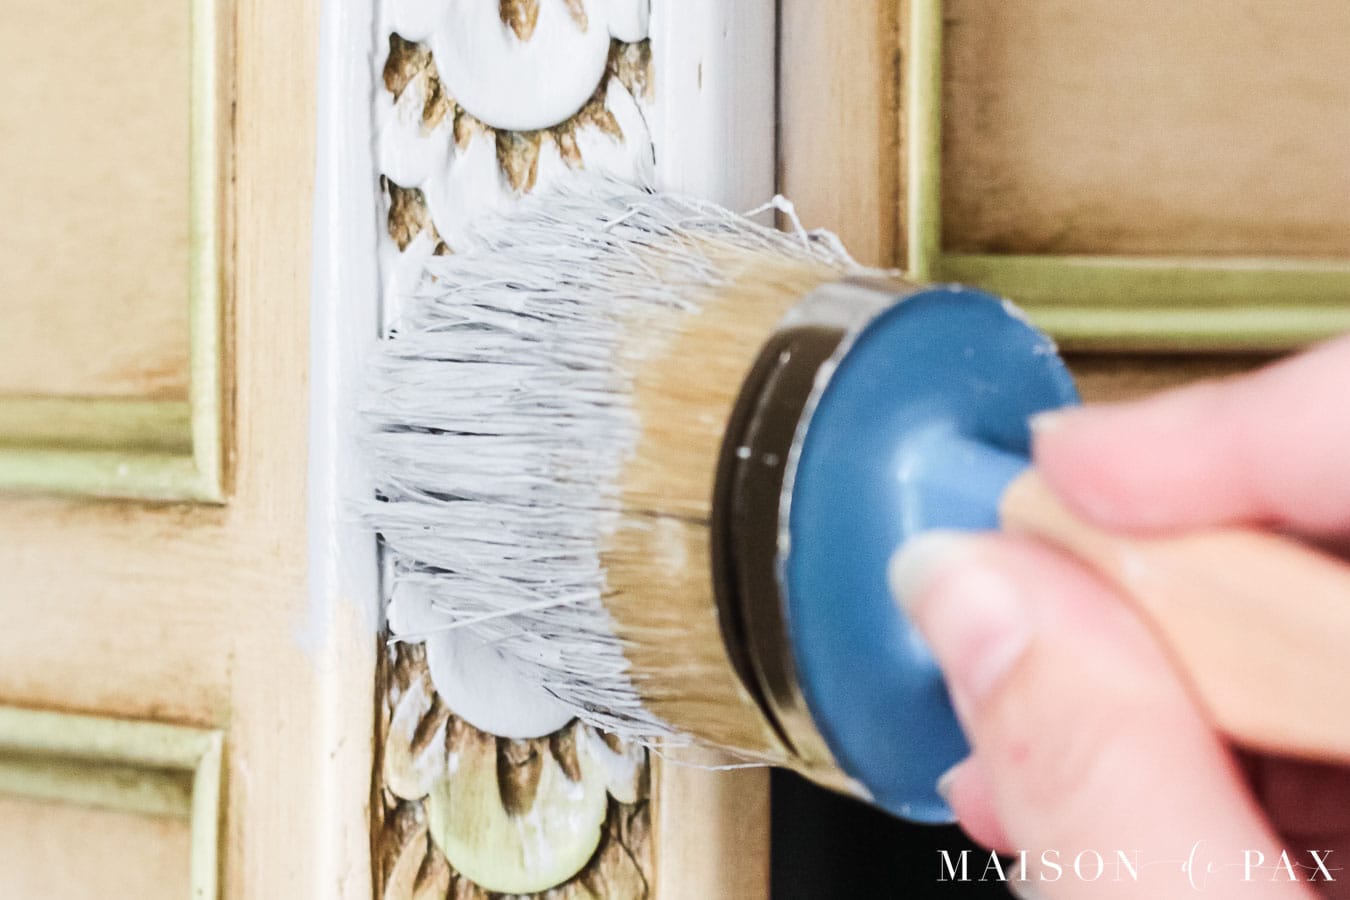
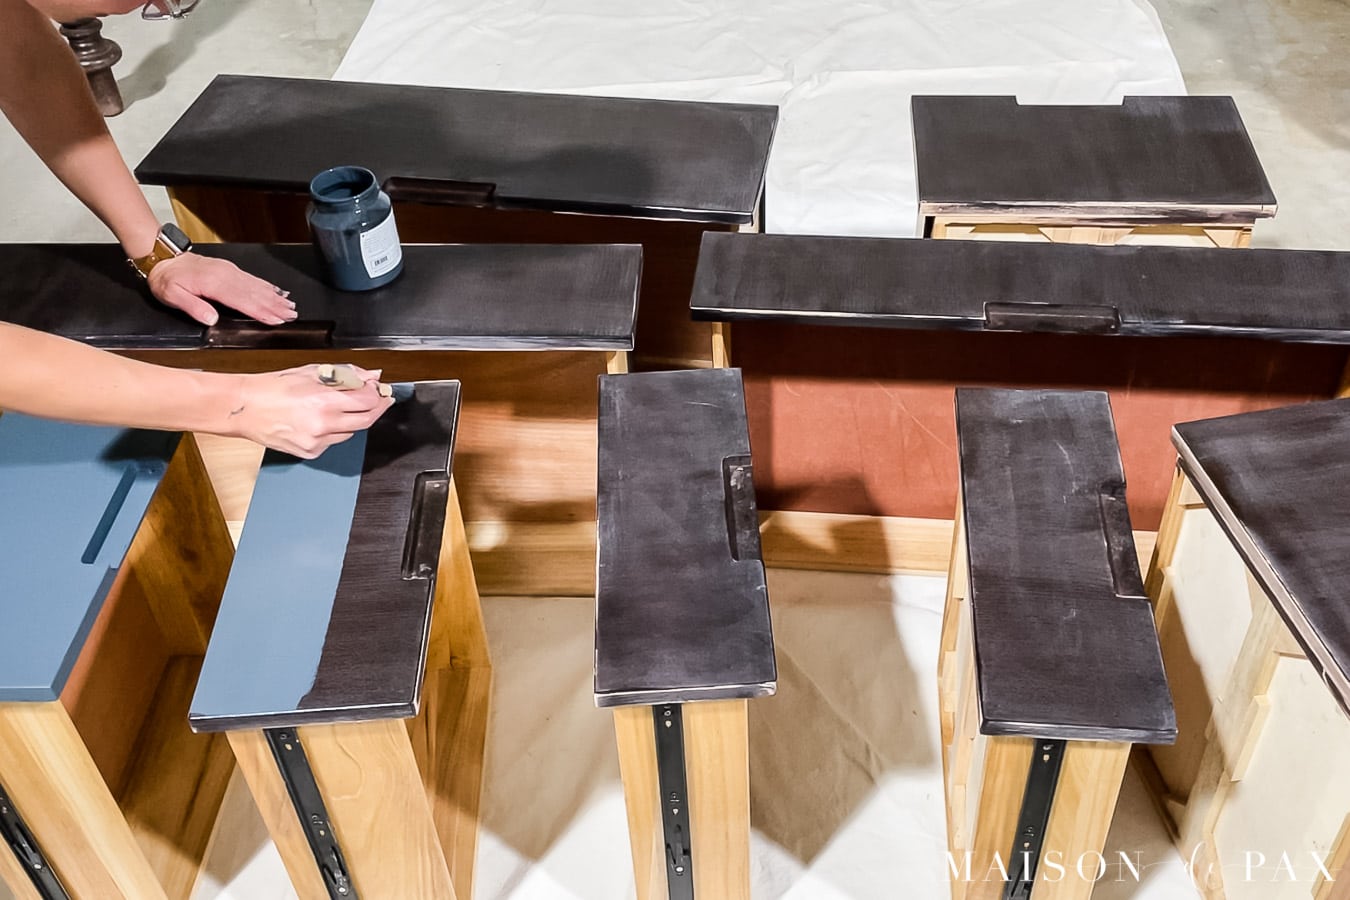
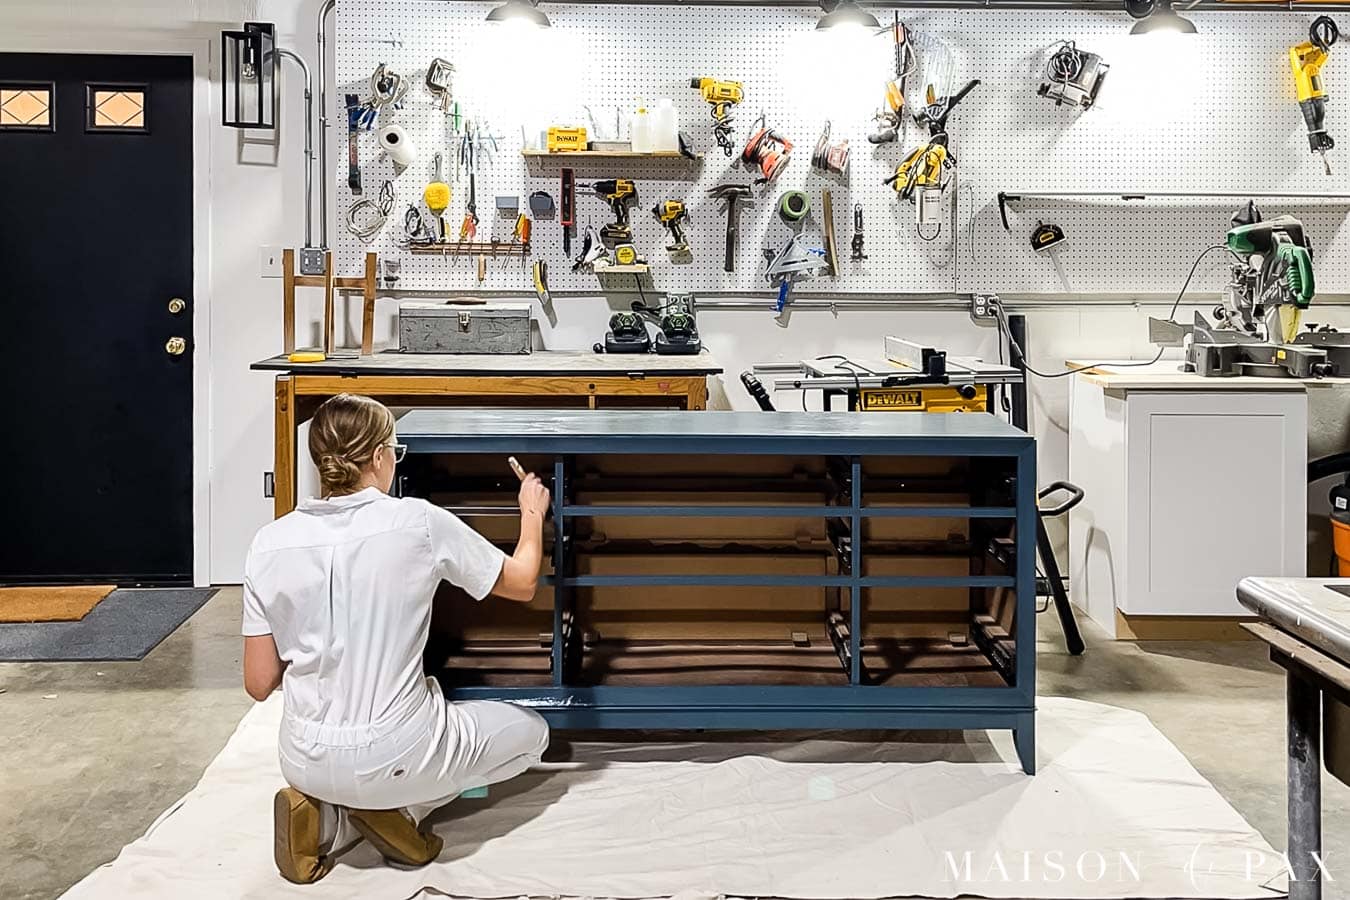
Step 6: Paint
Paint your first coat of paint with a foam roller or paint brush, being careful to avoid brushstrokes and drips. Multiple thin coats is always better than one heavy drippy coat. This will give a more durable and smooth finish in the end.
Step 7: Sand and Clean Between Coats
It will feel excessive and unnecessary (and, to be honest, I have sometimes skipped this step). But truly, the final finish is always more fine and beautiful when you do a light sanding between coats. Sand by hand with 240 grit sandpaper then thoroughly clean all dust before applying the second coat.
Step 8: Paint Again
I recommend at least two coats for every piece of painted furniture. If needed, repeat dry, sand, clean and paint for a third coat. Do not sand after your final coat.
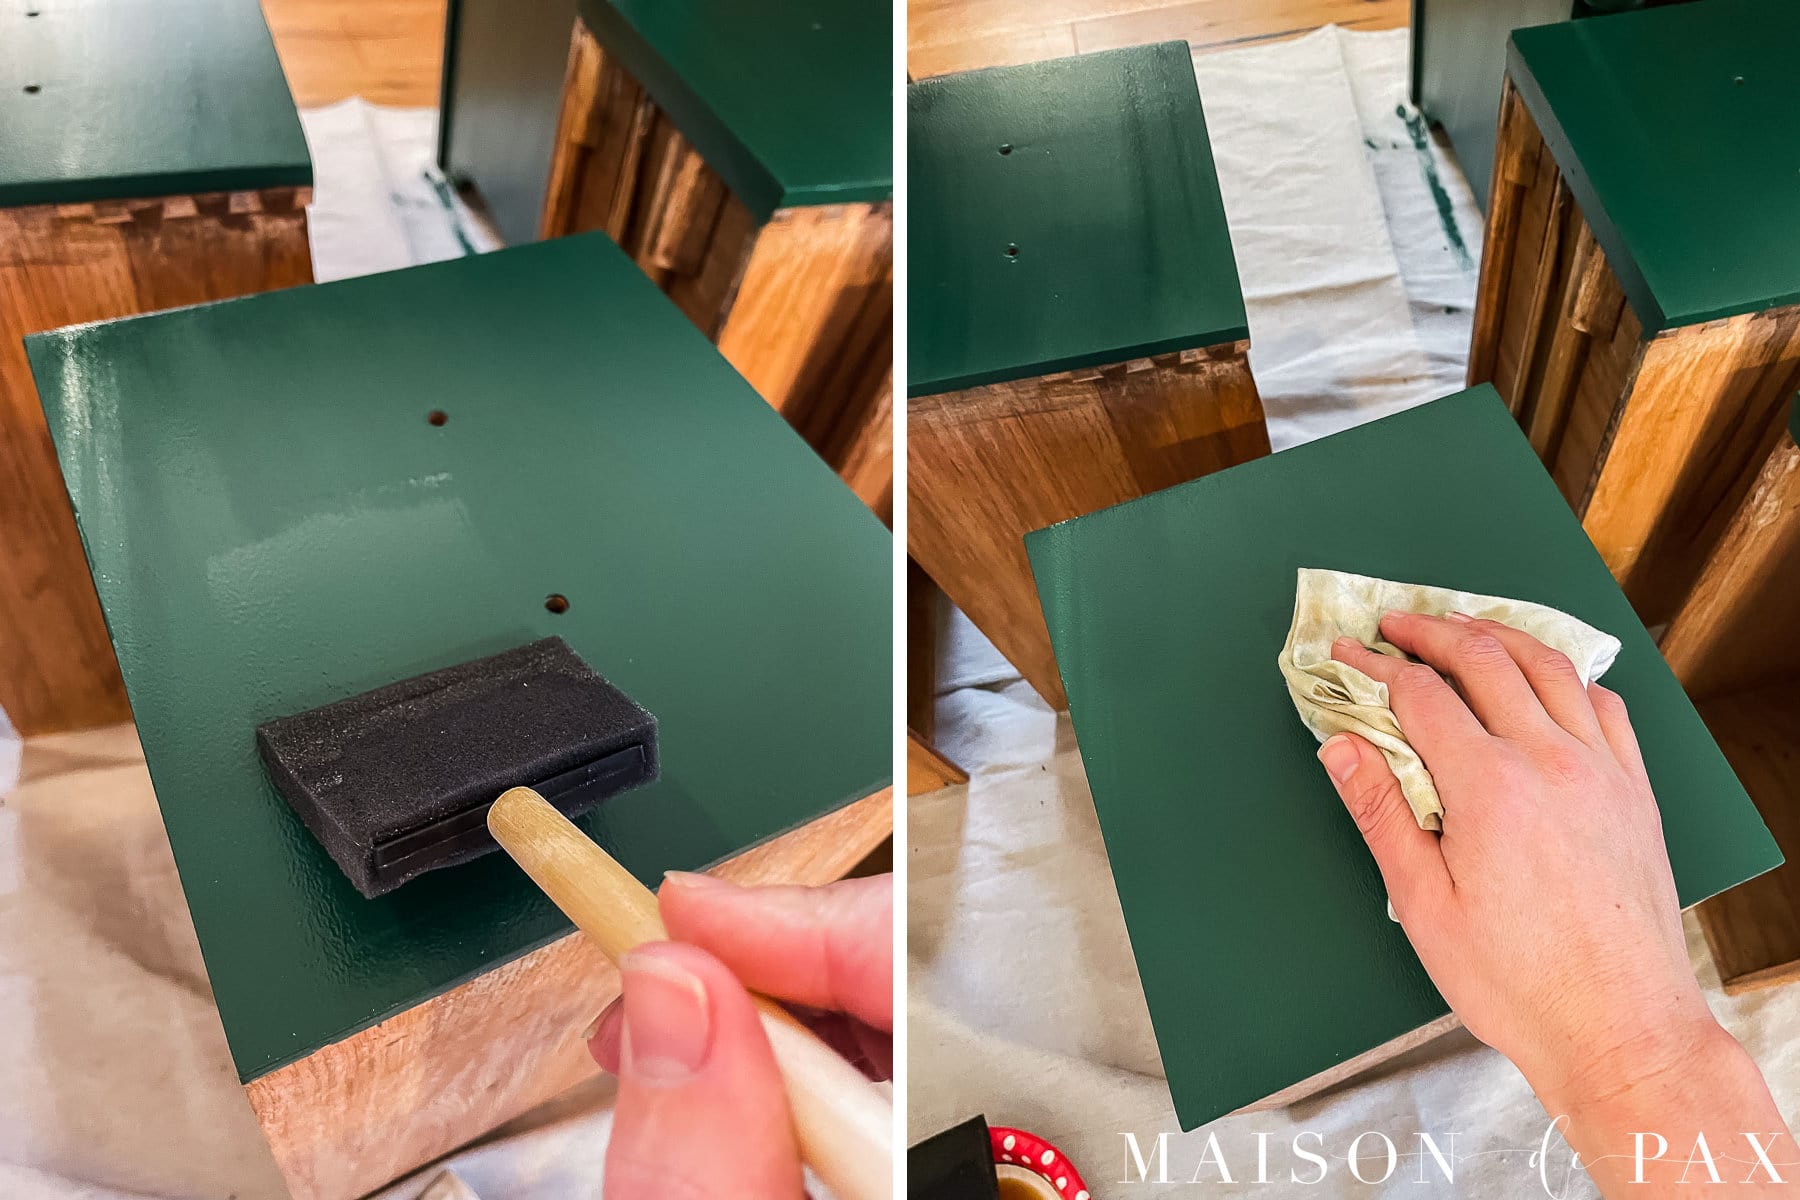
Step 9: Seal (if applicable)
Depending on the type of paint you used and how much traffic your piece will receive, you may want to apply a top coat. For polyurethane (which is oil based) and polyacrylic (which is water based), I like to use a sponge brush for an even finish. For extra durability, apply two or three coats.
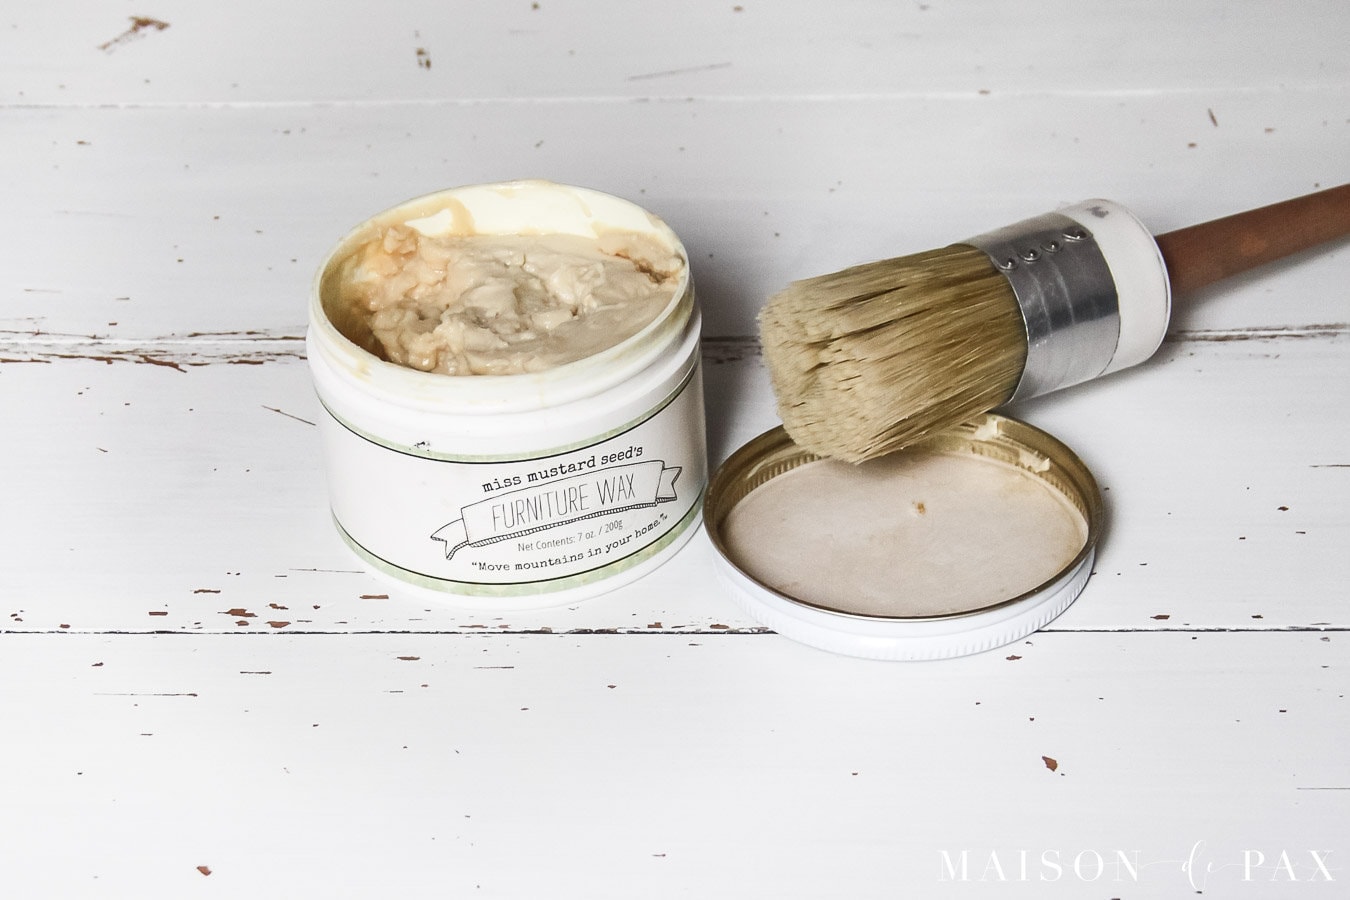
For wax, I use a wax brush and buff with a rag.
My favorite protective coat over mineral paint is this finishing oil, which is applied with a sponge brush and rag.
FAQs for Painting Wood Furniture
Do you have to sand furniture before painting it?
Some paints (chalk paint and mineral paint, especially) do not technically require sanding, but I still recommend it for an even final finish. If you desperately want to avoid sanding, then liquid sandpaper or deglosser is an option to help your paint adhere. But I prefer actual sanding as it also smooths the old finish.
Do you need to prime wood furniture before painting?
It depends (see above). Generally speaking, I do recommend priming completely raw wood before painting, as this will give a more even final finish. If there is a previous finish, though, priming is only truly required if you are covering up a previous oil-based finish, trying to cover a dark wood with a light color, or planning to use latex paint.
Do you need a top coat over painted furniture?
This depends on the type of paint you use and how durable the piece needs to be. See above for more details.
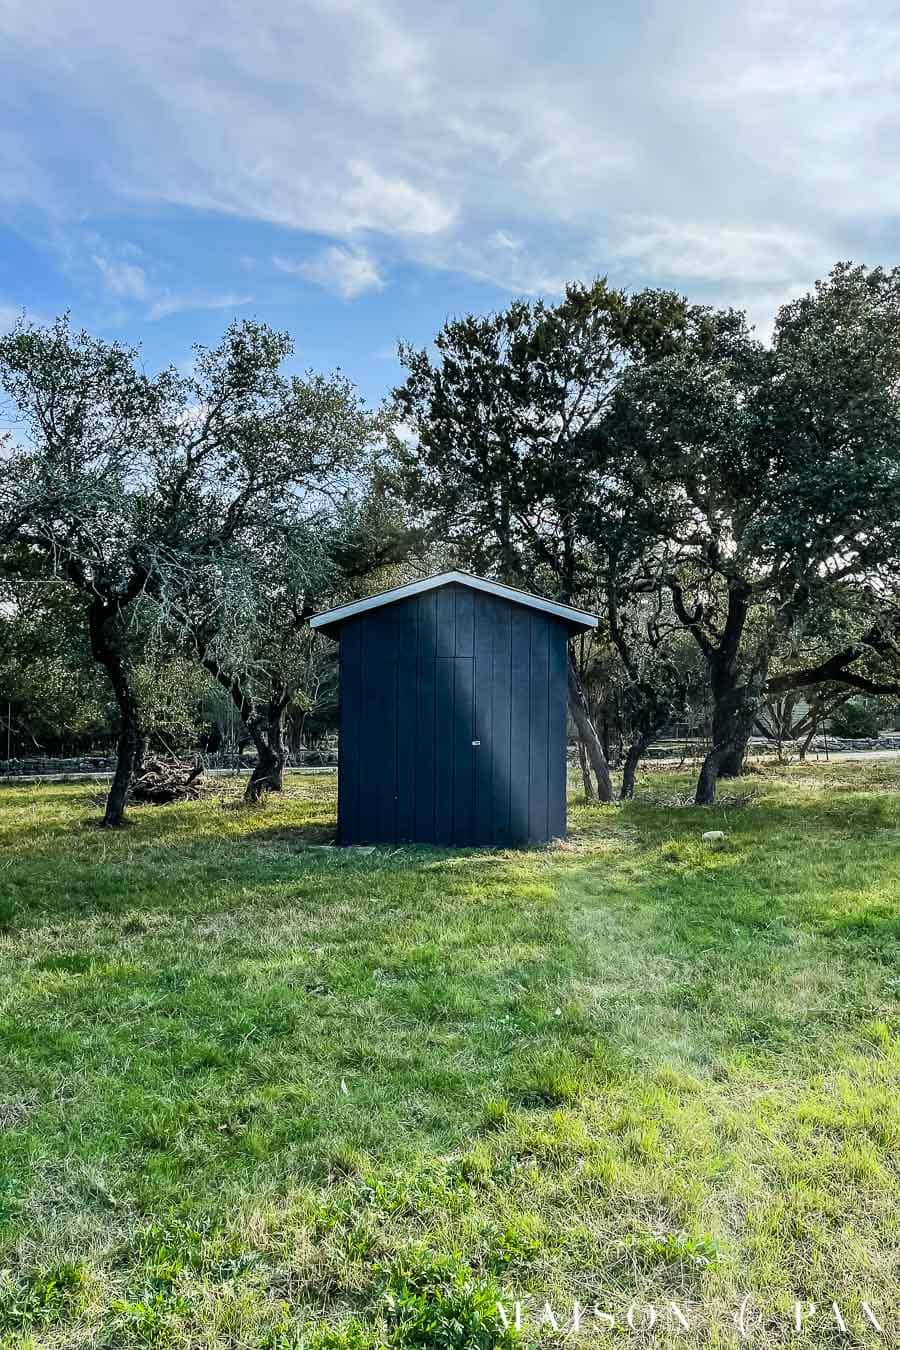
Can you spray paint wood furniture?
You can! I even have a tutorial here. I don’t find the finish quite as beautiful for interior furniture, but I love it as an option for exterior furniture.
I hope you found this helpful! Be sure to check out all my furniture tutorials for more ideas.


What an absolutely FABULOUS one-stop primer on painting (no pun intended). Very helpful, concise, and thorough. Thanks so much for putting this together!
You are welcome, Jamie!
Hello, I’m wondering if you could share the Brand and color name for that beautiful green paint please?
Thank you
Bonnie
Hi Bonnie, It’s Pressed Fern by fusion.
Thank you so much. I appreciate your time and talents so very much.
Bonnie
Of course! Glad to help.
Hey there! Just wondering if you would share what finishing oil you use for mineral based paint! Your work is so beautiful! Thank you!
Hi Debbie!
I used this finishing oil (affiliate link): https://amzn.to/3P0Nu1G