How to Install a Vertical Plank Wall
Love the look of vertical wood plank walls? Find out how to install a vertical plank wall yourself!
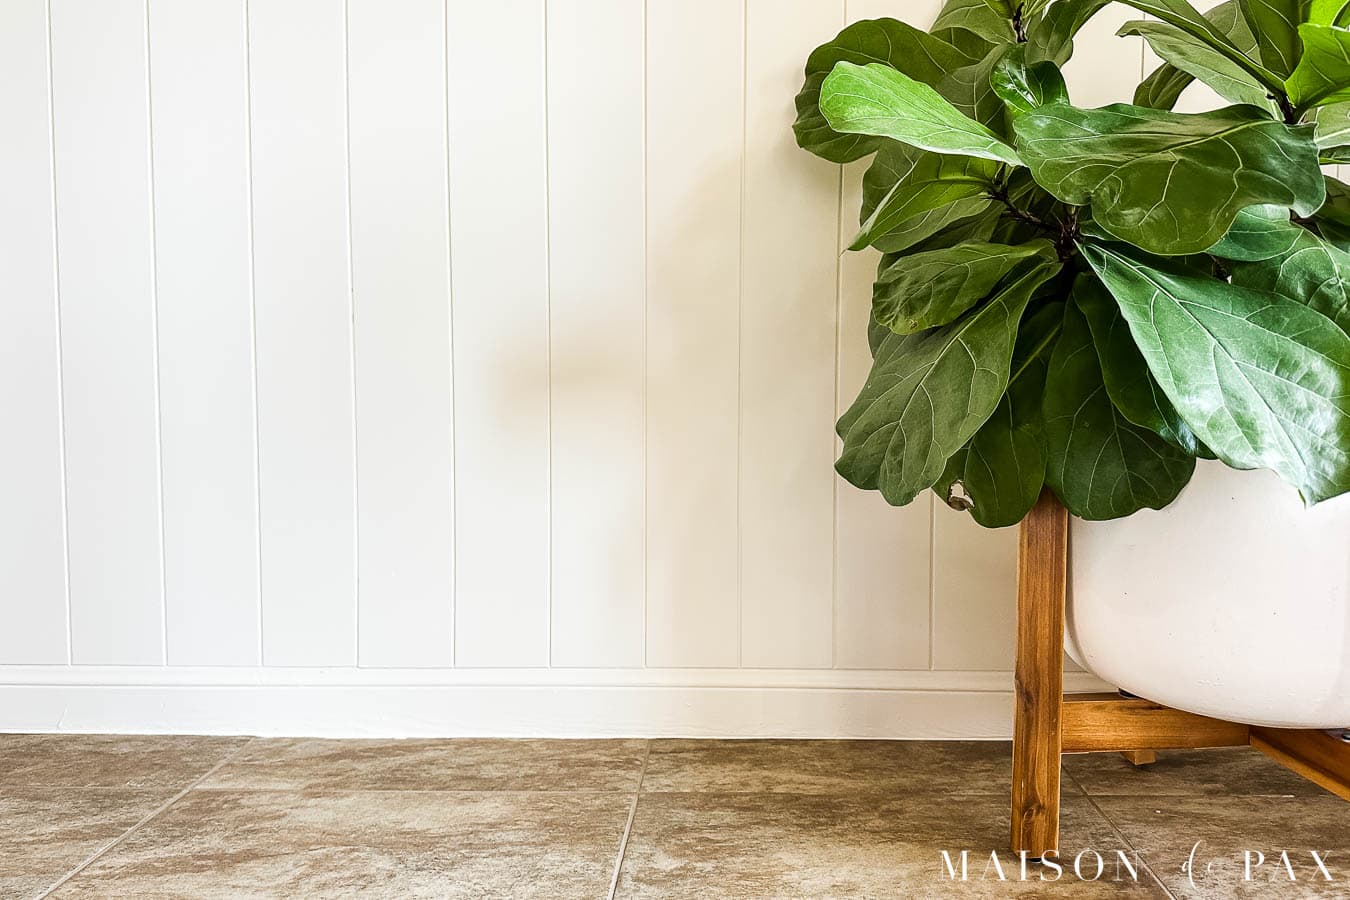
Vertical wood plank walls bring instant character to a space. The nickel gap look can lend a cottage charm, a modern flair, or a traditional elegance. Such a versatile wall treatment deserves a good step-by-step tutorial!
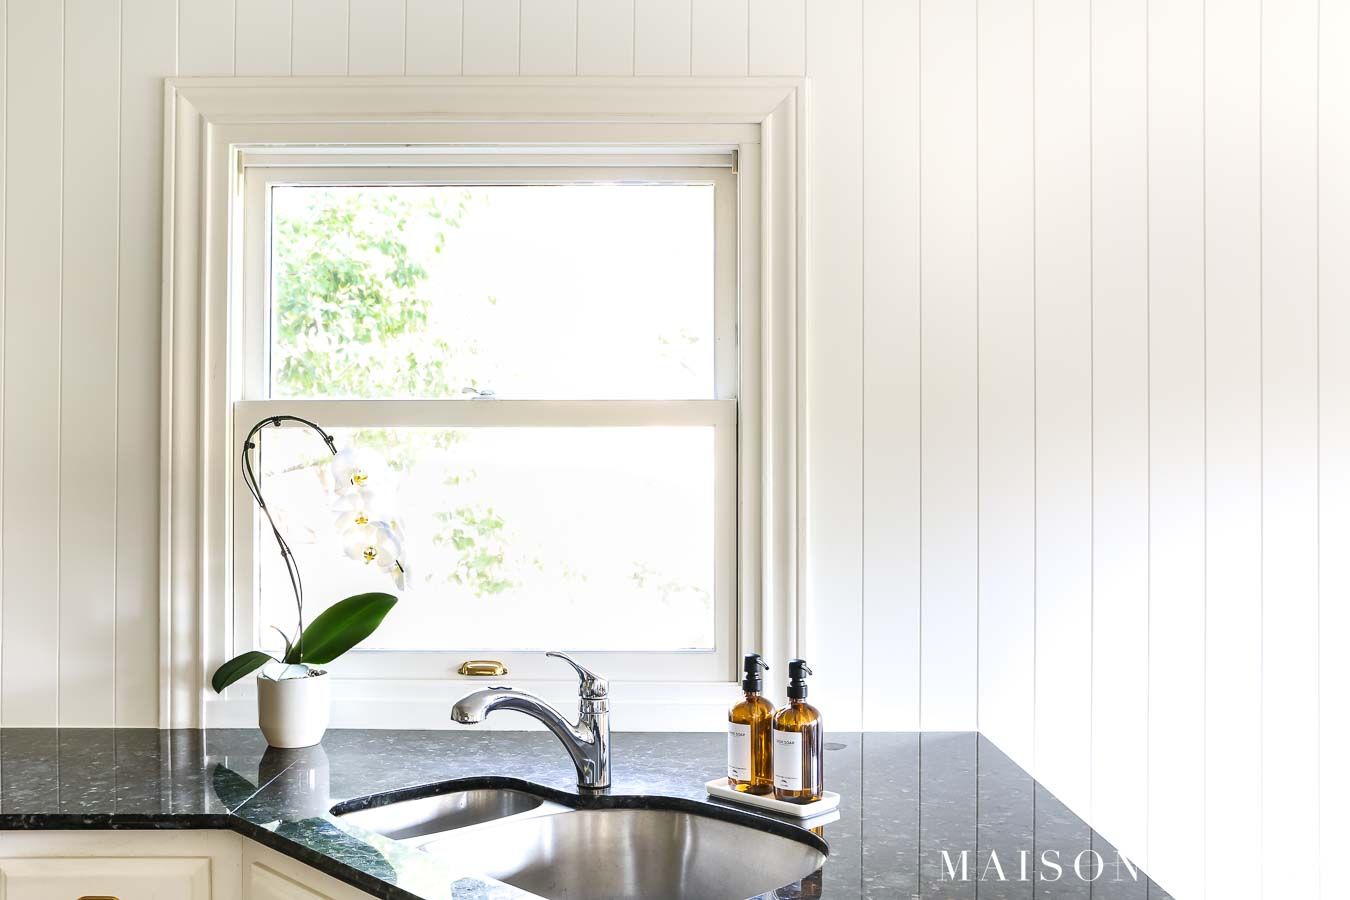
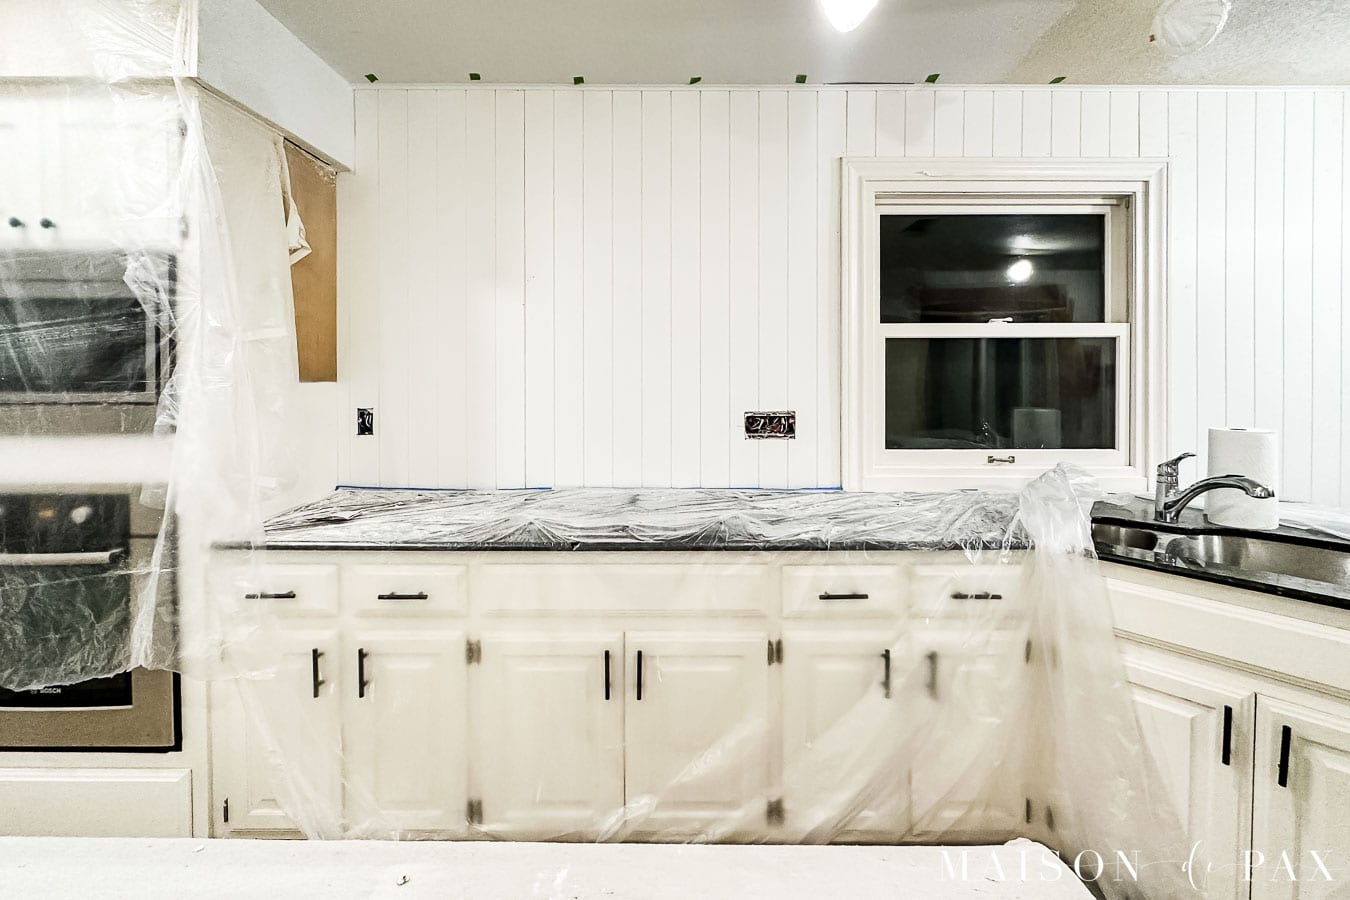
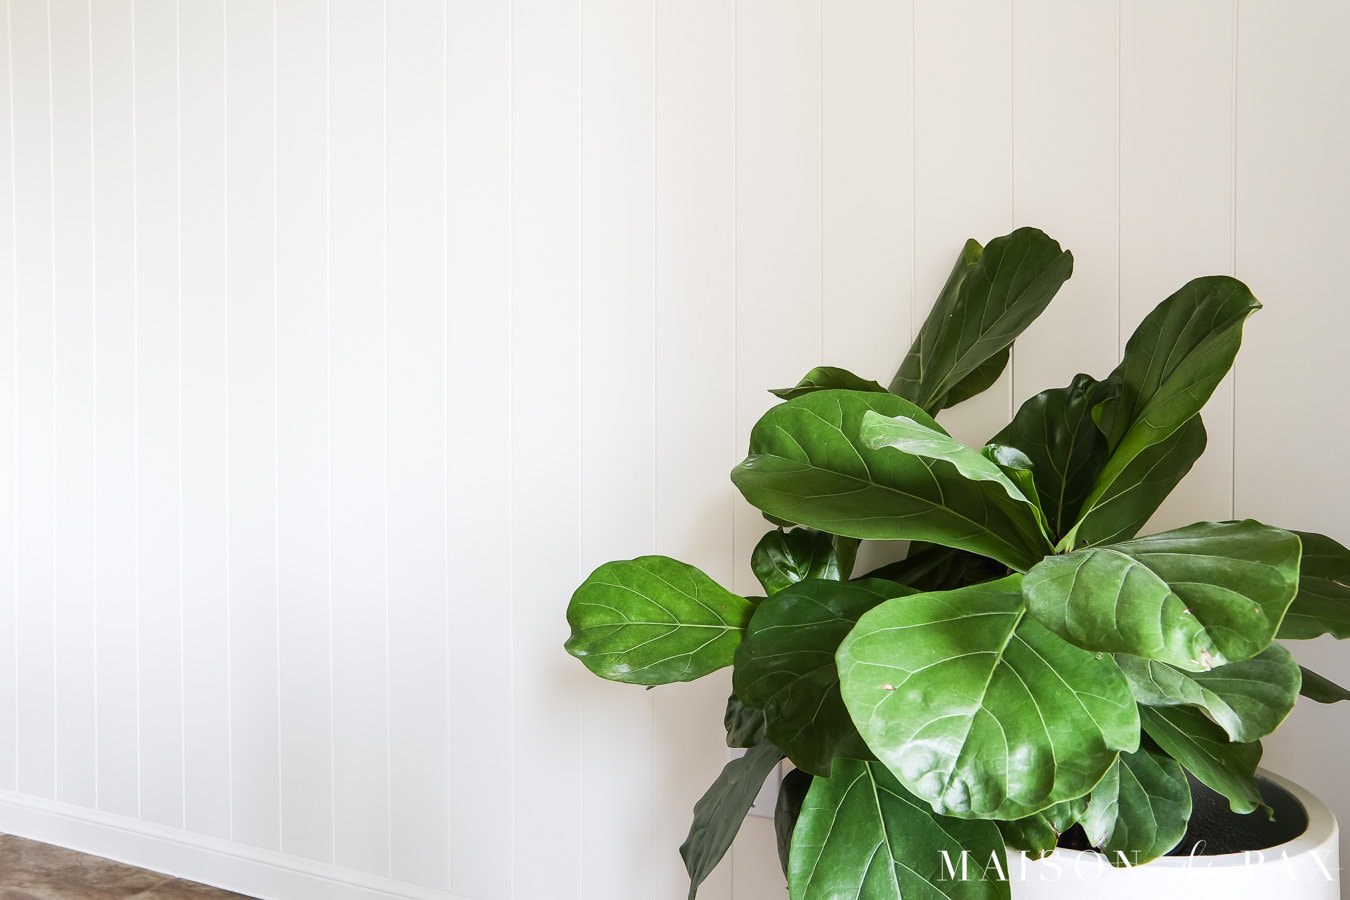
We recently installed vertical plank paneling in our breakfast room and kitchen for an affordable diy makeover. And it instantly made the room look so much more sophisticated, polished, and classic.
Vertical Planks Explained
Before I dive into the tutorial, I want to clear up some confusion and give a little explanation about vertical plank wall treatments.
First of all, vertical planks can be wood or mdf (which is a pressed board that can be a good affordable alternative to wood but is usually not as durable or water resistant as real wood).
Secondly, you’ve probably heard the terms shiplap, tongue and groove, and nickel gap, all of which are different types of joinings for plank walls. Shiplap and tongue and groove refer to two different ways the boards actually fit together, while nickel gap is the spacing seen visually on boards once they are installed.
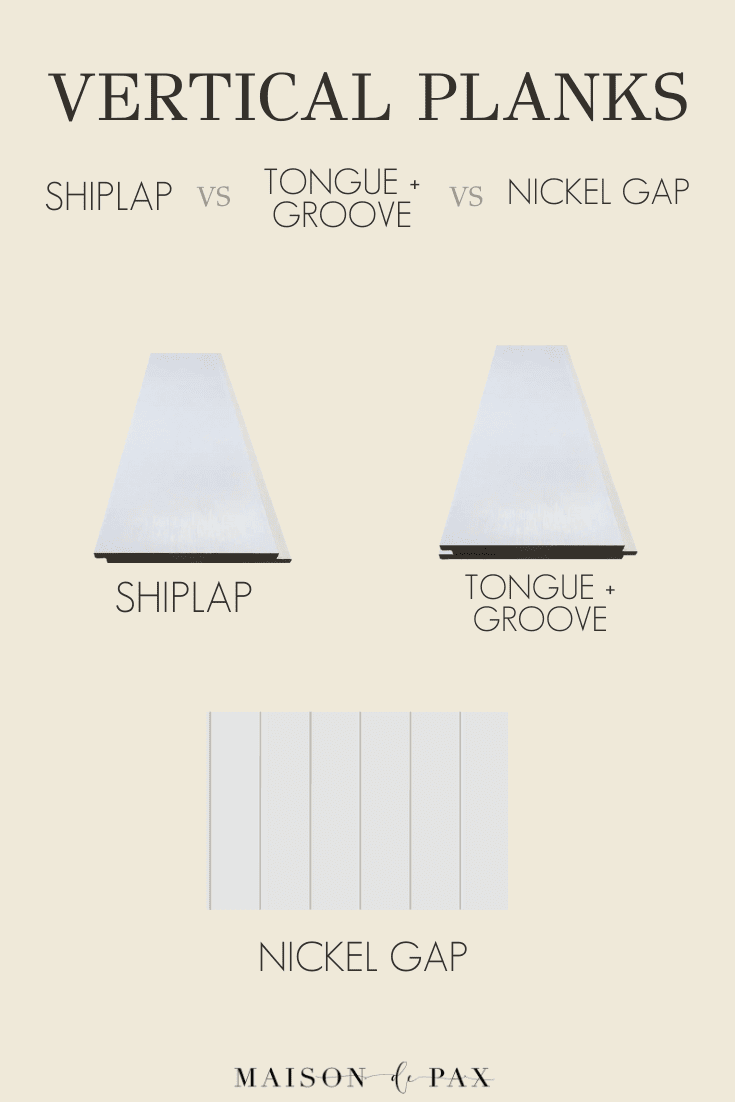
Finally, while all these real wall planks can be a wonderful option, there also exists 4×8 plywood type panels which have a nickel gap pattern. I used similar ones to install the beadboard in our ranch bathroom. The 4×8 sheets have the advantage of being quicker to install, more affordable, pre-primed and therefore easier to paint. But they are more awkward to maneuver and require a table saw or circular saw with a guide to cut.
The panels are also not real wood but a thin mdf, which also has a pro and con. The advantage is that they are less disruptive to electrical outlets, door and window casings, and baseboards, since they are only about a 1/4″ thick at most. Real wood planks are certainly a more lasting material, but it can be complicated to work around the thickness, requiring you to replace baseboards and trim.
Since we wanted this to be an affordable update that didn’t require rebuilding the trim in the room, we chose these mdf panels. But be sure to consider your own needs before you make your decision about your vertical planked wood walls.
How to install Vertical Wall Plank Paneling
This post contains affiliate links. Click here to read my full disclosure.
Materials:
- 4×8 nickel gap panels
- cove molding
- construction adhesive
- 1.5 or 2″ brad nails
- paintable caulk
- wood filler
- 220 grit sandpaper
- satin paint
- outlet spacers (optional)
Tools:
- stud finder (my favorite)
- table saw or circular saw + straight edge
- jigsaw or oscillating saw (to cut around outlets and trim)
- miter saw (for the cove molding)
- caulk gun
- nail gun
- caulk tools (optional)
- paint brush, trim roller, or sprayer
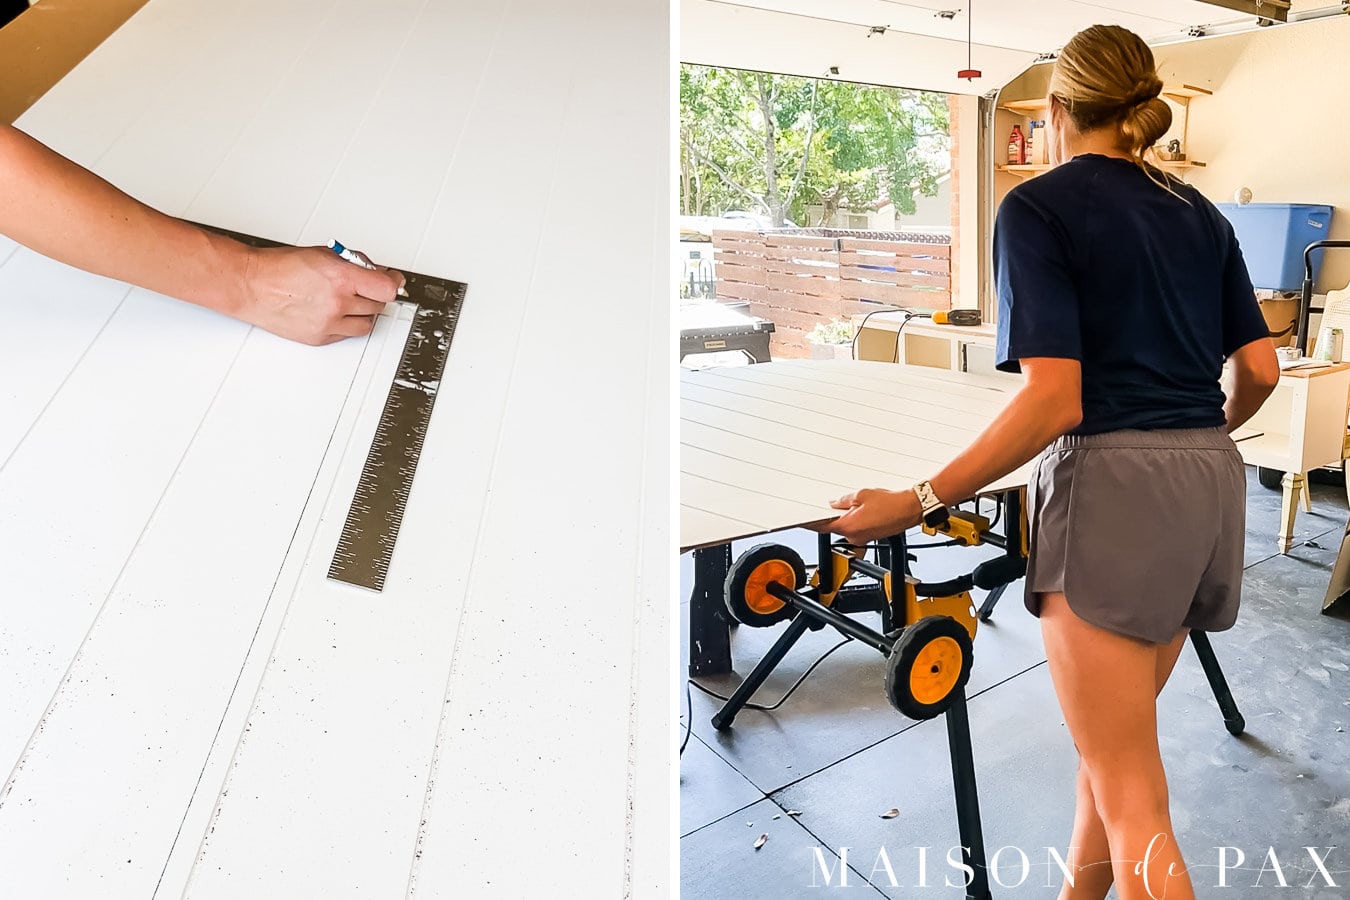
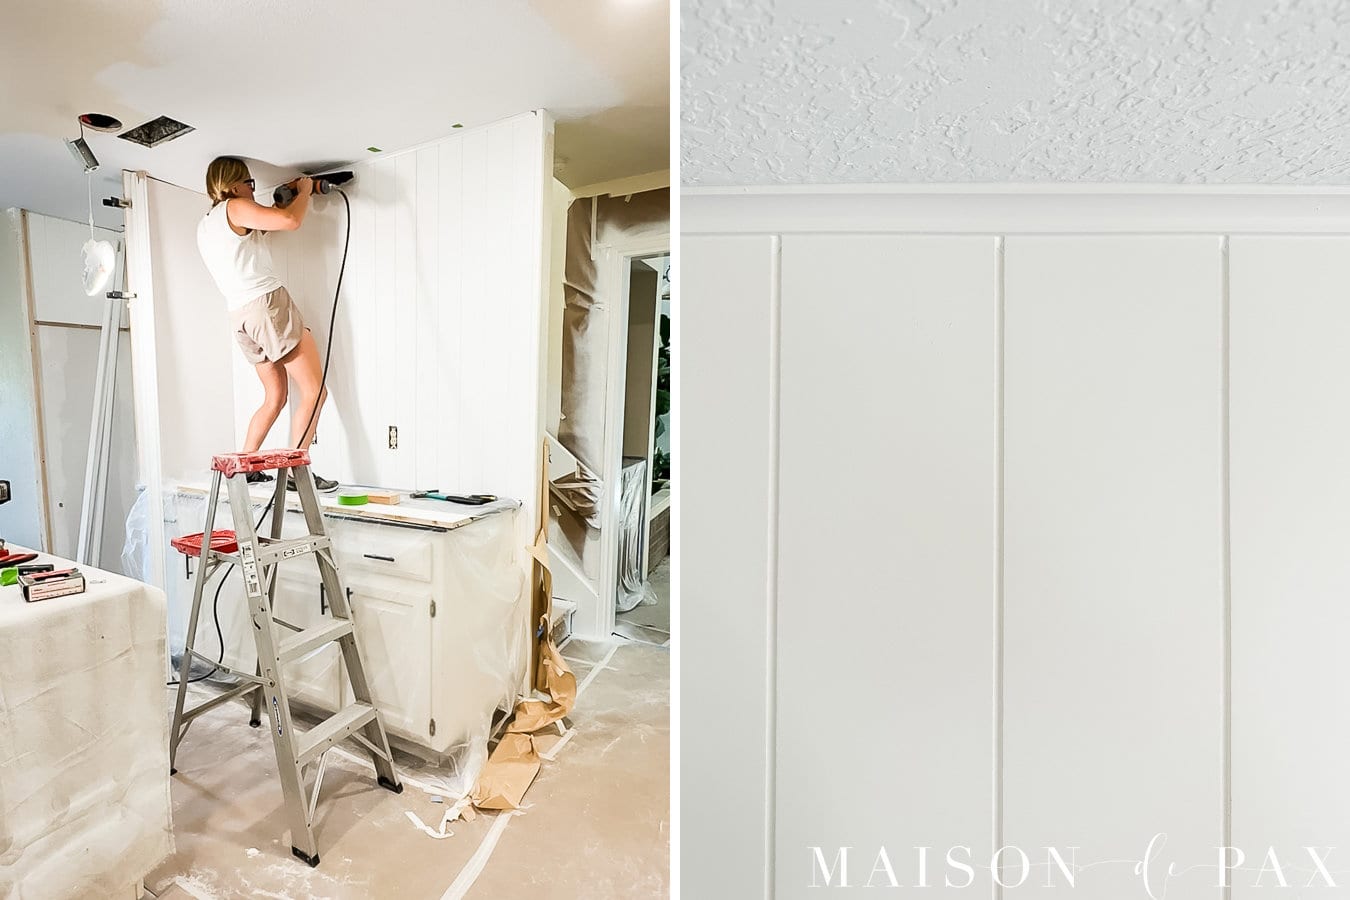
Note: I completed this vertical shiplap wall look almost entirely by myself without any real proper workshop set up. The 4×8 sheets are not too heavy, but they are flimsy. This makes them difficult to maneuver alone, especially without a large work surface. So instead of using my table saw for many of the cuts, I found my mini circular saw (updated version here) combined with a straight edge like this to work well when I placed the boards across two saw horses.
Here are the basic steps to install nickel gap wall paneling:
- Consider removing your baseboards
We chose not to do this because this is a somewhat temporary wall treatment until we fully renovate the 1980’s kitchen. But if you want a seamless finish, you might prefer to remove your baseboards now and reinstall them or new baseboards over the paneling. See how ours turned out below.

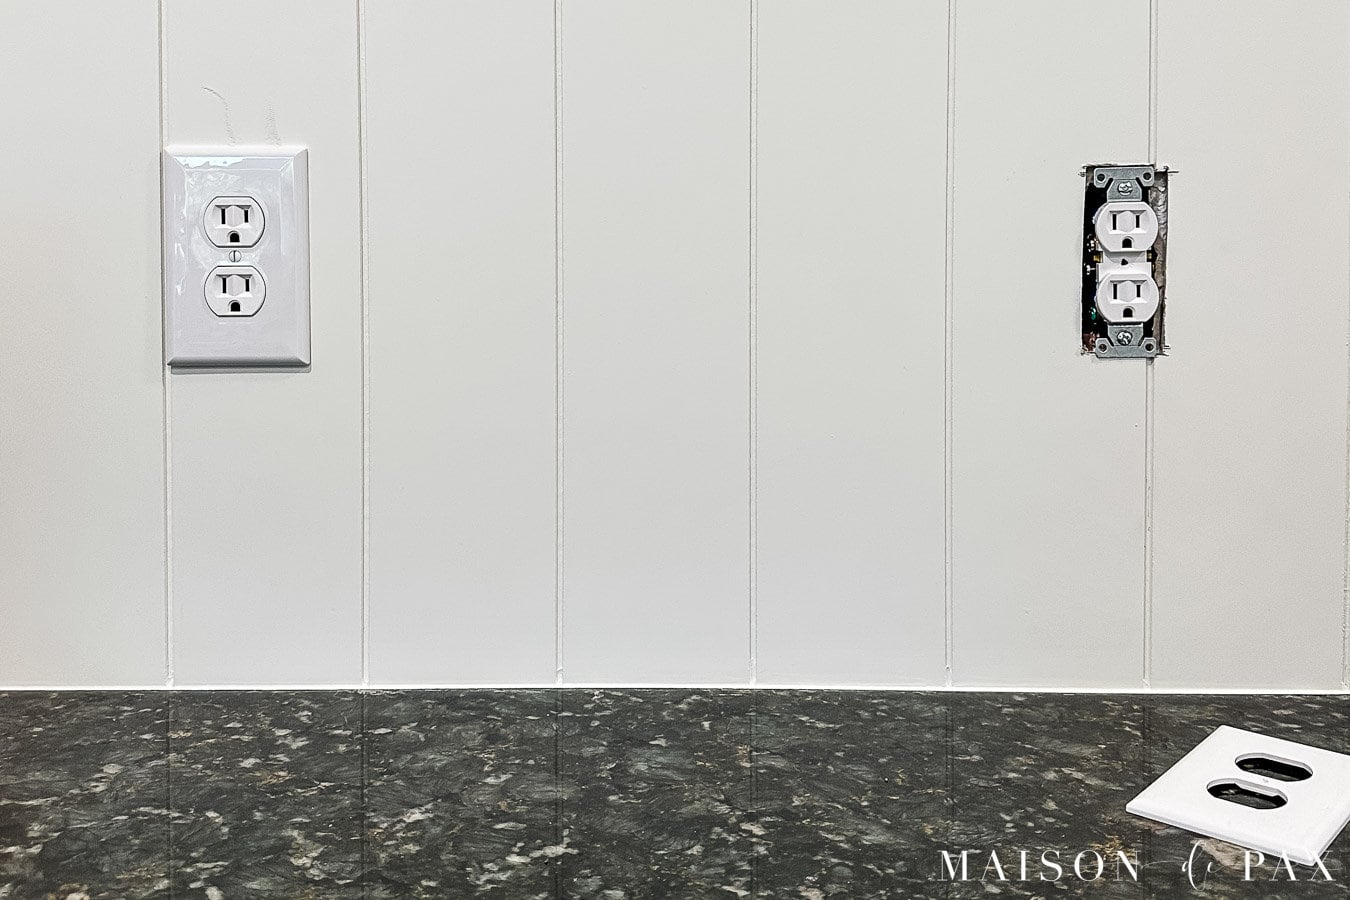
- Prepare your outlets
As always with electrical, please use precaution and seek the help of a licensed electrician if needed! I actually didn’t figure this out until too late. But if you unscrew the receptical from the box to allow it to be maneuvered through the holes on your paneling, then you can resecure it over the paneling and have a cleaner finished look.
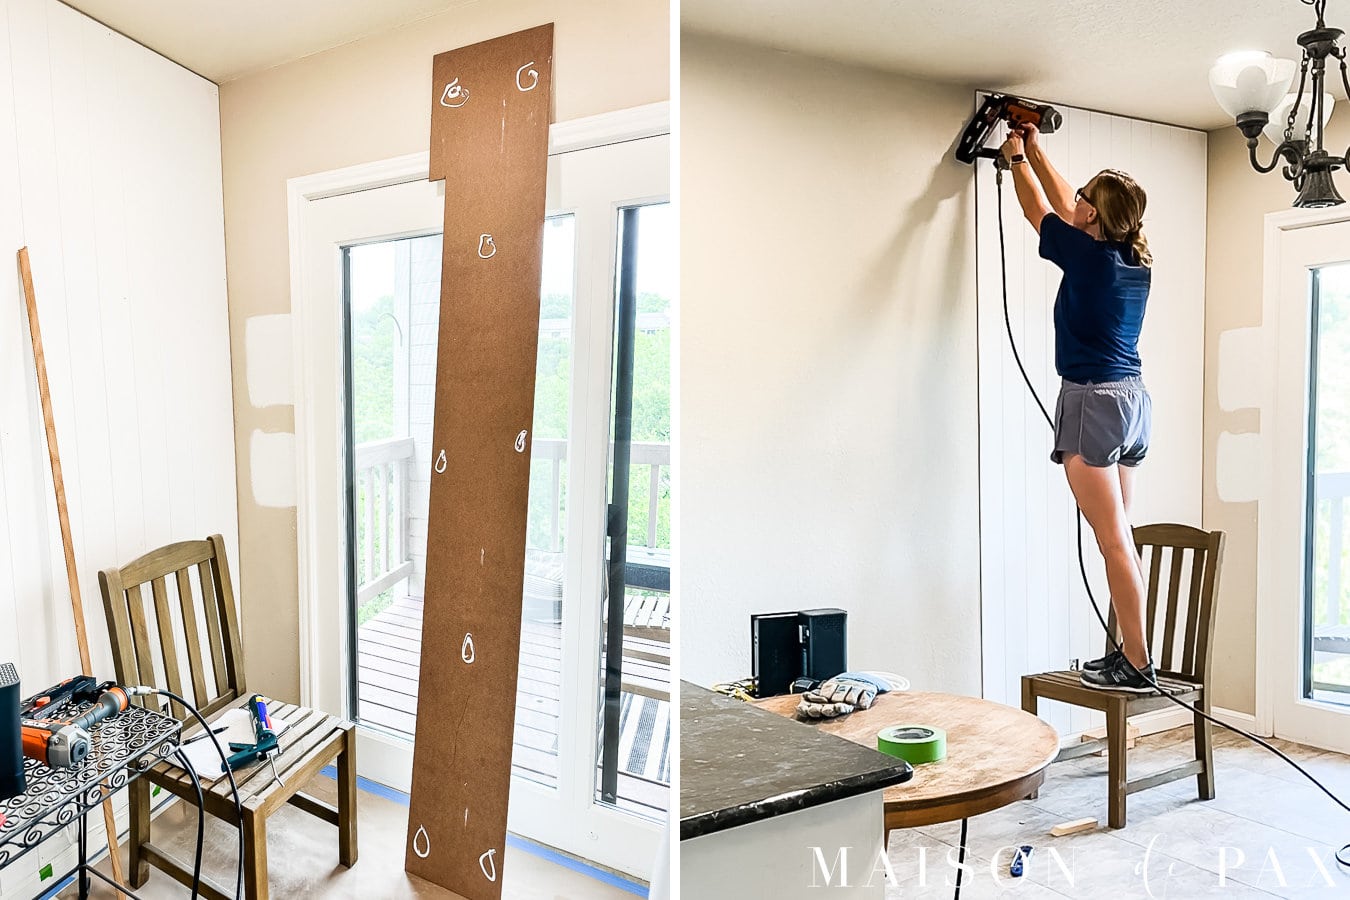
- Find and mark studs
Use your stud finder to identify your studs and mark with painters’ tape along the baseboard and/or ceiling. That way, you can continue to see the marks throughout the project.
- Measure and cut your first panel
Do some math for your space and decide if it’s better to start in the corner or the center of the room, then measure the height and width for your first panel. Draw the cuts on the panel in pencil, then use your table saw or circular saw + straight edge to cut the panel to size. If there are any outlets, measure and cut for them using your jig saw or oscillating saw.
- Attach the panel to the wall
Dry fit the panel first. Once you are sure it fits, place 5-10 spots of liquid nails on the panel (note: if your walls are particularly wavy, you may just want to cover the back in glue, but I was trying to minimize the drywall damage if we ever decide to remove the paneling). Then use brad nails along the studs to secure the panel in place. If the edge of a panel falls between studs, drive 2 nails in at an opposing angle to secure it to the sheet rock.
- Continue along the wall
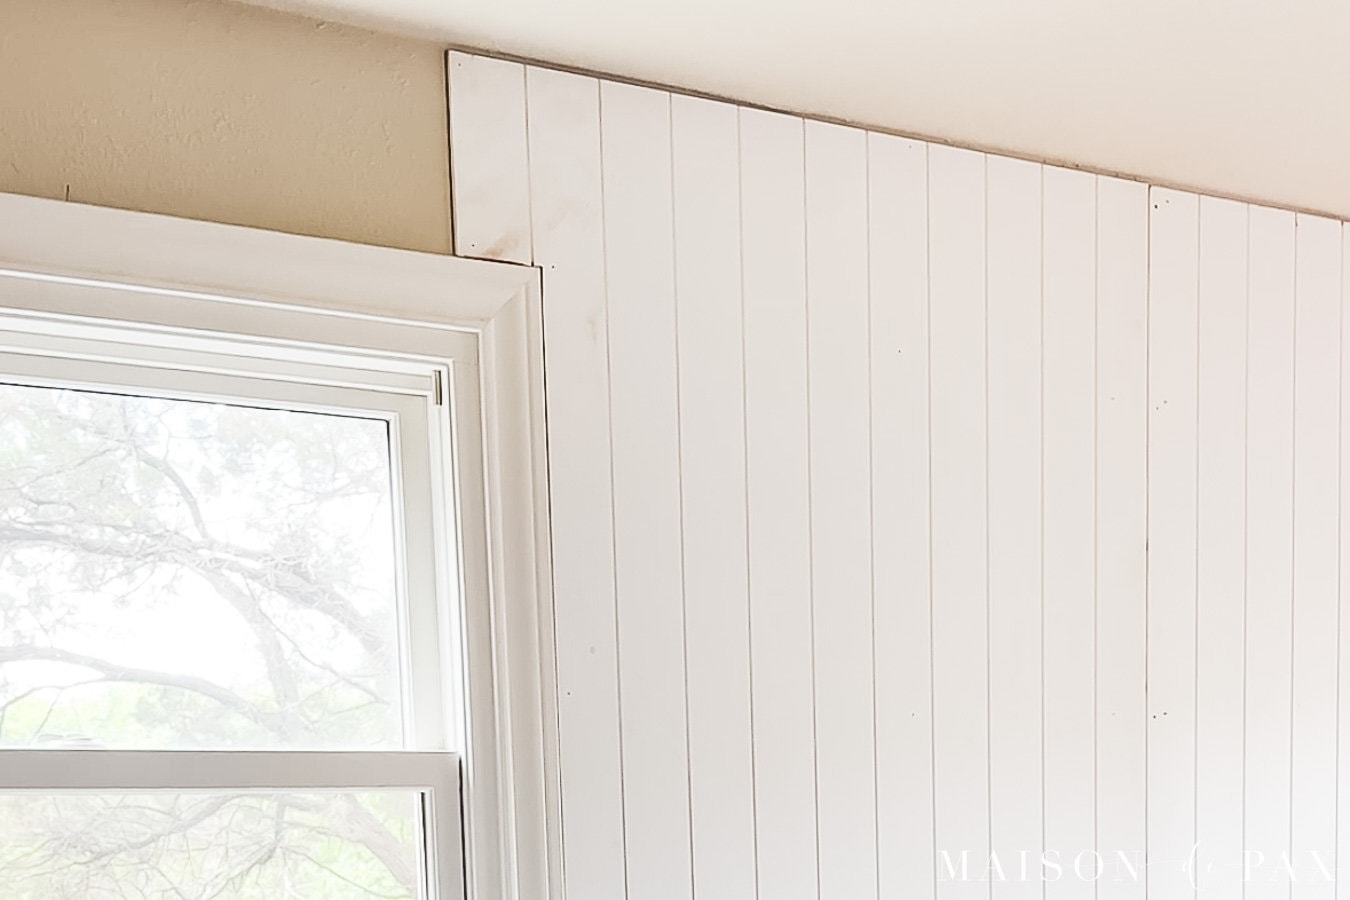
Continue installing your vertical wall panels. Make sure you never cut a panel between “planks.” If the edge of a window or door frame is not the end of a plank, then continue the panel around the frame and cut along the line between planks. This will allow you to continue the pattern around the room without visual breaks. It also helps if you lightly sand the edges of the boards that you cut before securing to the wall.
- Secure your outlets to the proper depth
Instead of doing what I recommended above (I’m learning something new each project!), I just cut the paneling barely outside of the receptacle screws and used outlet spacers to bring the receptacle to the appropriate depth for the new surface. Fortunately, the outlet covers covered up my mess. Either way works!
- Add cove molding to cover the top edges
Install the molding at the line where the wall meets the ceiling. You can also use crown moldings, but I wanted the simplicity of the cove. This is the point at which you would reinstall your baseboards, too, if you removed them.
- Caulk the seams and fill the holes
Clean off any saw dust, then Caulk each seam between panels and where the paneling meets door and window trim, cove molding, or baseboards. You may want to use one of these little caulk tools to help you scoop out the caulk that inevitably gets trapped in the gaps between the planks. Then use wood filler to fill the nail holes. Let dry and sand smooth.
- Paint
We hired painters to paint the entire inside of the house before we moved in, so I had them paint these panels, but I’ve painted panels before. You want to be sure to get into the seams and then either spray the panels or use a trim roller for a nice, smooth finish. I prefer satin paint on paneling so it’s not quite as shiny as trim but feels more polished that typical flat or eggshell finish on walls.
DIY Wall Treatment Inspiration
I know that was a long tutorial, but I hope you found it helpful! This vertical plank wall and backsplash has transformed the look of our kitchen and breakfast room. I cannot wait to share with you the complete before and after.

If you love how diy wall treatments transform a space, be sure to check out these tutorials, as well: