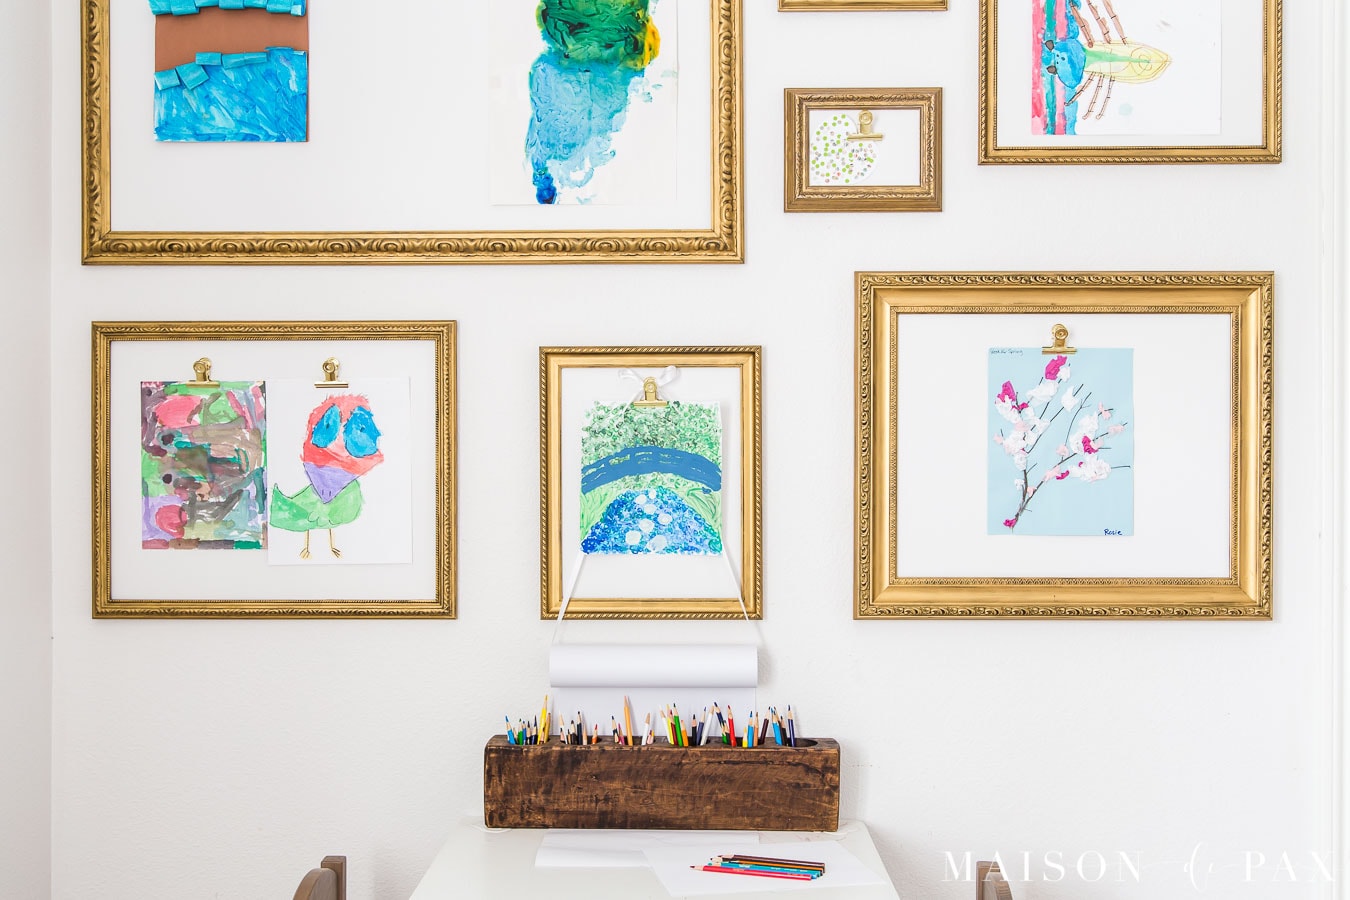
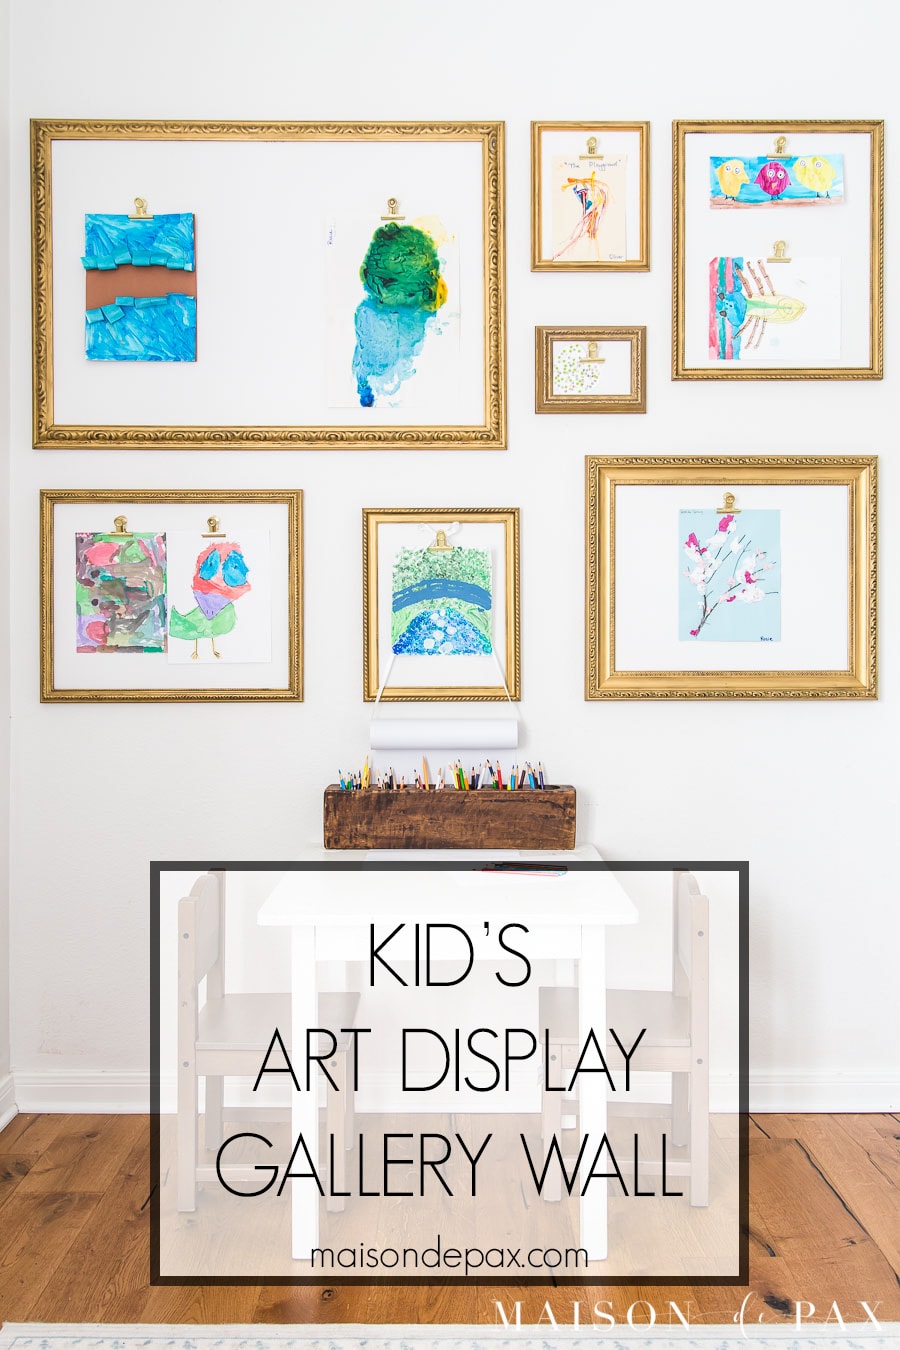
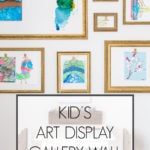
Kids’ Art Display Wall with Clips
Looking for kids art display ideas? Try this cute, super easy diy art gallery display wall for children’s art!
My boys enjoy making things, but they are usually just as happy to shove it in a drawer when they are finished. My girls, on the other hand, have a driving need to display their artwork all around their room.
After finding innumerable scraps of paper taped to their walls and doors, I decided it was high time I gave them a better place to display their latest piece of art. And not just one or two; I needed to brainstorm how to display a lot of kid art.
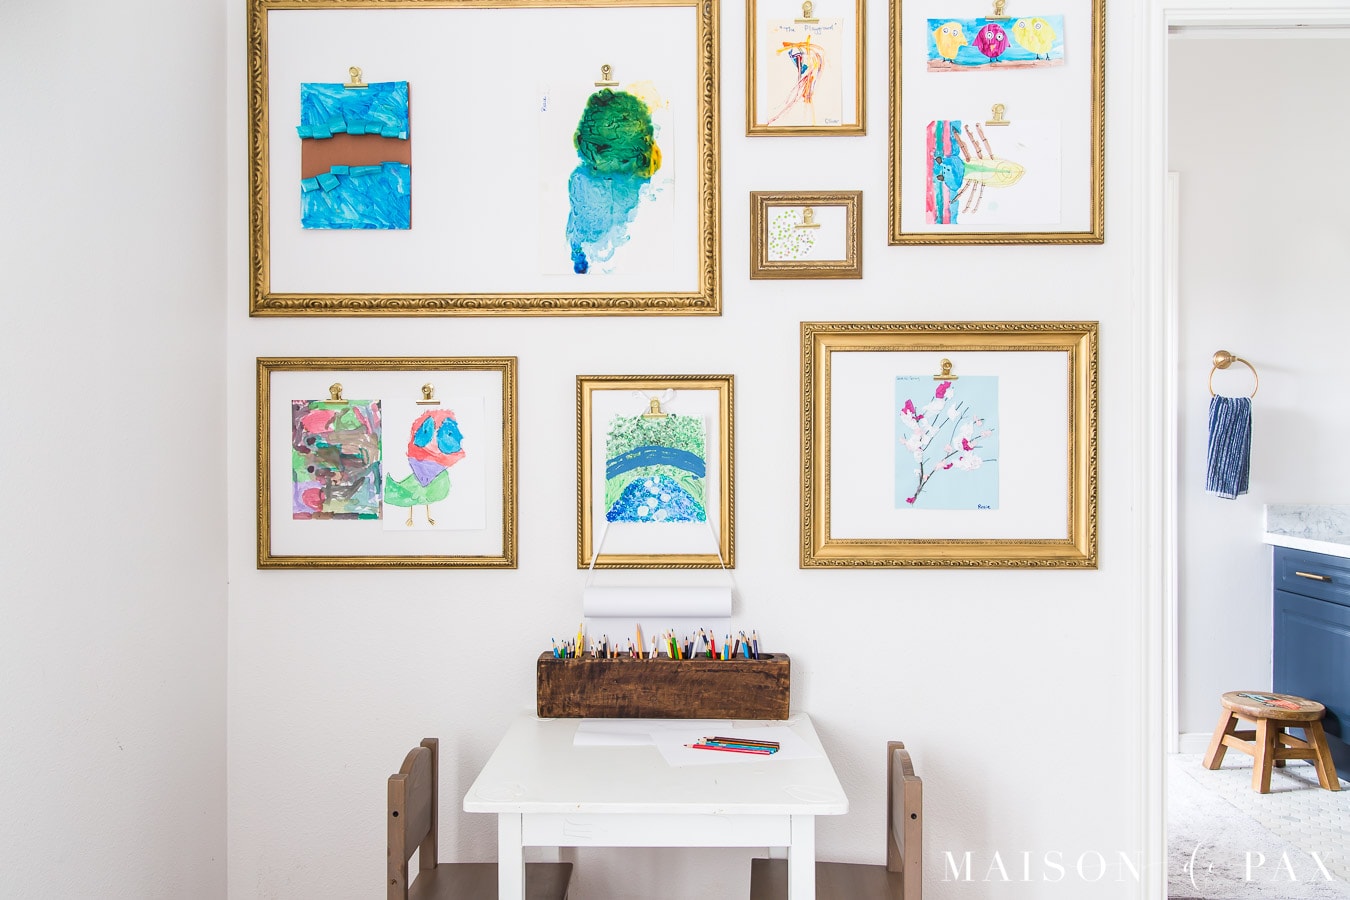
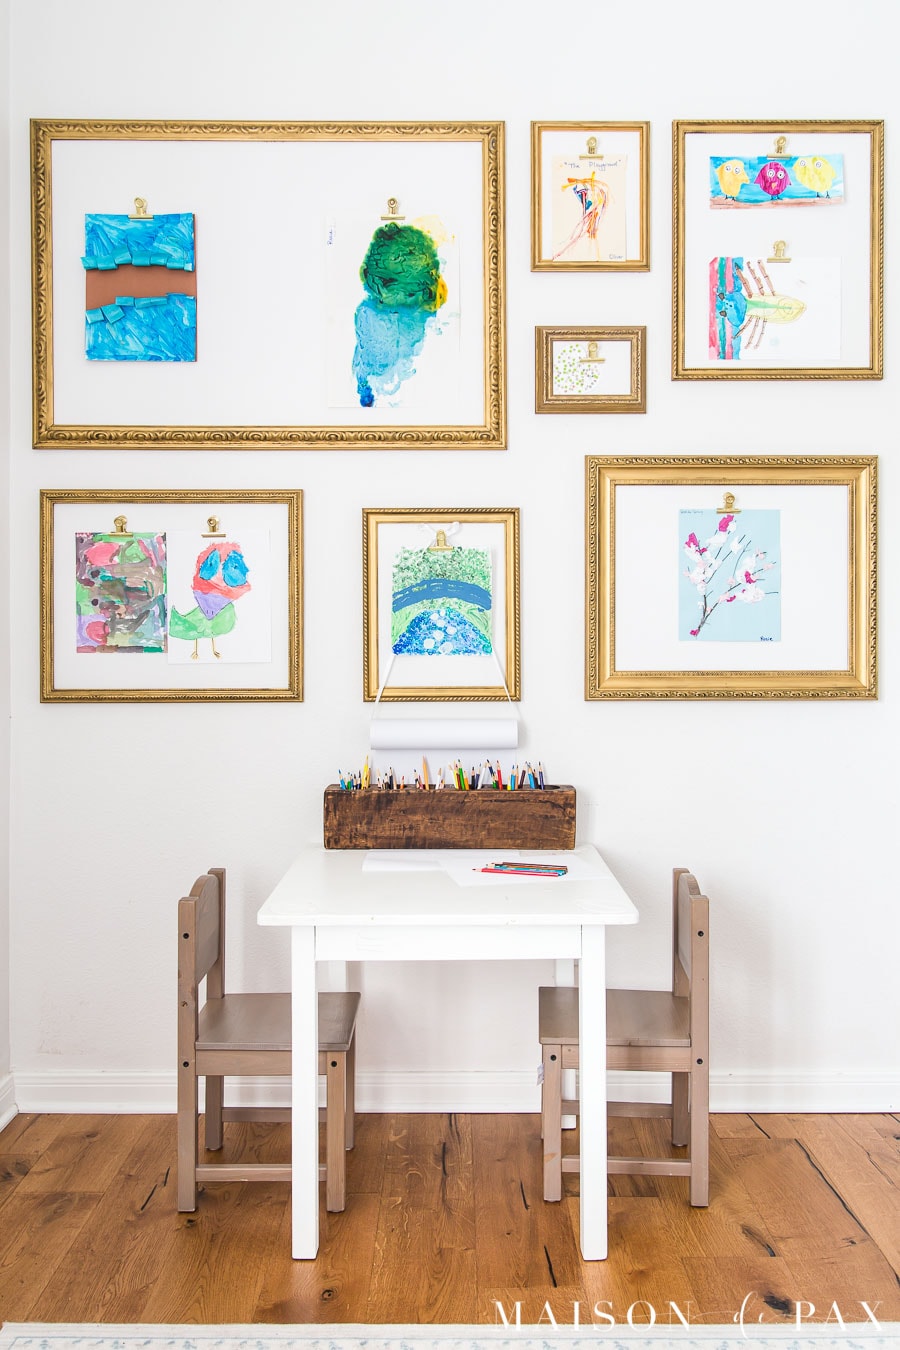
So I put together a gallery wall with simple clips to allow them to display their creations as they please, and they are SO excited about it!
The benefits of a Kids’ art display gallery wall
I considered a lot of possible ideas for how to display kids’ art, but I chose this method for three main reasons:
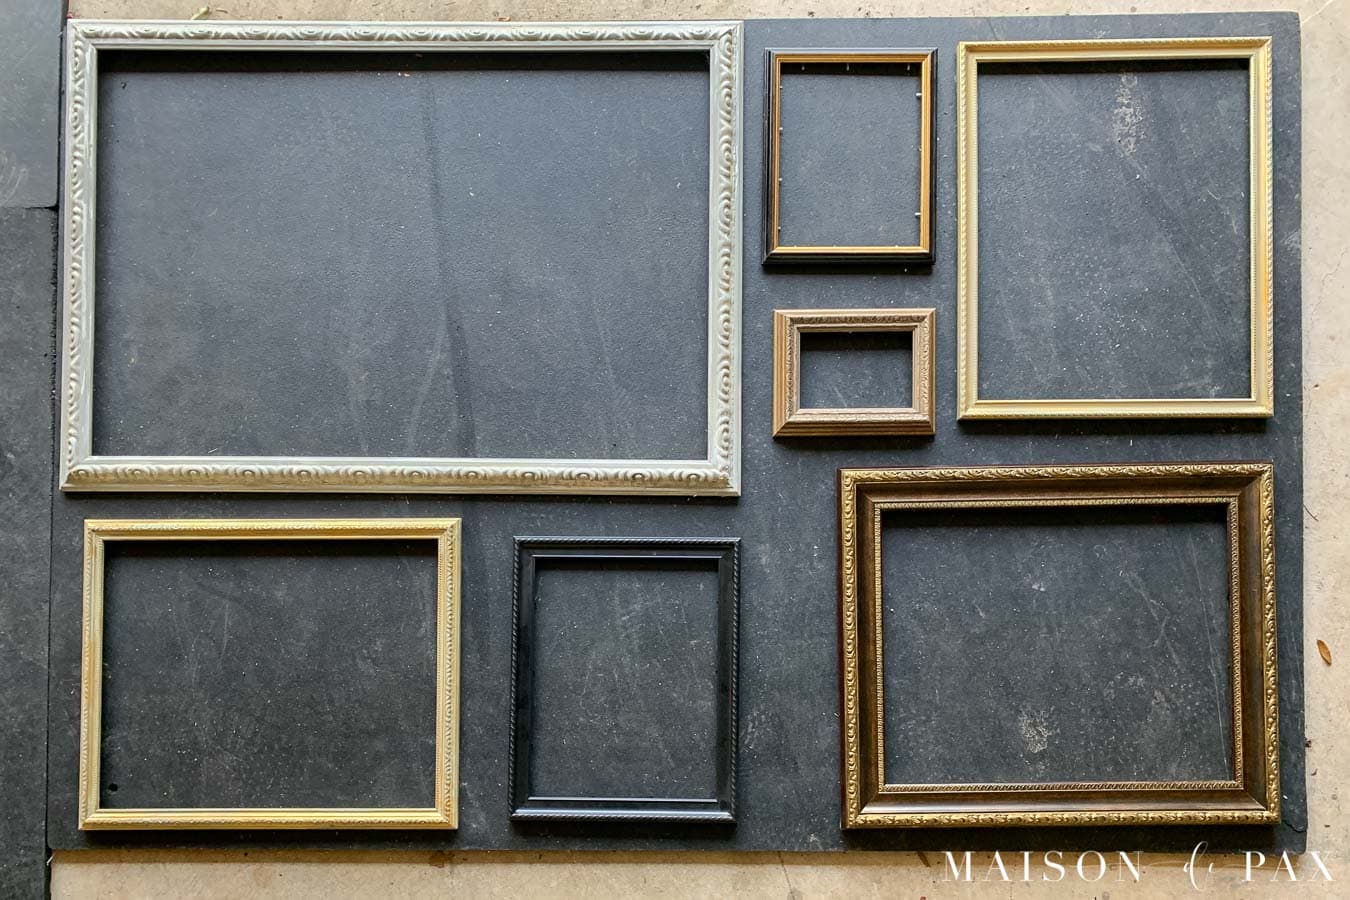
- I was able to create it using frames I already had gathering dust in my garage (but if you don’t have a frame-hoarding problem like I do, you can likely thrift frames for an affordable kids artwork display wall!).
- It provided different sized spaces for different sized art (as opposed to a grid-like display that called for more uniform pictures).
- They can change them out all on their own!
I considered using normal frames with glass, but I knew that the reality was I would probably never bother to change the artwork out… at least not as often as I would like. The simple clip system allows them to change the art to their little hearts’ content.
This post contains affiliate links. Click here to read my full disclosure.
How can I display my child’s artwork?
I’m thrilled to say that I have a full tutorial for you. You can watch the video below or read on for a list of steps to create your own display area for your kids’ art.
Materials needed for art display gallery wall:
- empty frames of varying sizes
- gold leaf rub n’ buff
- black spray paint (optional)
- 1/4″ mdf to fill frames
- primer and white paint
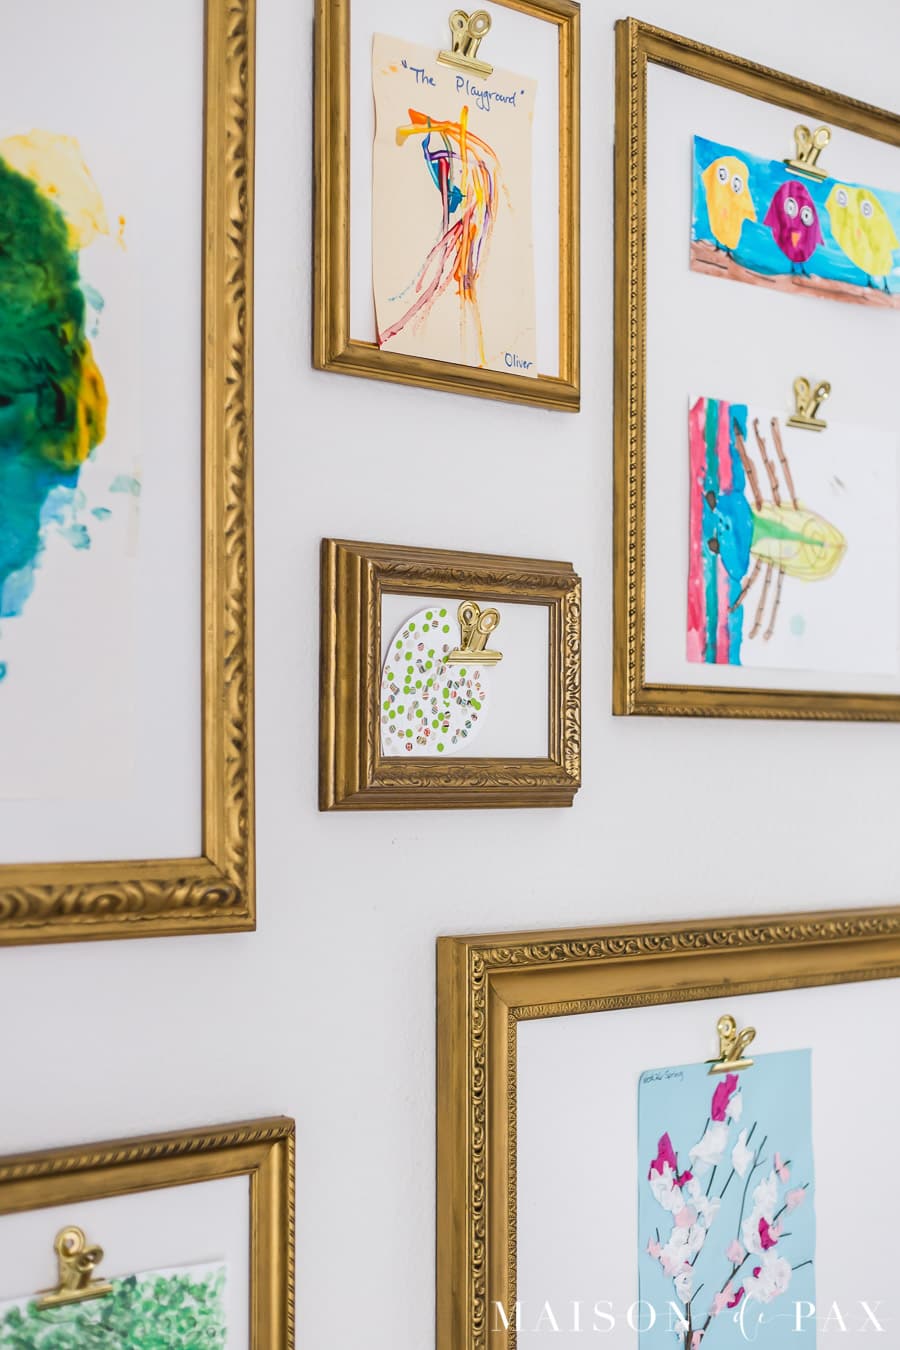
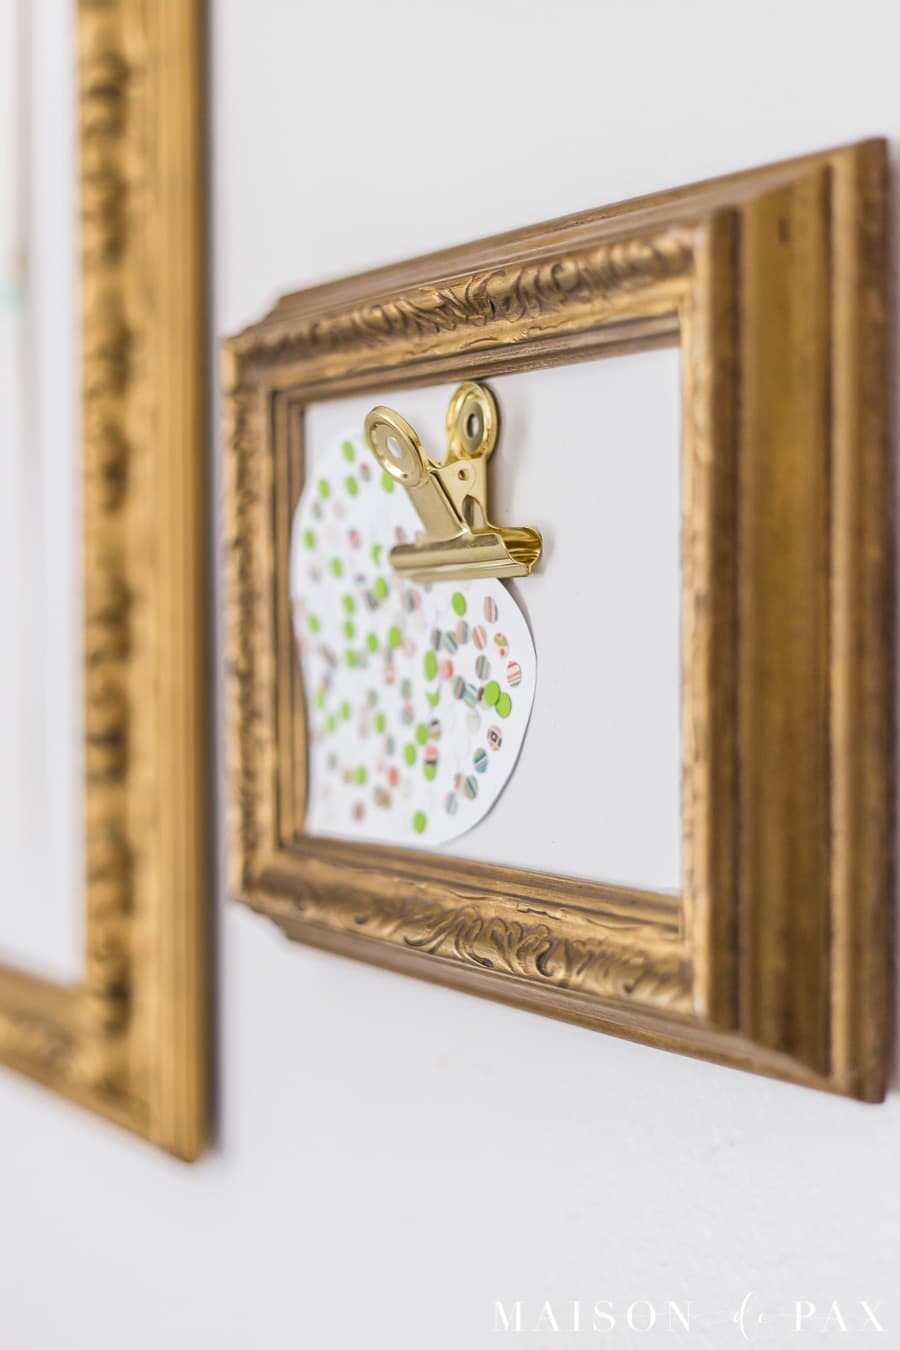
- gold clips, painters tape
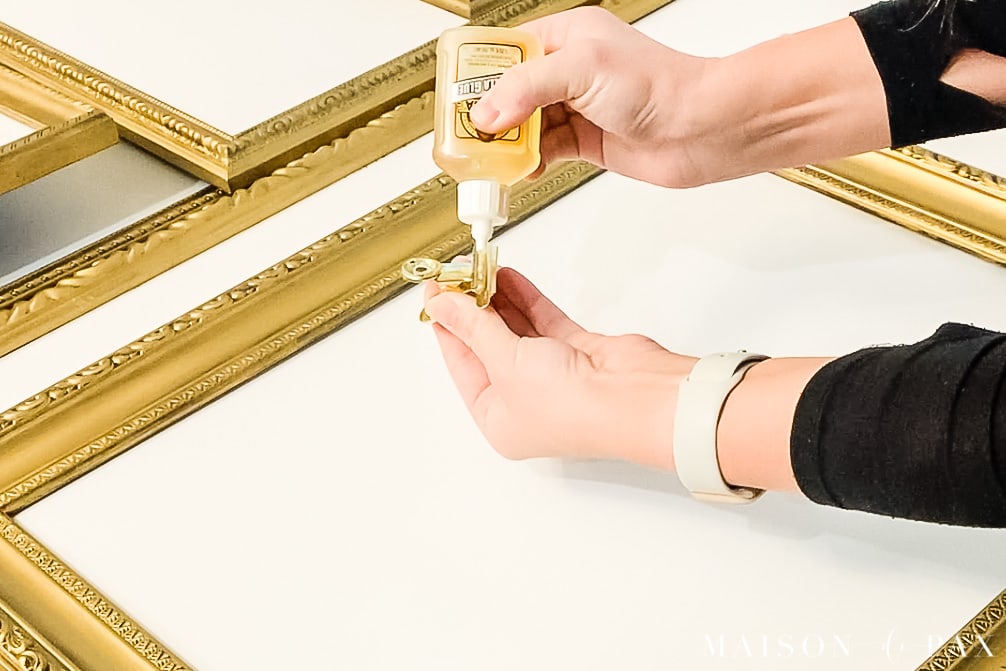
- strong glue (note: I started by trying with hot glue, but the clips popped off when I tried to operate them… then I tried Gorilla Glue, and they’re still holding strong!)
- 3M strips, level
How to Display Children’s Artwork
Create this gallery wall to display your kids’ art beautifully
- Create a gallery plan
Measure your wall space. Then gather old frames and remove the glass. Plan a layout for the wall space that allows for different sizes and orientations.

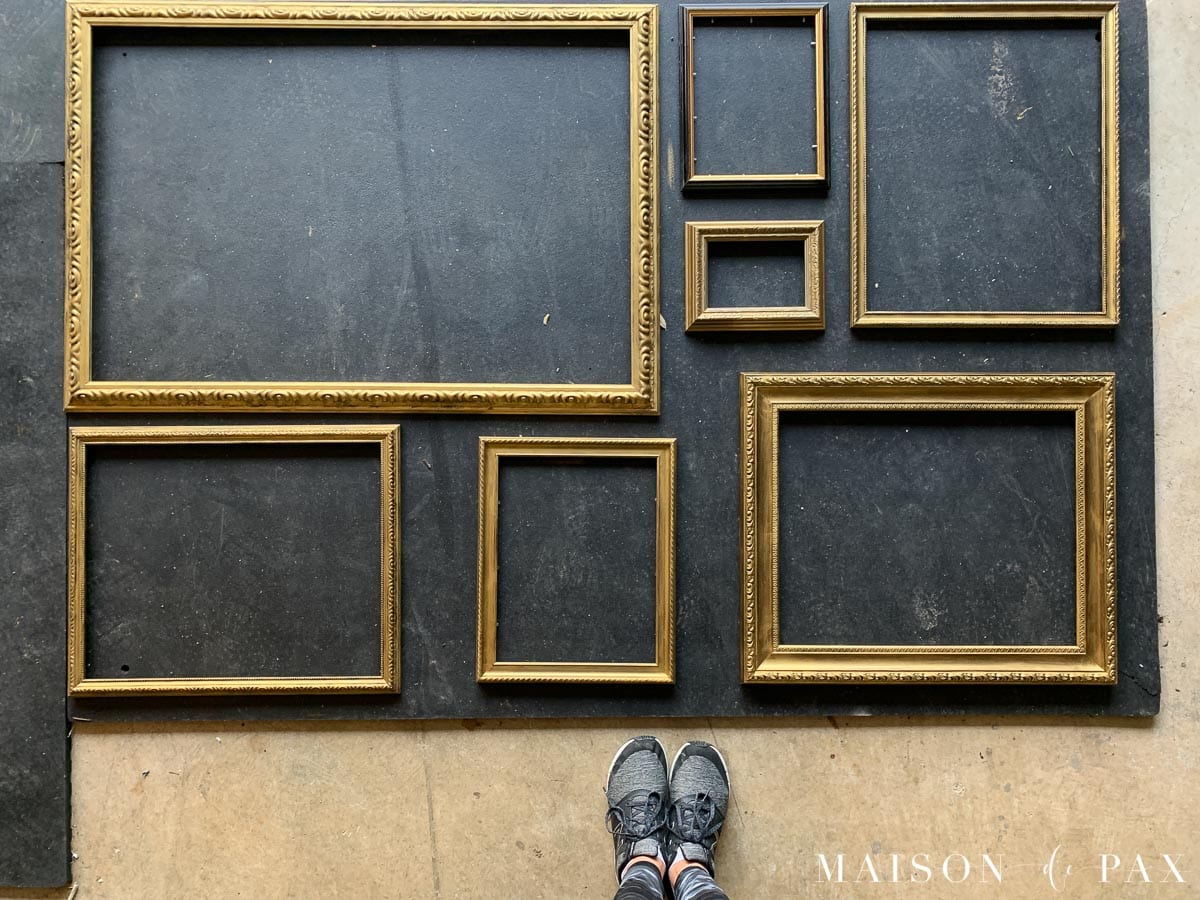
- Paint/gild your frames so they match
I used gold leaf rub ‘n buff (my favorite gold color!) to create a uniform finish on the frames. I think the rub ‘n buff looks the most authentic over a black finish, so I started by painting any lighter colored frames black, then gave them all a light coat of rub ‘n buff with a small, stiff brush.

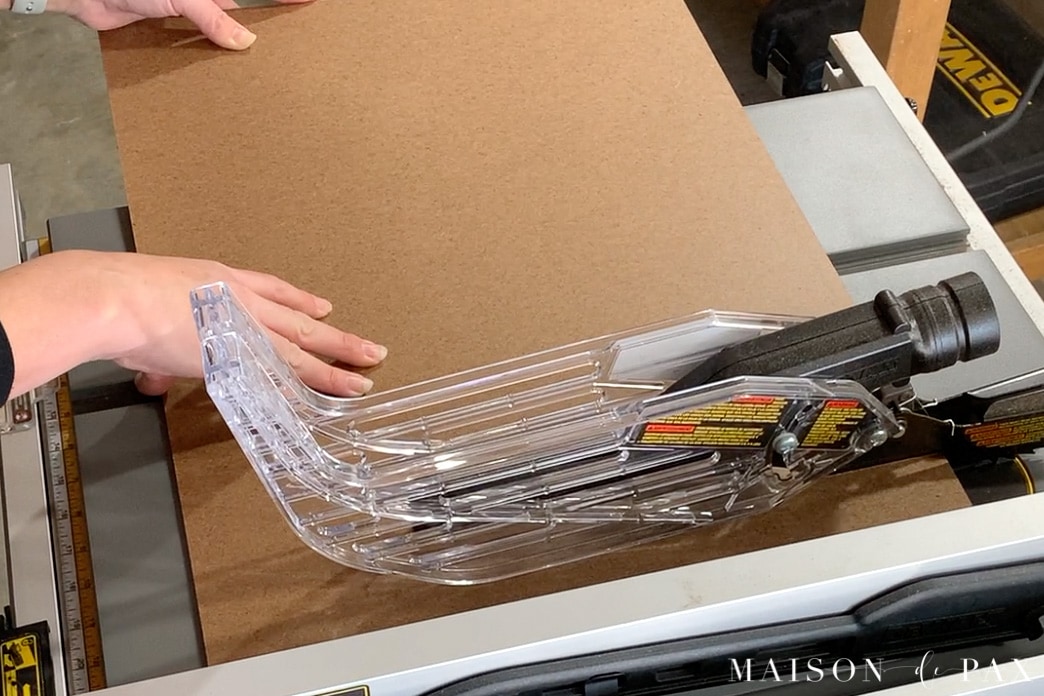
- Cut mdf to fit each frame
You might find that the backer board for the frame will suffice, but most of mine were open frames or had hadware on the backer board that would have gotten in the way. Whatever the case, you want a piece of 1/4 inch mdf or thin plywood that fits each frame.

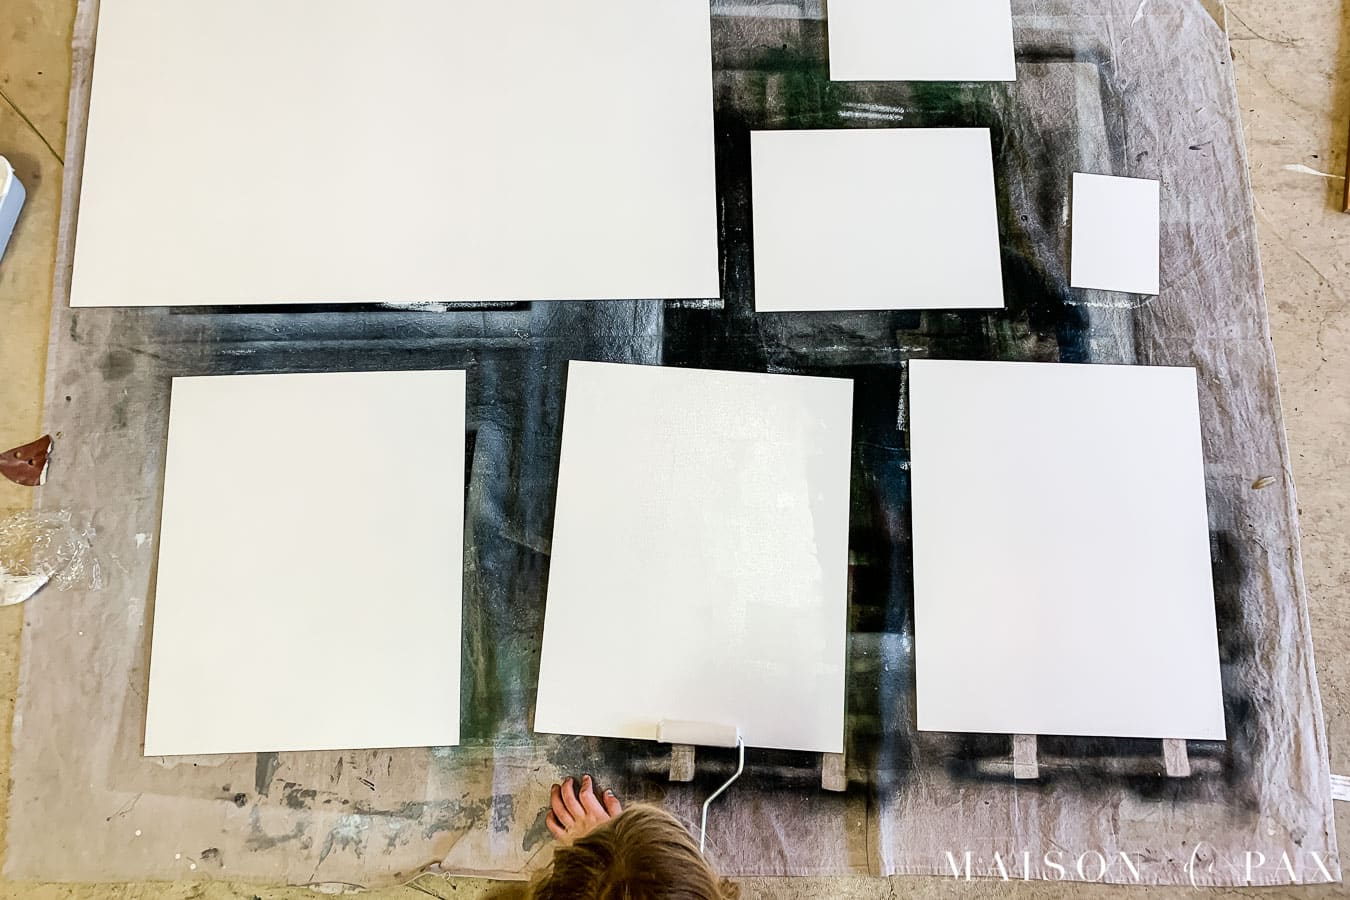
- Paint mdf
Paint the mdf white so the artwork can shine. I started with a quick spray primer and then gave them all two coats of white paint using a trim roller for a nice, smooth finish.
- Attach clips
Using Gorilla Glue, attach the clips in the desired spot on each frame (make sure you’ve planned for the orientation of the frame in the gallery wall!). Hold in place with painter’s tape until dry.

- Hang gallery wall
For the clips to work well (and to keep the frames from being constantly knocked askew by little girls), I used two large command strips on each frame to hang them on the wall. I used a long level to help me with the top line of frames and then a smaller level to help me each each frame straight.
And that’s it! I love super easy DIY projects, and my girls loved this project even more. I think that my effort to create something for them to display their art shows them how much I value their creative efforts… And their appreciation and enthusiasm has been basically palpable.
Couldn’t ask for a better reaction to a project! 🙂


What a GREAT idea. I will display my girl’s artwork too.
Thank you Rachel for your wonderful inspiration. I look forward to seeing your block.
So glad it was helpful, Majilinda!
That is THE. BEST. solution to the artwork problem I have seen! Love it! I would be happy to have that in my lounge even.
Cheers
Heather
So glad it was helpful, Heather!
That is a brilliant idea, love that the kids can change and display to their hearts content.
Pat
So glad you love this idea, Pat!
This is such a great idea! Love your creative inspiration!
Thank you, Denise!
Thank you so much, Denise!!
These are amazing, but I could never do this on my own. Any chance you’d make some to sell?
I am so sorry, Allison! I wish I had time to do that. 🙂
This looks great! What size frames did you use?
Thanks! It’s a mix of frames ranging from 5×7 to 24×36. Several are 16×20.
I love the colored pencil holder! Where is that from?
Thanks! I found this one at an antique’s fair, but here’s a similar one from PB and another from Amazon. I hope this helps!
I love this idea! But how do you attach the backing to the frame?
Gorilla glue! 🙂