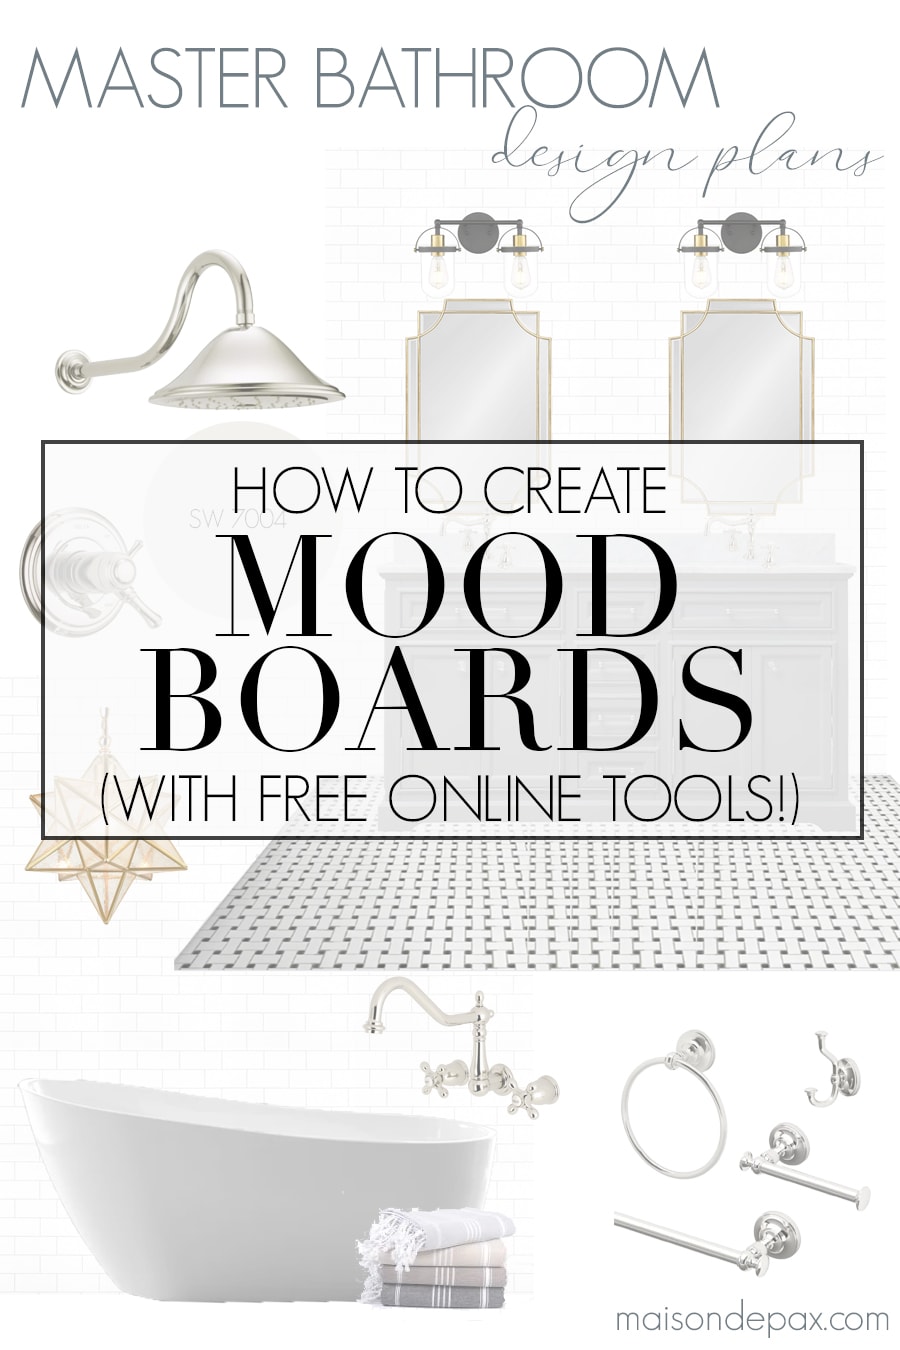
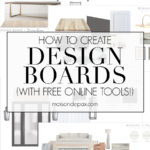
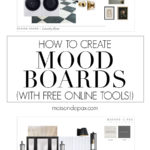
How to Create a Mood Board (without Photoshop!)
How to create a mood board without Photoshop: Learn how to create an interior design mood board using free online tools!

Ever wondered where to start in decorating or remodeling a space? Today’s post is going to not only tell you, but show you how.
What is the purpose of a mood board?
When designing a room, it can be enormously helpful to see all the elements of the design in one place. While digital mood boards like this do not allow for space planning (like a true floor plan design does), it helps in creating the prefect feel and balance for design projects.
Fortunately, you don’t need to be a graphic designer to create one! Anyone can be a mood board maker with free online tools. Todaay I’m sharing how to create a design board for renovations, remodeling, and decorating. But first…
What should I put on my mood board?
Digital mood boards can be helpful for many design projects, including branding and interiors. I want to focus today on room makeover boards, but know that this same process would work just as well for other kinds of design boards. You’ll just want to use different items on the board.
There are many things you can put on your mood board! I like to include the following:
- paint colors
- wall treatments
- flooring
- rugs
- lighting
- furniture
- artwork
- textiles (blankets, pillows, curtains, etc.)
- accessories (sometimes these are what bring the space together!)
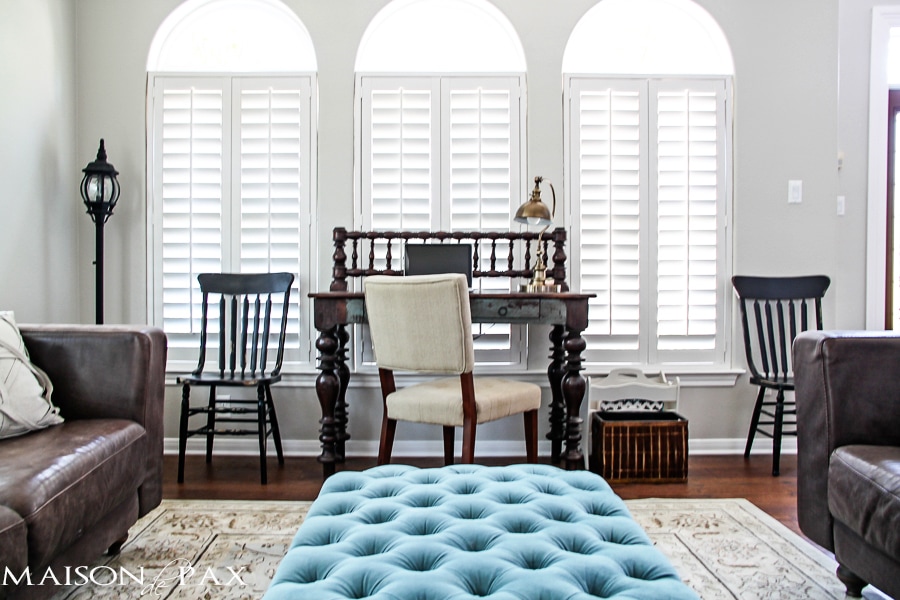
Here are some examples of mood boards I’ve created and shared in the past:
This post contains affiliate links. Click here to read my full disclosure.
How do you create a mood board?
Now that you know the importance of design boards in the interior design process, let’s get to the meat of today’s post: how to make a mood board design.
While physical mood boards can be done (think fabric samples and to-scale drawings), I find design boards are most easily done today on the computer. So I’ve put together a step-by-step video tutorial to show you how I do it with free online resources. No Photoshop or expensive online mood board creator needed.
Creating the perfect mood board – video tutorial
Image credits for video: flooring | beadboard | washer and dryer | butcher block | white cabinet | latch | pull | knob | sconce | landscape | floral | sketch
In case you prefer written instructions (or just want to reference this later!), I’ve included those below.
Step-by-step instructions for creating design boards
How to create a “drag and drop” home decor design board with free online tools!
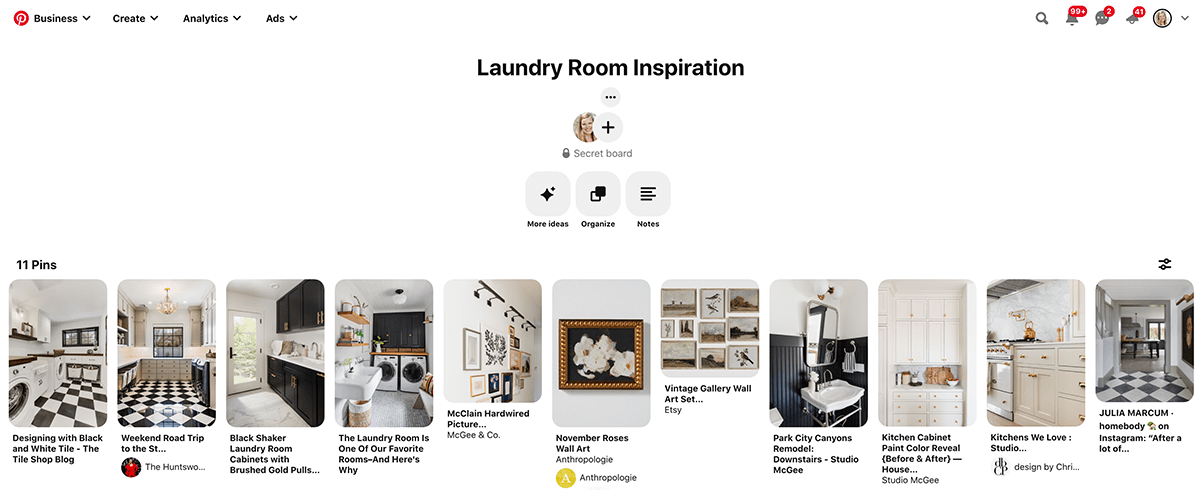
- Gather inspiration
I always use Pinterest to gather inspiration for each new space. Consider paint colors, furnishings, artwork, wall treatments, the function or flow of the space, the “feel” of the room, and more.

- Create a folder for images
Once you’ve identified things you want in the space from your Pinterest board, create a folder on your computer for the space.
- Collect images
Search on Google images for stock photos and other images that clearly represent the elements of your space. Start first with larger elements like wall treatments, images of flooring (even if you already have flooring in the space, find an image that is similar to represent your flooring), etc. These images may not be actual products you intend to purchase, but it’s helpful to have them there for the visual effect. As you find each image, save it in the folder you created in step 2.
If you know what products you may consider (furniture or lighting or rugs you might buy, for example), go to those actual product pages to save the images.
**Note: many images that you find online are copyrighted! Please remember that unless the images belong to you or are public domain (see more about that here), then these boards should be only for personal use. - Create a Google slides presentation
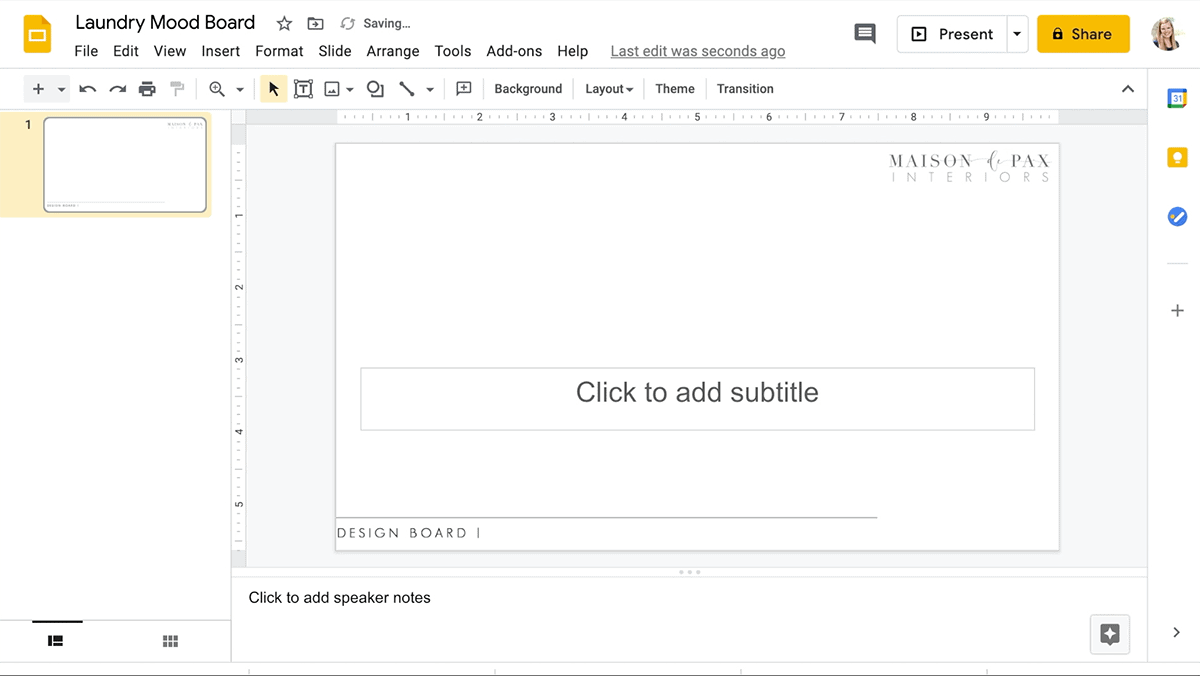
Once you’ve gathered all your images, go to drive.google.com and create a new Google Slide Presentation. You can also do this in Word or with a Google Doc, but I’ve found recently that I prefer the arrangement options and layout of Google Presentations. At this point, I like to use a mood board template I’ve created (which is just a background image with my logo, since I sometimes create boards for clients with this same process). You can use any blank background you like.

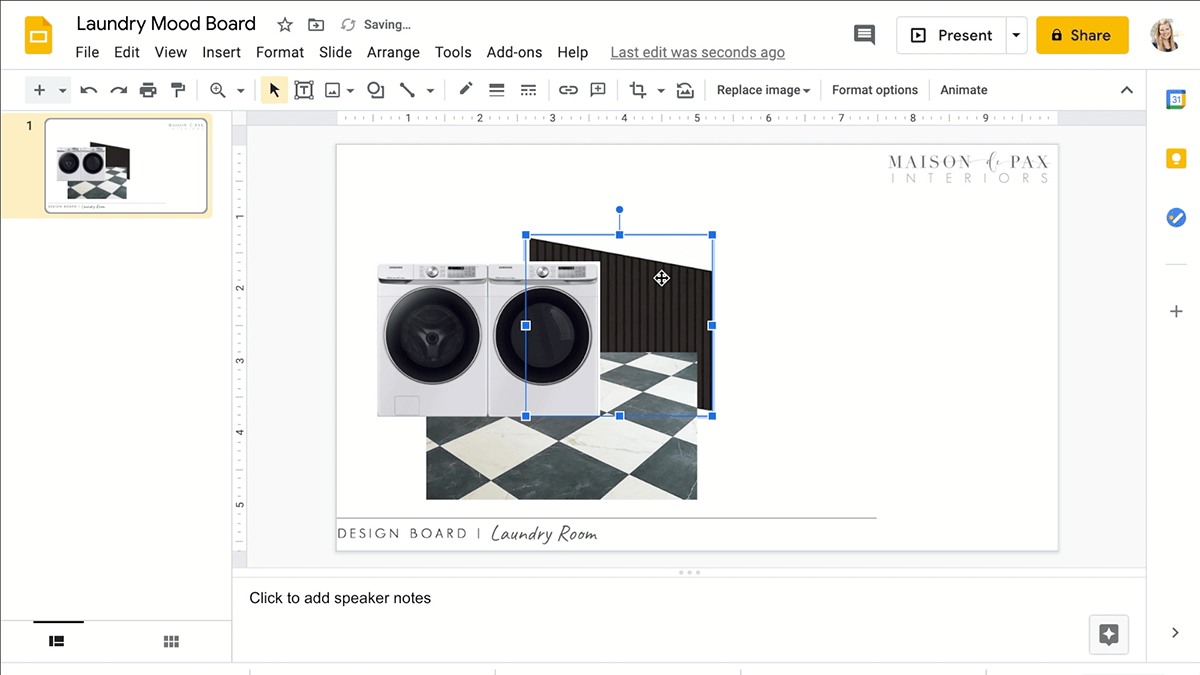
- Insert and arrange images
Go to Insert >> Image >> Upload from Computer and begin adding the images you saved to your design board folder. For each image, crop and/or resize as needed to fit the page and help you visualize the space. You can also go to Arrange >> Order to bring a particular item to the foreground or background of the collage.

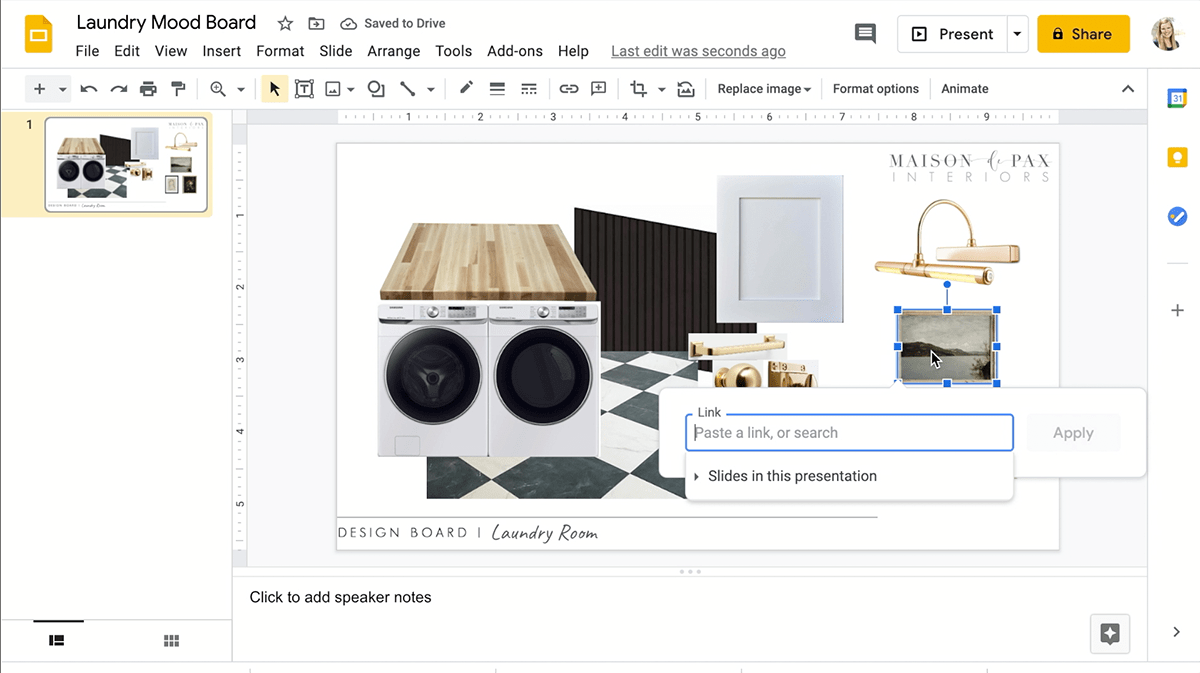
- Link images
When I am happy with the design, I like to link the products I intend to purchase for the space so that I have all the information in one place. To do that, go to Insert >> Link and paste the link from your browser.

And that’s it! I hope that this empowers you to design home spaces with confidence.

Thank you so much. Such great information. I love the step by step written instructions.
Blessings to you.
So glad you found it helpful, Renae!
Thank you for the very helpful post on mood boards. Would you have a recommendation for a room planner, trying out furniture placement and would like to see it in 2 or 3 D.
You’re very welcome! I have used Design Files for some room layouts before. You have to set up an account, but they do have a free trial option. I hope this helps!
Wow, amazing, I will give this a try, because there are many changes I want to make, but can’t afford to spend money on items, then once finish, hate it. This way, I will be able to take a long look and make changes, before starting the work.
Thanks for sharing
It’s a great way to visualize the space! Hope it helps, Ivory!
This is how I was taught in my interior design program! Powerpoint, Keynote or Google Slides.
Hugs, Jamie
Awesome to hear this how the pros do it too!
Thanks for great Information. these modern house interior designs are great.
Thank you!
Rachel, thank you for an “easy to follow” tutorial..BTW, your design boards are so Beautiful. Thanks again.
Thanks, Patricia!
This is so helpful! Thank you!!
Of course! Glad it was helpful!
GREAT‼️ Thanks Rachel! More power and God bless ❤️
You’re welcome!