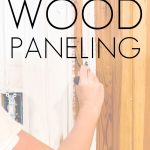
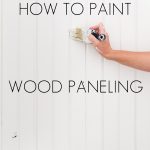
How to Paint Wood Paneling
Wondering how to paint wood paneling? Whether you have real wood planks or a faux 1970’s wood paneling, watch this VIDEO TUTORIAL to find out all you need to know about painting wood paneling.
Should I paint my wood paneling? Is wood paneling outdated? What kind of paint should you use on wood paneling? I asked myself all these questions and more when we purchased Little Pax Ranch.
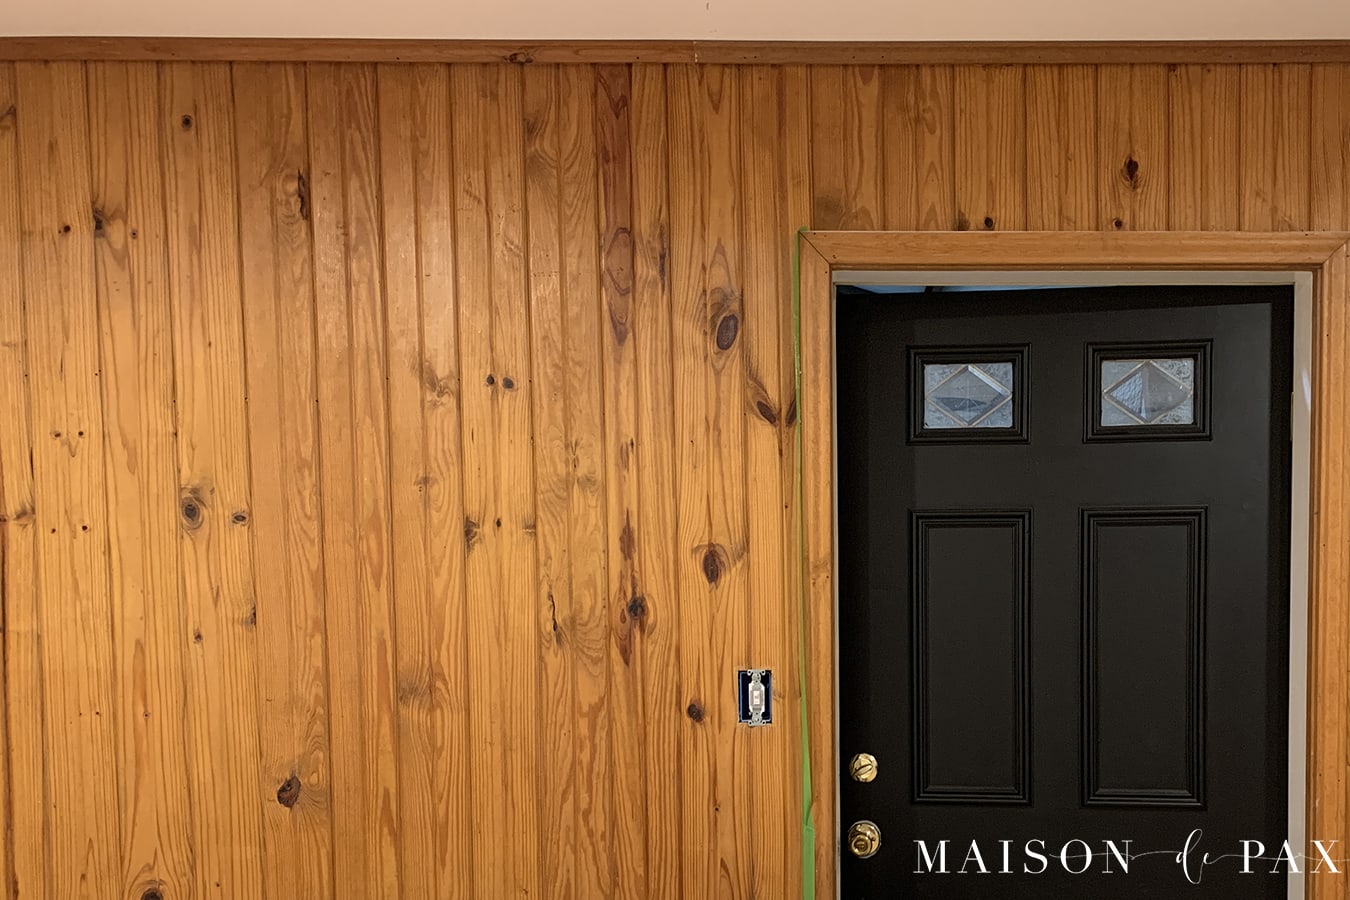
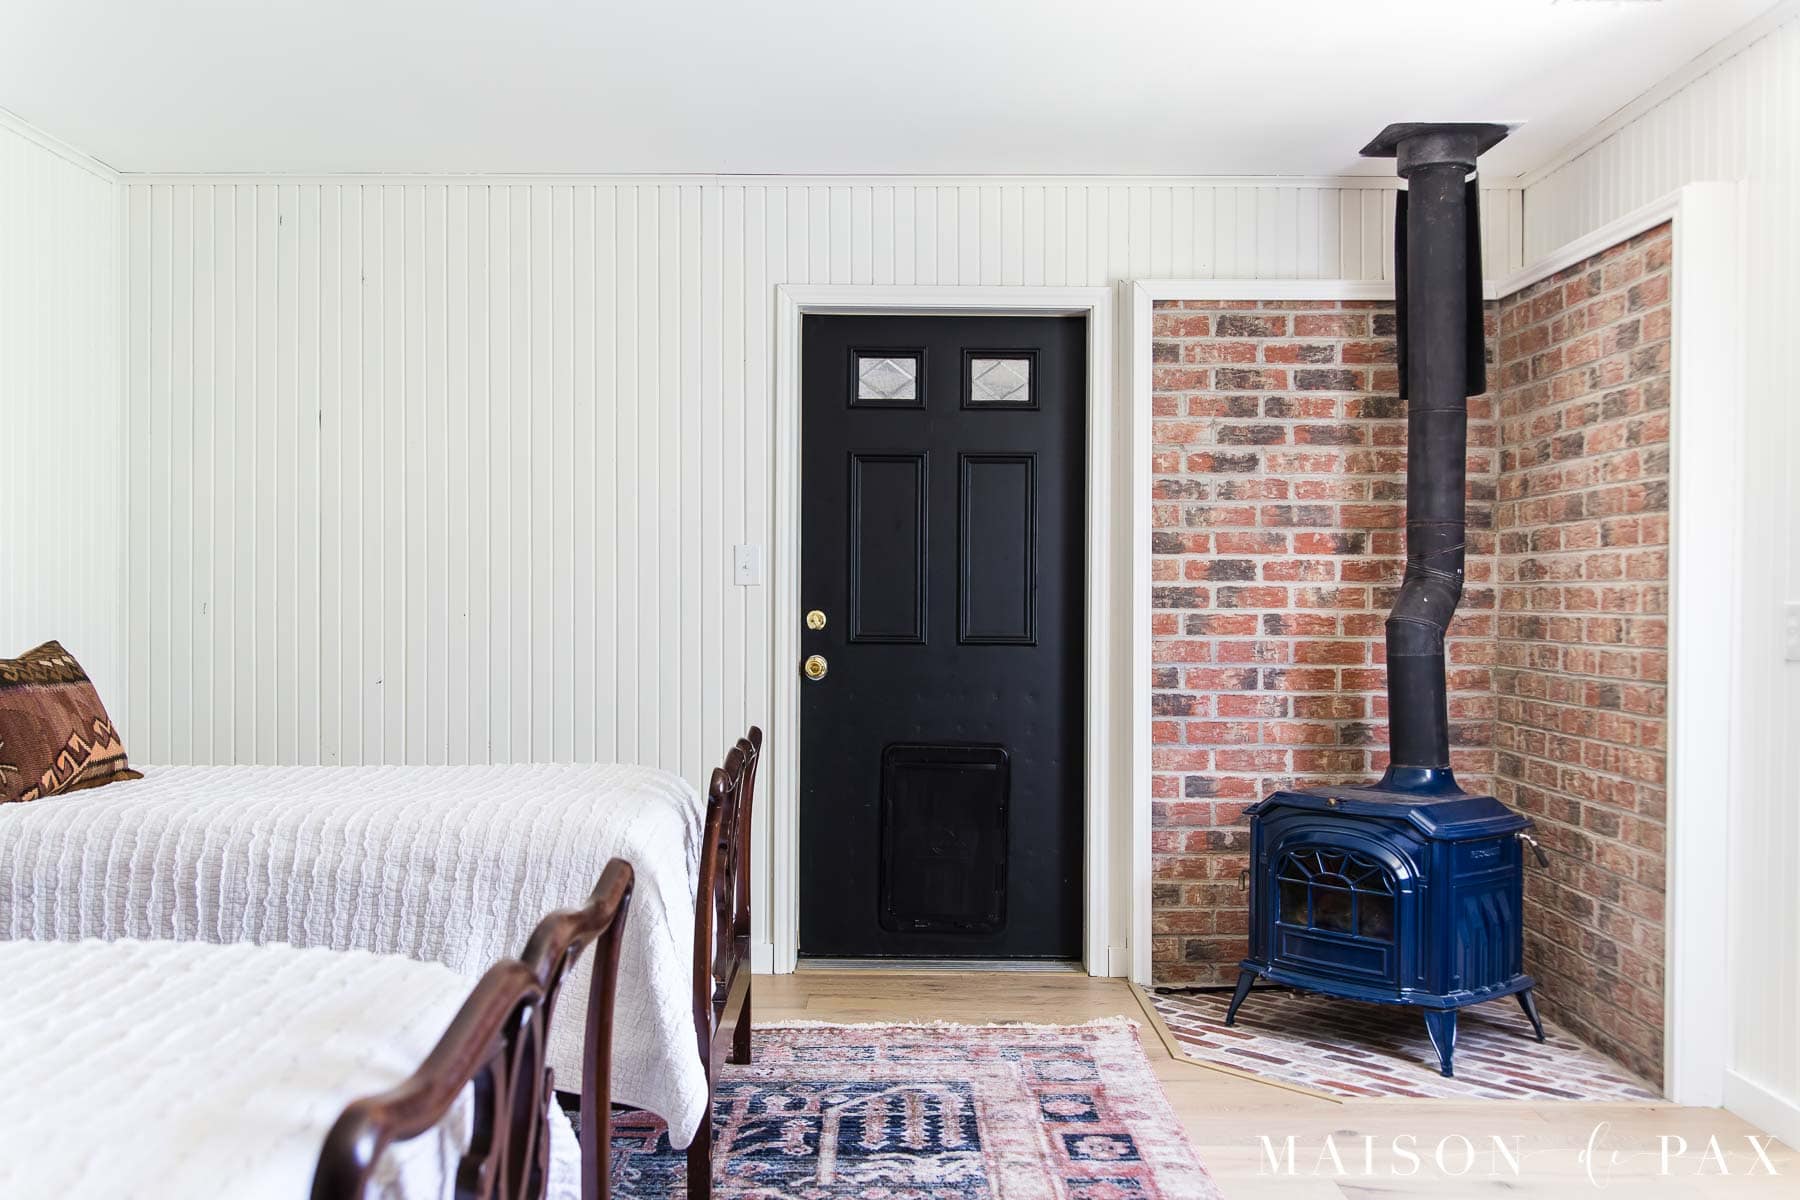
Spoiler alert: I painted my wood paneling. And I love it.
And today I’m going to show you exactly how to paint paneling. I even made a step by step video to show you how.
Before I share the full tutorial, I want to address a few FAQs regarding painting wood paneling. If you are ready to jump in, though, feel free to scroll down to the video below!
Painting Wood Paneling FAQs:
Do you have to sand wood before painting?
Again, not necessarily. Read on for tips for painting wood paneling without sanding!
Is wood paneling outdated?
Not necessarily. I’m a firm believer in decorating your home however makes you happy… But it is definitely not as widely popular these days as it once was. If you are looking for an affordable update to brighten your home, painting your paneling might be a good home improvement project for you and could even increase your home value.
What kind of paint should you use on wood paneling?
Really the question should be, what kind of primer should you use on wood paneling? The most important thing is to use a good quality water or oil based primer before applying any wall paint.
If primed properly, the planks or panels can be painted with almost any wall paint. I like to use satin paint on paneling, though. It is more forgiving and wipe-able than flat but gives the paneling a soft, subtle look.
Common mistakes when painting paneled walls
There are three mistakes people often make when painting paneling:
- Not prepping the walls properly, which can cause problems with the paint chipping or flaking off.
- Not priming properly, which can lead to bleed through.
- Not getting the right amount of paint into the cracks between planks. Too little causes an uneven finish, while too much causes drips.
But don’t worry, I’m going to show you from start to finish how to avoid those mistakes and paint paneling to last.
How to paint wood planks or paneling video tutorial
How to paint wood paneling without sanding
For those who prefer written directions, here are your step by step instructions.
This post contains affiliate links. Click here to read my full disclosure.
Step 1: Prep your space
Remove hardware from the walls (or ceiling, if that is what you are painting), including electrical covers. And move your furniture to obtain clear access.
Next, you need to prep your paneling. The shinier the paneling is, the harder it will be for the paint to adhere. The paneling I recently painted was completely matte, so I just gave it a good scrubbing with all purpose cleaner and an old washcloth to remove dirt and grease and grime. TSP is a good cleaning option, as well.
If your paneling is sealed with something glossy, though, you should consider two options to improve adhesion. My first choice would be to use a liquid deglosser. You simply wipe on with a clean damp rag and let the chemicals do the work. As with any chemical stripper, though, you’ll need to be sure to take proper precautions.
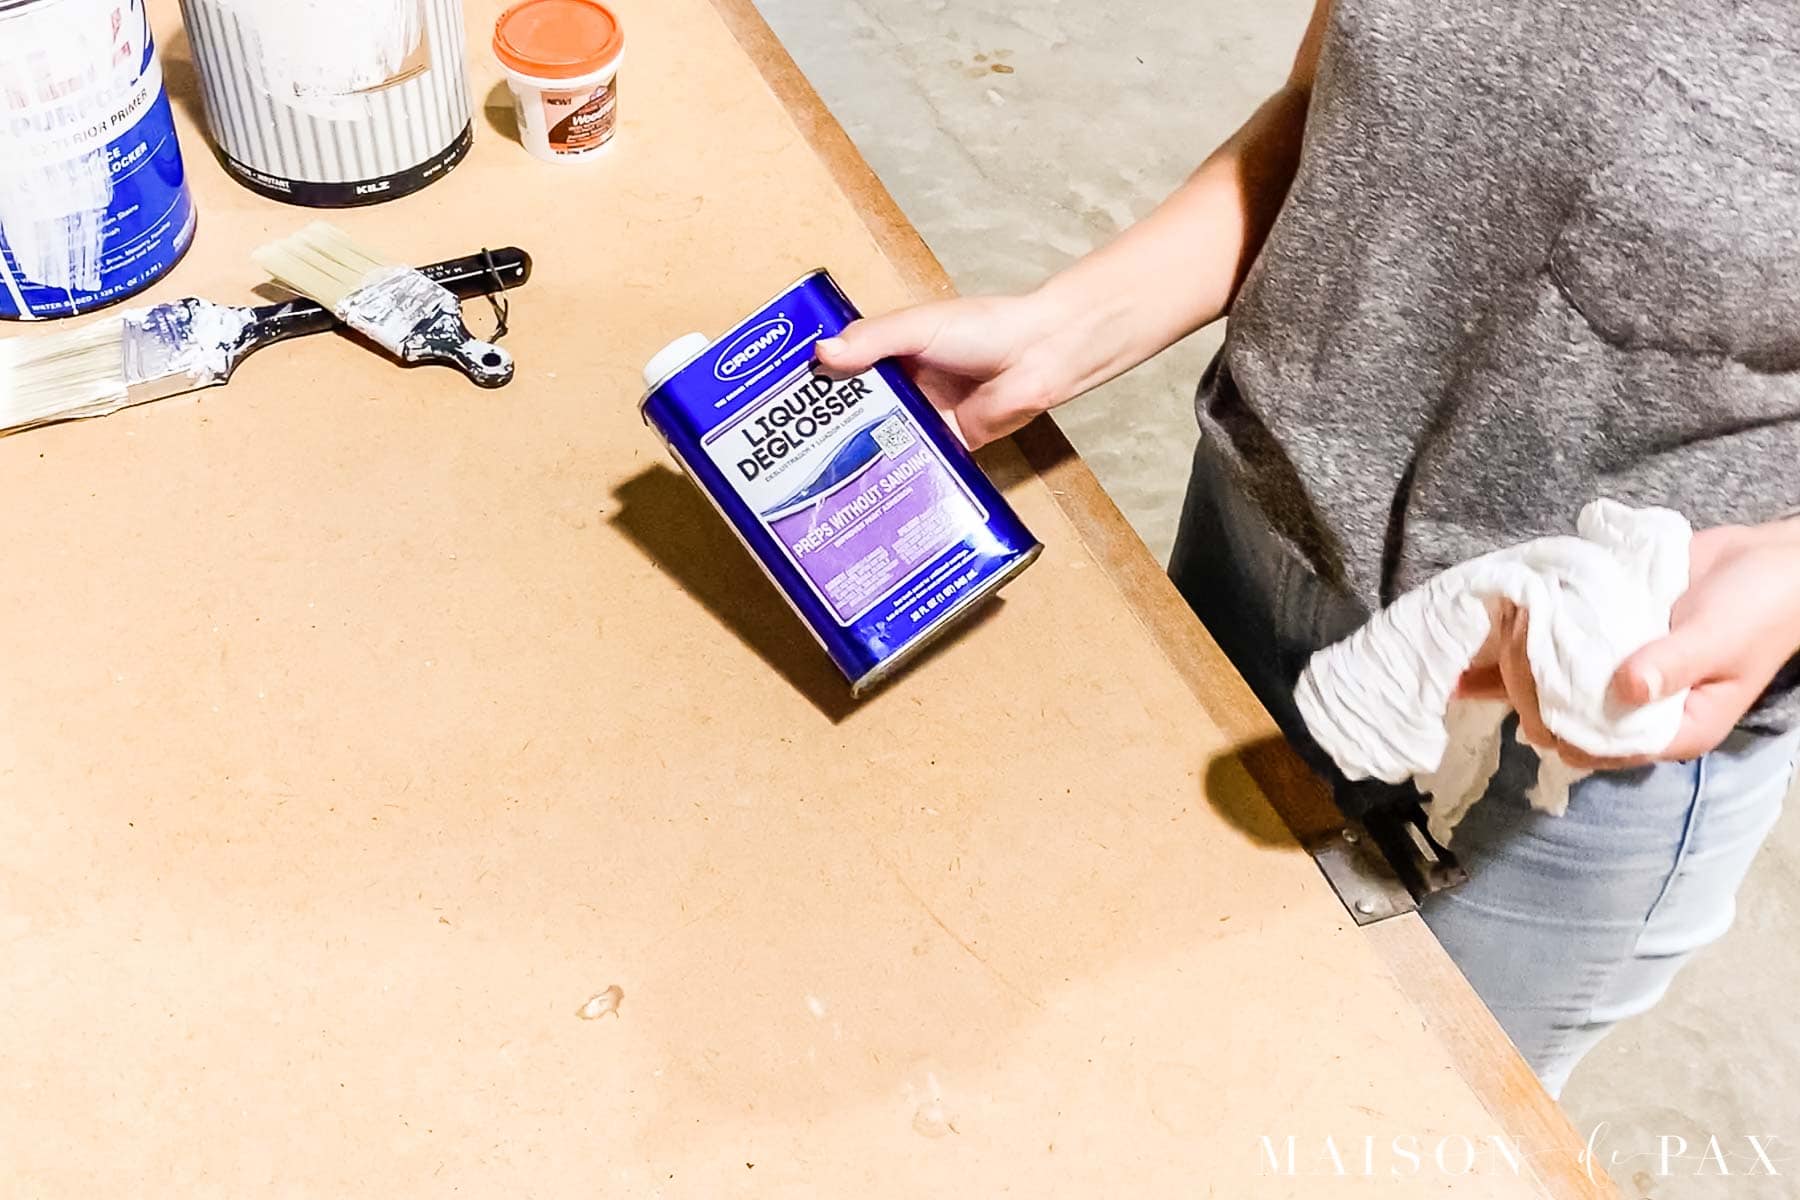
The final option is to give the entire wall a light sanding with a medium grit sandpaper to remove the glossy sheen so that the primer and paint can adhere. This is a messy option, though, and if your paneling is not real wood, you need to be careful that you don’t sand through the wood-look layer. So I would recommend the deglosser instead.
Remember, you don’t need to remove the finish completely, just remove the glossy coating so the paint can stick. Be careful not to sand too deeply if the paneling is a veneer.
If you do try the deglosser or sanding, you’ll still want to make sure the walls are cleaned well before moving on to the next step.
How to paint wood paneling with grooves
Step 2: protect your trim and floors
Start by taping off your baseboards and other trim. I actually normally just freehand the cut in, but with paneling you have to jab your paintbrush into the cracks near your trim, so you will need to tape this off with high-quality painter’s tape. Then be sure to lay down drop cloths to protect your floors.
Once the walls are deglossed and clear of dust and oils and all taped up, you can begin priming. I prefer a water-based, stain blocking primer for something this large because it allows for easy clean up.
Step 3: Prime the walls
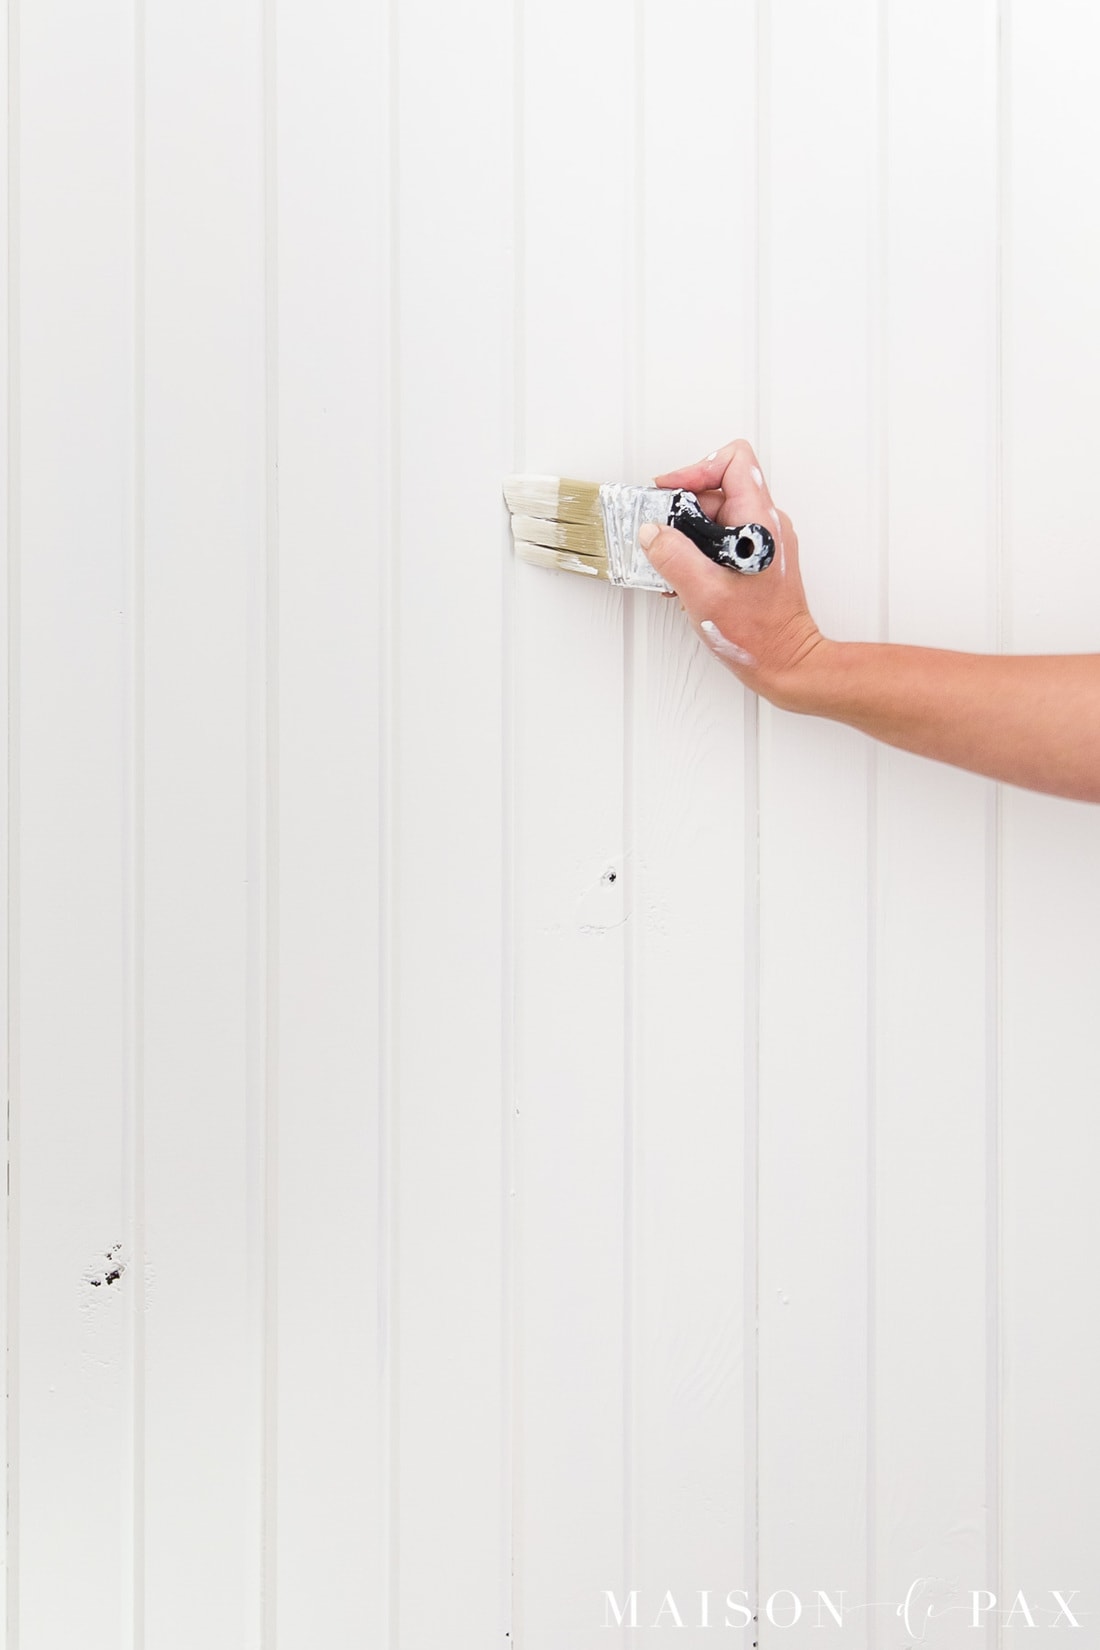
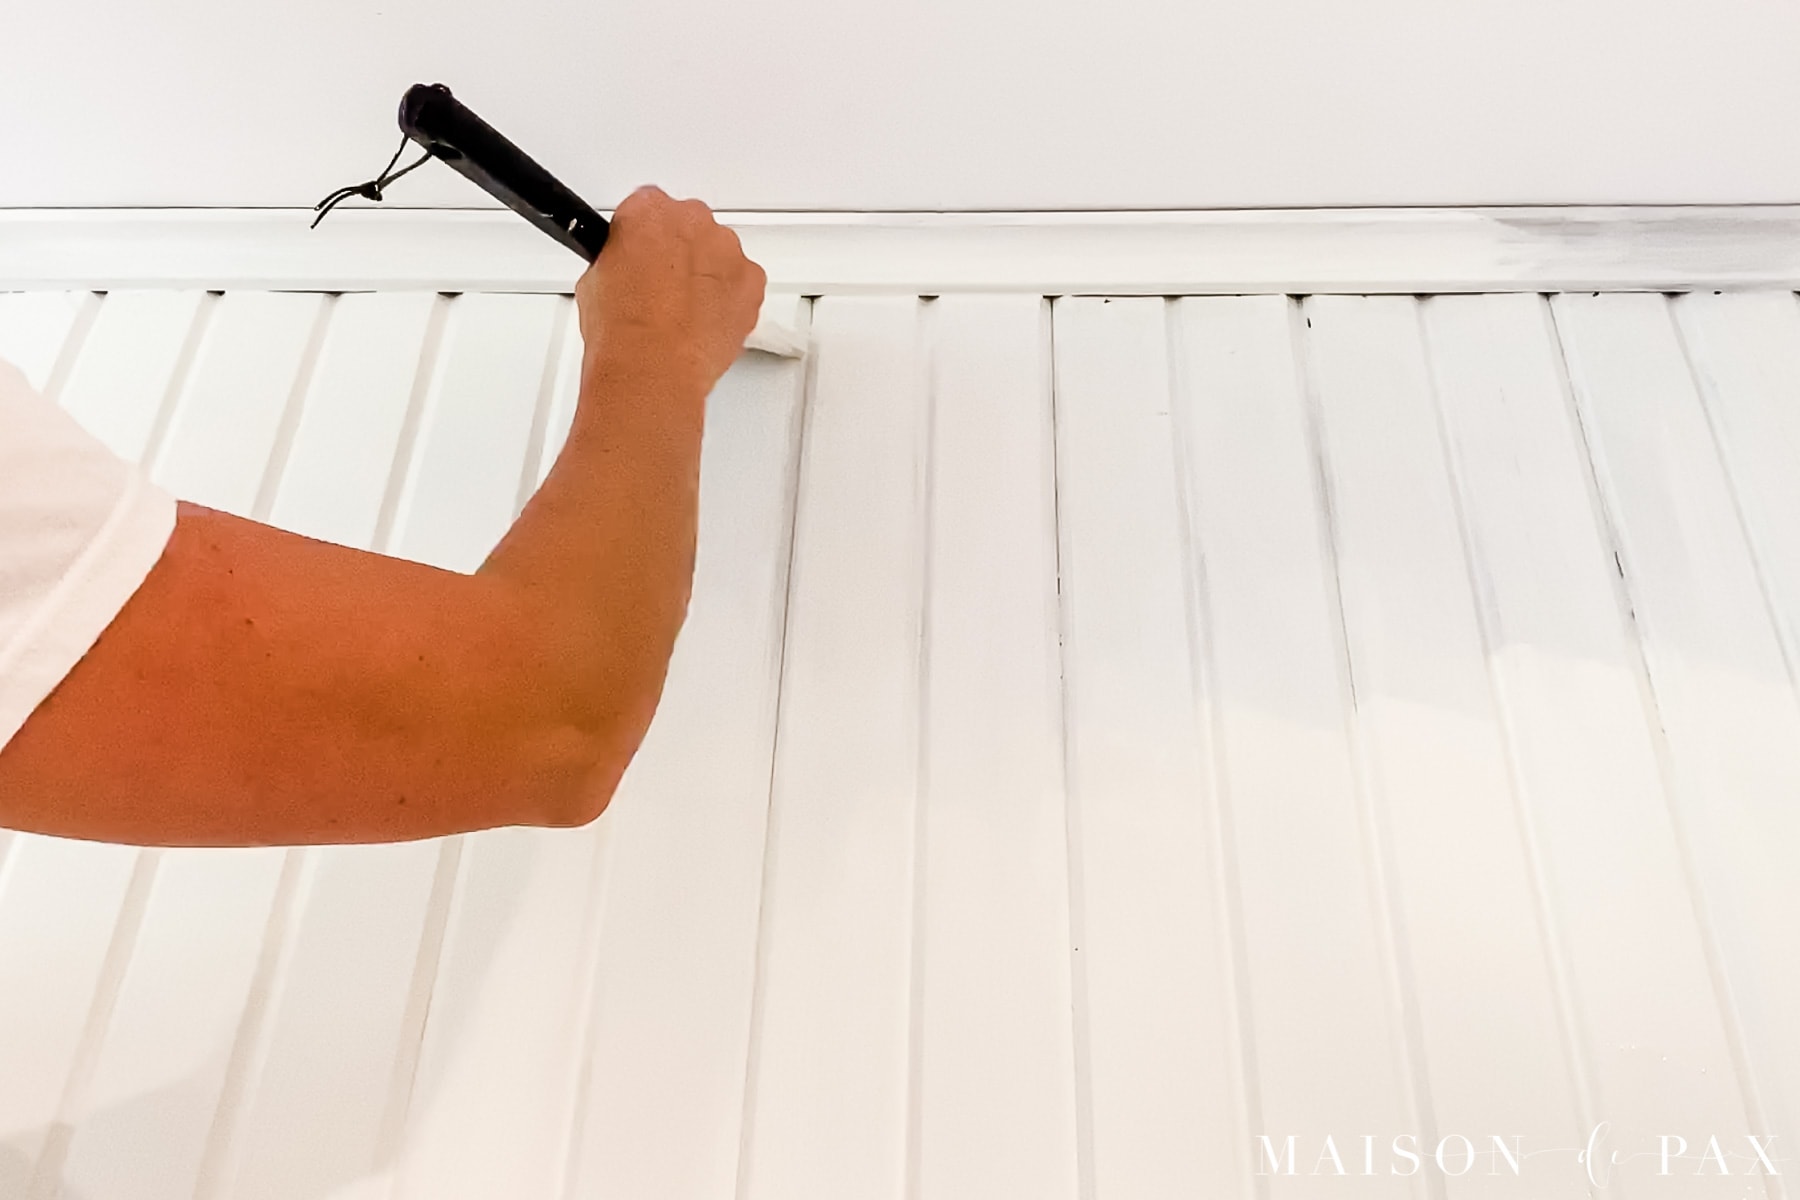
Here is where it can get tricky: the width of your paneling and the depth of the grooves will determine the best way to apply your primer and paint. The walls I recently painted were 2.5” pine boards, so a 2-3” angled brush proved to be the easiest way to apply the stain-blocking primer.
To prime into the grooves in your paneled walls, you will likely need to paint along each groove with a brush. If your grooves are close together, like mine were, then it may make sense to simply paint the flat portions with the brush while you paint the grooves.

If your spaces between the grooves are especially large, though, it may make better sense to paint the grooves with a brush and then roll the walls for the flat portions. Either way, you want to prime everything.
PRIMING ESSENTIALS:

Warning: do NOT simply overload a paint roller with primer in order to get it into the grooves. As always, you want to paint with thin coats. On paneled walls it is even more important because too much paint will get caught in the grooves and cause drips everywhere on your walls.
You also need to be sure to use that angled brush to get paint down into the cracks where the panels or planks meet the trim, especially along the baseboard.
I used a latex primer since it’s easier to clean up, but if your wood is particularly rich in color, you might want to use an oil-based primer for better coverage.
Step 4: Fill nail holes
Let the primer coat dry according to the can. Now is the perfect time to fill holes in the walls. I like to do it at this point because the holes are easier to spot once the walls have been primed.
Using wood filler or spackle, put a small amount onto a putty knife and fill holes and cracks. Then wipe smooth with a damp cloth. If you have larger holes or knots to fill, allow the wood filler to dry then lightly sand over the spot to smooth it. You may also want to caulk along the seams where the paneling meets any moldings.
Step 5: Prime again
Once the filler has dried according to the package instructions, prime again. I recommend two layers of primer, especially if you are trying to paint your walls white. This is because paneling is hard to prime evenly, especially with a brush, and solid wood planks can also lead to bleed through.
A second coat of primer can also save you money in the end because it will require less paint, which is usually more expensive than primer.
Step 6: Paint
Once a second coat of primer is dried (be sure to refer to drying times on your paint cans), you can begin with your first coat of paint. Again, you will want an angled brush that easily covers your planks and goes into the cracks between.
Work in sections: painting the cracks, smoothing over the flat portions of the planks, and then moving on. As with the primer, be sure to paint into the cracks where the panels meet the trim work.
For this project, I was able to get full coverage with just one coat of satin latex paint. But if you are not happy with the paint job after one coat, follow with another thin coat.

GET THE LOOK:
And that’s it! You can remove the protective tape, reattach the electrical covers and hardware, and enjoy your new space.
I hope you found this painted paneling tutorial helpful. Be sure to pin it for later!


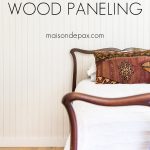
Looks great! Very helpful tips. Love the beds and the pillows! Do you have sources for either?
Thank you! The beds are antiques (came from my great grandparents), but you can find the bedding here (affiliate link). The pillows are from this shop on Etsy. I hope this helps!
What paint and primer (Brand and color) did you use? I love the white walls and bedspreads! I like knotty pine but it is “too much” re texture and dark color for me.
Thank you, Carolyn! I used Kilz 2 primer and Silos White Magnolia Homes by Kilz paint in Satin. The bedspreads are available at Walmart or Home Depot (affiliate links). I hope this helps!
Hello, many thanks for the info. I want to paint wooden ceilings, would you recommend the same? Thanks in advance.
I have not painted wooden ceilings myself, but I would imagine that these same steps would be wise. Hope this helps! 🙂
Looks great! What did you do with the closet and door? Did you paint those as well?
Thank you! I have not painted the closet and door yet (still trying to decide to be honest!).
Can you use a paint sprayer to paint paneling? We have a whole home to do
You can! You’ll still need to cut into those grooves for good coverage though.
How can you tell if your wood panels are glossy? My wood panels are smooth but I’m not sure if there is a difference between smooth and glossy? Please advise.
Thanks for the great tips by the way!
Does light bounce off them? I’d say that means they are glossy and not matte. Either way, a good primer can help paint stick and provide a better finish.
Hi, we moved into a home with wood paneling that the previous owners painted over. They did not use any primer and the paint has started to crack and peel off. What steps do I need to take to fix the bad paint job? I’m wanting to re-paint our home, but don’t know where to start!
Sanding down the loose paint will help (make sure you check for the presence of lead paint). There are also products that prime and help with peeling to prevent it from pulling away, but knocking off the loose paint is key.
I have cedar panneling that I’m trying to whitewash. I wiped the wall down with TSP, but there seemed to still be a lot of “brown” on the cloths. Zinsser was suggested, but it’s bleeding though yellow. Do you have any suggestions?
Are you hoping for solid white paneling? Sometimes the wood has a lot of tannin and that is the bleed through you are seeing. You can use a shellac primer like BIN that will help block some of that bleeding.
I’m hoping to whitewash. For one wall I lost patience and primed the whole thing, but I have another larger wall that I’m hoping to be successful at whitewashing. The primer on the first wall is yellow. The tannins are so, so yellow… any tips?
If you want to paint solid, then you’ll want a shellac primer like Zinsser BIN (and you might need two coats); that should help cut a good portion of the bleed through. If you want to whitewash, it’s a little trickier. You can try to counteract the yellow with a slightly cooler white or gray for the whitewash to see if that helps, but if you want the wood grain to show through, I don’t know of any way to stop the tannins from soaking through as well, unfortunately.
We have solid wood paneling from the 1980’s. It has faux wormholes in addition to the natural grain. The panels vary in size and the grooves are stained darker. I hadn’t thought about a wash, just was considering the primer and paint route. Have you ever come across paneling like I’m describing? Thoughts on how you think it would look full-on painted versus whitewashing it to brighten it up. Our wood is medium toned, with not a lot of yellow undertones. Just curious on your thoughts?? We have a built in book case painted black with gold hardware and a fireplace with warmer toned brick….
Could you potentially fill the worm holes with a wood filler before you paint it? If you don’t like the texture, whitewashing will slightly change the look but potentially not enough of an effect if you don’t like the texture. Our wood paneling has a lot of rustic knots in them, but they don’t bother me.
Thank you SO much for the reply! I am seriously considering the whitewashing concept versus complete painting. I also thought of bleaching the wood… (any thoughts there?) There are SO many of the dark wormhole kind of intentional imperfections, I’d be better off to take it off and go with drywall (there is drywall underneath). I think in it’s day, this paneling WAS the bomb, but alas, not so much today. Again, thanks so much for the reply, it is greatly appreciated!
So glad it as helpful, Marina!
Hi Rachel- thanks for this post! I’m wondering what kind of flooring you used in the picture above with the finished white paneling???
thanks,
Andy
Hi Andy,
The floors are these engineered white oak in the color Rivera. You can read more about the floors here. I hope that’s helpful!
Hi Rachel,
What color paint did you use?
Thanks!
Hi Ivy! I used Kilz 2 primer and Silos White Magnolia Homes by Kilz paint in Satin.
Thank you so much!