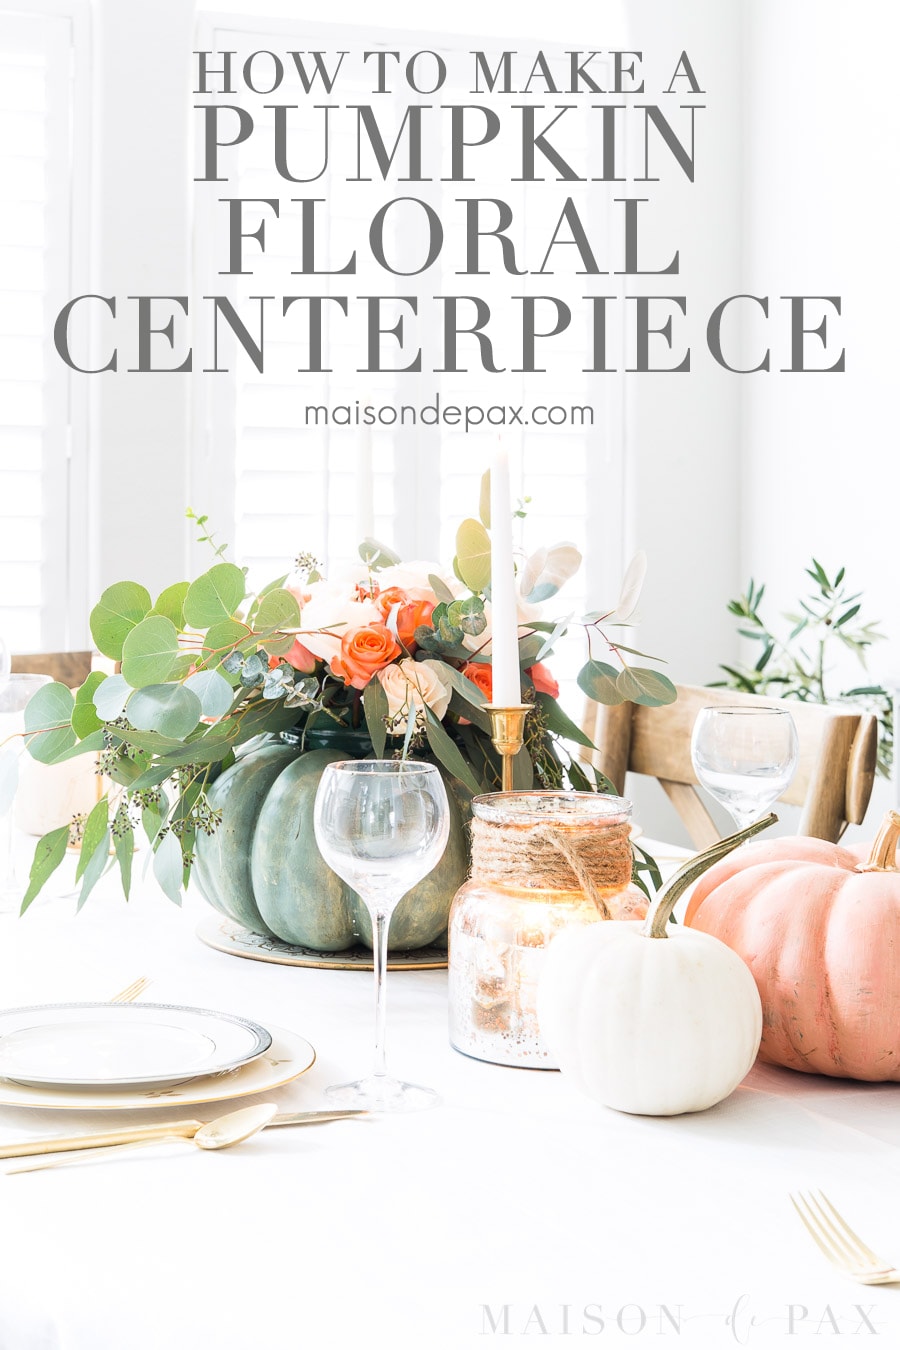
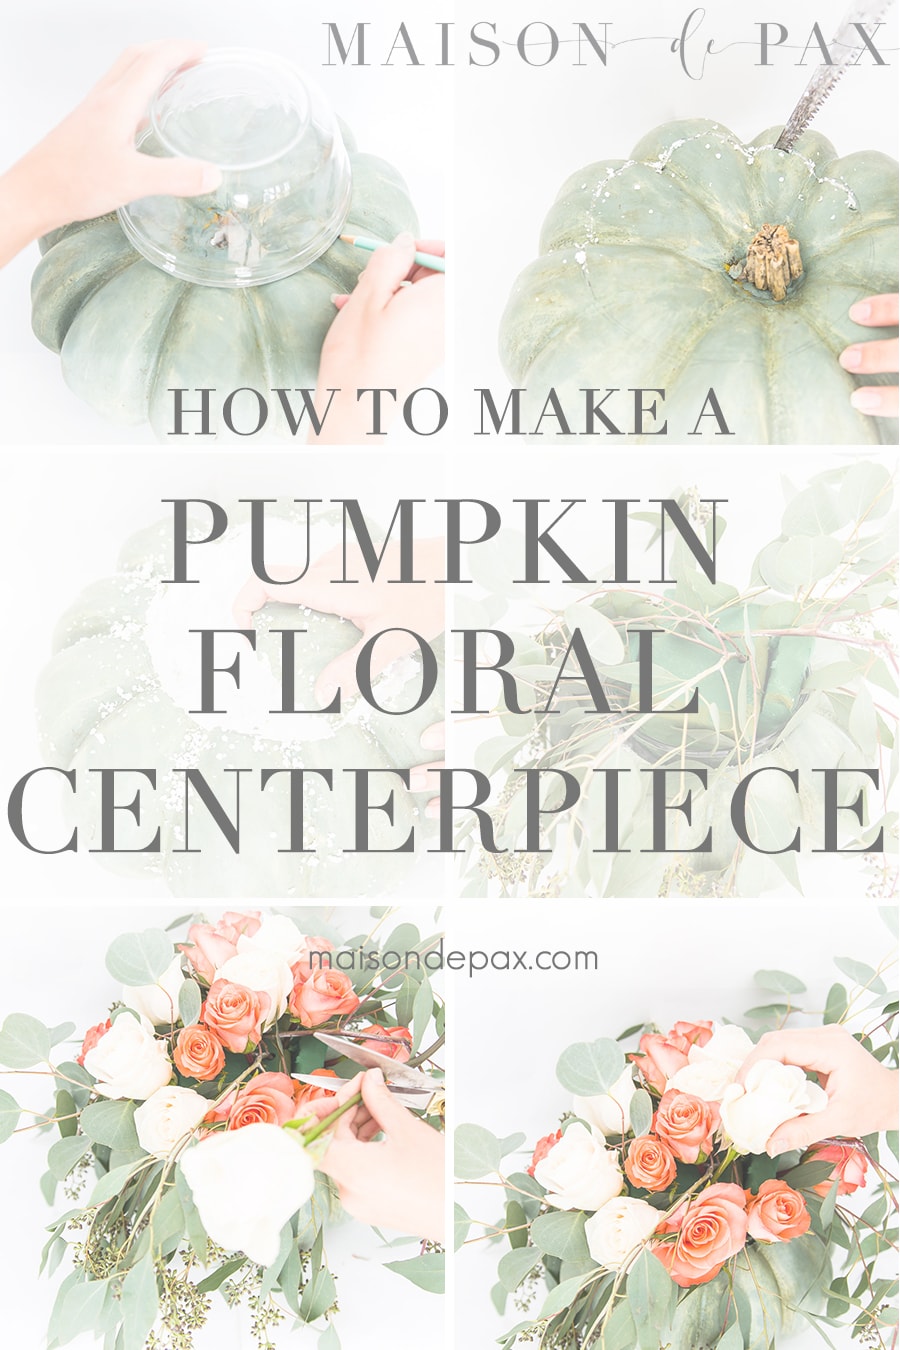
Pumpkin Floral Centerpiece (How to Make a Pumpkin Vase)
This pumpkin floral centerpiece is the perfect Thanksgiving table decor idea. Learn how to make a faux pumpkin vase and floral centerpiece for your fall table!
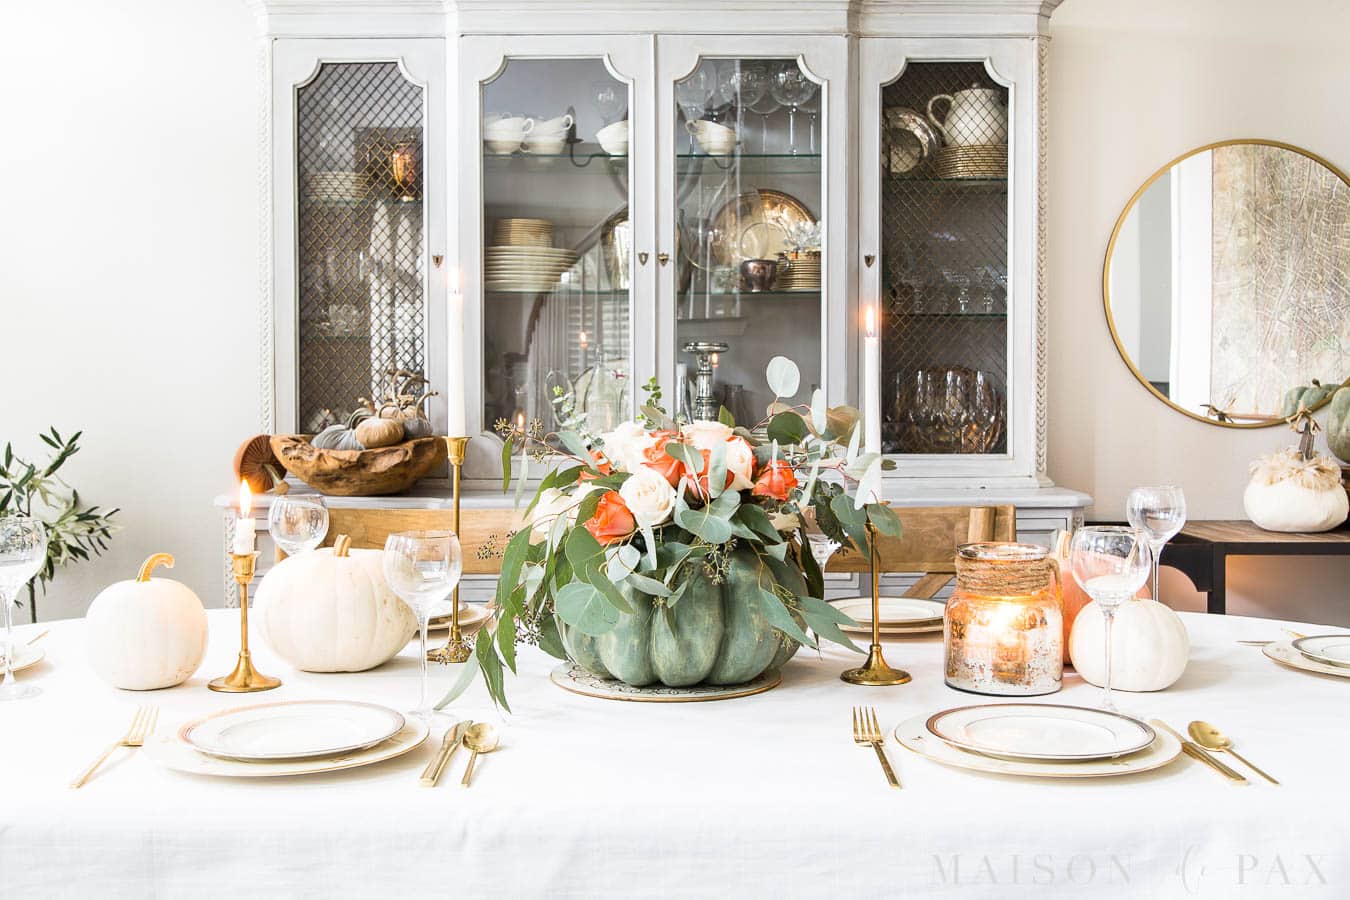
Ever since I made my succulent pumpkin planters two years ago, I’ve been dreaming up other ways to use pumpkins as a base for floral arrangements for fall decoration. This year, I decided to make a pumpkin floral table centerpiece for the Thanksgiving table display I shared, and here’s the promised tutorial.
A few notes before I show you how to make a pumpkin floral centerpiece. First, this could easily be done with a real pumpkin, but it’s tough to find real pumpkins that last very long around these parts (where it was back up to almost 90° just a few days ago), plus I thought it would be nice to be able to use this year after year.
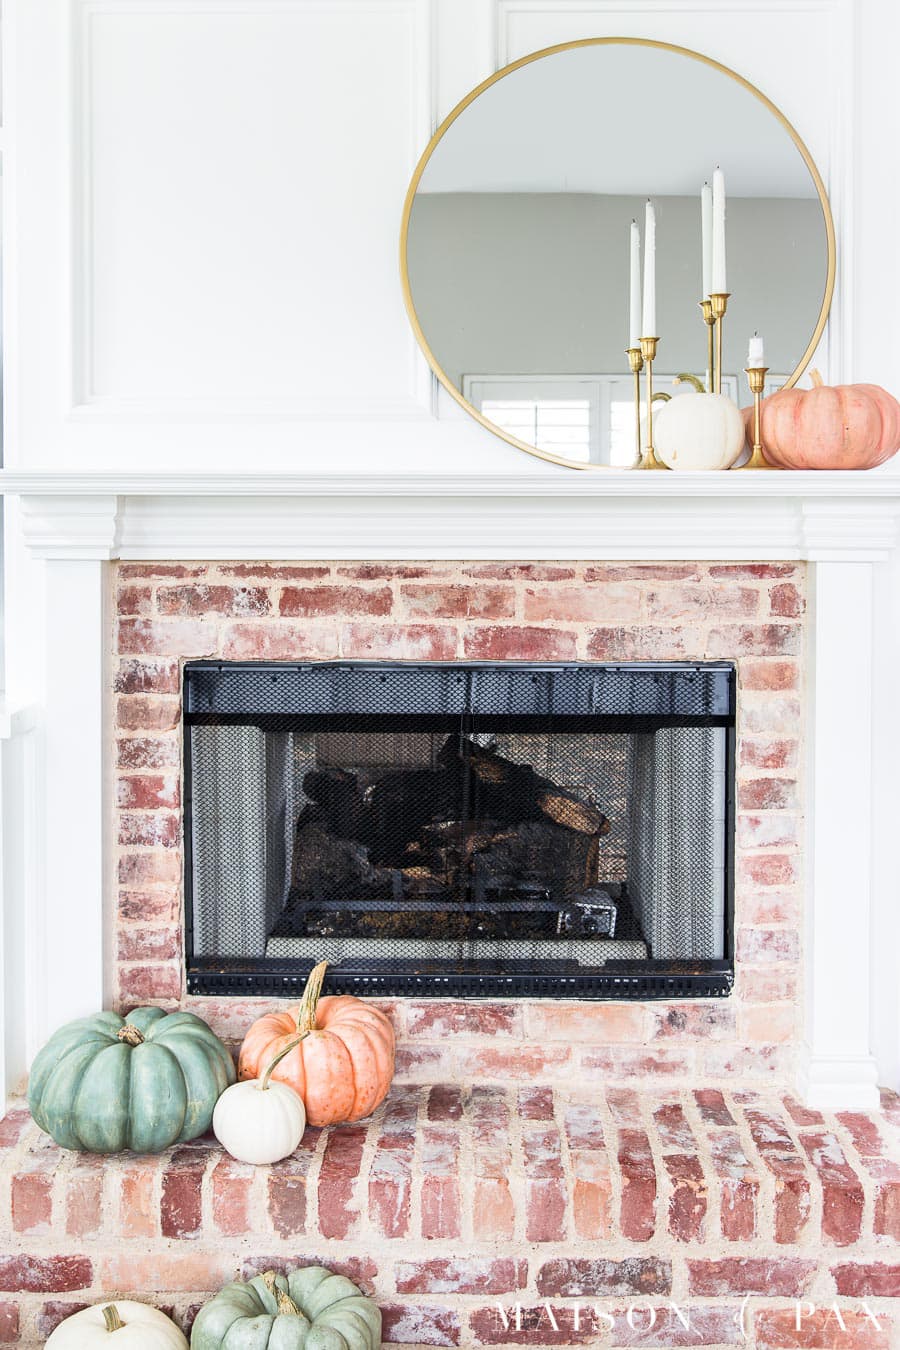
Second, they make “carve-able” craft pumpkins, which is also an option, but I wanted one that looked more realistic than the craft pumpkins I was finding, so I used a light-weight decorative one (the kind with a plastic outside and styrofoam core). I then painted it to look even more realistic (in my humble opinion), mimicking the blueish-green heirloom pumpkins I found at my local grocery store.
Here you can see some real ones beside the ones I painted (can you guess which are which??). My daughter helped me layer paint and then wax them, so it was a fun project together. If I can find enough decent pictures (that’s the tough thing about exploratory projects involving four year olds 😉 ), I’ll share the painting tutorial with you all soon.
And now, without further ado, follow these simple steps…
Supplies needed to make a diy pumpkin vase:
This post contains affiliate links. Click here to read my full disclosure.
- pumpkin (faux or real)
- carving knife (for the styrofoam center pumpkins, I actually like using a drywall saw)
- plastic or glass bowl
- pencil
- wet floral foam
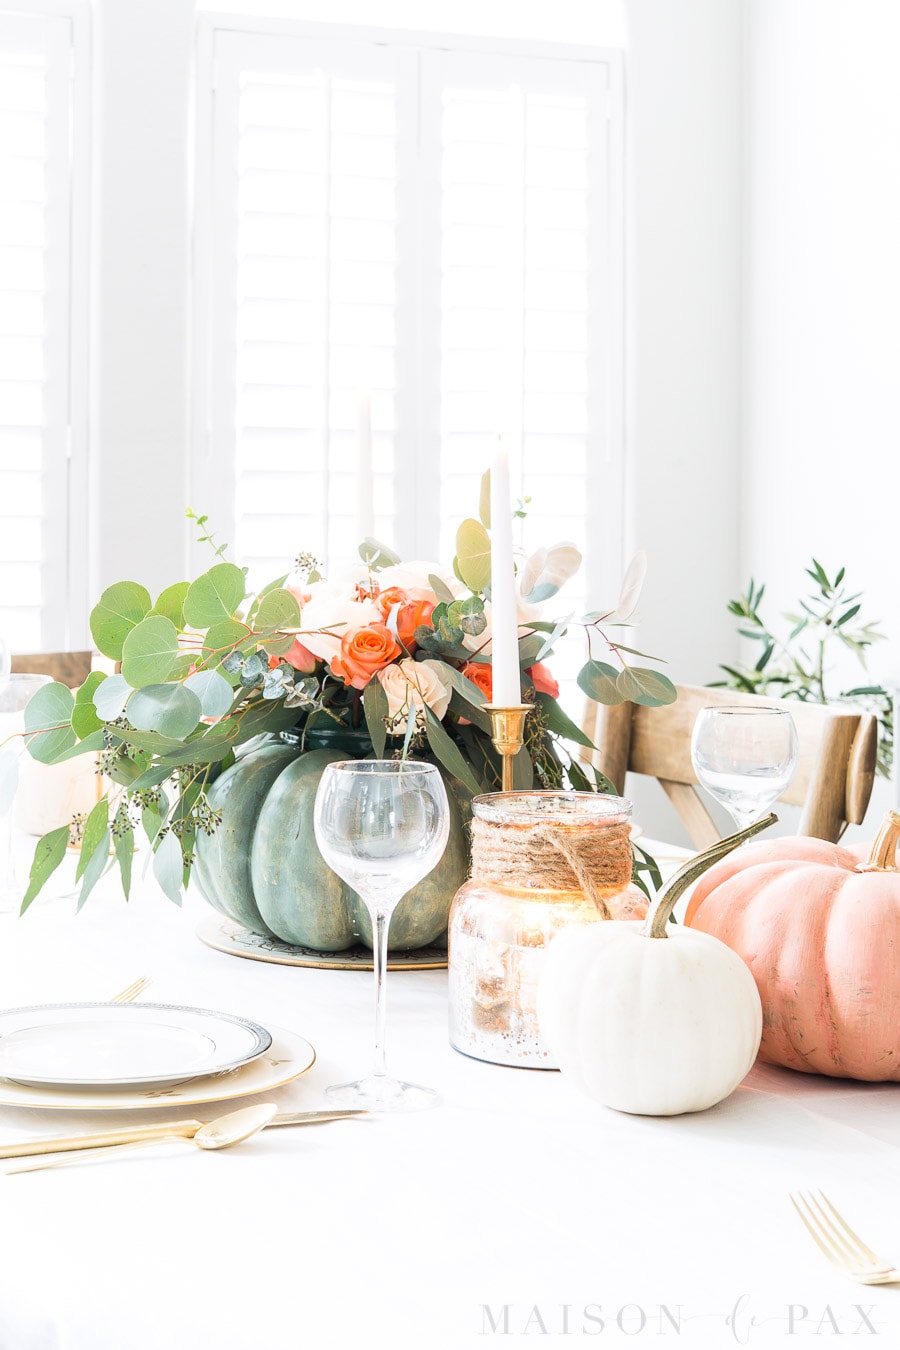
- a bunch of fresh greenery and flowers (I used white and coral roses with eucalyptus stems)
How to make a Pumpkin Floral Centerpiece:
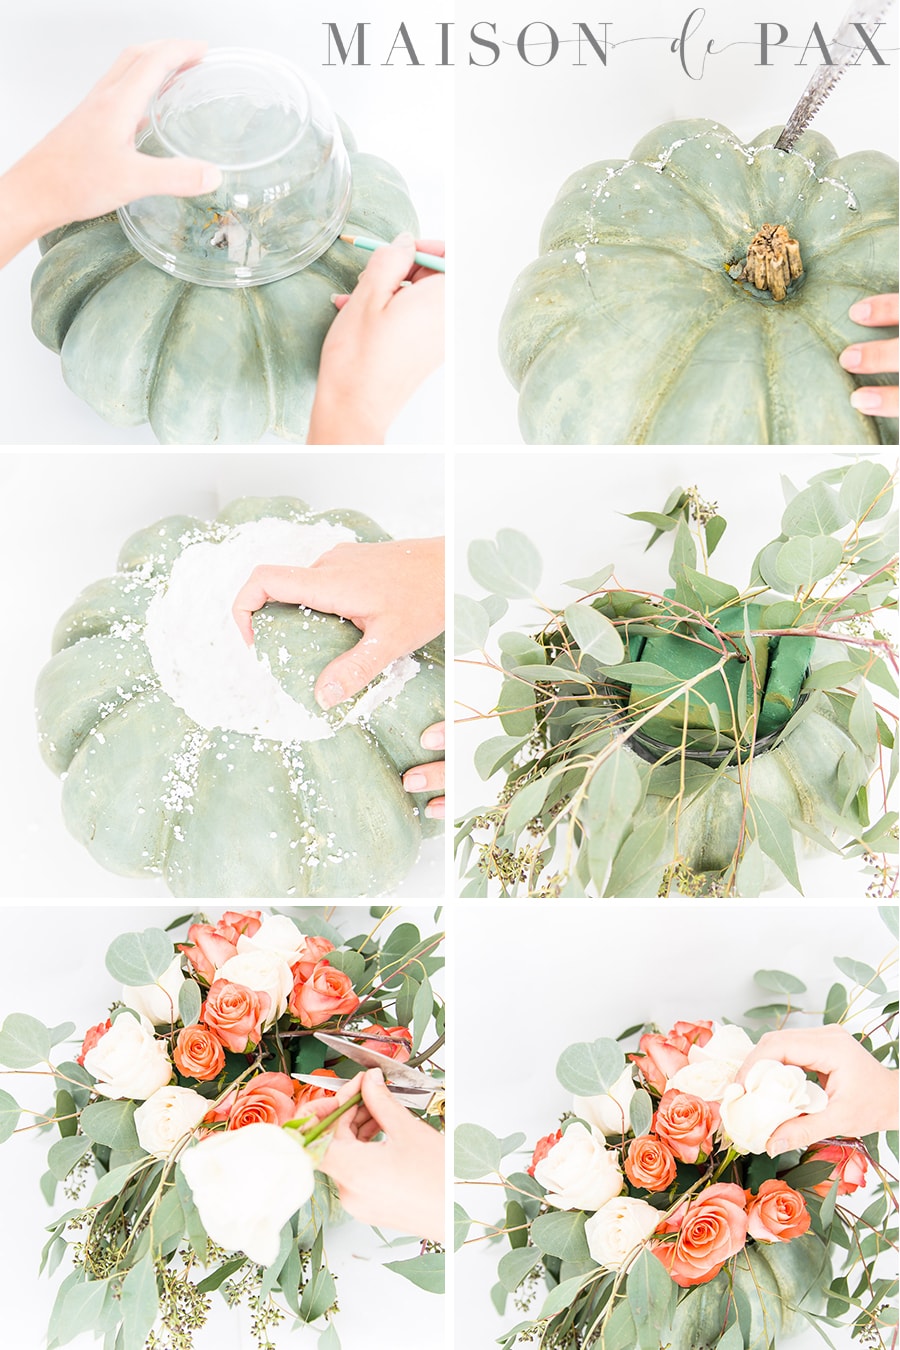
- Trace your jar or bowl size on the top of the pumpkin
- Use a sharp knife to cut around the bowl
- Remove enough of the pumpkin for the bowl to fit inside but more or less level with the top of the foam pumpkin
- Fill shallow bowl with floral foam and water, leaving foam half to one inch above top of bowl to allow you to insert florals into both the top and sides of the foam
- Begin with greenery and insert stems into floral foam so that the greenery covers up the top of the bowl and drapes down the sides of the pumpkin
- Cut flowers fairly short so they can be inserted securely into floral foam
- Fill in with flower stems, leaves, or other fall foliage until floral foam is no longer visible
And that’s it! So easy. Honestly, the hardest part was getting the little styrofoam balls off my hands (attack of the static!) so that I could photograph the next steps of the tutorial for you all. Ha!
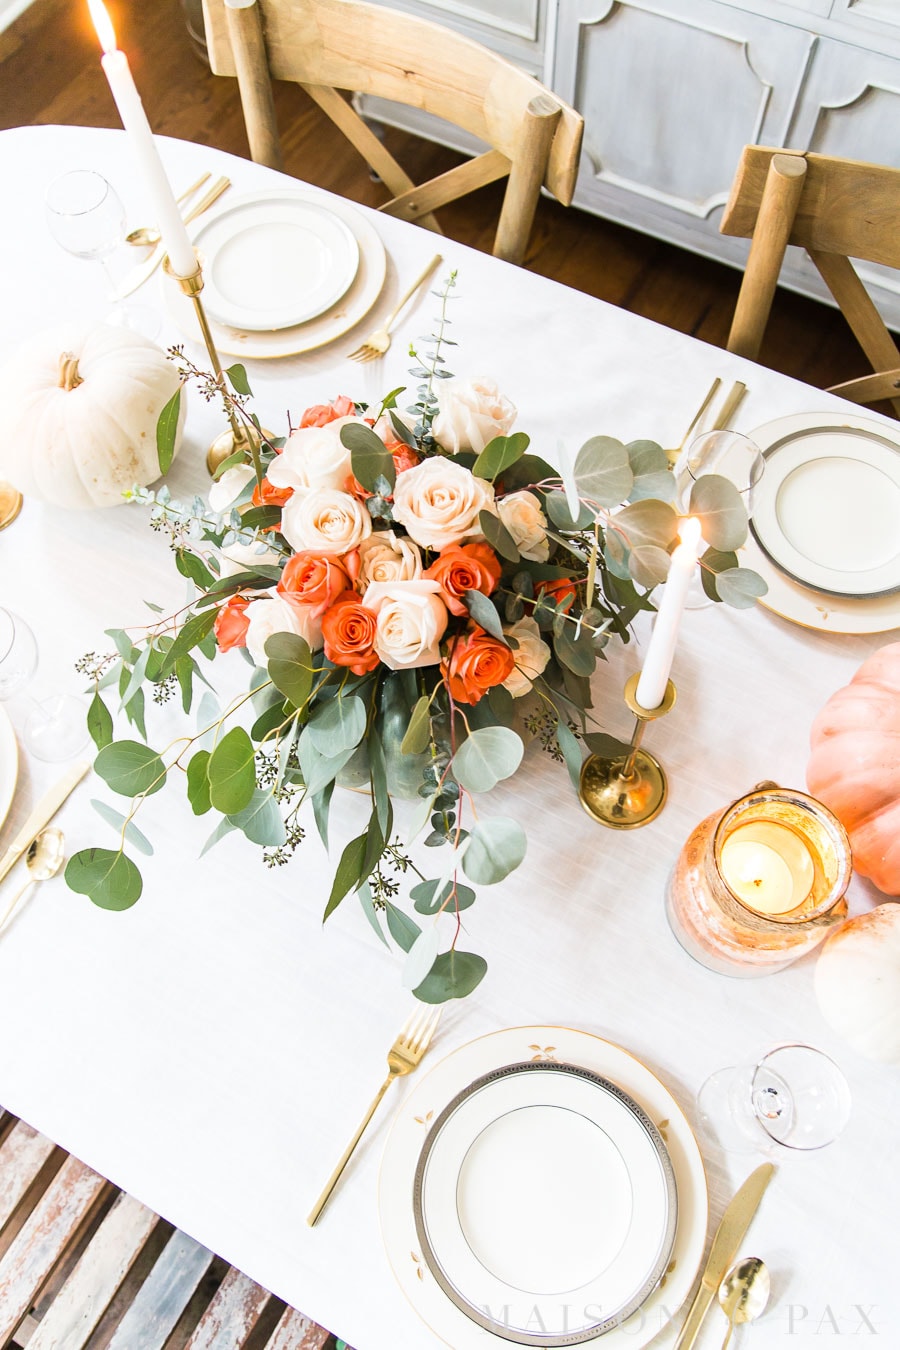
I love that you can do this with whatever size and color of pumpkins or flowers you so desire. I love the orange flowers of this floral arrangement next to the heirloom blue-green pumpkin. You could even do it with dry floral foam and faux flowers, making the entire arrangement usable year after year.
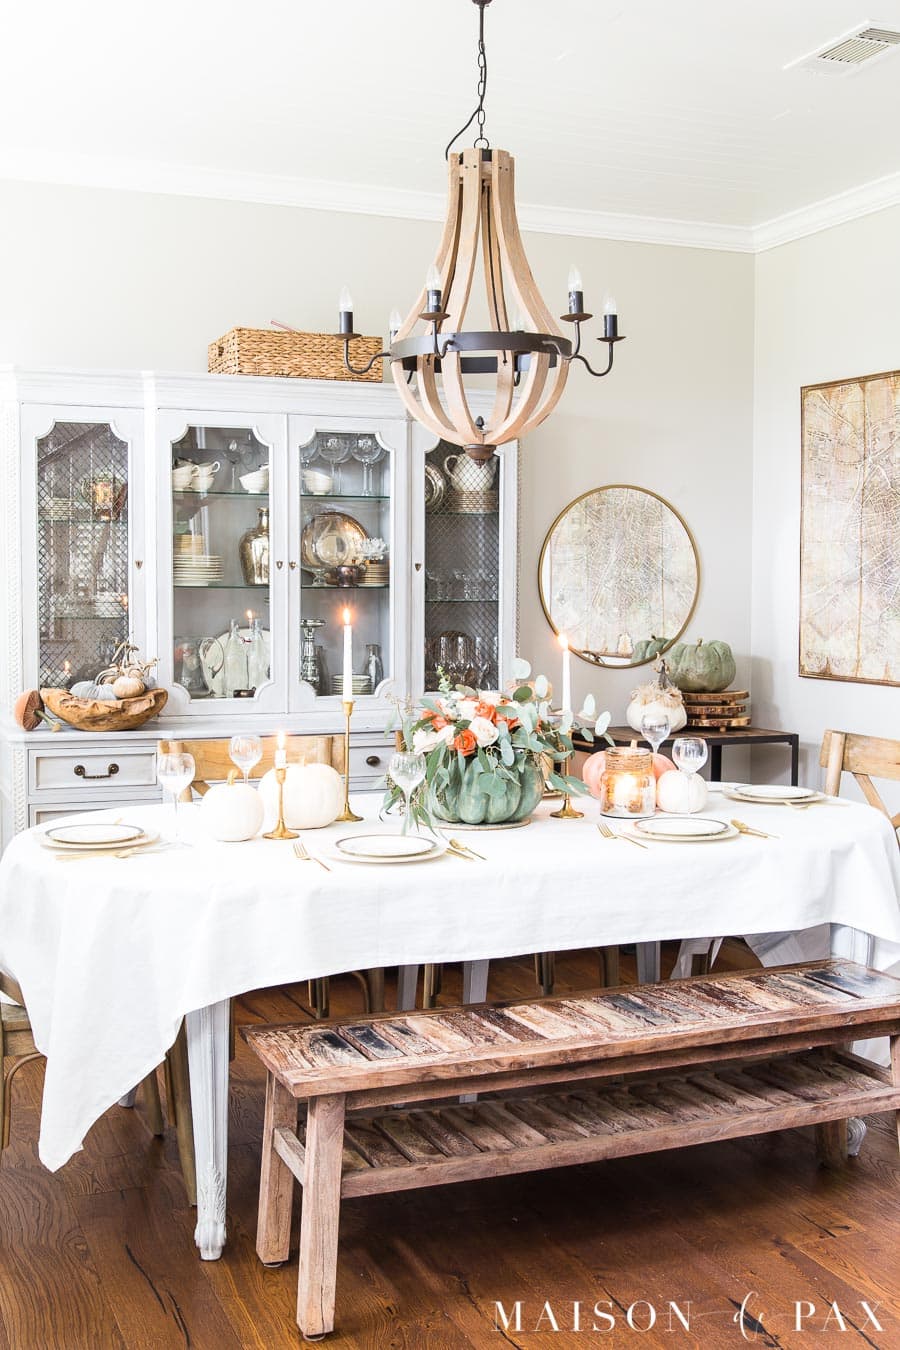
You can see more ideas for decorating your Thanksgiving table with a fall diy pumpkin vase on this post, and you can shop the look of our dining room below:

Don’t forget to pin it for later!


This centerpiece is so pretty. I love the color combination you made with the green and orange.
So glad you liked it, Haley!
Could you please share the tutorial on how you accomplished that lovely paint color with your painting tutorial for the pumpkin? I can’t seem to find it.
Hi Leslie! Modeling after the pretty Cinderella pumpkins available in the store, I used a mixture of different craft acrylic paints on the faux pumpkin. You can use a bit of water in the paint to create a more realistic affect.