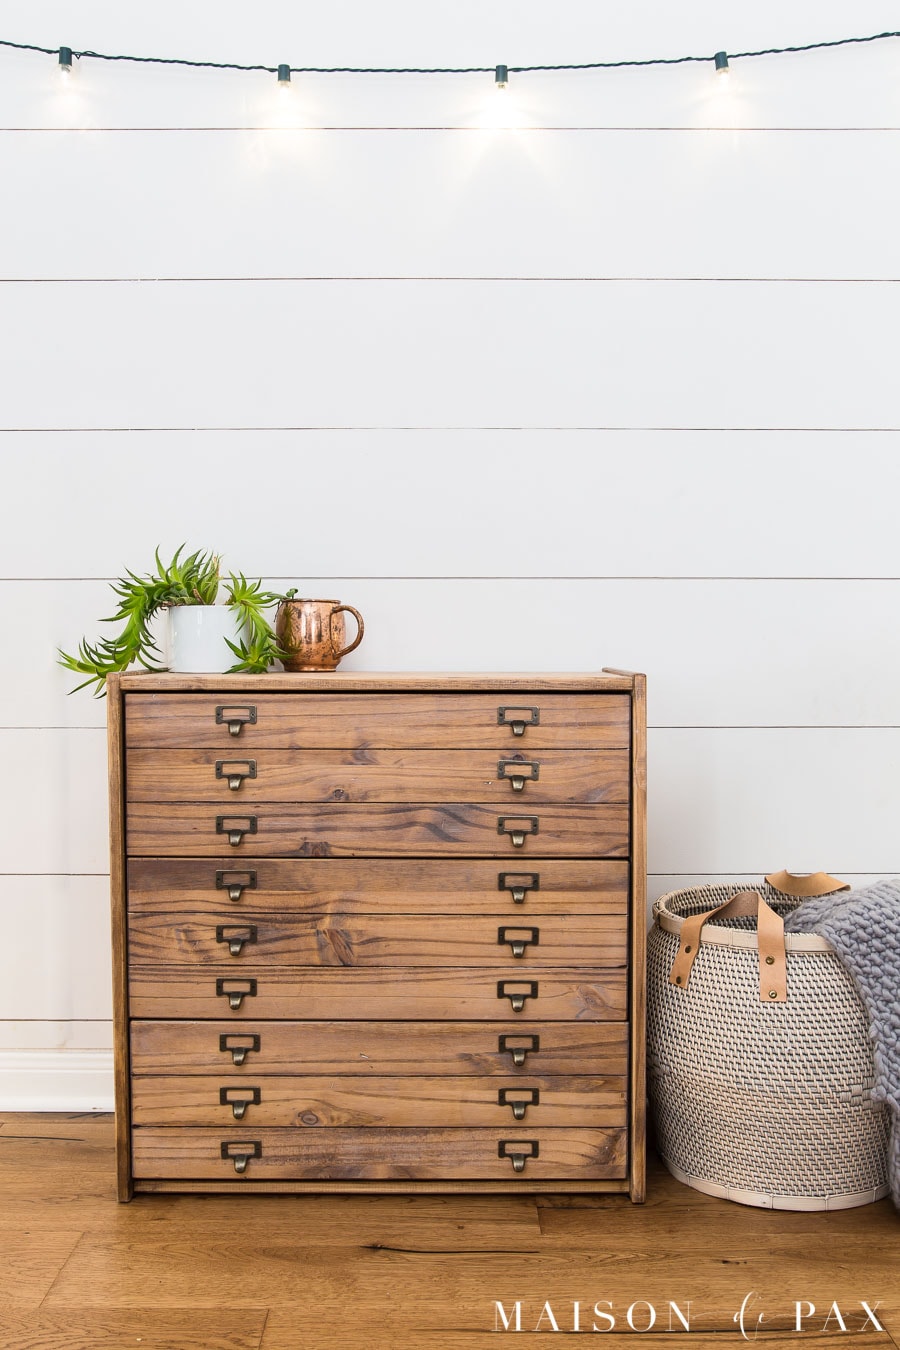
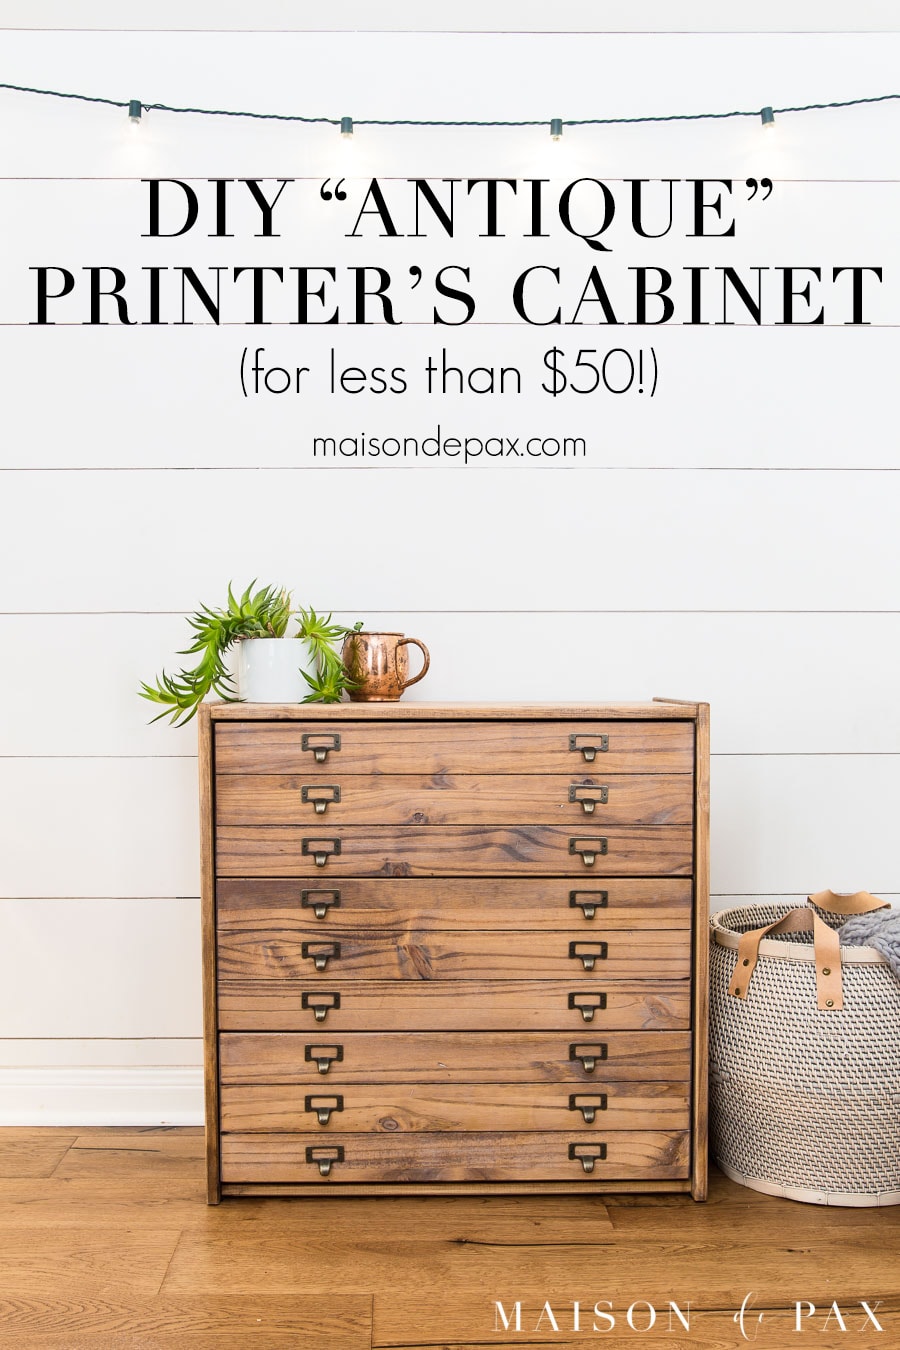
DIY Antique Printers Cabinet IKEA Hack
Find out how to make a DIY antique printer’s cabinet from a real wood IKEA dresser for less than $50!
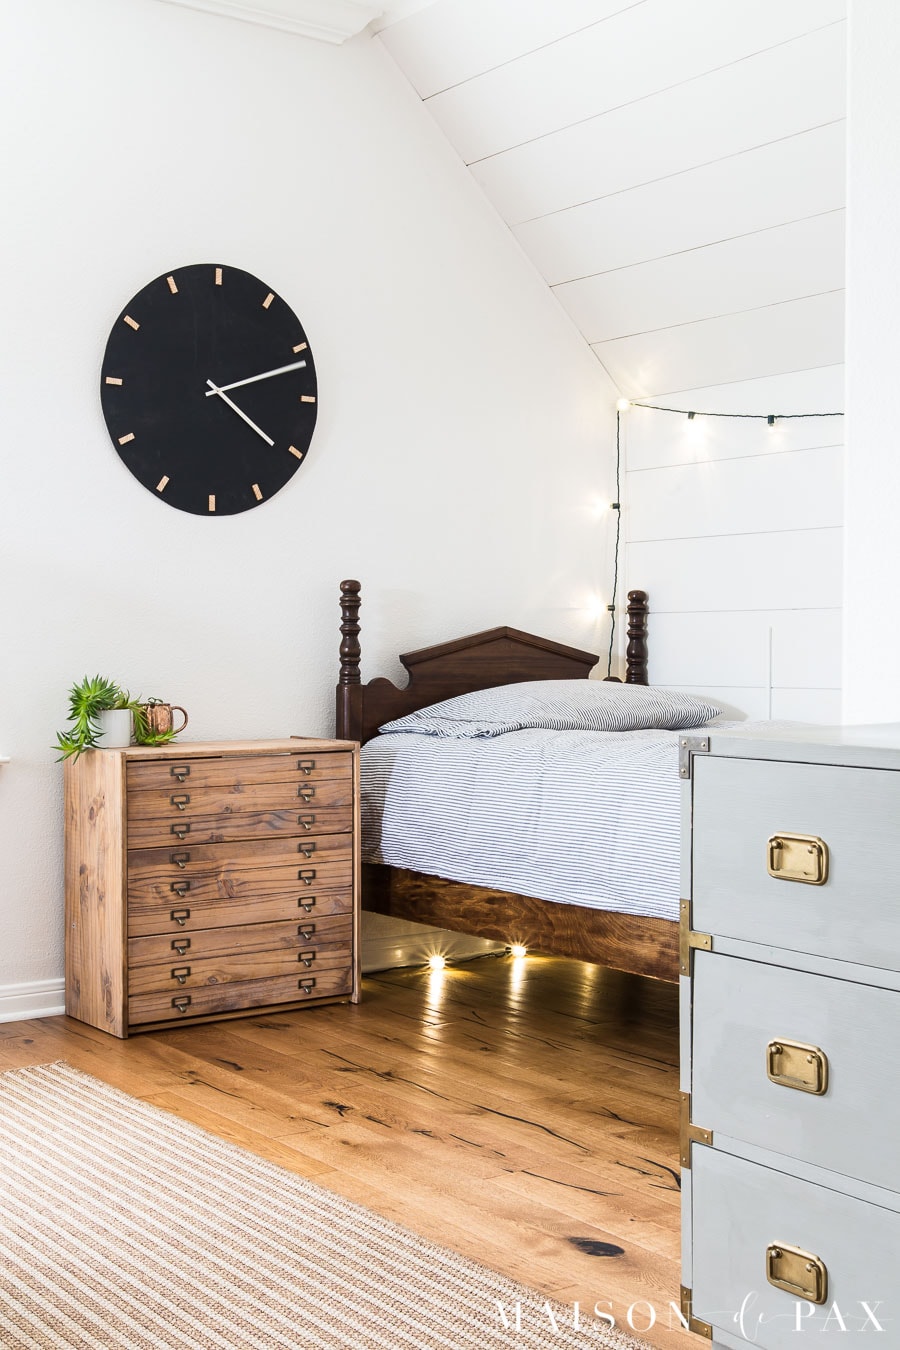
Confession: I don’t always finish projects in a timely manner, and my garage kind of looks like a graveyard for partially materialized ideas. I may or may not have bought these IKEA Rast dressers two years ago with the intention of making faux antique printers cabinet nightstands for my boys’ room… and I just finished them last week. Oops.
But done they are, and they turned out even better than I had planned those 24 months ago when I snatched them up for less than $40 each. Add $6 worth of hardware (seriously!), some finishing products I had on hand, and they’re done. Once I finished them, I couldn’t believe I’d waited so long to do it. Don’t worry, though, I’m going to walk you right through each step so you can make your own “antique” printer’s cabinet!
Materials needed for a DIY printers cabinet:
This post contains affiliate links. Click here for my full disclosure.
- real wood dresser: I used an IKEA Rast dresser, but any thrifted or new real wood dresser would do.
- compact circular saw (must be able to set the blade to 1/8″ depth)
- straight edge, ruler, and pencil
- pre-stain wood conditioner
- stain of choice: I used Minwax Early American
- clear and white furniture wax: I used Amy Howard clear beeswax and white cerusing wax
- library pull hardware
How to create a printer’s cabinet or “map drawers” dresser:
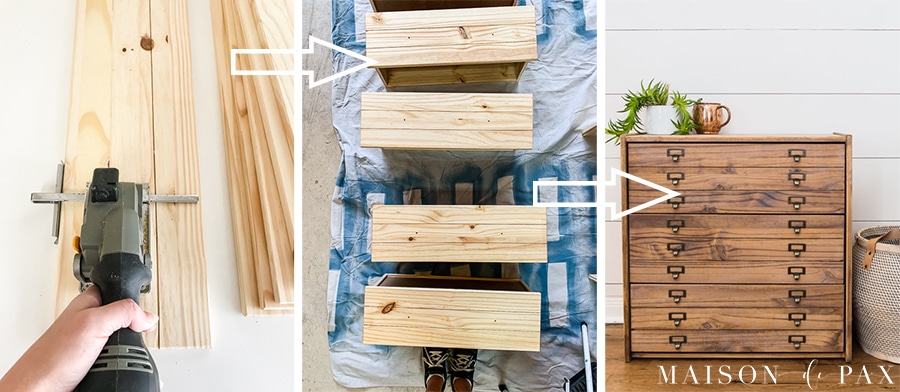
Create faux map drawers:
The key to a printer’s cabinet look are the skinny drawers (sometimes called map drawers). To create that look, you are going to use your circular saw set to only 1/8″ to make your drawer fronts each look like three smaller drawers (a technique I used to create this faux planked desk). This can be done to a fully assembled dresser, obviously, but if you are using a new IKEA Rast like I did, I suggest doing it before you assemble the dresser (it’s just easier!).
- Measure the height of your drawer fronts and divide by 1/3.
- Set your circular saw blade depth to 1/8″ and use a guide to cut two straight lines across the drawer front length-wise, making the drawer look like three smaller drawers.
(Optional) Remove the IKEA Rast toe kick:
I don’t love the look of the toe kick on these dressers, plus my boys’ beds are rather low, so I simply removed that portion. If you also would like to remove the toe kick but need the nightstands to be taller, you could consider adding casters or legs to the dresser.
- Use your circular saw to cut 2.75″ off the bottom of each side of the IKEA Rast.
- Flip the original toe kick piece 90° (so you still attach using the front peg where it originally went, but you’ll need to add a hole for the second peg so that the toe kick piece sits parallel to the floor instead of perpendicular).
- Assemble the rest of the dresser according to instructions.

Give your antique printer’s cabinet a natural “old wood” finish:
If you are using an IKEA Rast dresser, then it is already raw wood. If you are using a thrifted piece, you will need to strip it of any other finish before applying this stain/wax finish. With soft woods like pine, I always prefer to treat with a pre-stain conditioner, which allows the wood to take the stain more evenly. Technically, this step is optional, but I do recommend it. Additionally, pine has very little natural wood grain, so I love creating a little extra grain using stainless steel wire brush (as I did in this other project). Again, this step is technically optional, but I do think it adds a subtle improvement to the way the wood takes the stain and wax.
- Use a stainless steel wire brush and scrub hard in the direction of the wood grain; this will create some additional faux grain in the soft wood.
- Use a hammer to rough up the wood in other areas of natural wear: the edges, around the hardware, etc.
- Treat the entire piece with pre-stain wood conditioner according to instructions.
- Give the entire piece one coat of Minwax Early American and wipe off the excess.
- Using a tiny paint brush, paint stain into the saw lines and wipe off the excess.
- After stain has dried, apply one coat of clear furniture wax.
- Finally, apply one coat of white or cerusing wax to lighten the piece and remove some of the yellowish tint of the pine.

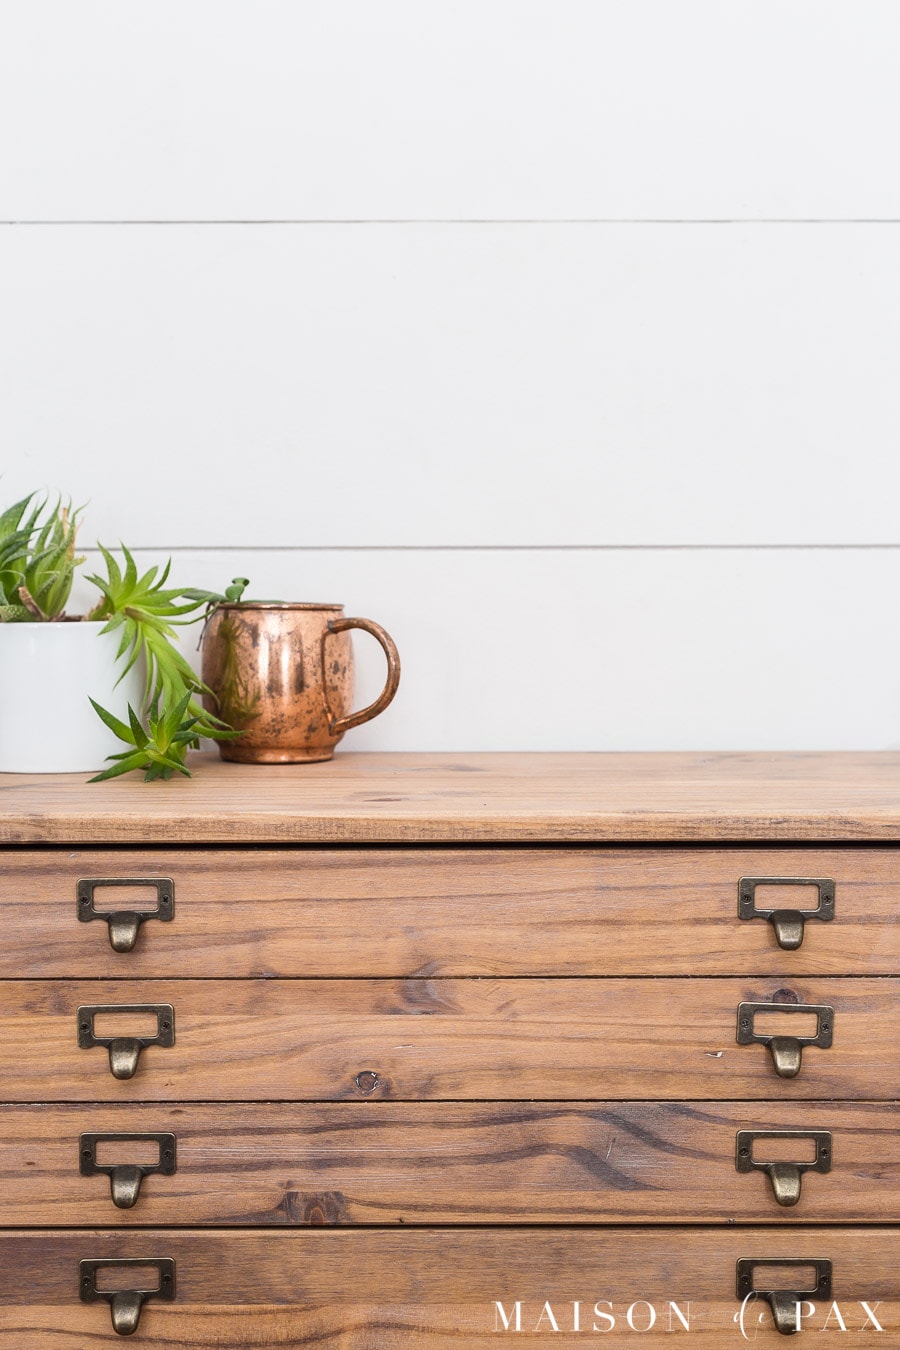
Add library pulls for an antique printer’s cabinet look:
Hardware is everything in this case… And I found 22 of these antique iron card holder cup pulls for less than $6! Tip: if you tire of screwing in the 36 tiny screws, it’s the perfect job for 4 and 6 year old helpers. 😉
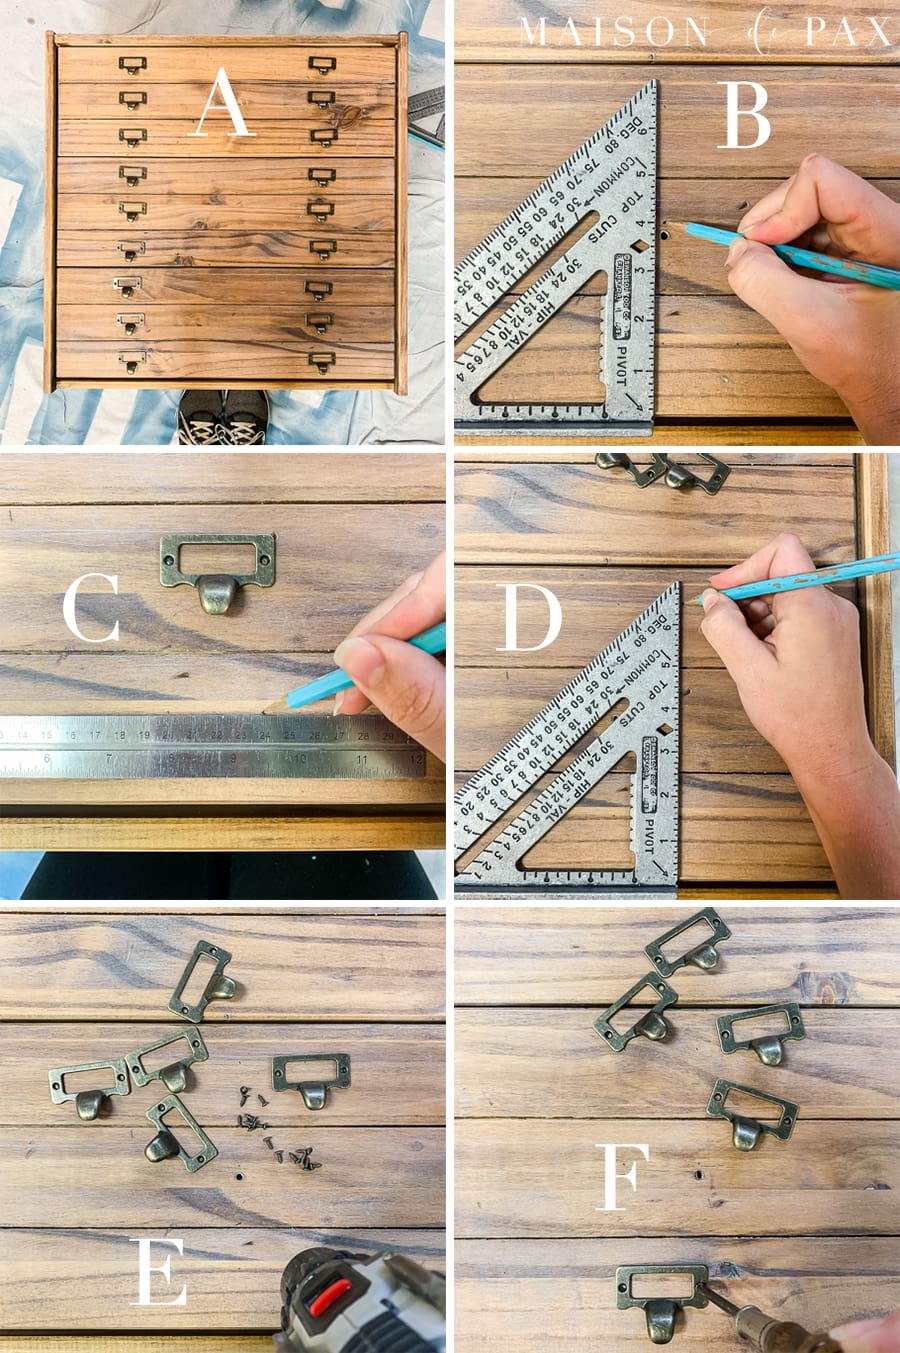
- Lay out your hardware to determine your general spacing (image A below).
- Use a ruler and straight edge to mark your holes for your hardware screws (be sure if you are using an IKEA Rast dresser to position them to cover up the predrilled holes that came on the dresser).
Note: if you use the exact hardware I used, here is a cheat sheet: I lined up the pulls so that the inside screw was just above the predrilled holes that came on the dresser, and I positioned the holes 1.5″ above the bottom of each real or faux drawer (image B). This allowed the library pulls to cover up the predrilled holes. And since the holes are 4mm apart, I simply moved over 4mm from the first line (image C) and added a second line of marks (image D). - Predrill each hole using a very small drill bit (image E).
- Attach two pulls per faux drawer – 18 total (image F).
And that’s it! My favorite things about this project…
1. My boys’ bedside table junk treasures are no longer in sight (I loved the vintage school desks we were using, but these boys needed some drawers!).

2. I was honestly a little unsure about the finish color at first (I’m no stranger to cerusing wax, but this was my first time using it over Early American), but once I got it in their room I realized it was the perfect lighter-toned almost raw wood look.

3. As always, anything done with my kiddos is infinitely more fun and rewarding than the things done without them. And since an inexpensive IKEA dresser is super low risk, they helped me out every step of the way.

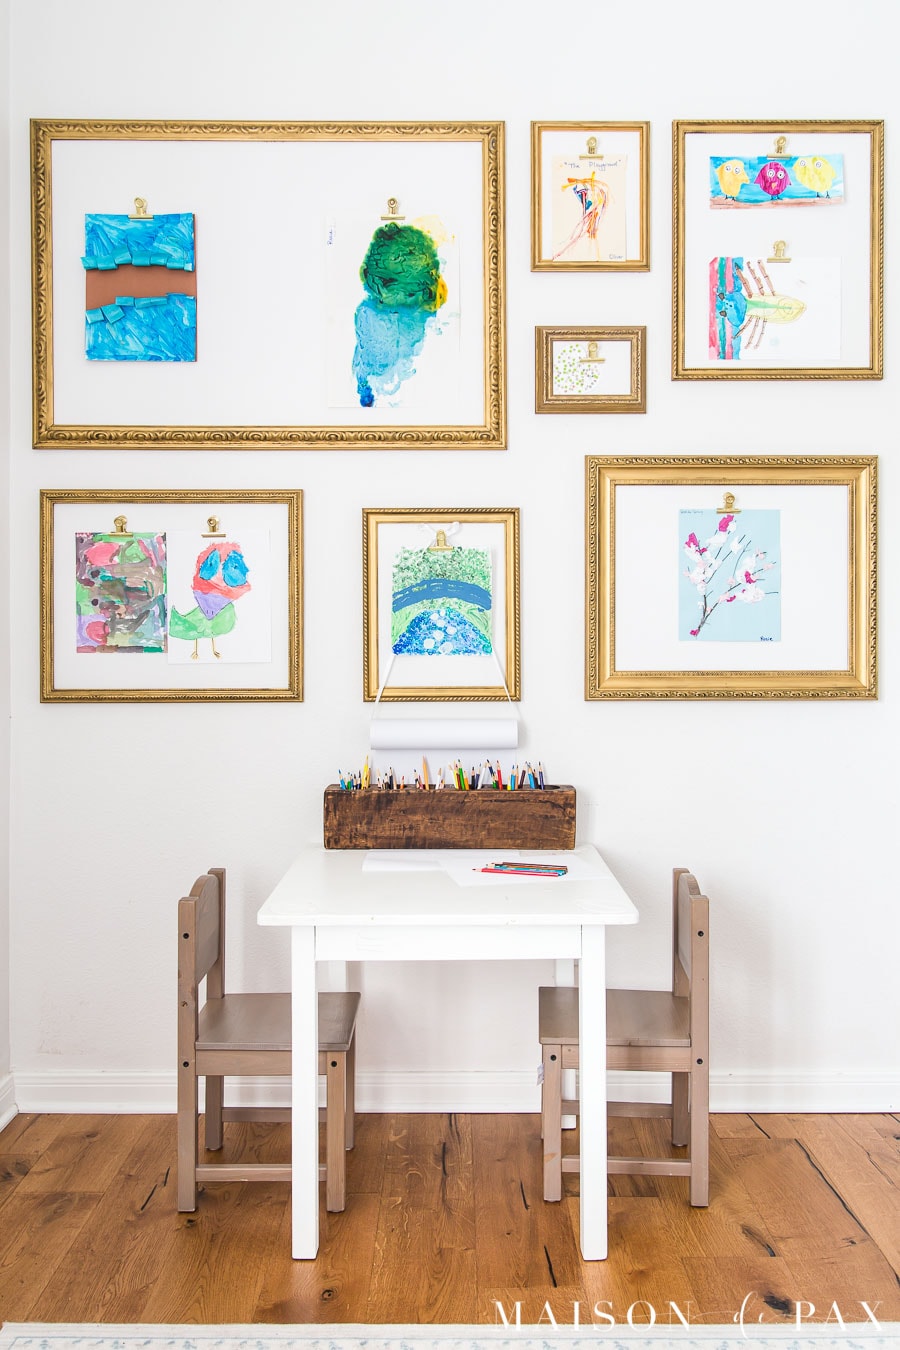
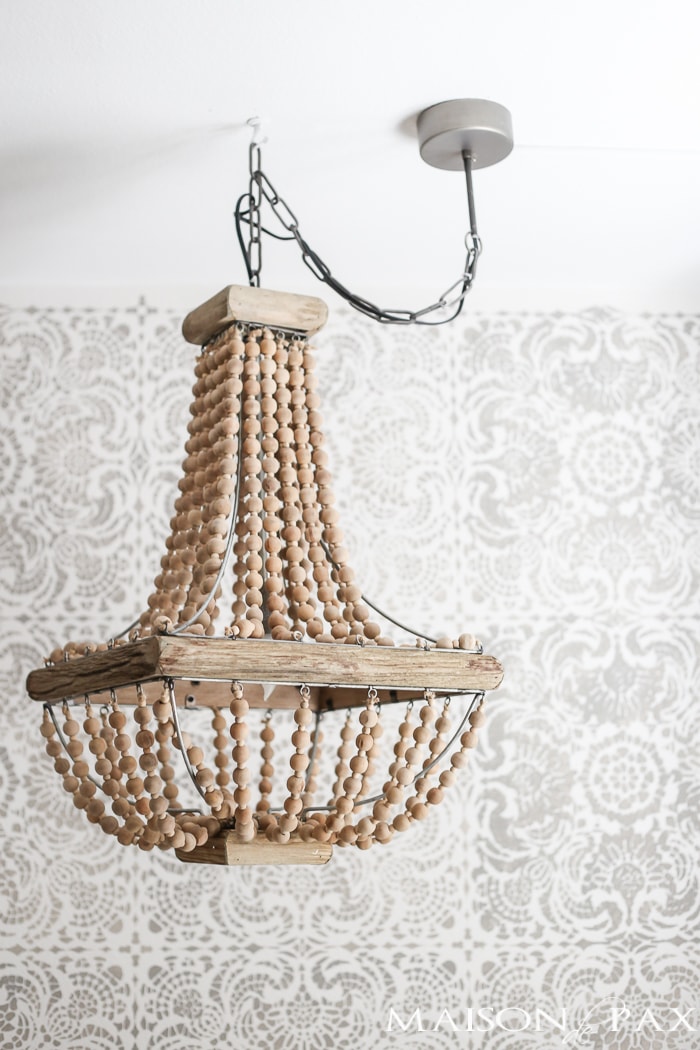
My boys’ room has been a work in progress since we moved in over three years ago… and now we’re one step closer. 🙂 Here are a few more DIY projects we’ve done in their space:
“shiplap” wall tutorial | giant clock tutorial
And you can shop the look of this space, too:

Don’t forget to pin the project for later!

Those cabinets look amazing. Love the vintage feel they have.
Thank you, Megan!
I absolutely LOVE this!! I’ve been wanting to find an antique printer’s or map cabinet to use instead of a filing cabinet in my office, but I haven’t been able to find anything I like that isn’t horrifically expensive! This is PERFECT!
So glad you found it helpful! I’m enjoying the new look too!
The cabinet turned out beautiful!!
Thank you so much, Linda! xo
This is by far the most beautiful Ikea hack I have ever seen! I am so impressed! This piece could look great in just about every room of a house! I am dreaming up where I might put this in my home. And glad to know that I am not the only one who can take awhile to execute an idea! I love your honesty!
Kerri, what a sweetheart you are! I’m so glad you like the project, and I’m glad I’m not alone. 😉
So beautiful, Rachel!! I really like the look of the library pulls. And I love that you involve your adorable kids in the process. What a wonderful legacy you’re passing on—I’m envisioning your grown boys telling their friends about their inspiring and hardworking handy mom!
Oh sweet friend, thank you! You are such an incredible encouragement to me. xo
I love that you’ve achieved an antique look but you don’t have to worry about it being knocked about (or drawn on) by the children as you would a real antique. I also never would have dreamed a simple pine chest could look so beautiful – your photographs of it are just as beautiful too btw 🙂
Thank you, Jayne! That’s so true–in our home, things have to be pretty and functional!
You have absolutely no need to feel bad about leaving a project for two years Rachel.
I’ve recently put up some blinds on my French doors. They had curtains already but I wanted blinds underneath as an extra layer to keep out the cold/heat in the extreme moments of weather. Only thing is- I bought these blinds almost 17 years ago!
I used to give my mother a hard time for having bought ‘raincoat’ material for me when I was a little girl. By the time she made my raincoat it had to be a jacket as it was about five years later. I’ll never mock her for this again given my recent discovery of the blinds. At least we both got there in the end.
I think we sometimes need to take time for ideas to gently simmer, brew and develop in our minds. I also needed some time to accumulate the right tools and knowledge before embarking on my ‘blind’ endeavour. I think for the projects that take time to develop first, we end up with something that’s more personalised to our taste (and hopefully will outlast the trends). I definitely think you’ve ended up with something worth the wait here. Fabulous work!
Hello,
I am new to your site and in love! I am going to gather the materials today and make 2 of these as my Mother’s Day gift for myself! The link to the library pulls is no longer available. There are quite a few different variations at Amazon but, ideally, I’d like to just use your template for attaching the pulls. Could you post a new link are tell me the size of the pulls you used! Thanks! Marnie
Thank you so much, Marnie! I can’t be 100% sure, but these (affiliate link) look to be the same as the ones I purchased. Not sure why they removed those! I hope this works, though, and that you enjoy the project! xo
Wow! Can’t believe the transformation!! So impressive.. love it!!
Thank you so much!
The tops and sides. Are those the wood from the original Rays dressed or did you cover it with more prices of wood like the drawer fronts They look much higher quality finish then just straight ikea
They are! In the tutorial, I mention using steel wool to create more grain lines and a pre-wood conditioning to get a better stain application.
I love this project. Thanks for sharing. by the way, someone worked so hard, until they lost a shoe. So cute! Stay safe, all!
Love it! Thanks, Ivory!
I have been looking for something like that so much time!
I’m from Spain and the Minwax products can’t be found here, i am going crazy trying to find the conditioner or something similar, is there another product that could be easier to find in Europe?
I’m so sorry that the product has been difficult to find, Ana! I’m afraid I’m not familiar with any European wood conditioning products… but fortunately the stain will still work; it just may not go on as evenly. Perhaps you can try giving it a light sanding before staining to help prepare the wood to receive the stain. Good luck!