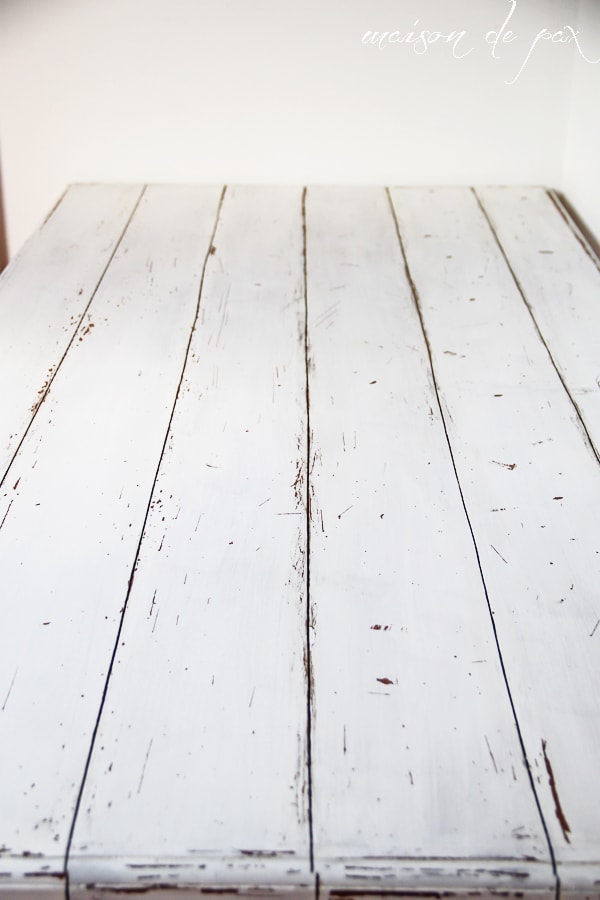
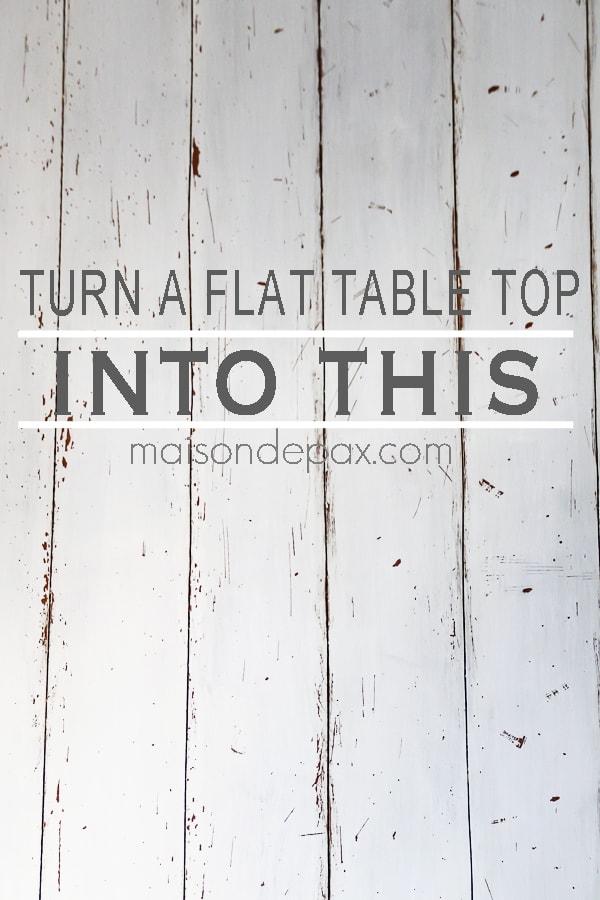
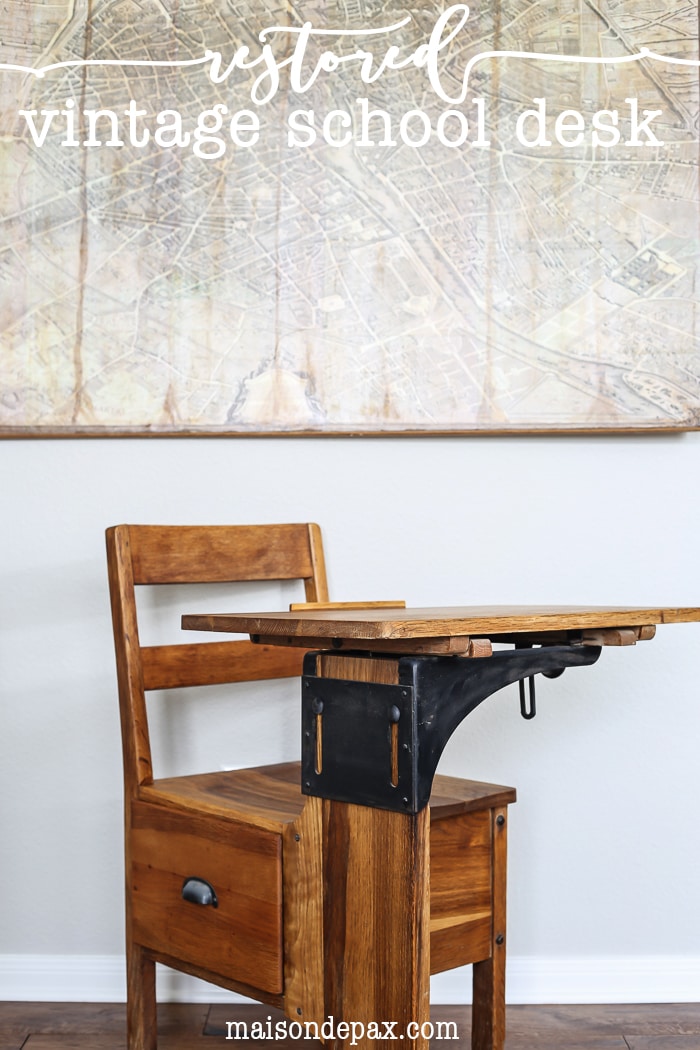
DIY Faux Planked Desk
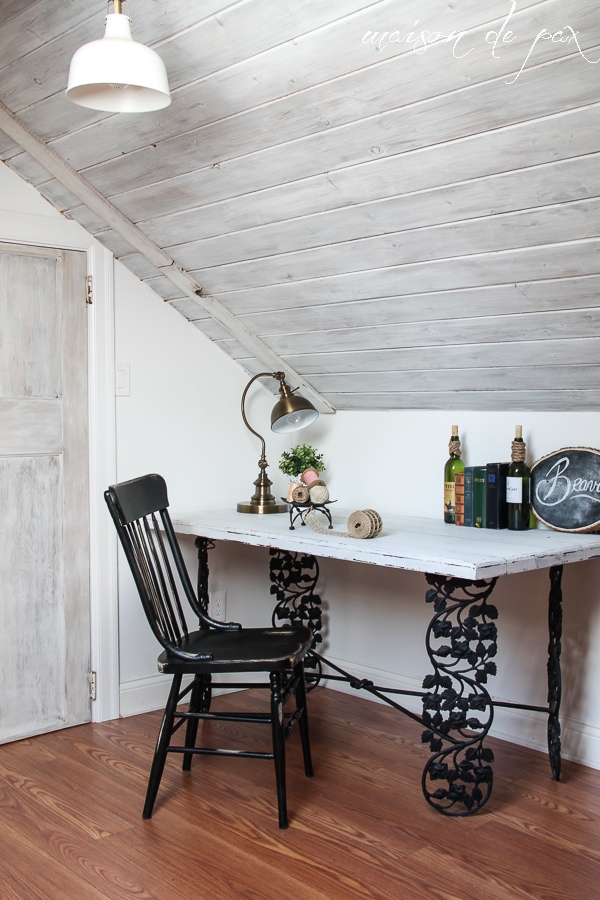
I know I say this a lot, but I am really excited by how this project turned out. You can see more photographs of my beautiful new desk space here, but today, as promised, is all about how to create your own faux planked desk.

This process could work on any solid wood or plywood top desk. It might work on laminate or other artificial surfaces, but I make no promises. The saw could very likely split those surfaces… Just a warning. 🙂 I used the following steps to take a plywood desktop (which was trimmed with a routed 1×2″ piece of pine) and give it a rustic, distressed planked top.
Materials needed to faux plank a table or desktop:
This post contains affiliate links for your convenience. Click here to read my full disclosure policy.
- straight edge
- mini circular saw
- hammer, screwdriver, and other tools to distress the surface
- Briwax dark wax
- white milk paint (color: Ironstone) and paintbrush
- metal putty knife
- wax
Here’s how:
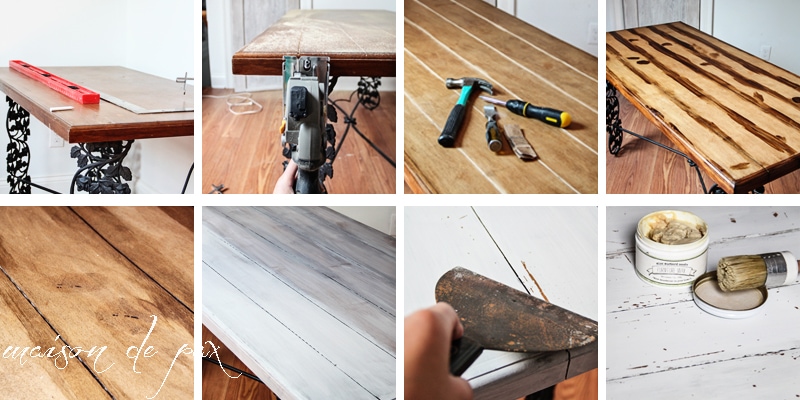
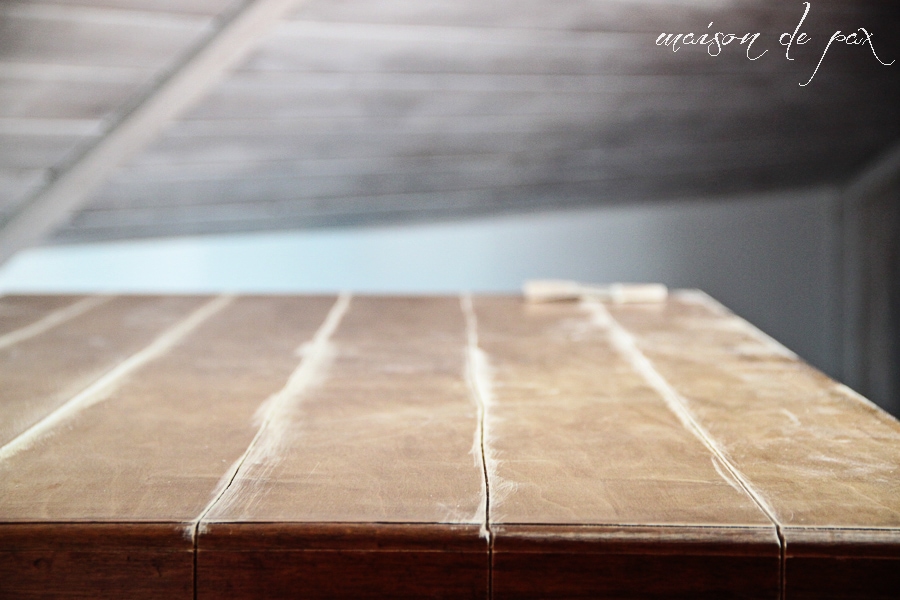
- Mark the lines for your planks using pencil and straight edge.
- Set your circular saw blade depth to 1/8″ and cut lines along your markings, being sure to include the side of the desk as well as top.
- Beat up the table as much as you like. Go ahead, get out your aggression. 😉
- Cover edges, distressed places, your saw lines, and any other section where you don’t want the paint to adhere with dark wax.
- Wipe away excess wax.
- Paint entire piece with milk paint, using as many coats as necessary.
- Beat it up again. Try scrapers, sandpaper, wood chisels, hammers… Go. to. town.
- Clean up any sawdust and paint chips, then wax the entire piece with furniture wax.
And that’s it! I actually did this during the course of two and a half nap times. One to plan, saw, and wax (ok, the kid woke up before I actually got to clean up, I admit):
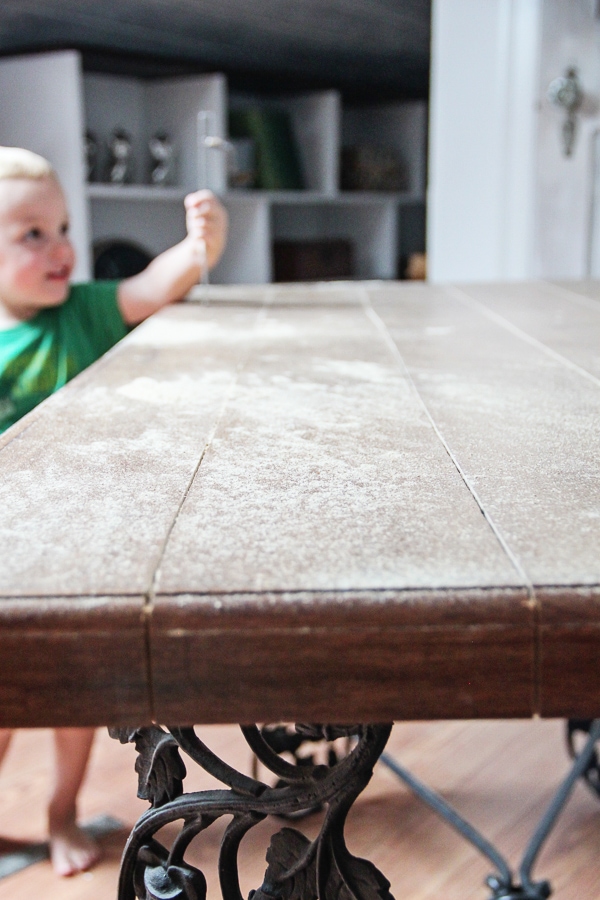
And the next to paint. The waxing only took about 10 minutes on the third day.
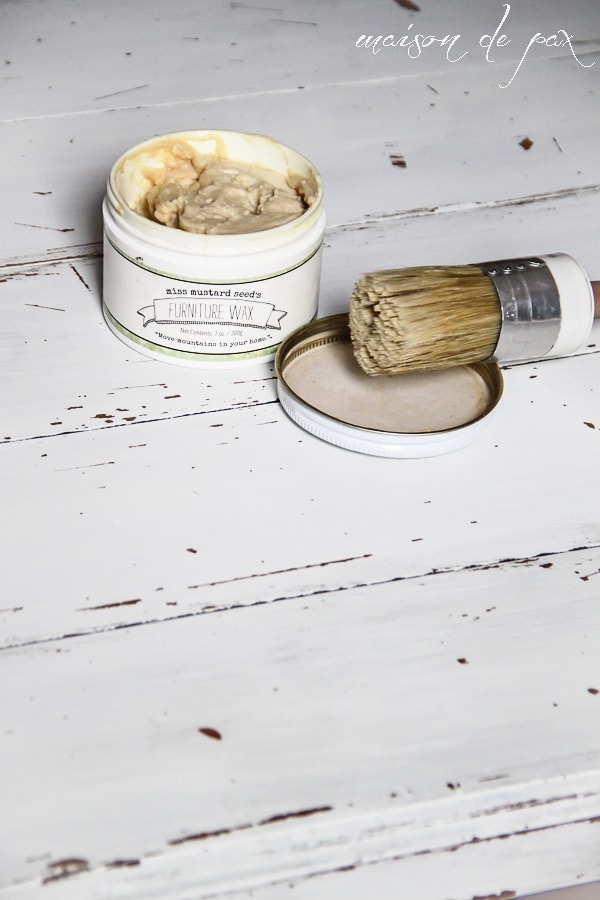
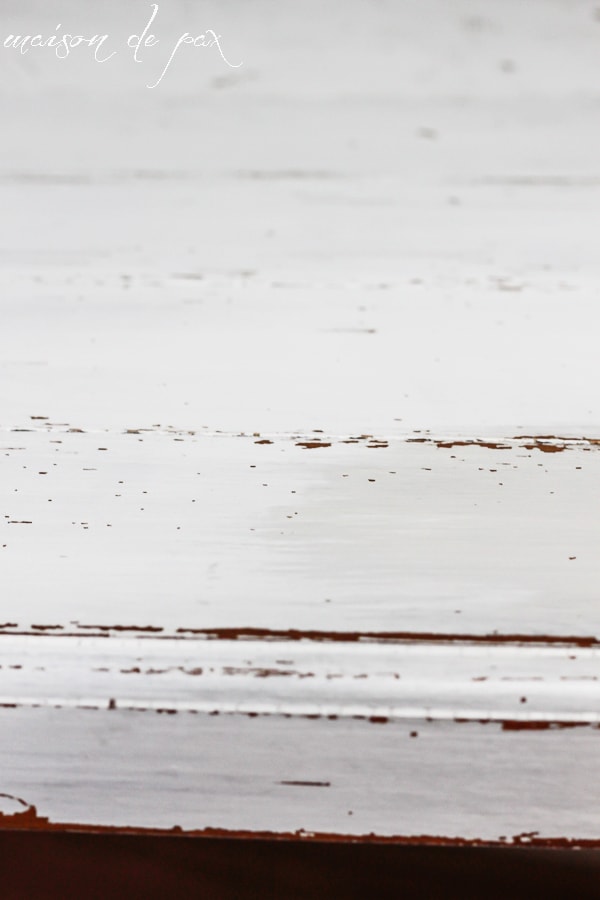
If you’ve never used milk paint before, be aware that it is a different beast. I really wanted a chipped look on this desk, rather than just a worn or distressed one, and I find that milk paint achieves that look the best. I used Miss Mustard Seed’s Ironstone, and I love the result. Be forewarned, though, that the wax changes the look of the paint a bit (the front right corner of this photo is waxed, the rest is not).
I couldn’t be more pleased with the result. Since I was buying the milk paint for another project anyway, this ended up being a free makeover. And I think it’s perfect in my whitewashed attic.
A few comments about the saw portion of the makeover would probably be helpful. First, be aware that the sides of the table or desk top are the hardest part, but they are essential to complete the look. Be brave.
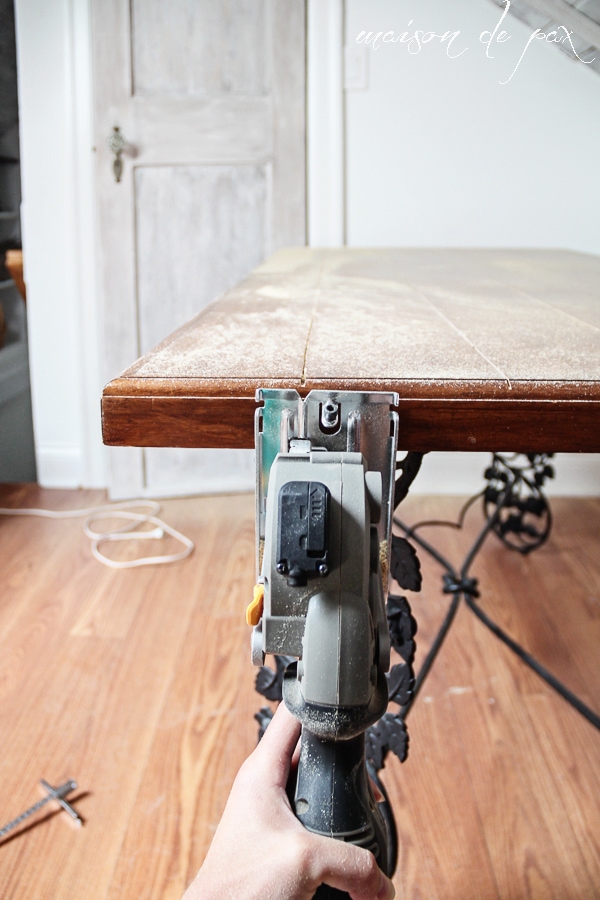
Second, I purposefully did NOT use any kind of guide for my saw. I did use a straight edge to draw the lines in pencil first, but I wanted the lines to be imperfect. If this were truly a desk made of old, weathered boards, the seams would not be perfectly straight, right?
What do you think, can you tell it’s fake? I am pleased as punch, as my grandmother used to say…
Let me know if you try it yourself or if you have any questions!
MORE CREATIVE MAKEOVERS:

How to Give Metal an Industrial, Brushed Steel Look
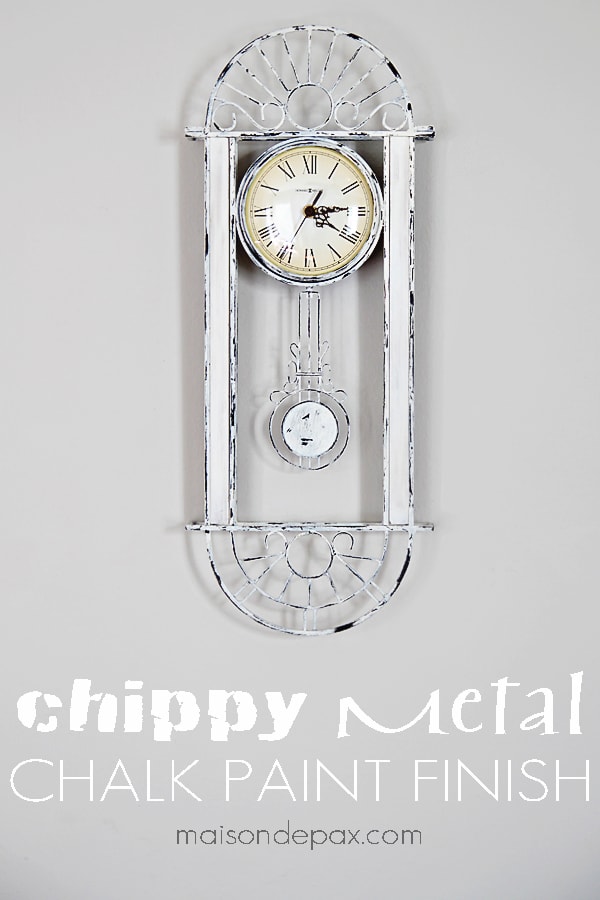
Chippy Metal Chalk Paint Finish


![My OCD [and our master closet]](https://www.maisondepax.com/wp-content/uploads/2013/04/empty-painted-master-closet-window.jpg)
So clever! I would never have thought these weren’t really planks! I’m itching to try this out on my coffee table now…I think my husband is going to freak out when he sees me sawing the table top. You’re genius!
For the record, I did ask permission. But if you’re worried you won’t get it, asking forgiveness is always an option! 😉
Can you use a hand saw to do this? {I know it will take forever}
I don’t see why not, Kelley. The tough thing will be getting a consistent depth. You could measure and put a piece of painter’s tape on the saw at the depth you want to go… Thankfully, it’s all hidden really anyway, and imperfections just add to the “rustic” look. 😉
Wow, this turned out beautifully! I love the chippy look, and now I totally want to try milk paint. 😉 If you want to, I’d love for you to share this post on my blog at Motivational Monday: http://thediymommy.com/motivational-monday-13-craft-diy-home-decor-link-party/
Thank you so much, Christina!! I’m so glad you like it. 🙂 And I hope you do try milk paint sometime… It’s different, but it’s very fun to work with. Take care!
Awesome! Thanks for sharing as I’ve been thinking about trying something like this on my dining room table! I just might now 🙂
Thank you, Denise! I was amazed by how real it looks… I hope you love it, too!
Great job beautiful!!! Such a great tutorial! Featured it this week at From Dream To Reality!
Thanks so much, Christine!! xoxo
Thats it??? Wow! I love your ideas!
Thanks so much! It is pretty easy, isn’t it?