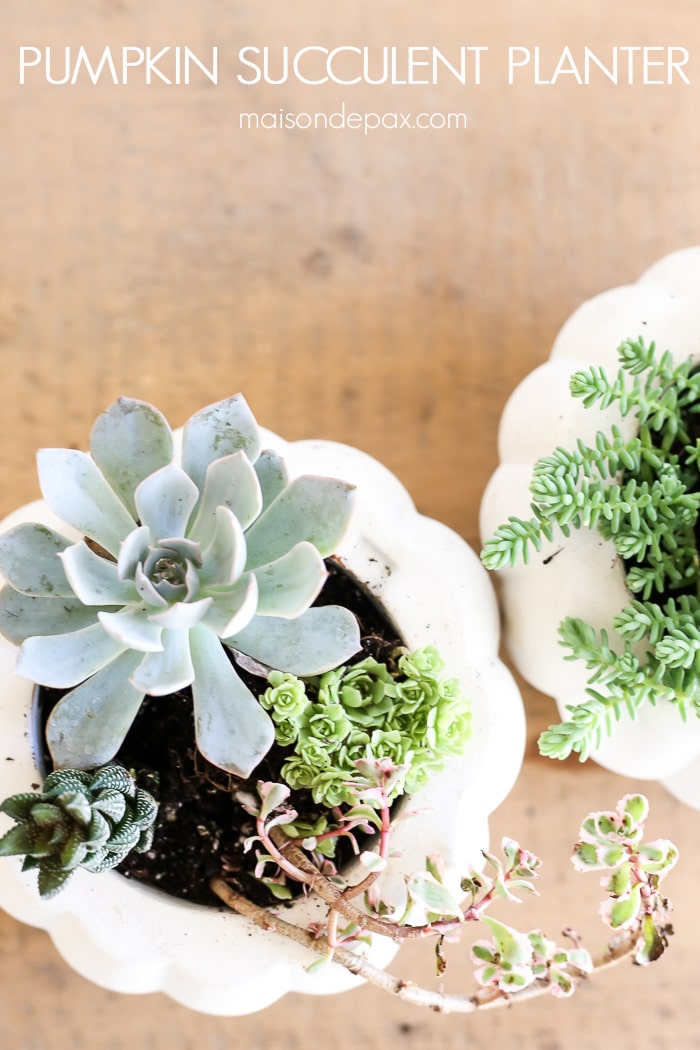
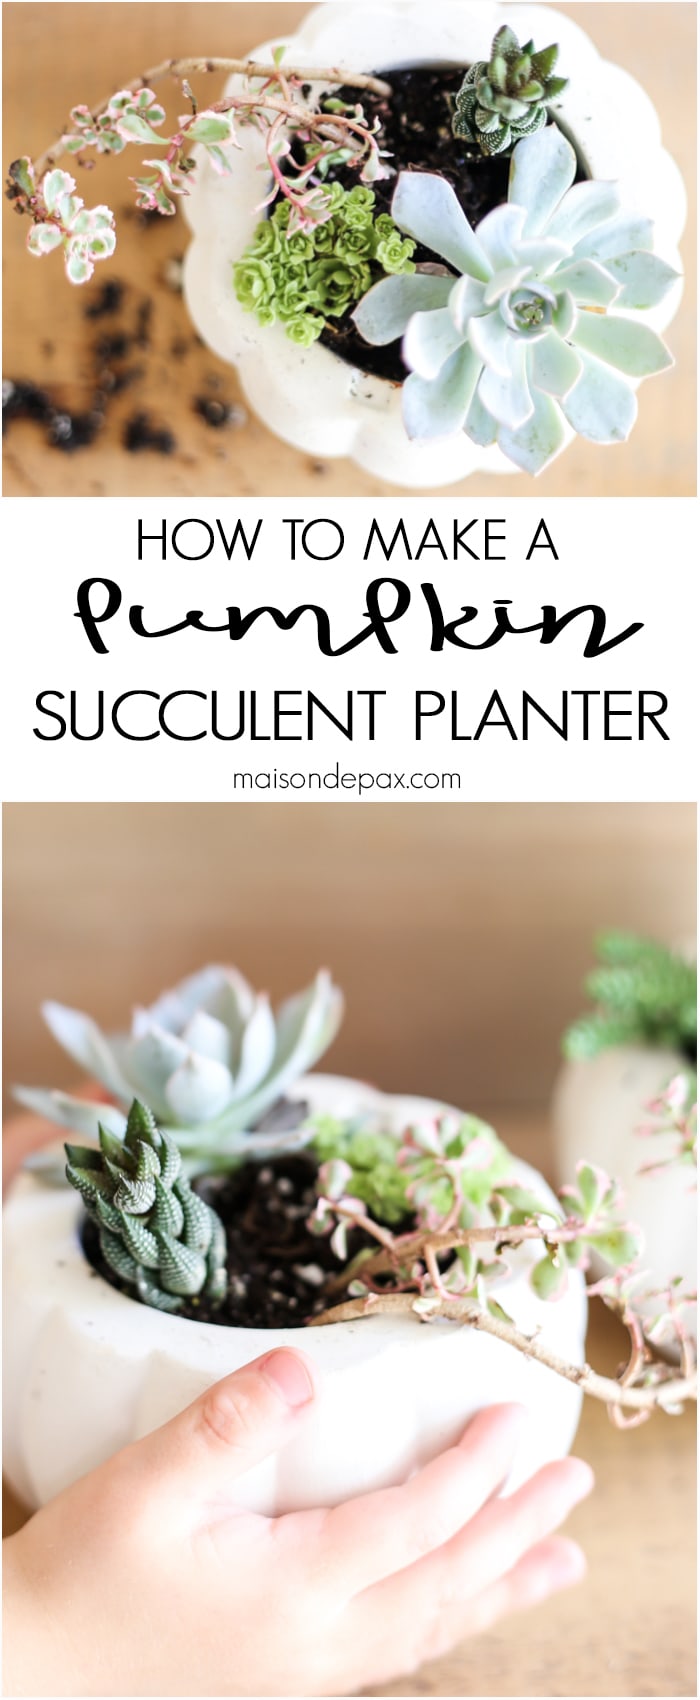
How to Make Fall Succulent Planters
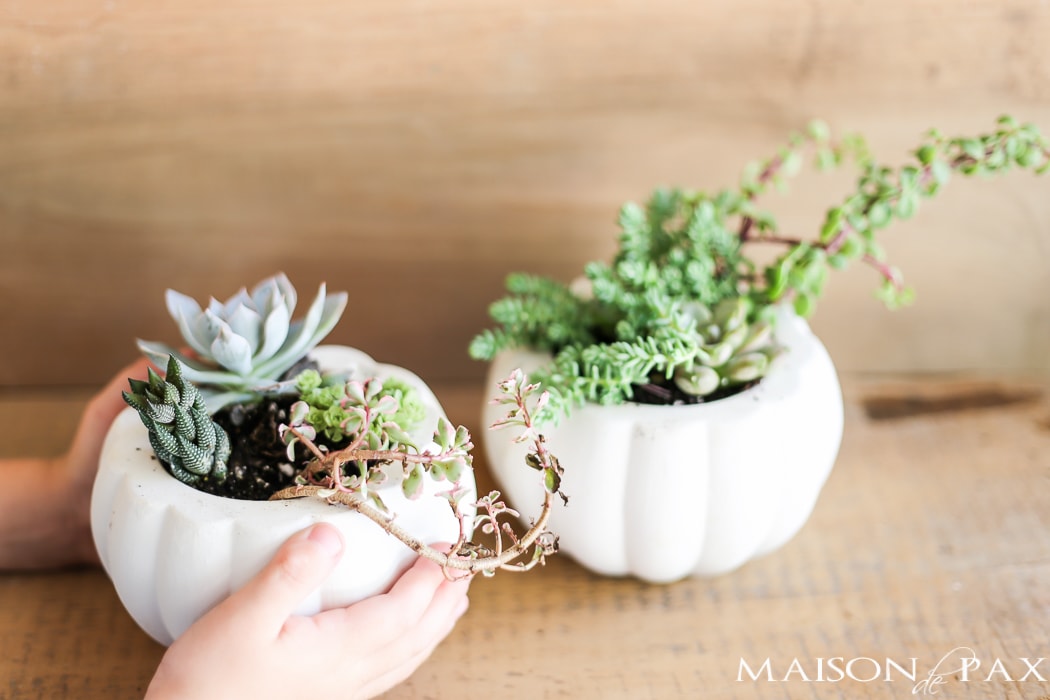
For a super simple, easy fall decor, grab a pumpkin container and make some adorable fall succulent planters!
I had grand intentions of making these with real pumpkins (and I still might!), but since it’s nearly 100° in these parts and probably will be until the end of September, I have yet to see any decent pumpkins for sale.
And… since I’ve never been one to pride myself on patience… I opted to dig through my box of fall decor instead. Guess what I found? Some simple ceramic pumpkin shaped candle holders (which I had painted white a few years back) and some inexpensive foam core pumpkins… And I was in business!
How to make fall succulent planters:
This post contains affiliate links for your convenience. Click here to read my full disclosure policy.
You will need:
- pumpkin shaped container
- this is similar to my ceramic ones, but you’ll have to burn the candle first; these are a bit pricier, but you can plant in them immediately..
- AND/OR styrofoam core pumpkins (which I have found for as little as $3 each over the years) plus a drywall saw (or other large knife) and a plastic grocery sack
- potting soil
- Scissors (these are my favorite!)
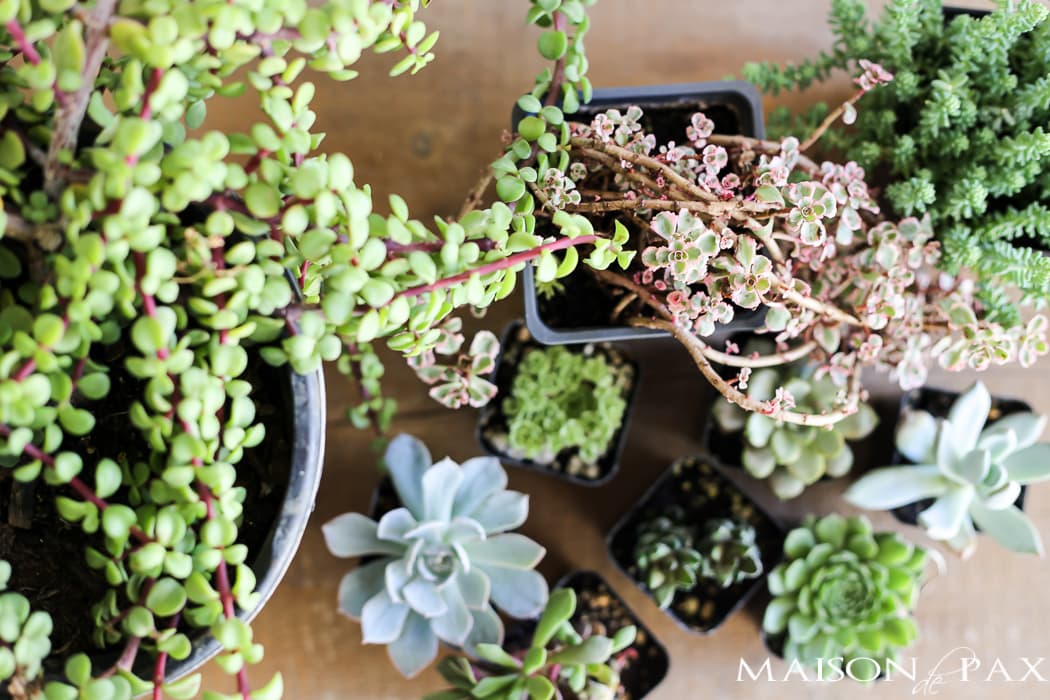
- varied small indoor succulents (I chose some sedum, sempervivum, echeveria, haworthia, elephant bush, and a few I didn’t even recognize… cacti would work well, too!)
I found all these tiny, beautiful succulents at a local nursery.
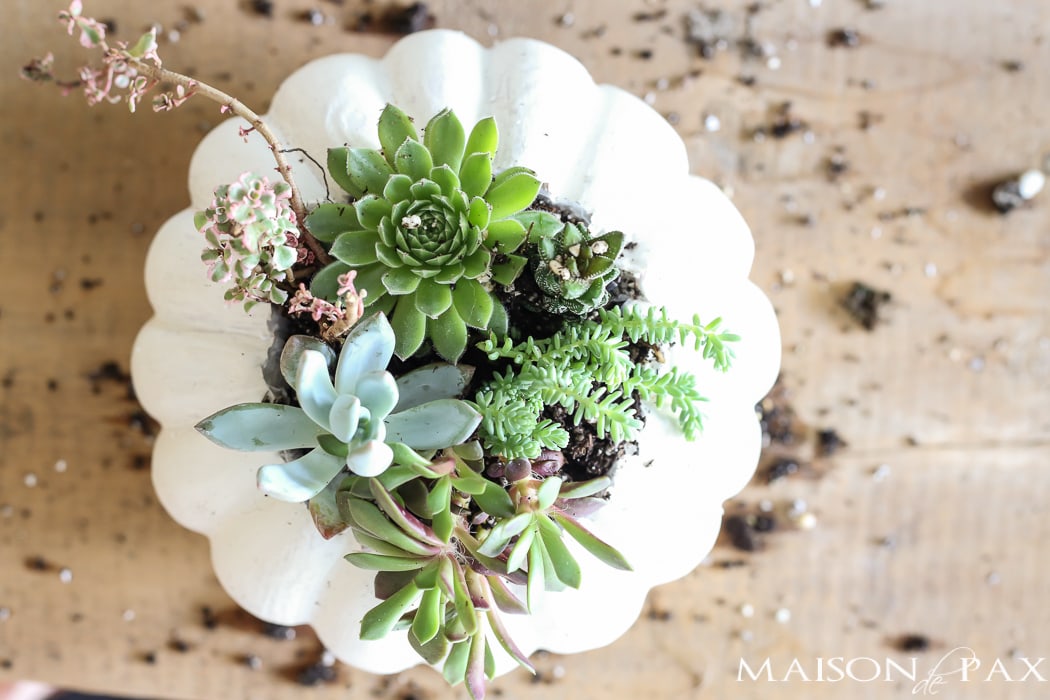
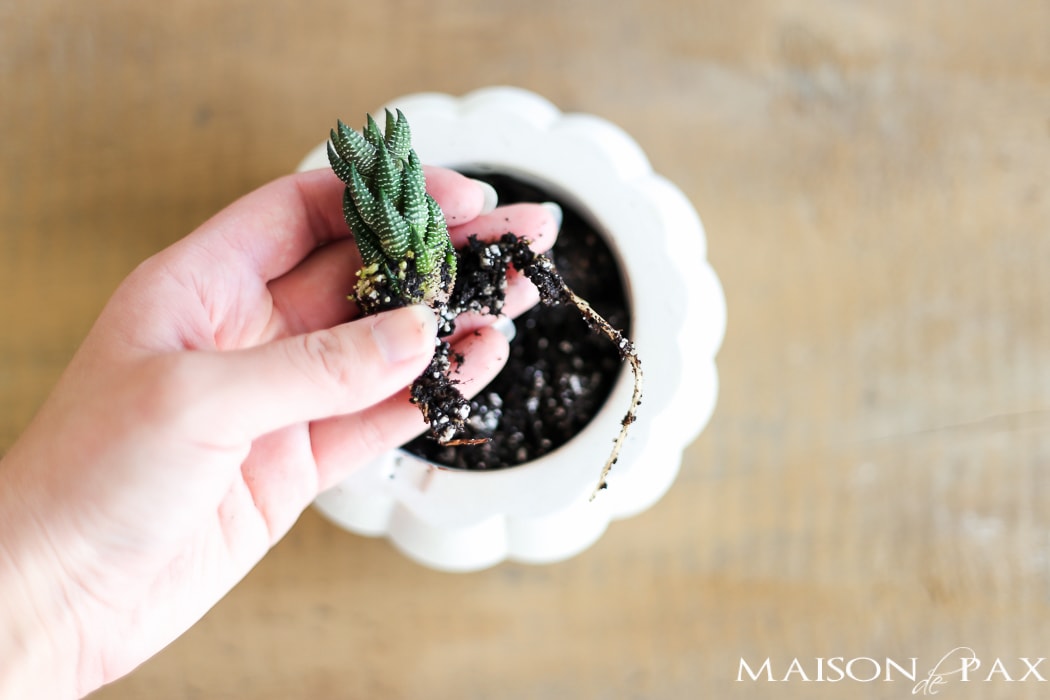
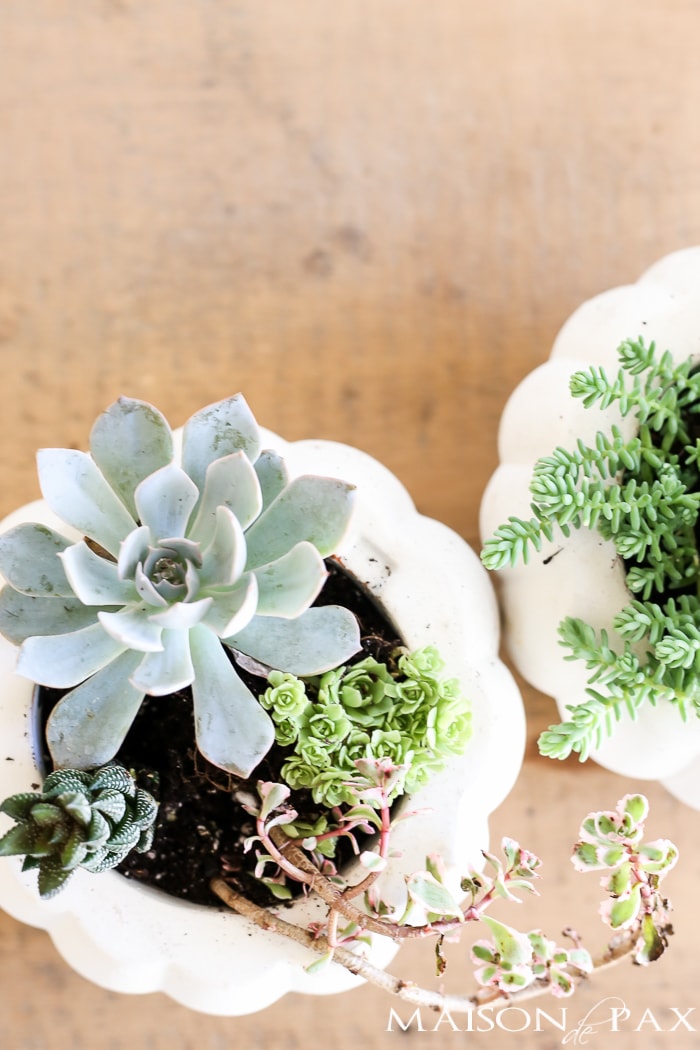
For my ceramic pumpkins, I emptied the old candles out of the containers I had and filled them most of the way with potting mix. I then carefully shook extra dirt from the roots of the tiny succulents I chose and planted them firmly in the dirt.
There are two tricks. First, choose a variety of colors and textures in your succulents; look for some with blue hues, dark green, light green, even pink if you can find it. Assemble soft and fuzzy, waxy, and pointy leaves…
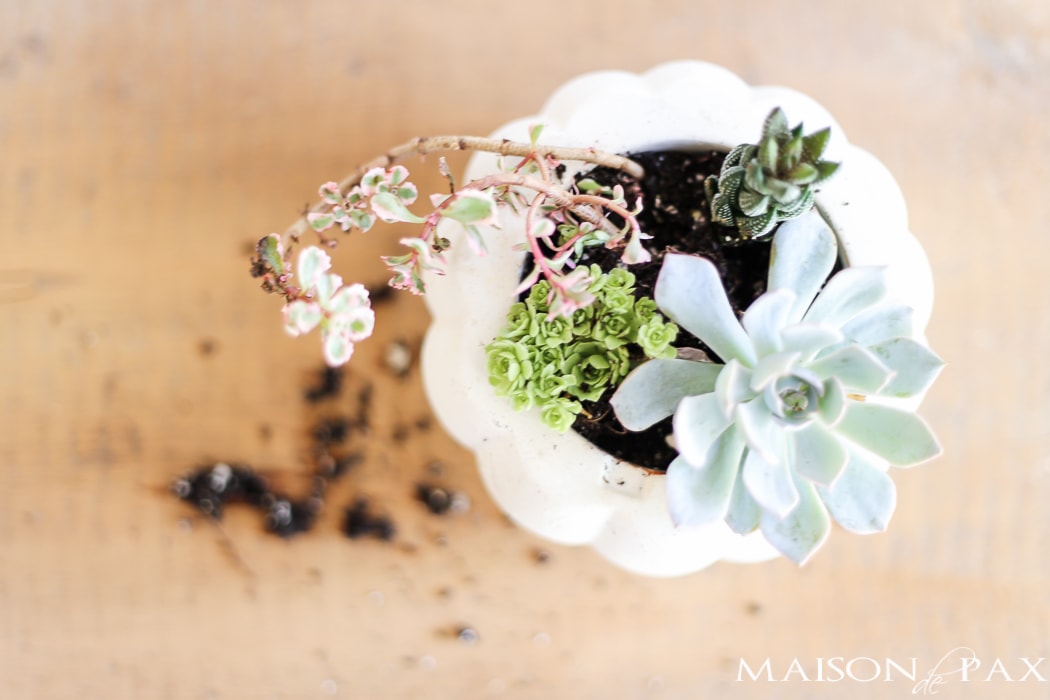
And, second, plant them very close together.
The beauty of succulents is that they can grow roots from succulent clippings (see more on how to do that here), so you can use smaller bits of larger plants and create a beautiful, varied succulent arrangement.
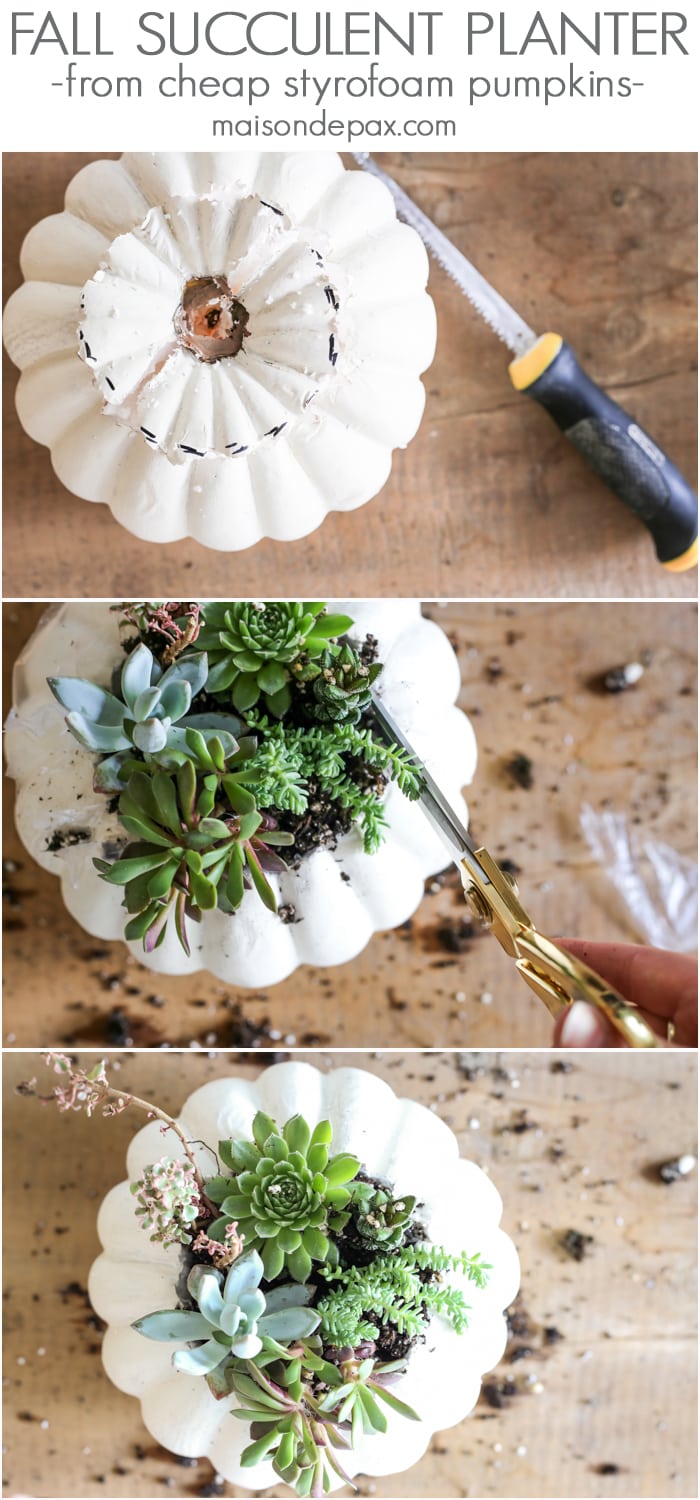
Styrofoam Pumpkin Planters:
For the styrofoam core pumpkins, I made just two slight changes:
- Draw a circle the size of your desired opening. And use a large knife or small saw (I used a drywall saw) to cut a circle at an inward angle. Take out the section. And dig out any extra bits of styrofoam with your hands to make a bowl shaped hole.
- Line the hole with plastic (I used a grocery sack) before you pour in your soil. Once you have planted everything, trim the excess plastic from the edge of your plantings.
As you may have noticed from my hand model above, this project was simple enough for my four year old to help me. Don’t forget to water your little plants… But be careful not to overwater as there is no drainage hole for excess water to escape. And too much moisture can cause root rot. See more about good watering routines for succulents here.
Also check for how much sunlight your chosen succulents enjoy. Most do well in full sun to partial sun. So place them inside in a sunny window to avoid any outside frost. They also make beautiful table centerpieces if your dining room receives enough light.
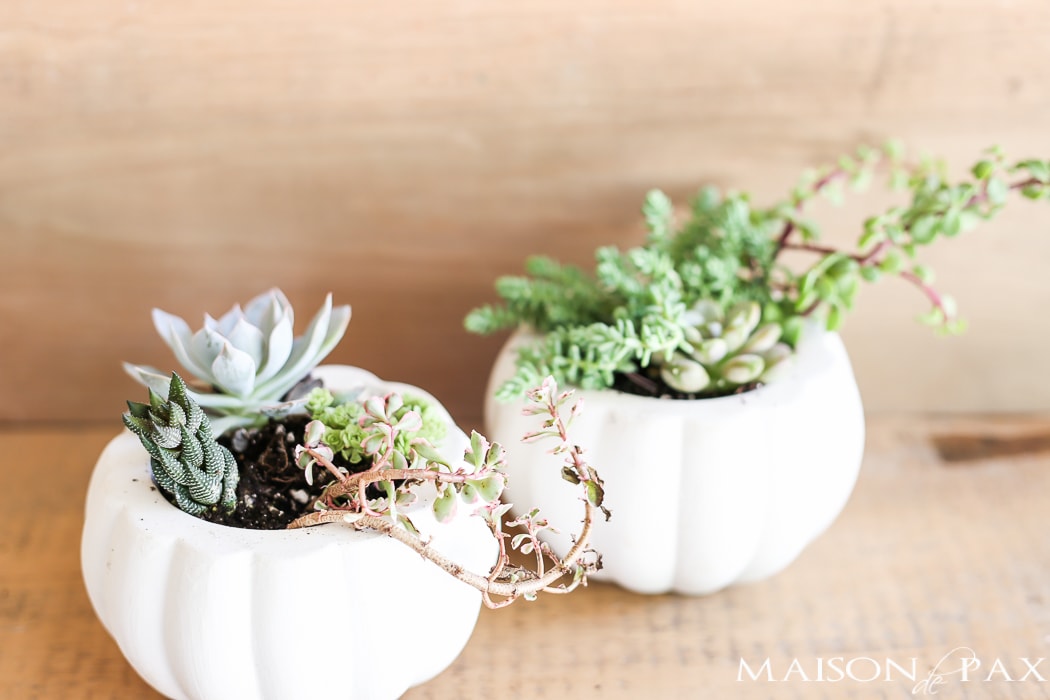
And enjoy these little succulent-topped pumpkins in your home this fall!


Very cute idea. I’ll have to add these to my decor this year. Thanks for sharing.
Thank you so much, Amy!
Cute!!!
Thanks!
These are so pretty! I don’t have the best luck with succulents but fortunately Hobby Lobby has beautiful little artificial succulents that are fairly inexpensive! Wallah!
So glad you like them, Mary Ann… and what a great idea!! Faux plants are always fun. 😉
great idea! I think I’ll give it a go this weekend…
Great idea,for the styrofoam pumpkins. Thanks a lot.
We’ve had a lot of success with these using the foam “funkins” from Michael’s. The best part is that we made them in fall 2012, and they stayed looking fresh, healthy and beautiful for nearly two years even though we kept them outside in various places (covered and uncovered). They make great hostess gifts. http://www.rookno17.com/2012/11/easy-succulent-garden-centerpieces-in.html
I’ve never used “funkins” before, Jenn, but they do look like they’d work great! Love your little project, thanks for sharing. 😉
I think “funkins” is the name for the faux pumpkins sold in most craft stores at this time of year.
I think I will cut my holes on the side and leave the stem in place. Can’t wait to try this!
I hope you enjoy them!
I needed a hostess gift for Thanksgiving. This is perfect! Thanks for sharing such a great idea.
So glad you like it!
Love the idea!! Can you tell me where your backsplash tile is from?
The backsplash tile from my kitchen is from Floor & Decor!