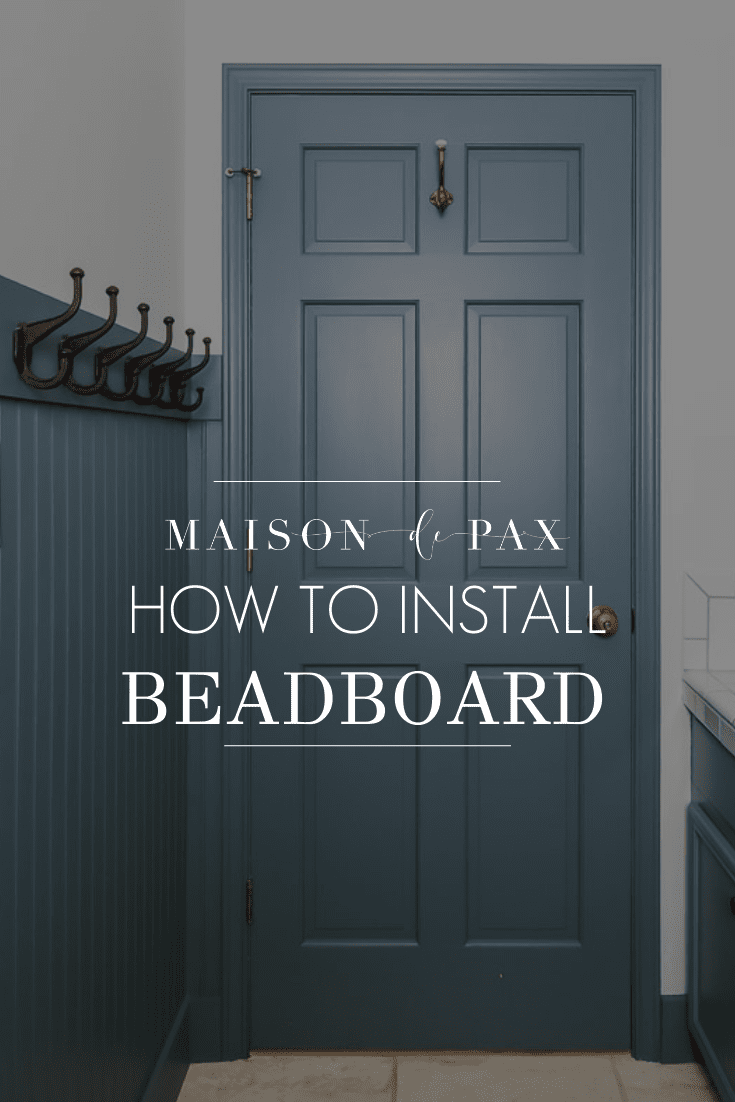
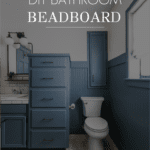
How to Install Beadboard in a Bathroom
Wondering how to install beadboard wainscoting? Find out how to diy beadboard with this tutorial!
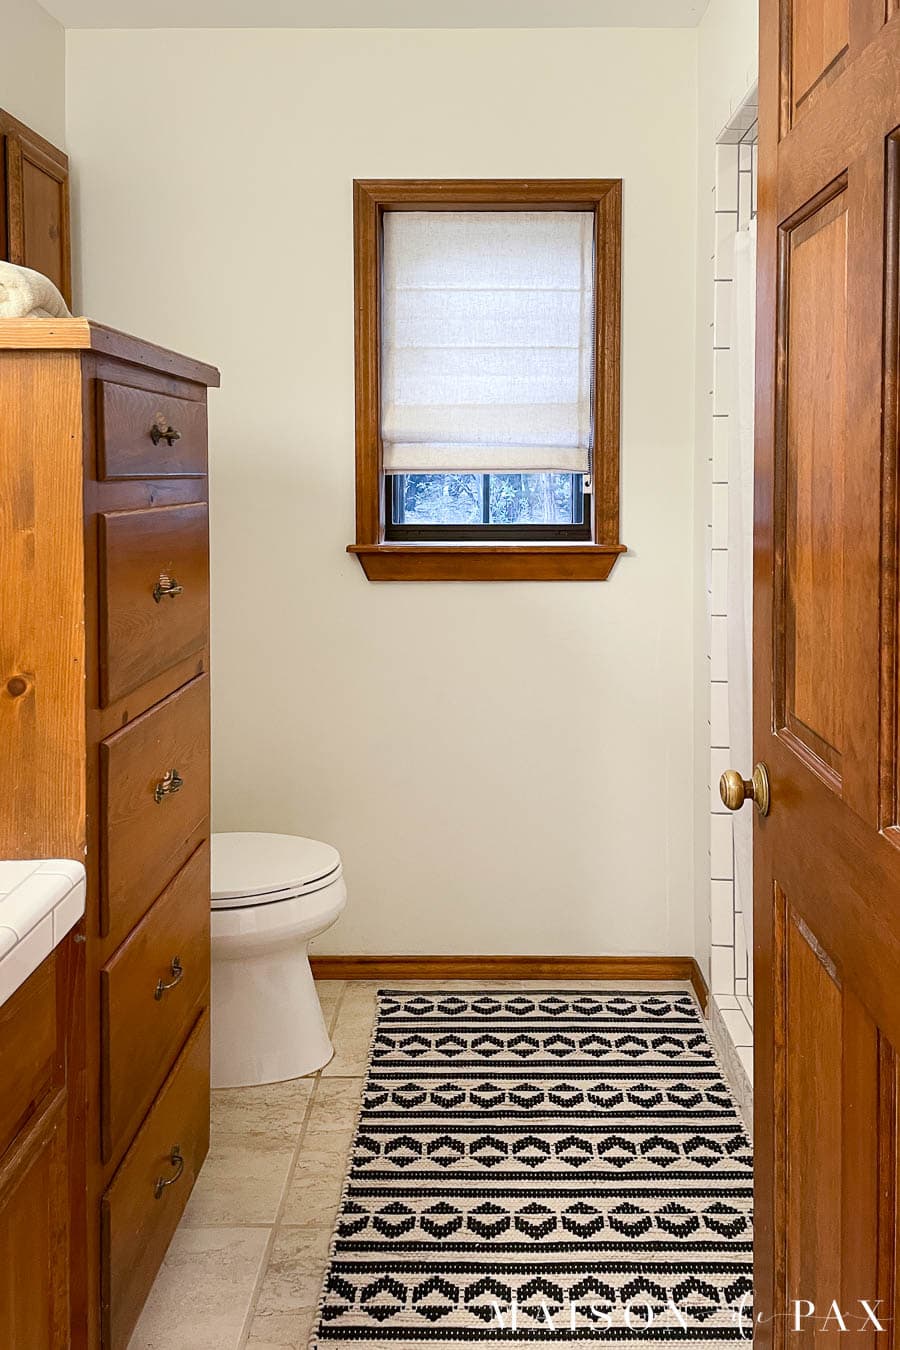
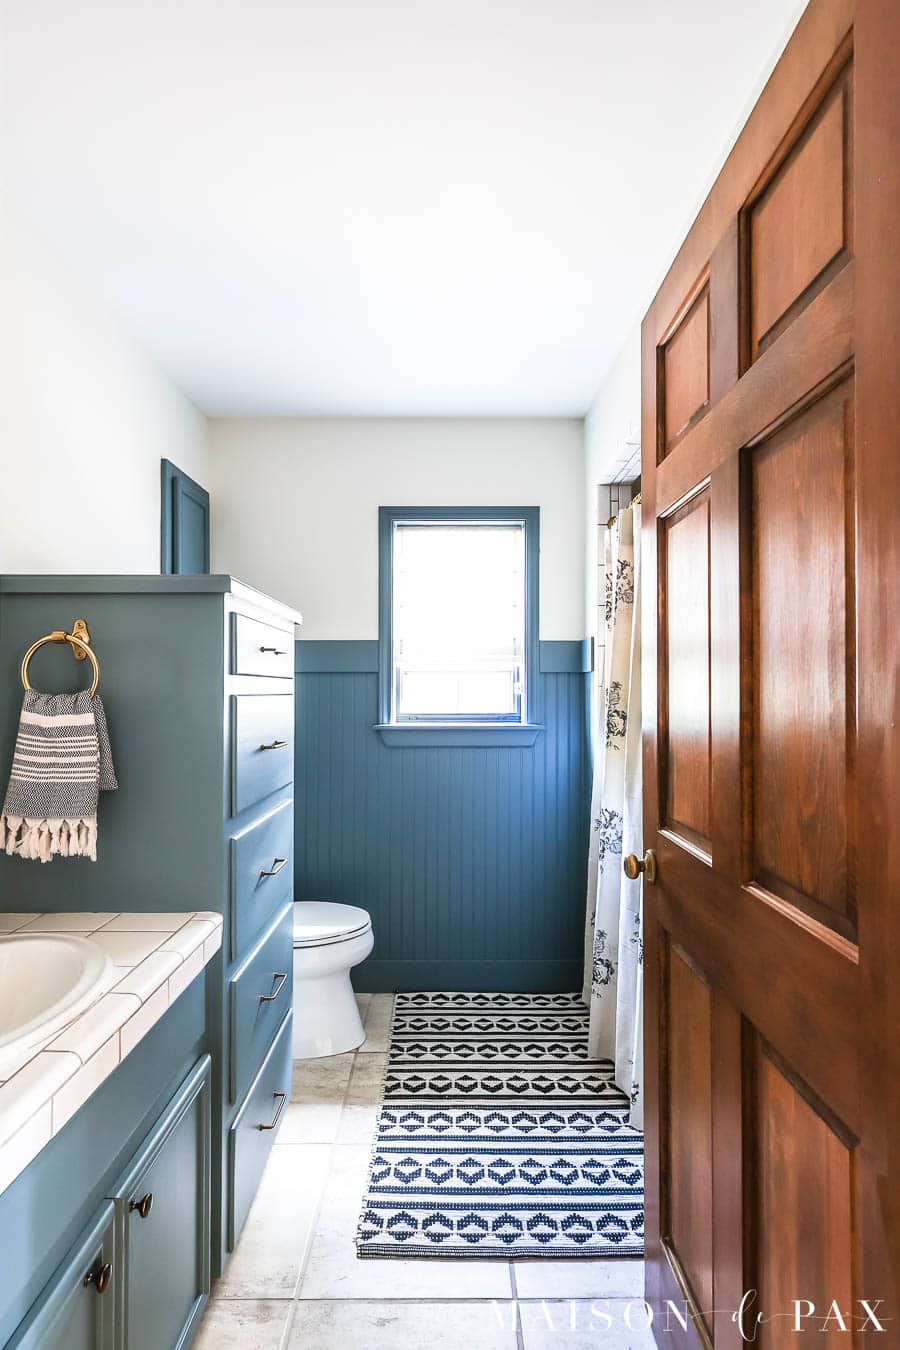
The bathrooms at the ranch originally had some rustic charm, but they were worn out and ready for a change. So I recently decided it was time to give one of them a fresh face with a little bathroom makeover.
I’ve got a few more steps left before I share the final before and after, but until then, I’m excited to share the single project that made the biggest difference in this mini bathroom renovation: diy beadboard. Just look at it now.

Can you put beadboard in a bathroom?
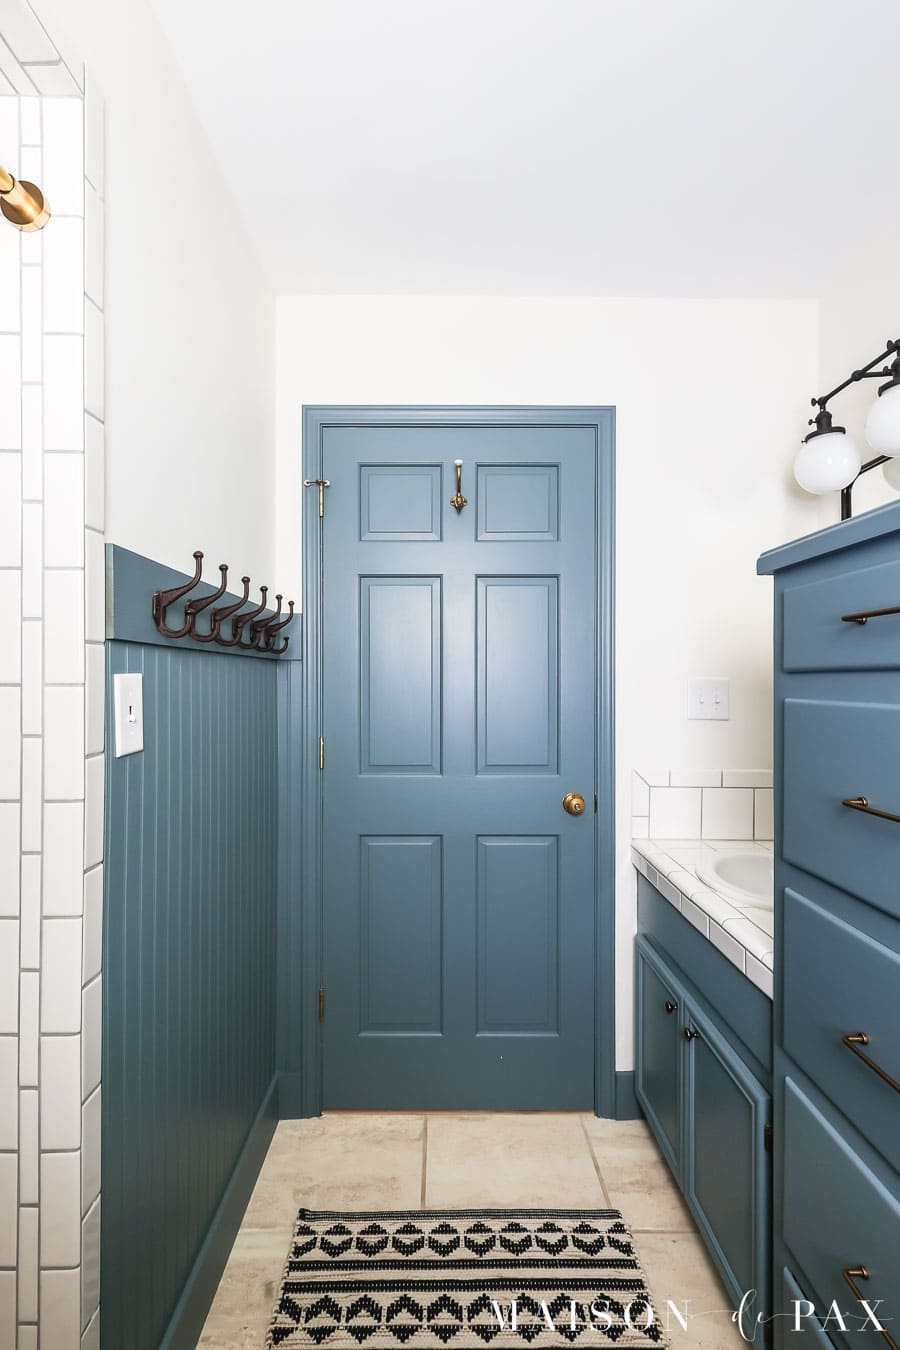
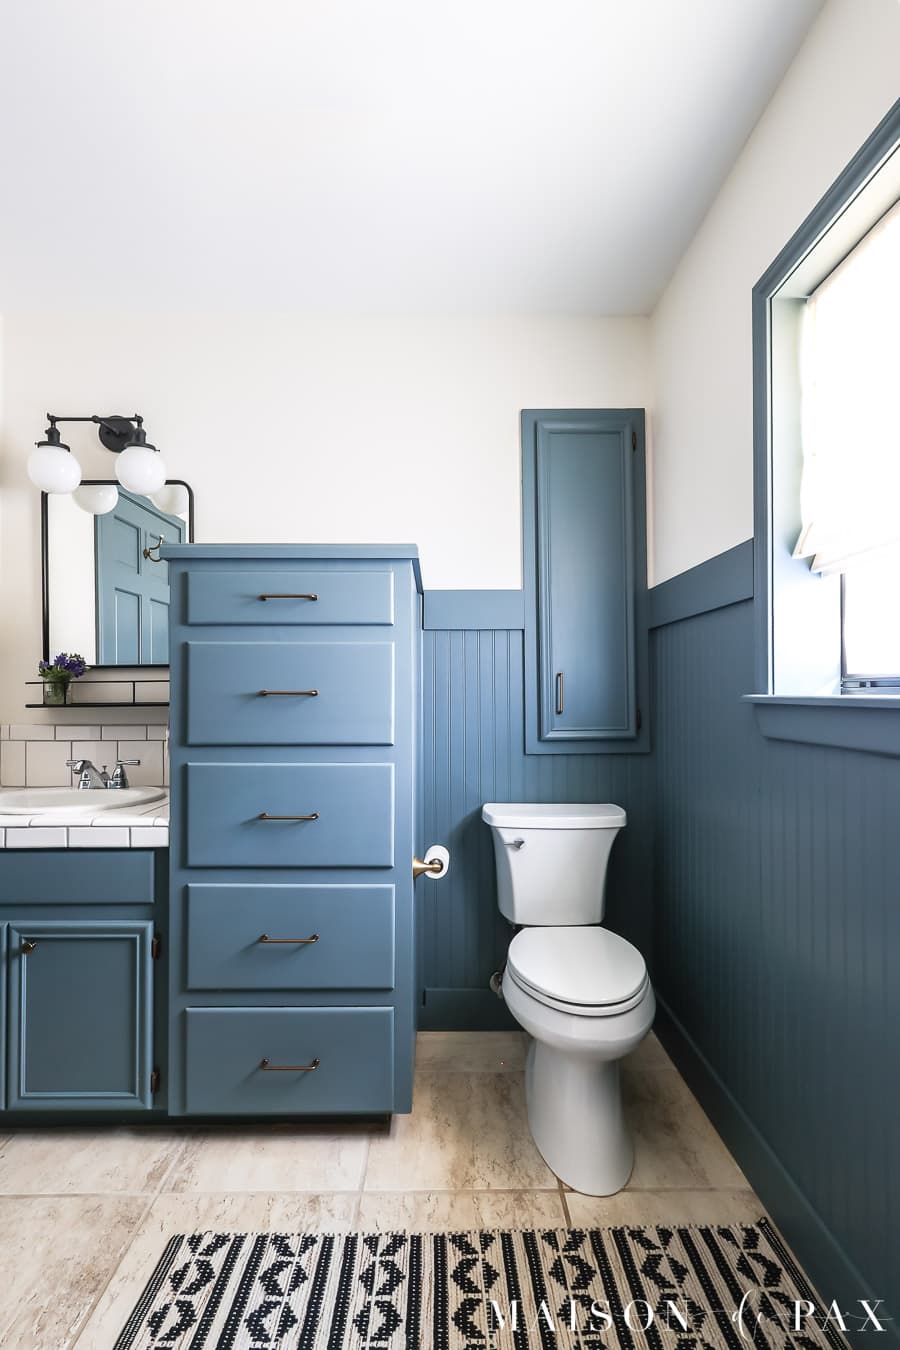
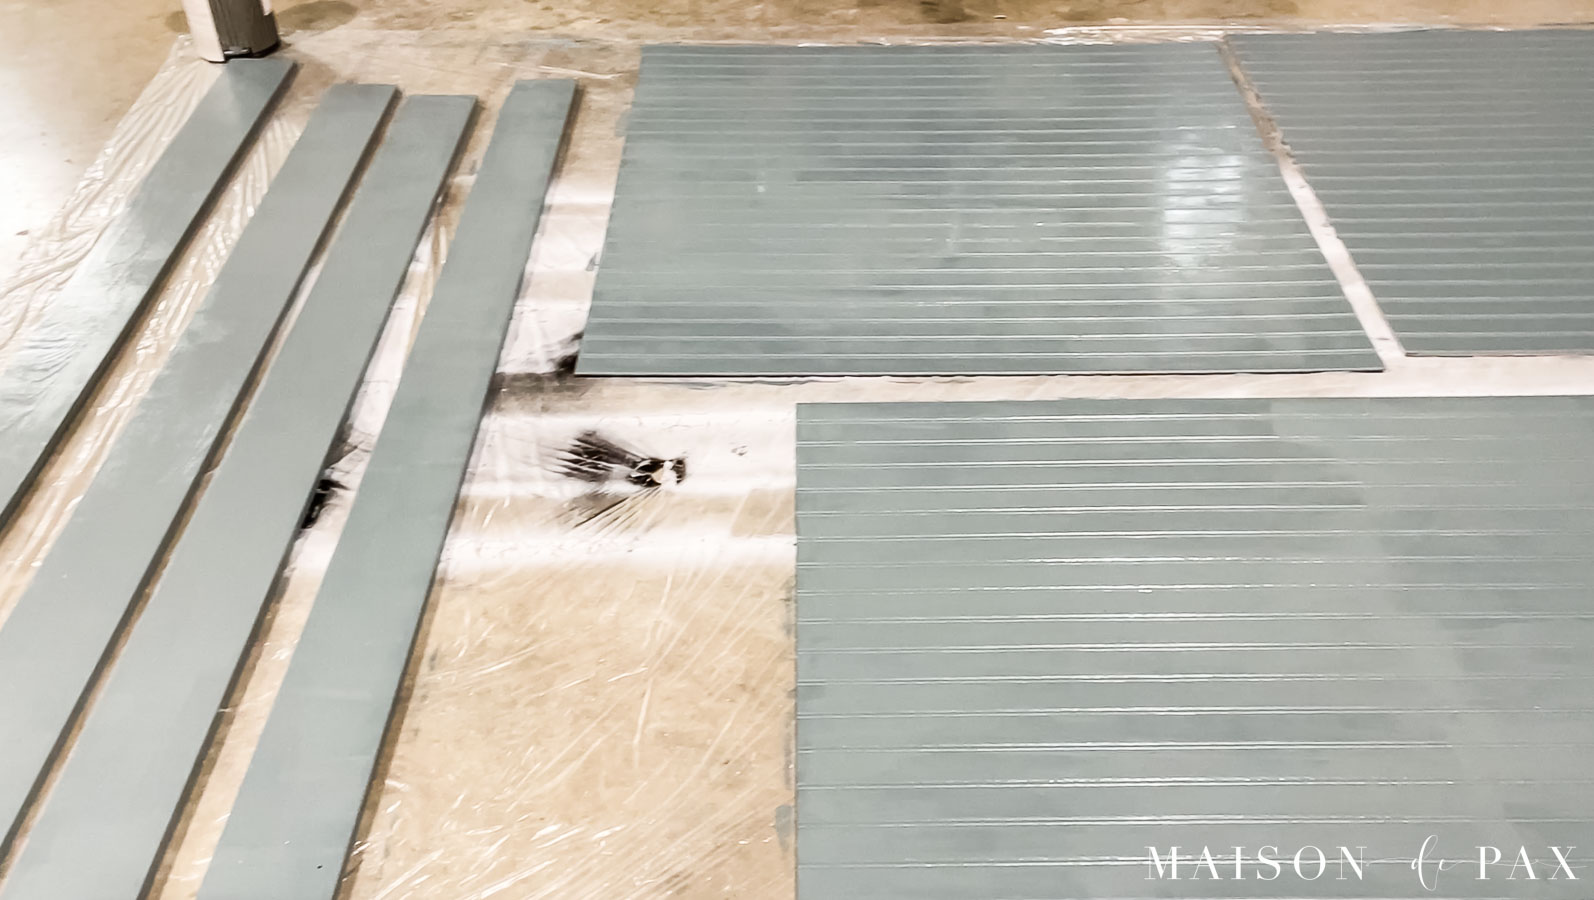
Absolutely! I love the charm that the classic wall treatment adds to the space. We have real wood bead board in the hallway just outside the bathroom, but there wasn’t space behind the toilet for real bead board or tongue and groove planks, so we decided to use 4’x8′ mdf panels. These are cost-effective and make installation quick and easy.
How does beadboard hold up in a bathroom? Ours has done great; I love the additional durability of paneling over sheetrock. A word of caution, though. Mdf is not moisture resistant, so if I were installing this behind a tub or in a more wet area behind the vanity, I would probably choose vinyl beadboard instead.
Materials Needed to Install Beadboard
- Paneling: beadboard panels, 1×6 boards for trim and baseboard
- Electric Tools: table saw or circular saw, miter saw, jigsaw, brad nailer
- Hand Tools: stud finder, caulk gun, putty knife
- Other: construction adhesive or liquid nails, paintable caulk, wood filler
- Paint Supplies: primer, paint, brushes, rollers, etc.
How to Install Beadboard Wainscoting
How do you attached beadboard to drywall? Should I glue or nail beadboard? Don’t worry, here’s a step-by-step video tutorial. Plus, I’ve got clear written instructions below.
- Prime and Paint*
I chose to paint the white beadboard and trim boards all together before I installed and touch up later since painting paneling in a tight space is tricky! One coat of primer and two coats of satin or semi-gloss paint will do the trick. If you intend to paint the vanity or window frames, you can do so now.

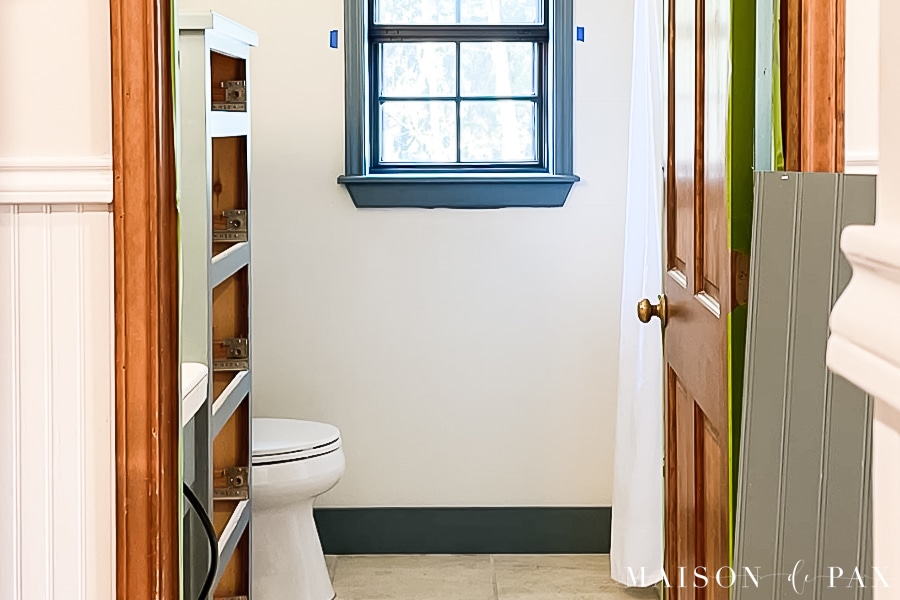
- Remove Old Trim, Find and Mark Studs
Before installing any paneling, remove the old baseboards then use your stud finder to mark the studs in the room. Unless you intend to paint or install wallpaper later, I suggest using a pencil where the paneling will cover and painter’s tape above the finish level of the paneling you are installing.
- Measure, Cut, and Install Baseboards
Measure each section of wall and cut your baseboards at a 45 degree angle with the back side the width of your wall. Attach to walls using nail gun with brad nails into studs.

- Measure and Cut Beadboard
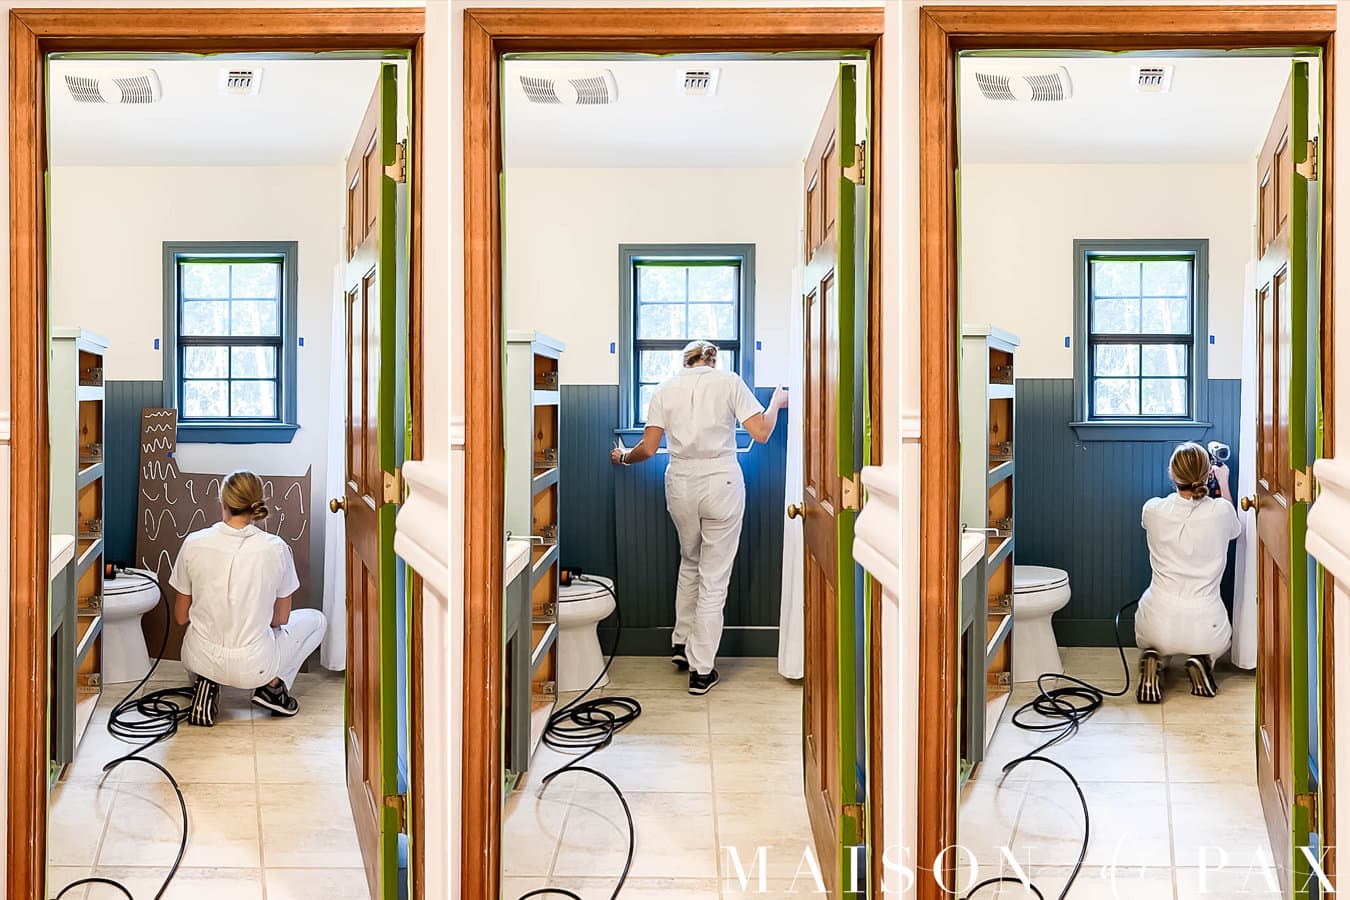
To make the most of the material, I cut my 8′ panels in half, making my beadboard just shy of 4′ tall. When you have to piece two panels together for a single wall, be sure to cut the paneling so that the beads line up properly for a continuous look. You’ll also want to measure and mark for outlets, pipes, and windows then use a jigsaw to cut out, as needed (I used paper scraps here to create a template for my window cut out).

- Install Beadboard
To install the pieces of beadboard, spread construction adhesive on the back and press the panel to the wall above on top of the baseboard. Be sure to push it tightly against the baseboard because you don’t want to have to caulk that seam. Then secure in place with brad nails in studs.
- Measure, Cut, and Install Top Trim
I chose to use 1×6 boards I already had for both the baseboards and top trim, but you could use more decorative molding if you prefer. Measure these trim pieces to go along the top of your beadboard panels. Press tightly against the top of the panel and secure into studs using the brad nailer. This top board makes a perfect place to add sturdy decorative hooks with screws.
- Fill Holes and Seams
Fill nail holes with wood filler and seams with a bead of caulk. Let dry. I would not recommend caulking between the beadboard and the trim, as it is very difficult not to make a mess with caulk in the grooves.
- Touch up Paint
Add a final coat of paint where needed, especially wherever you filled and caulked.

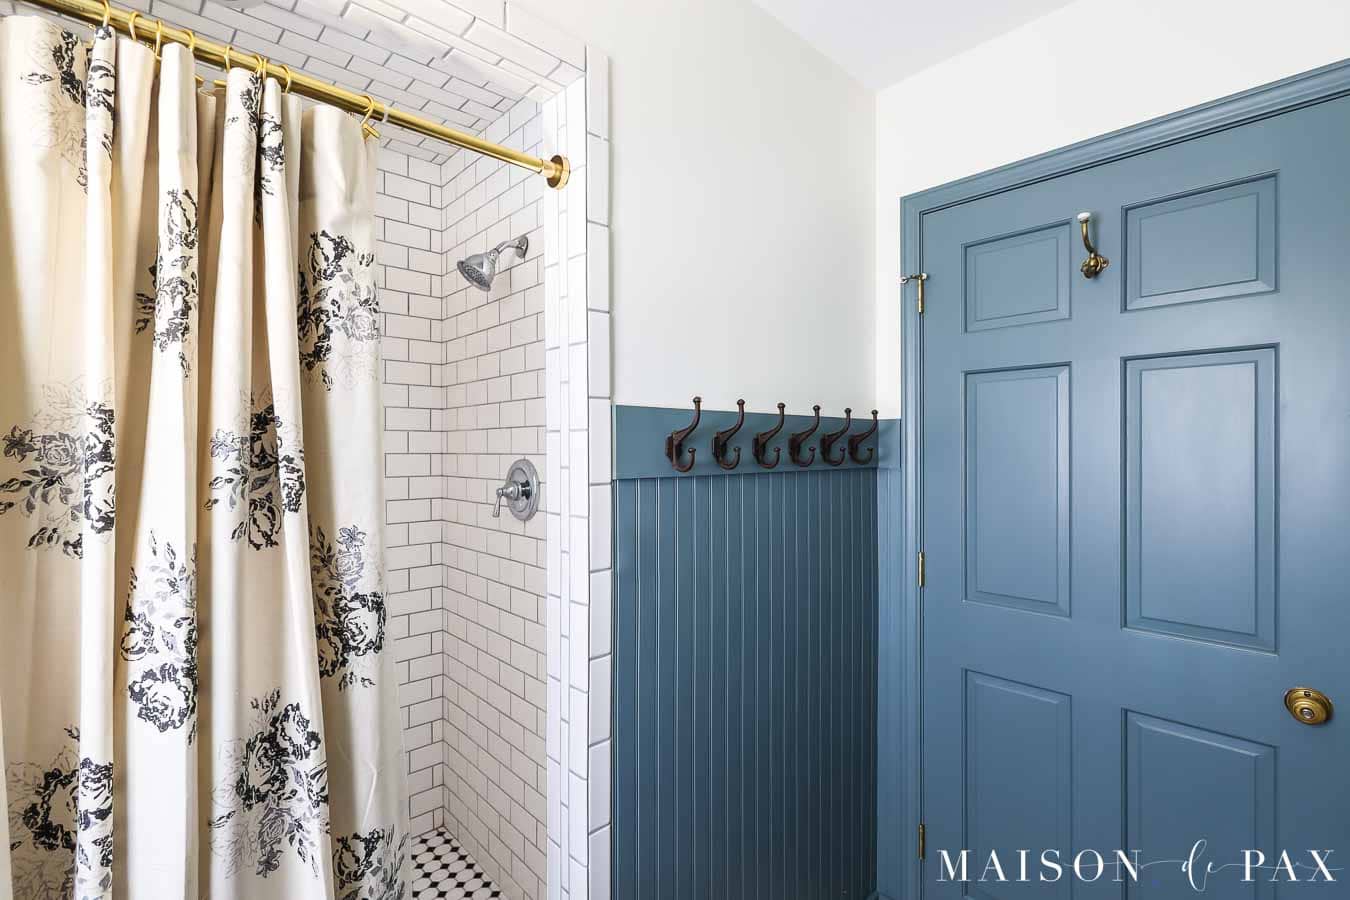
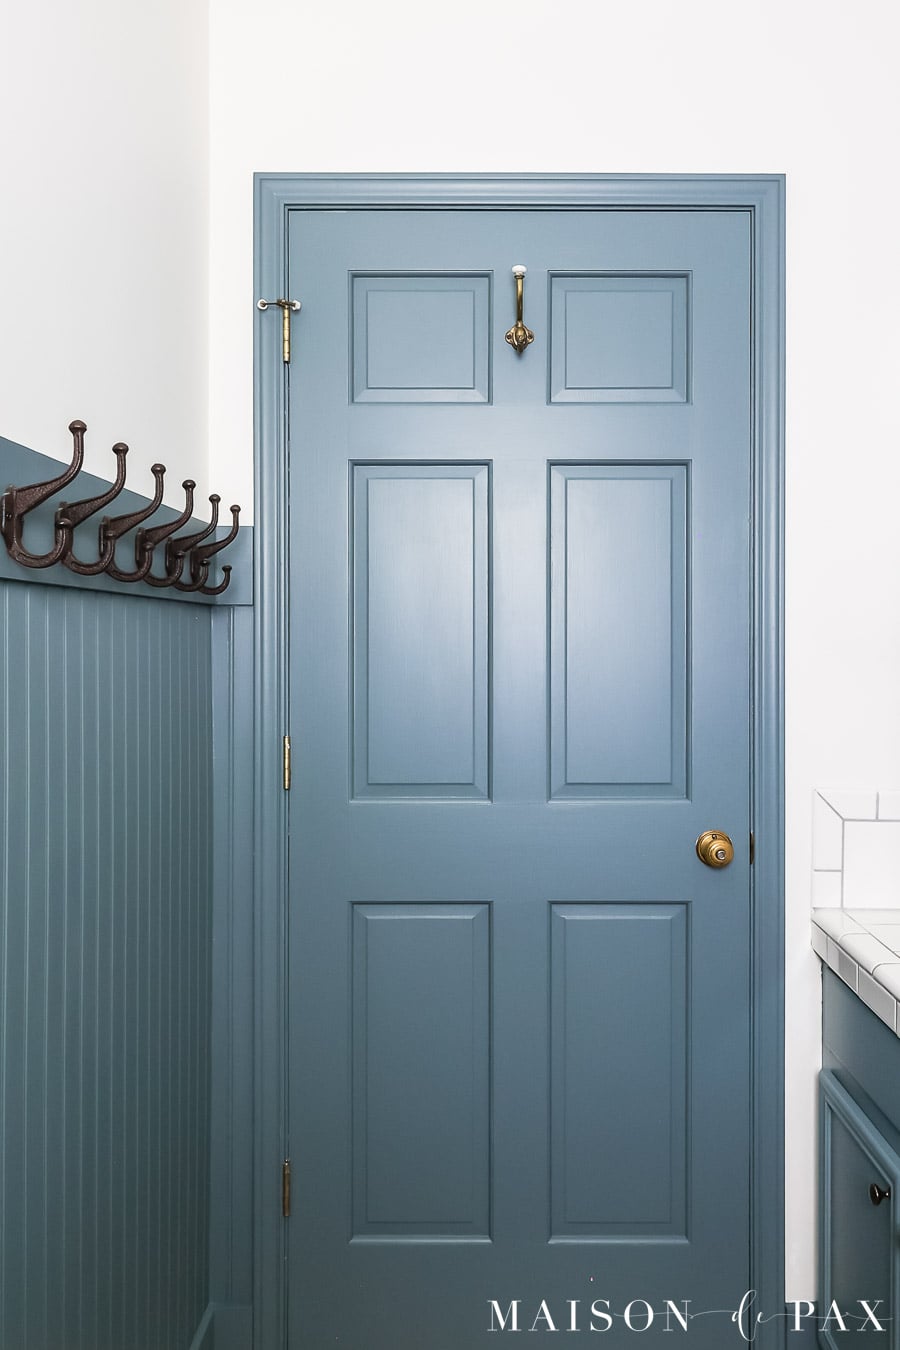
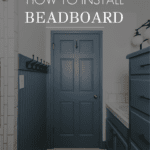
Beadboard Bathroom
I can’t wait to show you the full space when I’m finished with it. Similar to the board and batten that I installed in the ranch master bath, this adds both functionality and charm.
A diy beadboard wall would be perfect in a powder room, laundry room, dining room, hallway, or bedroom. And beadboard is a type of wainscoting that can go with more traditional or more modern styles. I hope this tutorial encourages you to give it a try!
Hi Rachel!
This bathroom update is so lovely! Would you be able to share the color of blue you used? It looks like the perfect color for our own bathroom project. Thank you!
Hi Maria! It’s a custom color from Sherwin William designed to match Farrow & Ball’s De Nimes.