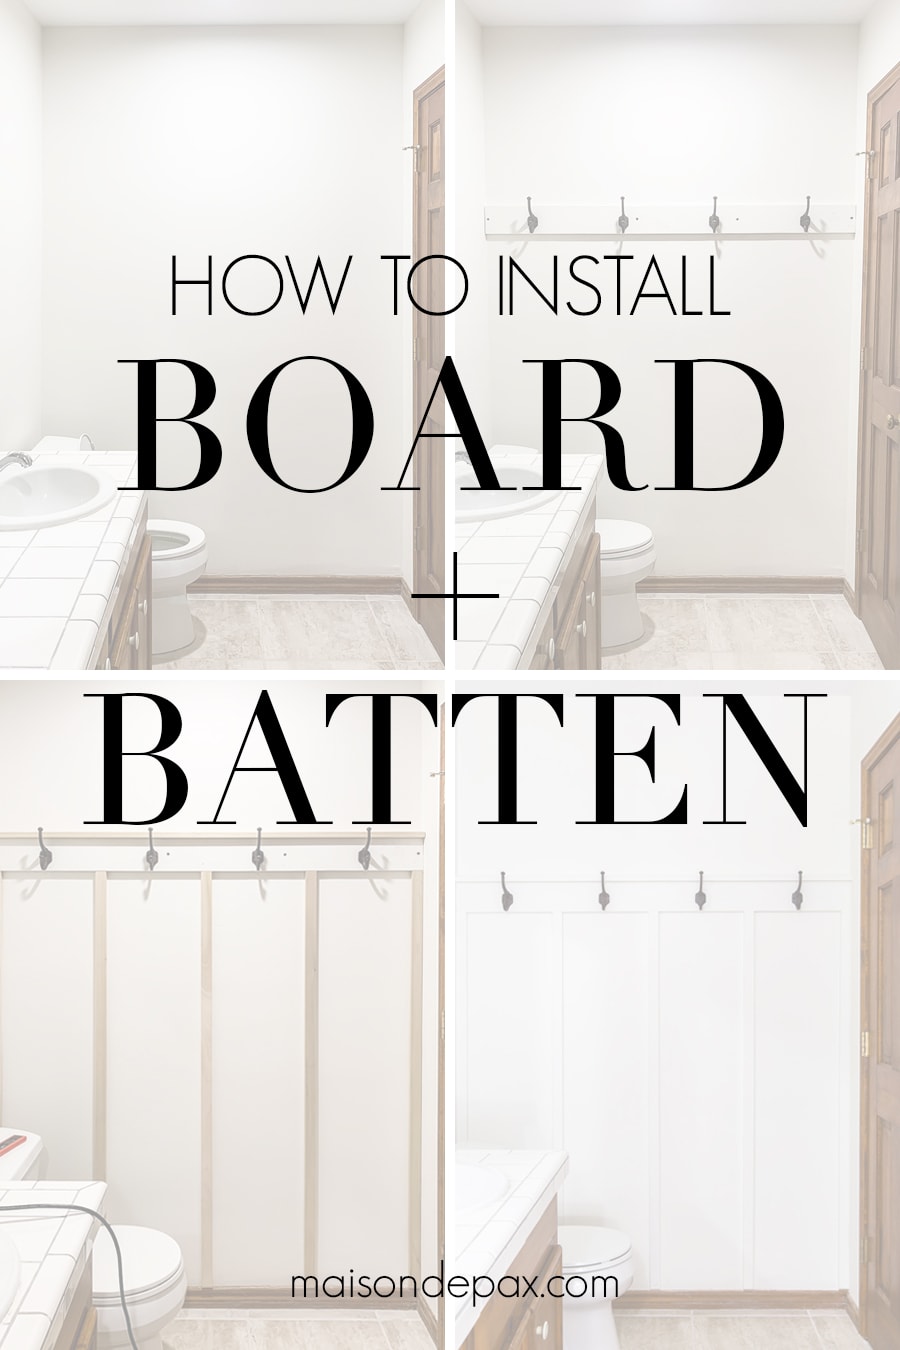
Board and Batten Tutorial DIY
Board and batten is the perfect, classic, functional wall treatment. Find out how to install board and batten hooks in your home with this simple tutorial!
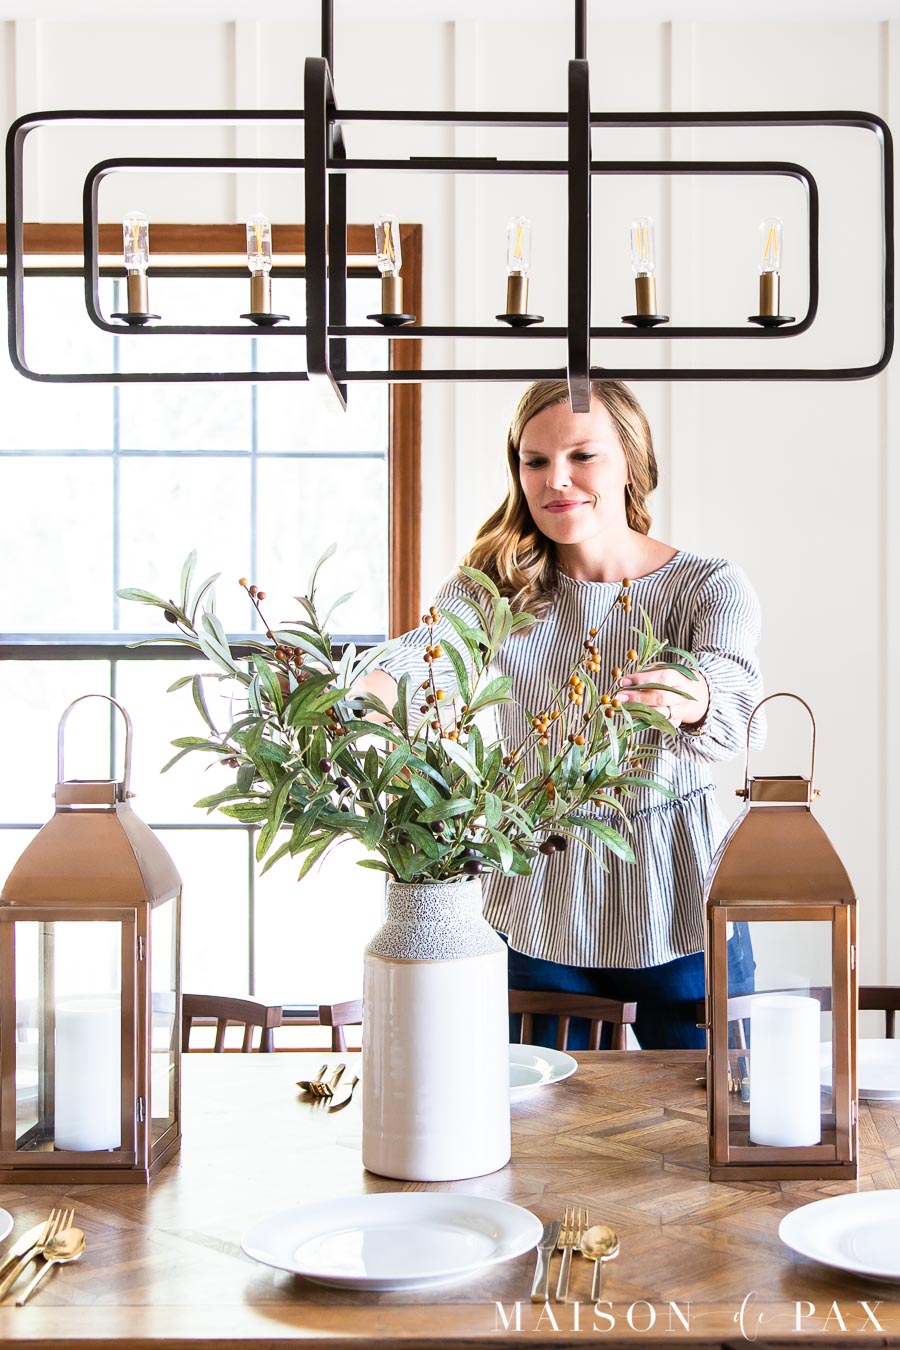
I realize that I’m far from a true minimalist, but the more kids I have, the simpler and less cluttered I want my home to feel. As such, my decorating style has moved away from more stuff and towards classic molding and wall treatments that bring style and functionality without crowding a space.
And a board + batten wall treatment is about as classic as they come.
Even better, as far as diy projects go, it’s easy to do (even if power tools are not your forte). And it’s one of those little home improvement projects that provides both beauty and a little value to your home.
Where to install board and batten
You can install it in your living room for visual interest. Your entryway for hanging bags and coats. Your bedroom as a kind of headboard or accent wall.
Your hallway as a custom upgrade. Your dining room as a kind of modern wainscoting. Pretty much anywhere you want! It’s a great way to add function to a small space like an entryway or guest bathroom.
Board and batten siding on a home’s exterior is even beautiful! Something about the vertical battens is soothingly simple yet visually interesting.
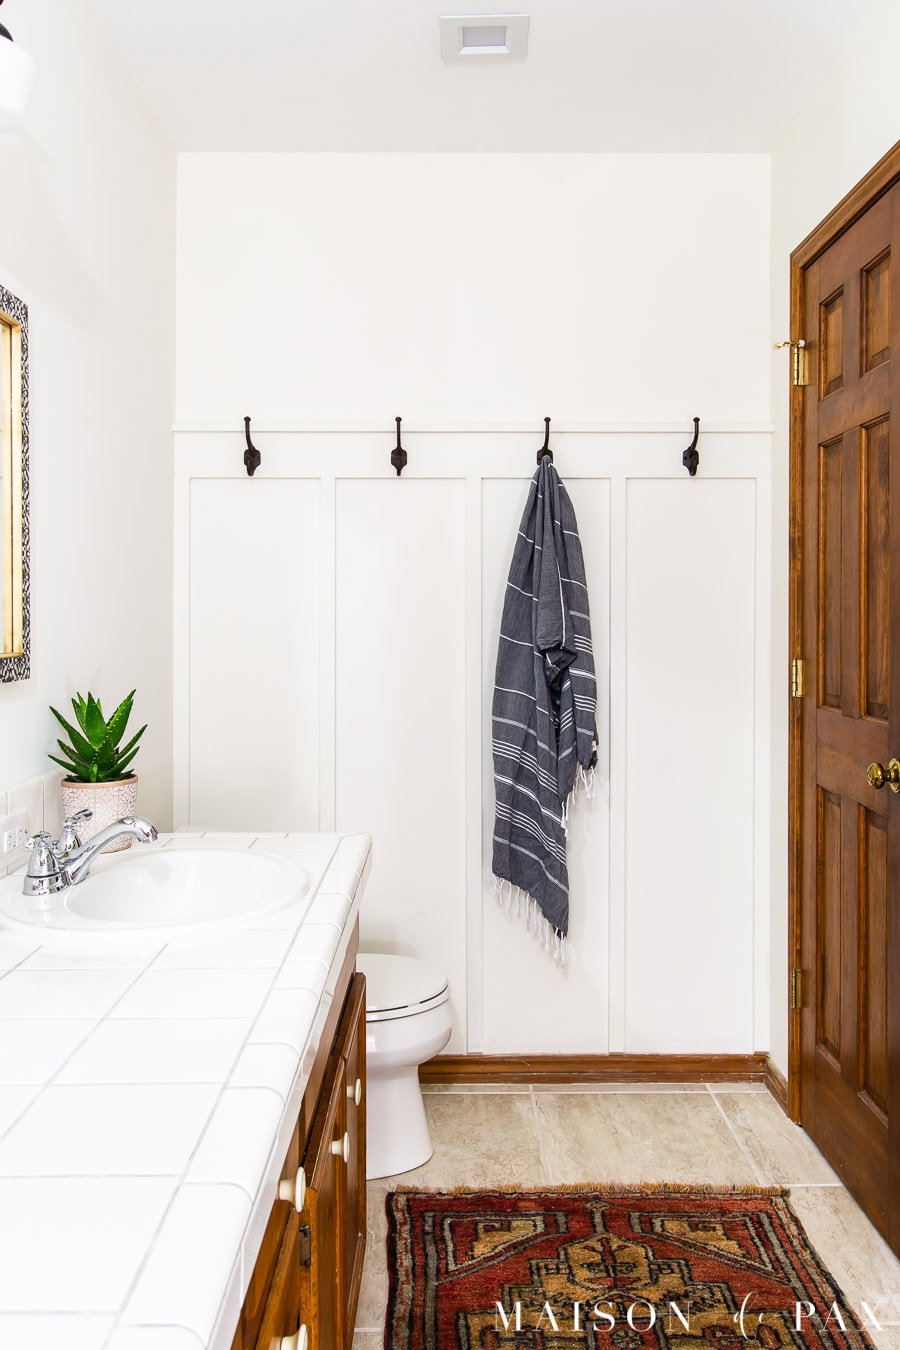
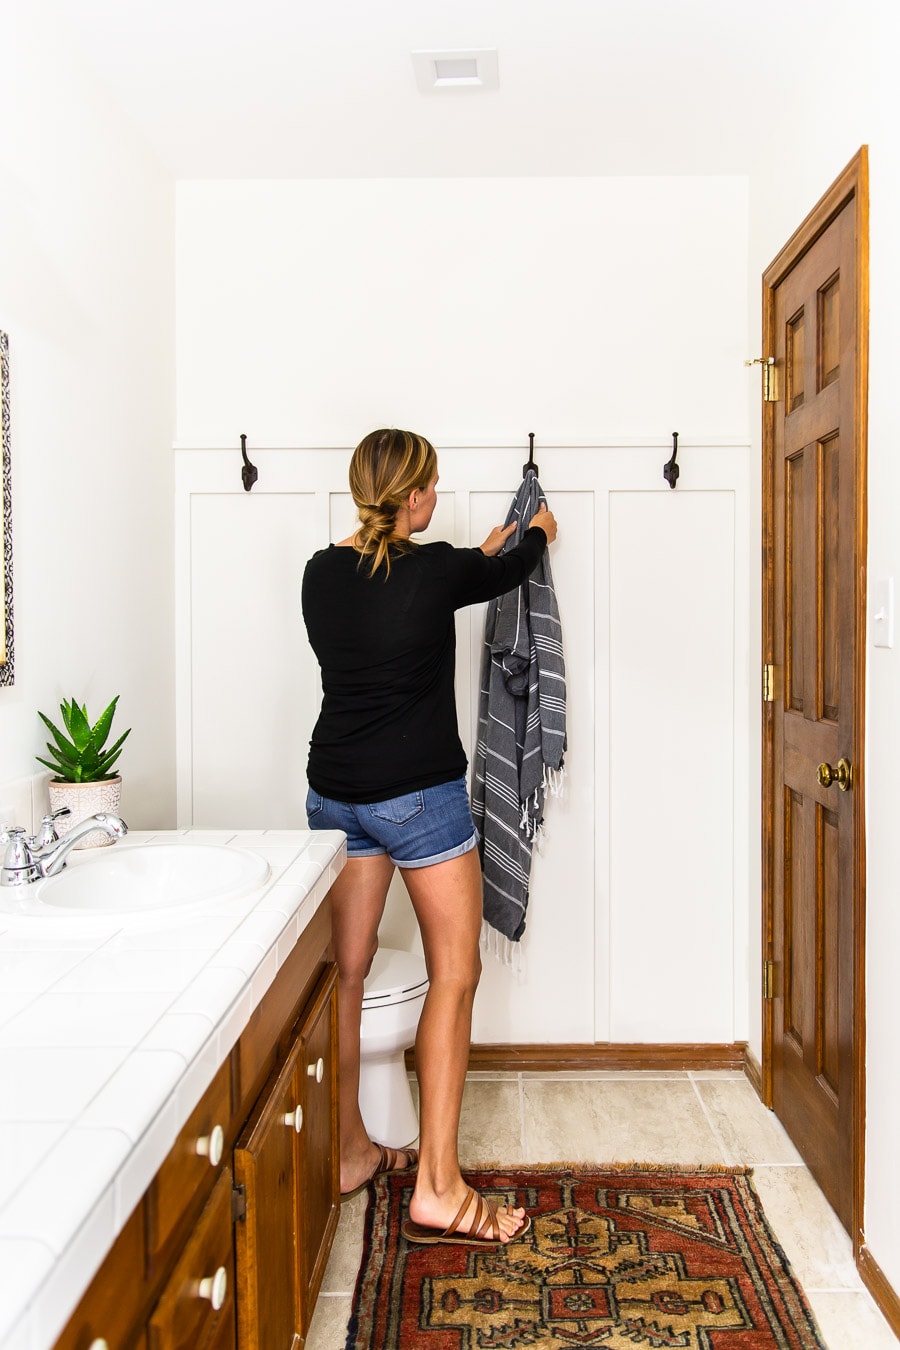
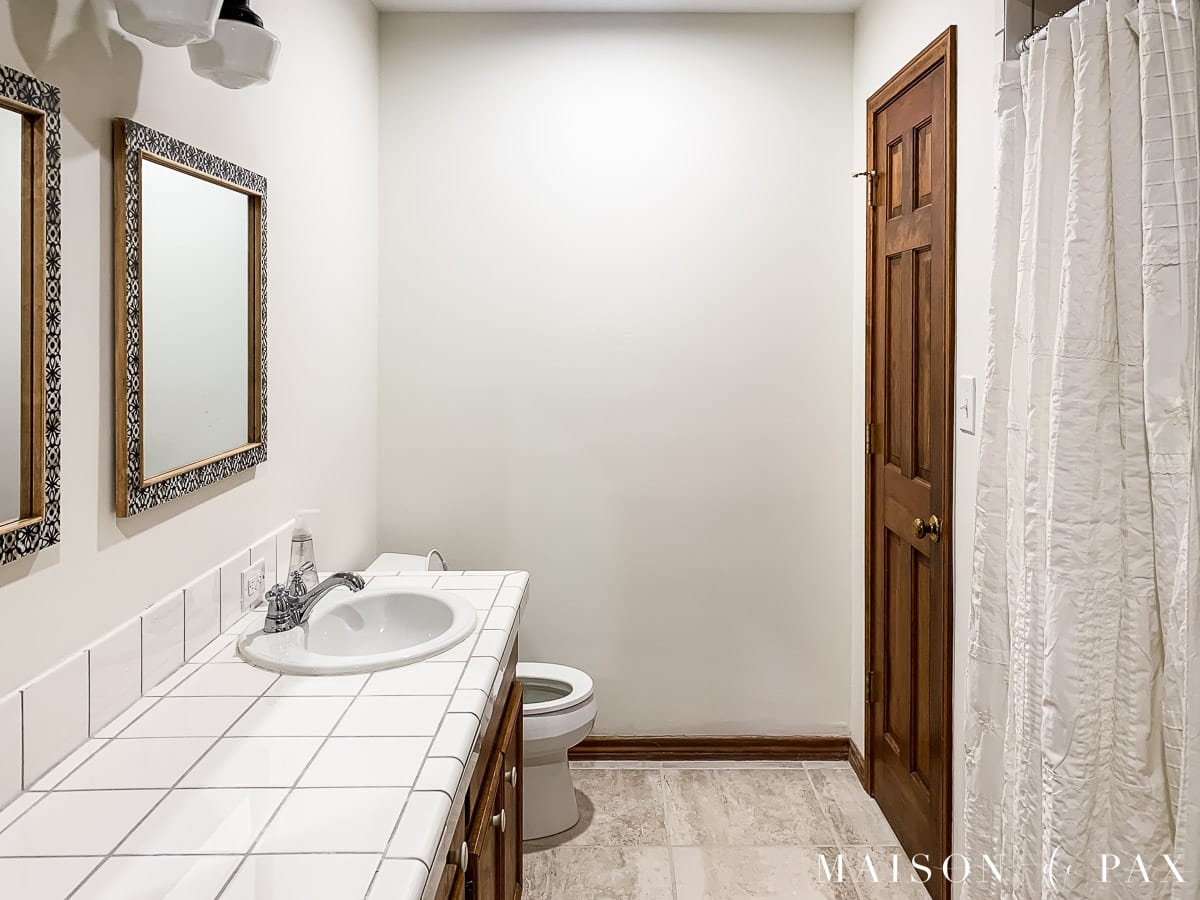
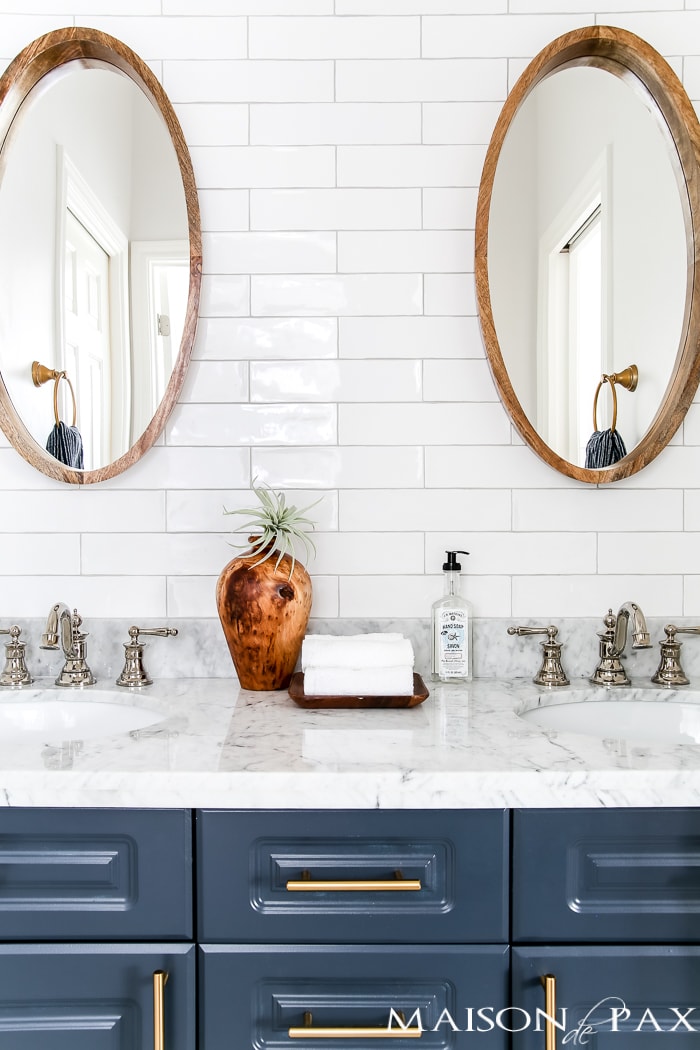
I chose to add a b+b accent wall in our master bath at the ranch to provide a hook wall for towels, swimsuits, etc. This is especially helpful since we often have guests there, which means extra towels and swimsuits.
This post contains affiliate links. Click here to read my full disclosure.
Faux Board + Batten
Just to be clear, this is not technically board & batten. That consists of wider flat “boards” and narrower “battens” to cover the seams. I decided, though, to skip the vertical boards and just add the battens to the wall. This is an easier DIY, but still gives the look of b&b and allows for a sturdy board to support my towel hooks.
If your walls are textured, though, you may want to consider using the boards… otherwise it is easy to tell that you simply put strips on top of your sheetrock. You could also use joint compound to skim coat the area smooth. On the other hand, if texture doesn’t bother you, you can absolutely go for it!
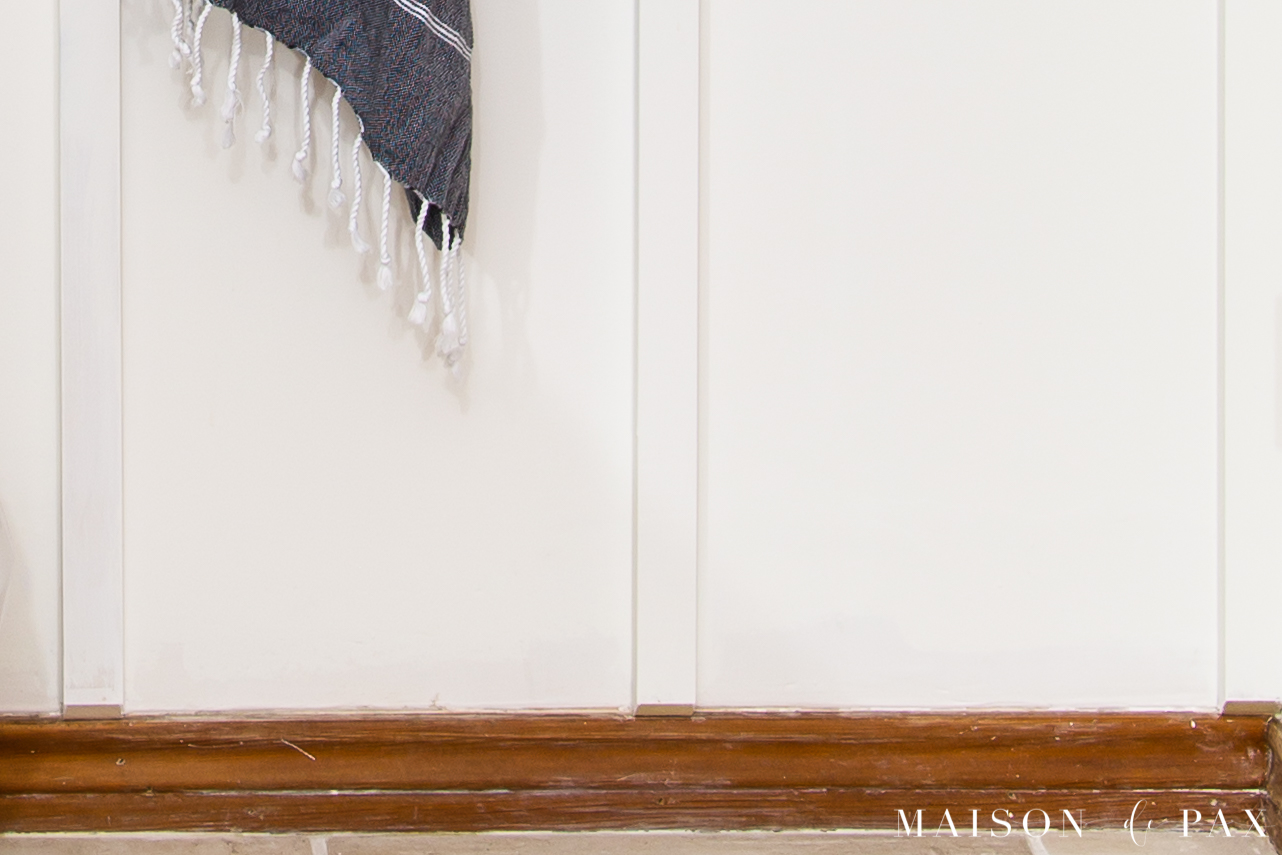
I have also been asked whether b+b should be install above the baseboards or in place of them. For this room, we opted to keep the current baseboards since the entire bathroom has the original wood baseboards of our little farmhouse. We instead added a little 45° angle to the bottom of our battens so they would blend better into the baseboard.
However, if you are doing an entire room with board & batten, I would probably recommend removing any baseboards with decorative edges and instead using a 1×6 to match the 1×6 that will make up the top of the board and batten accent wall.
DIY Board and Batten Tutorial
Materials Needed:
- 1×6 board: the length of your wall for the horizontal top (or 2x the length of your wall if you intend to use 1×6 for the baseboard, as well)
- 1×2 board: the length of your wall (for the decorative ledge) + the height of your wall treatment x the number of battens you intend to install (see below for measuring tips)
- chop saw or miter saw (similar)
- hooks
- drill and screws
- level
- liquid nails or construction adhesive
- nail gun and nails
- caulk and wood filler + putty knife
- sanding block
- primer and paint, brush
How to install board and batten wall treatment:
- Clean and paint
It’s always a good idea to clean and prep your space before beginning projects. It is also best to go ahead and paint the wall where the board and batten will go whatever paint color you intend to use for the trim work.
Tip: It’s easier to use a roller now than a paintbrush later!
You can also pre-prime (or even paint!) all your trim pieces now if you like.
If you want to replace the baseboards with a 1×6 to match the top trim piece (which is optional, see above how we handled this), now is the time to remove the previous baseboard.
- Measure and cut your horizontal trim
Measure the length of the wall where you are installing the top horizontal board, and cut your 1×6 to that length. Also cut a 1×2 to that length for the top shelf. If you are replacing your baseboard, cut a second 1×6 to that same length.
- Measure and cut your vertical trim pieces
First, decide how many vertical pieces you want to use. You will want one at either end of the trim work, but it is up to you how far to space apart the internal ones.
Tip: Traditional board + batten has them 12″ apart usually, but anywhere from ~12-18″ tends to look “right.”
Next, decide how tall you want your wall treatment to be. I chose to make my vertical battens 47.5″ tall. This allowed me to get two battens from each 8′ board (and allowed for the saw cut). Cut as many 1x2s as you are planning to use vertical battens to the height you’ve chosen.
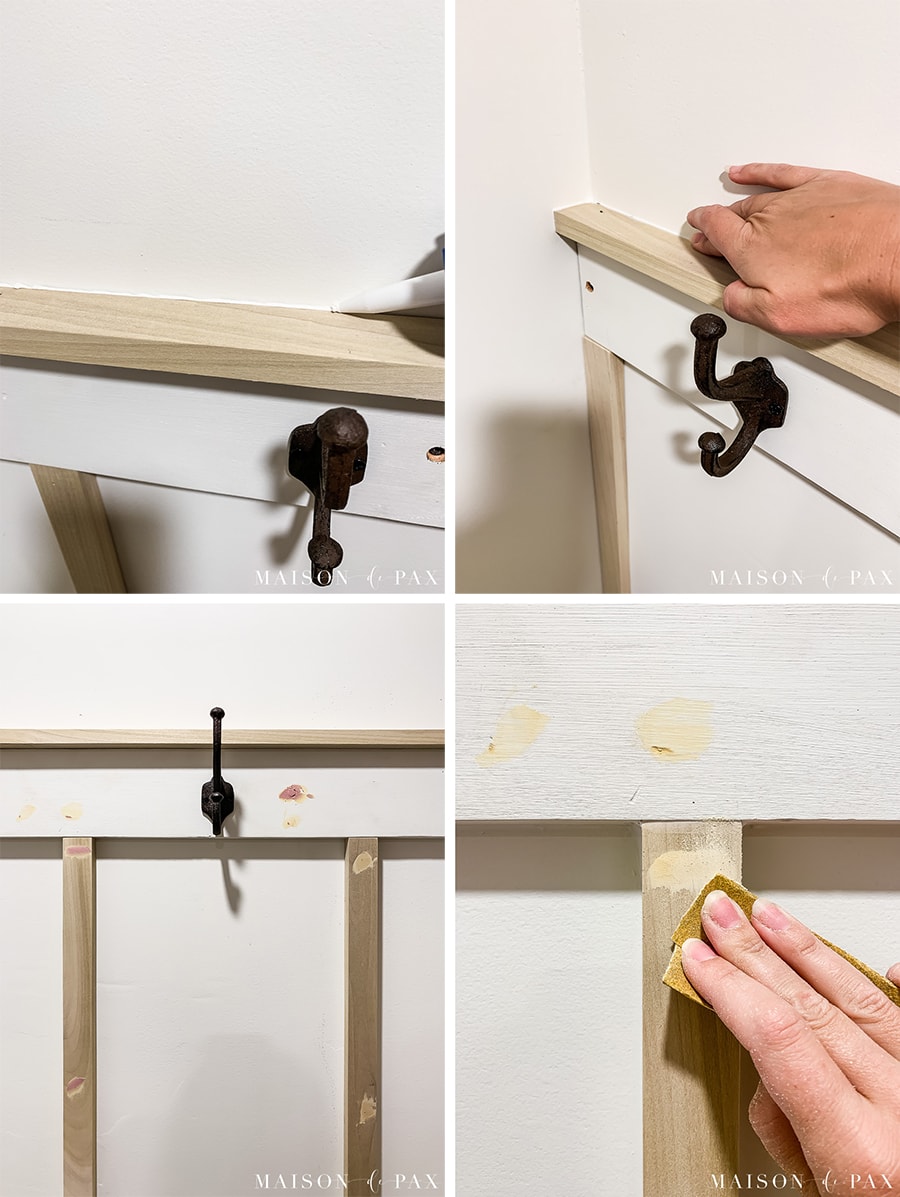
If you are not replacing your baseboard and your baseboard is not as thick as your 1×2, now is the time you would want to cut a 45° angle to the bottom edge of your battens so they won’t overhang your baseboard. - Attach hooks
Tip: Lay out your boards on the ground to help you visualize where to attach your hooks.
For support purposes, you could attach them anywhere along your 1×6 board… but visually, you will want them to be balanced with your vertical pieces. As you can see, I chose to center mine on the spaces between my vertical battens.
Using your drill, attach your hooks.
- Install horizontal trim
Using a stud finder, mark the studs along the wall at the desired height.
Tip: Hold up your vertical trim pieces that you’ve already cut at either end of the wall to ensure you get the horizontal piece at exactly the right height!
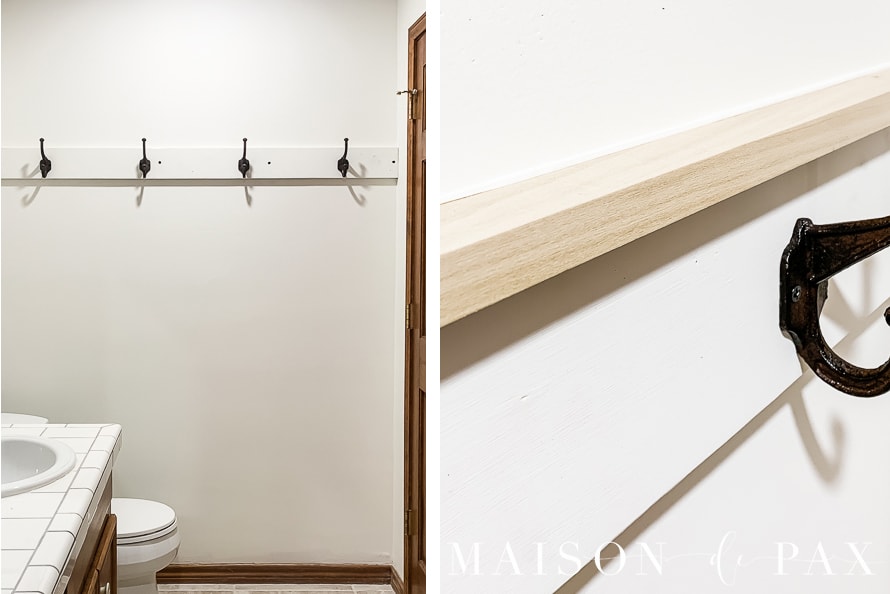
Using 2″ screws (and your level if needed), install the horizontal board with hooks on the wall. Countersink the screws to make them easier to fill later.
Next, lay your wall-length 1×2 top piece flat across the top of the 1×6 with the 2″ side parallel to the ground (so that it hangs out over the 1×6, creating a small shelf). Using your nail gun, attach the 1×2 to the 1×6 (shoot vertically down through the 1×2 into the 1×6) to create your top ledge.
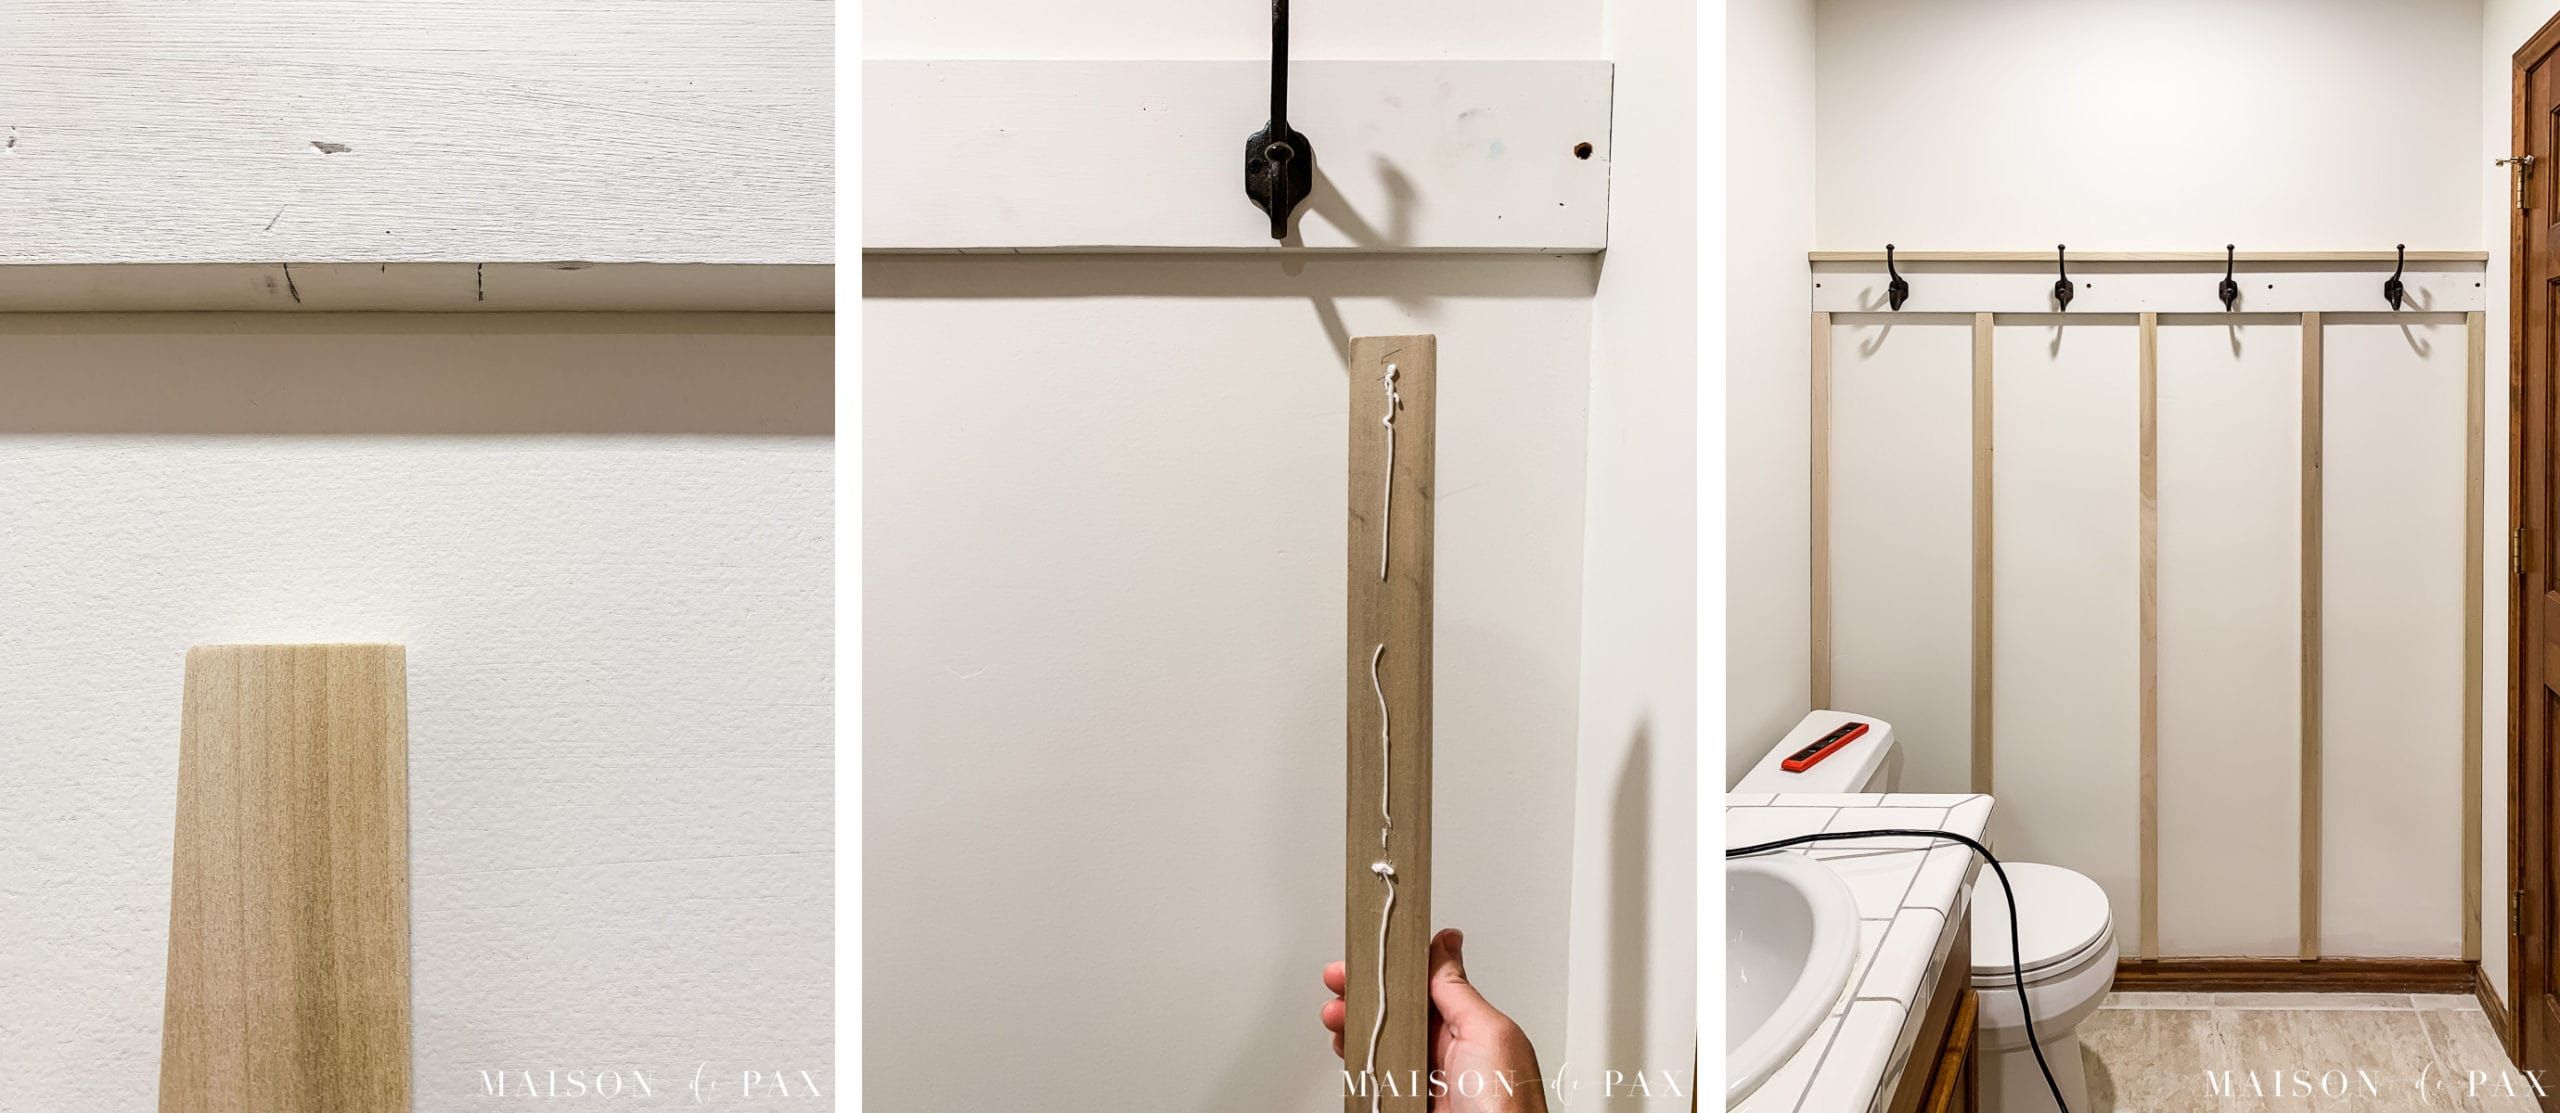
- Install vertical battens
Tip: Before installing any vertical trim pieces, measure and mark with pencil along your horizontal piece exactly where the vertical ones should go.
For each batten, run a thin bead of construction adhesive along the back. Then line it up under the horizontal trim where it belongs (use a level to ensure it is straight!) and use 3-4 brad nails from the brad nailer to hold it in place.
Tip: Be sure to put a nail at the top and bottom of each board.
- Fill and caulk
Fill all the seams with paintable caulk and all the nail holes with wood filler. Allow the wood filler to dry according to the package and then sand smooth.

- Prime and paint
Always prime raw wood before painting! Then paint the entire wall treatment your desired color. Even if you painted the boards before installing, you’ll need to give it one final coat to cover up the wood filler and caulk.
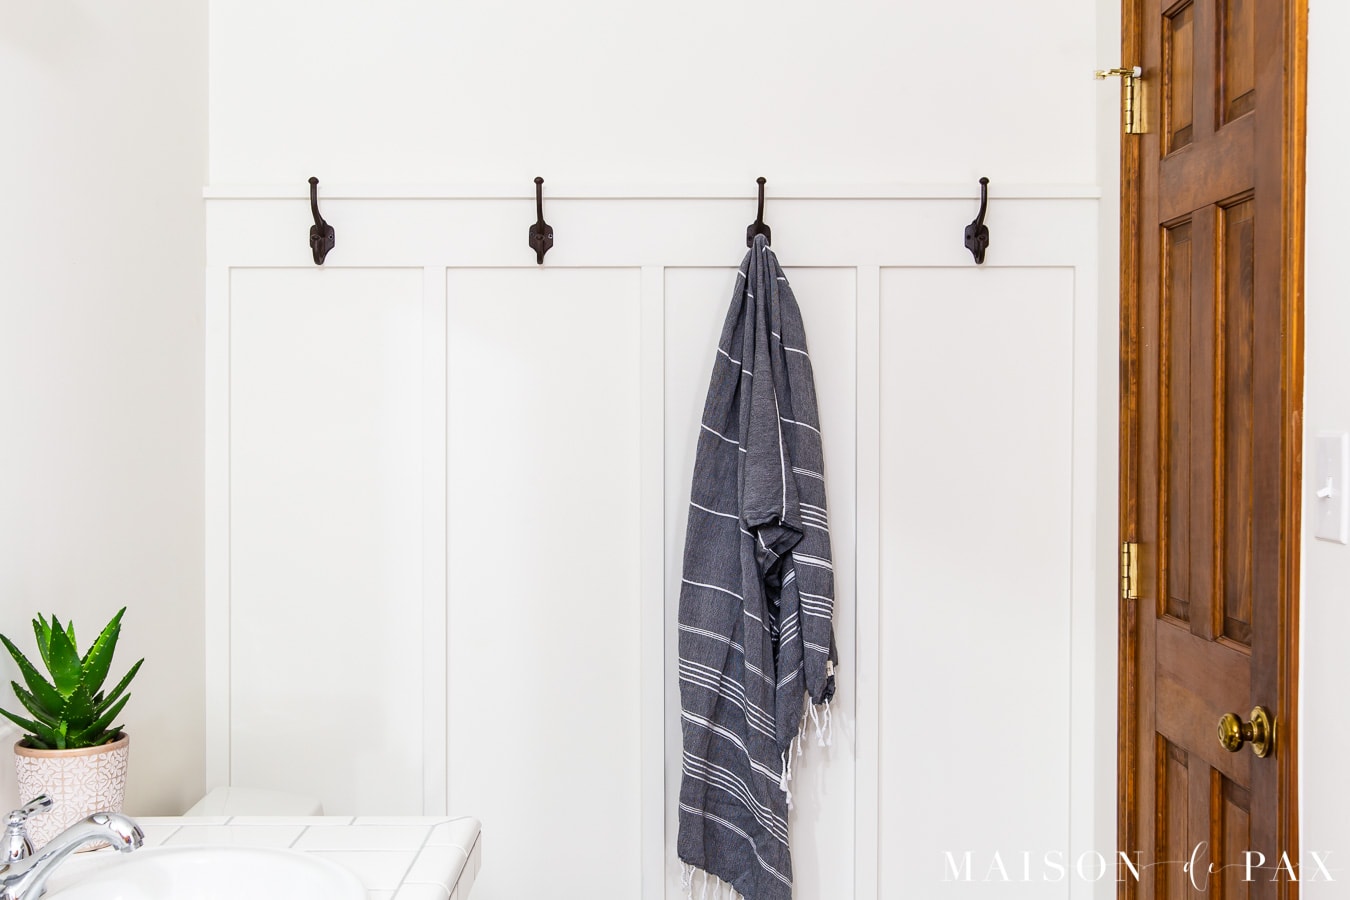
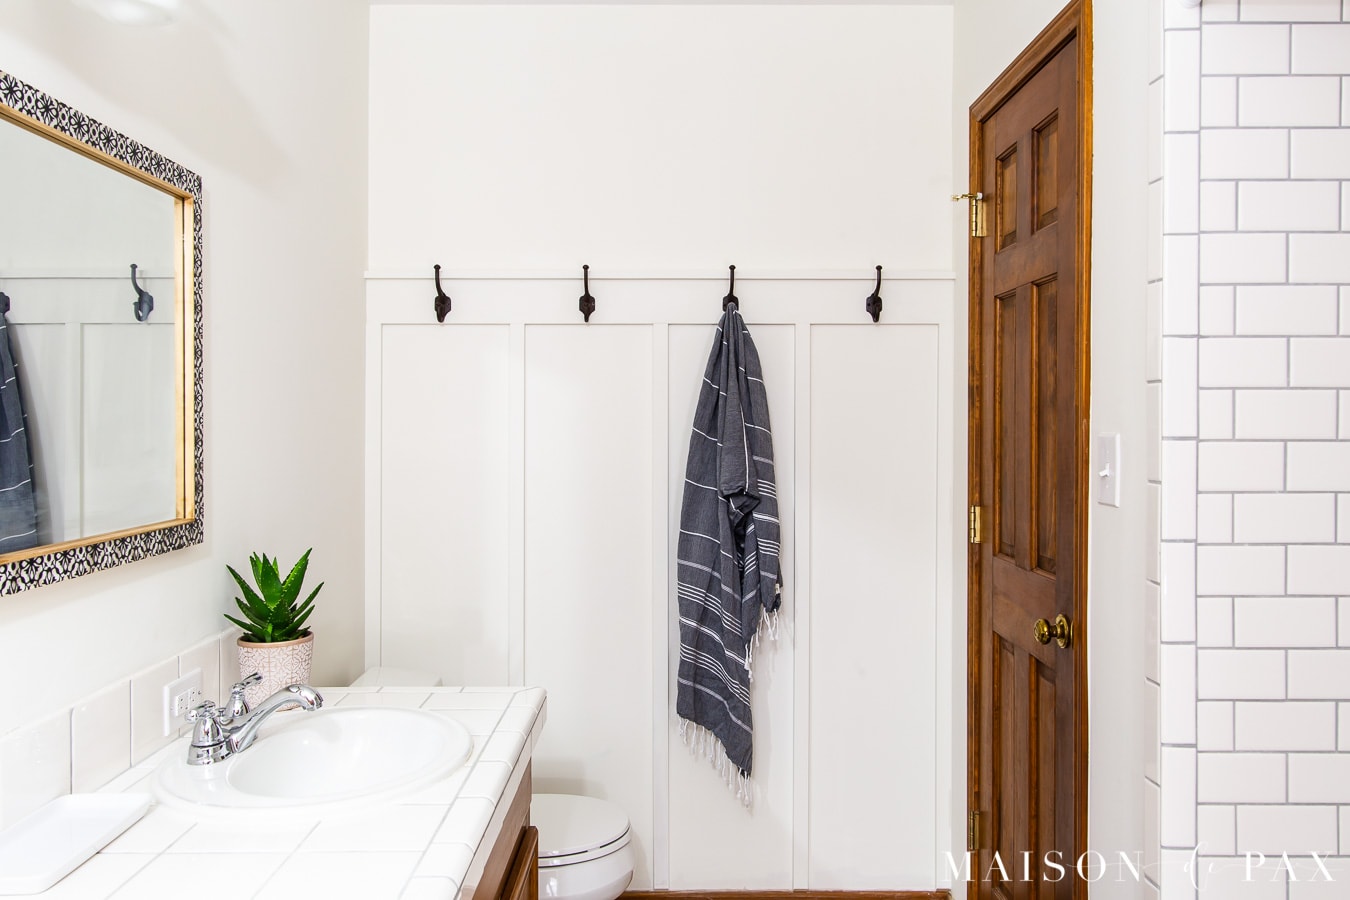
And there you have it: easy DIY board + batten tutorial.
You’ll note that we didn’t try to run the molding on the wall with the vanity and toilet. It is possible, but it would be tricky in our space as there is not enough clearance behind the toilet for the pine boards, so we would have to design around it.
We still have some more work to do on this space before I’d call it finished, but here are the sources for what little bits of decor we’ve done so far. The rug is vintage (read all about where to buy vintage rugs here), and the rest can be shopped below:

Where would you like to install board & batten? Especially with hooks, it’s perfect for a bathroom, mudroom, laundry room, and more. Be sure to pin this for later!


Looks great Rachel! One tip that may be helpful for beginners ( or at least those who may less confident using the nail gun) is that you can pre-attach your top rail 1 X 2 to the top horizontal 1 X 2 before you attach the horizontal piece to the wall. It will make it easier than trying to angle in a nail gun to shoot a nail through a thin 1 X 2. Keep up the good work!
Thanks for the tip!