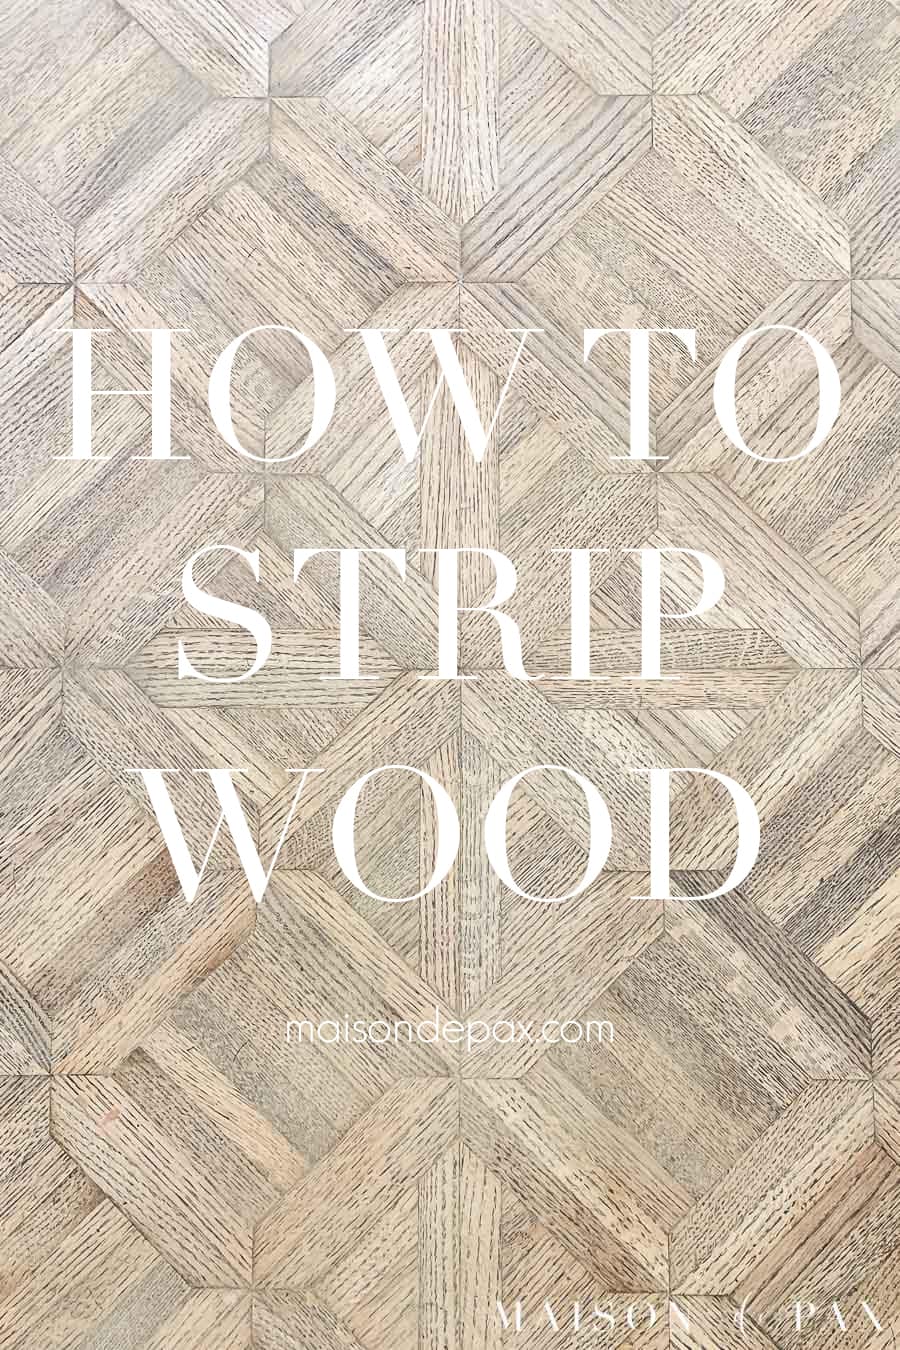
How to Remove Wood Stain and Varnish
Stripping old wood stain and varnish is the first step in refinishing Wood furniture. Find out how!
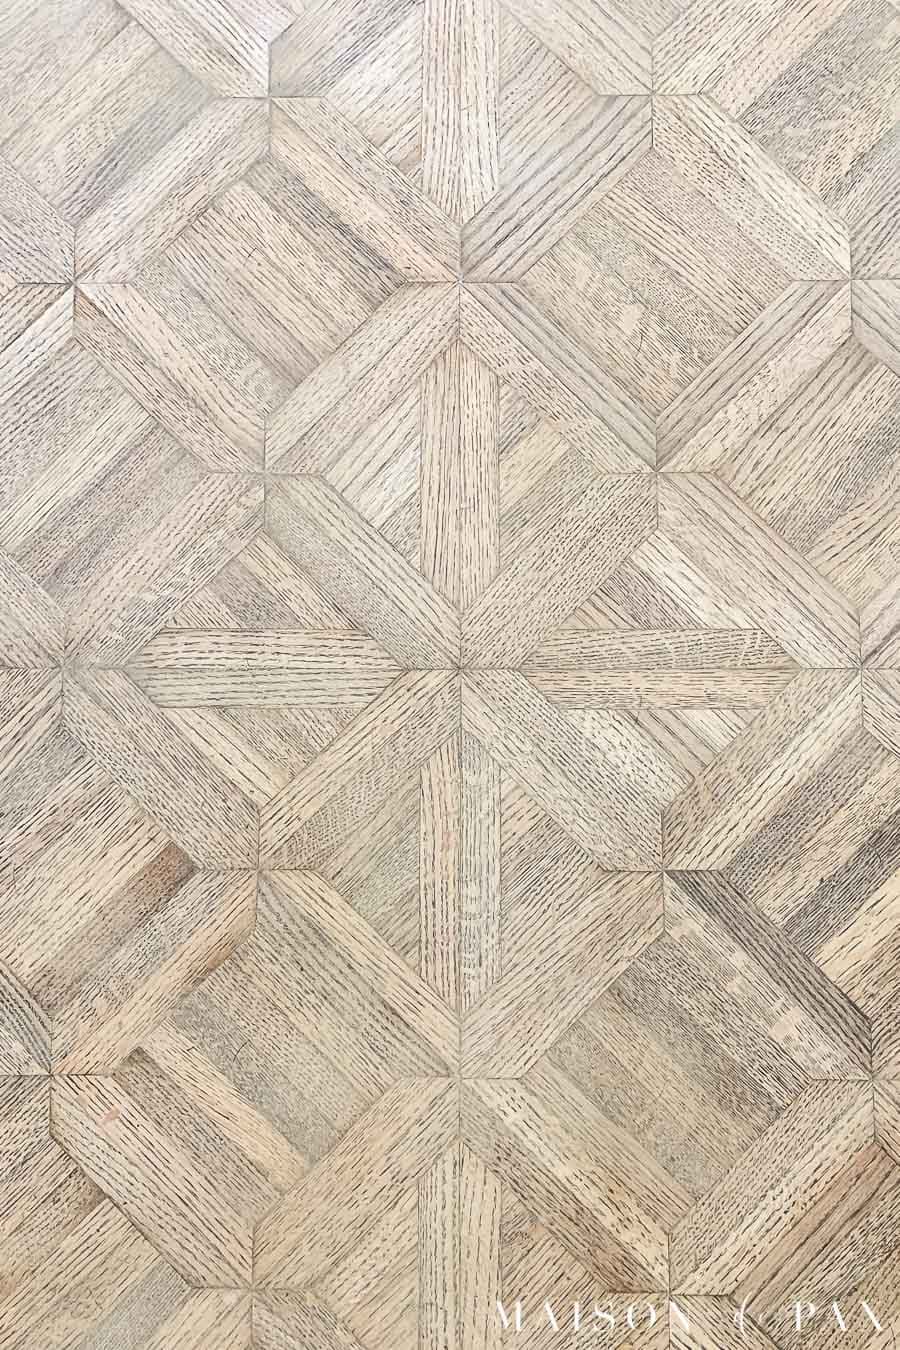
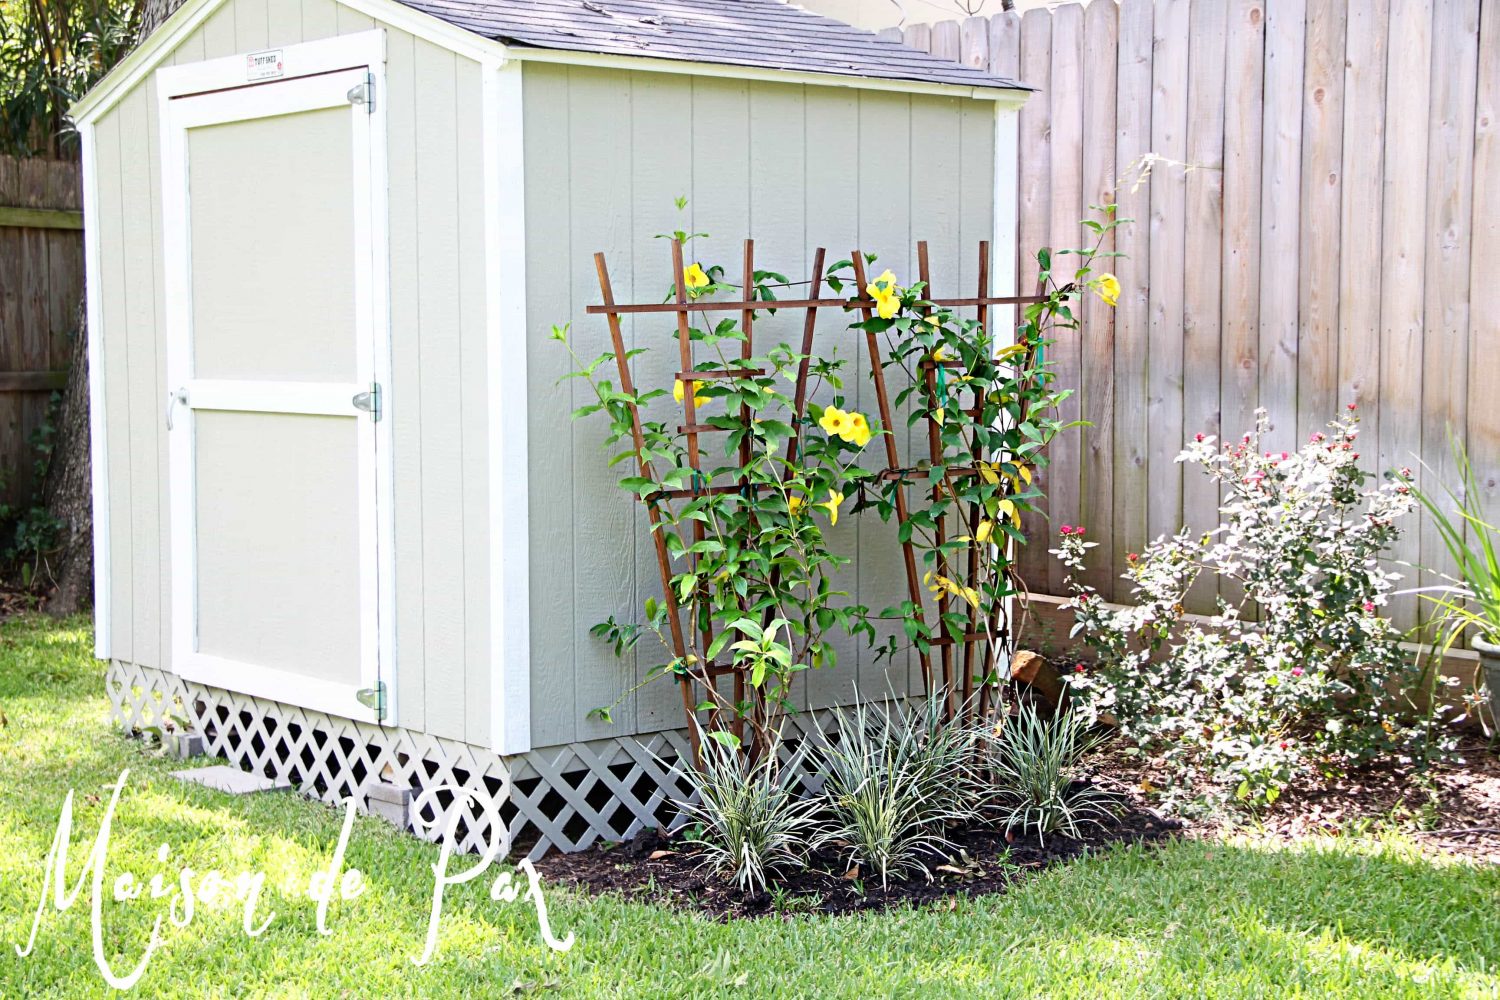
I have received numerous questions on the giant oak dining table we scored on Craigslist and refinished for the ranch dining room. But as I sat down to write the tutorial for the project, I realized that the first step – stripping off the old varnish and stain – was a tutorial in and of itself.
While there are lots of great furniture makeover options (like painting furniture) that don’t require removing the old finish, if you want the real wood to be the star of the show, then you’ll need to strip paint or stain from the piece until you have clean, natural wood.
So today I’m going to walk you through how to strip old finishes off a piece of furniture to reveal beautiful raw wood.

This post contains affiliate links. Click here to read my full disclosure.
Options for stripping furniture
Before I give you the step-by-step process I use to strip heavy varnish and stain, I want to say a few words about the various ways to strip stain from wood.
You have several options, and each has its pros and cons. You can use a citrus stripper (like Citristrip), a chemical one (like Formby’s*), or you can just sand the old finish off (easier said than done). Spoiler alert: my favorite method, though, especially when the old finish is particularly dark or heavy, is to use all three. 😉
*Note: I have been told that Formby’s Furniture Refinisher has been repackaged as Minwax Furniture Refinisher… I haven’t confirmed for myself, but the Minwax is definitely easier to come by these days, and Formby’s has gone way up in price, so I hope it’s true!
For any of these processes, you want to be sure to follow the label directions for safety precautions to protect both yourself and the area in which you are working. Be careful!
Citrus Strippers
There are two main advantages to citrus strippers. First, they are safer to use than most chemical strippers, free of methylene chloride, ketones, etc. Second, the thickness of the product allows it to remain in place on the piece (even on vertical surfaces) and often strips multiple layers at once. It is formulated to work on paint, varnish, and poly. The stripper has a pleasant citrus scent and is easy to paint on.
The disadvantage is that it’s goopy and hard to get the piece truly completely clean. I have had great success in removing the bulk of the old finish, but little to no success in using it for finer, detailed work.
Chemical strippers
Which brings me to a chemical stripper. The thin liquid is perfect for getting into nooks and crannies, and it truly dissolves the old finish, leaving the wood ready for sanding. But it is a chemical and requires all the necessary safety precautions. It is smelly and can cause skin irritation, so be sure to follow the can’s warnings.
The thin liquid can also make an enormous mess. You cannot apply it and leave it there to do its work (like you can with the citrus strippers), so it takes a lot of arm work to work it into the wood in small areas and remove the old finish, especially if you need to remove multiple layers.
How to remove stain and varnish from wood
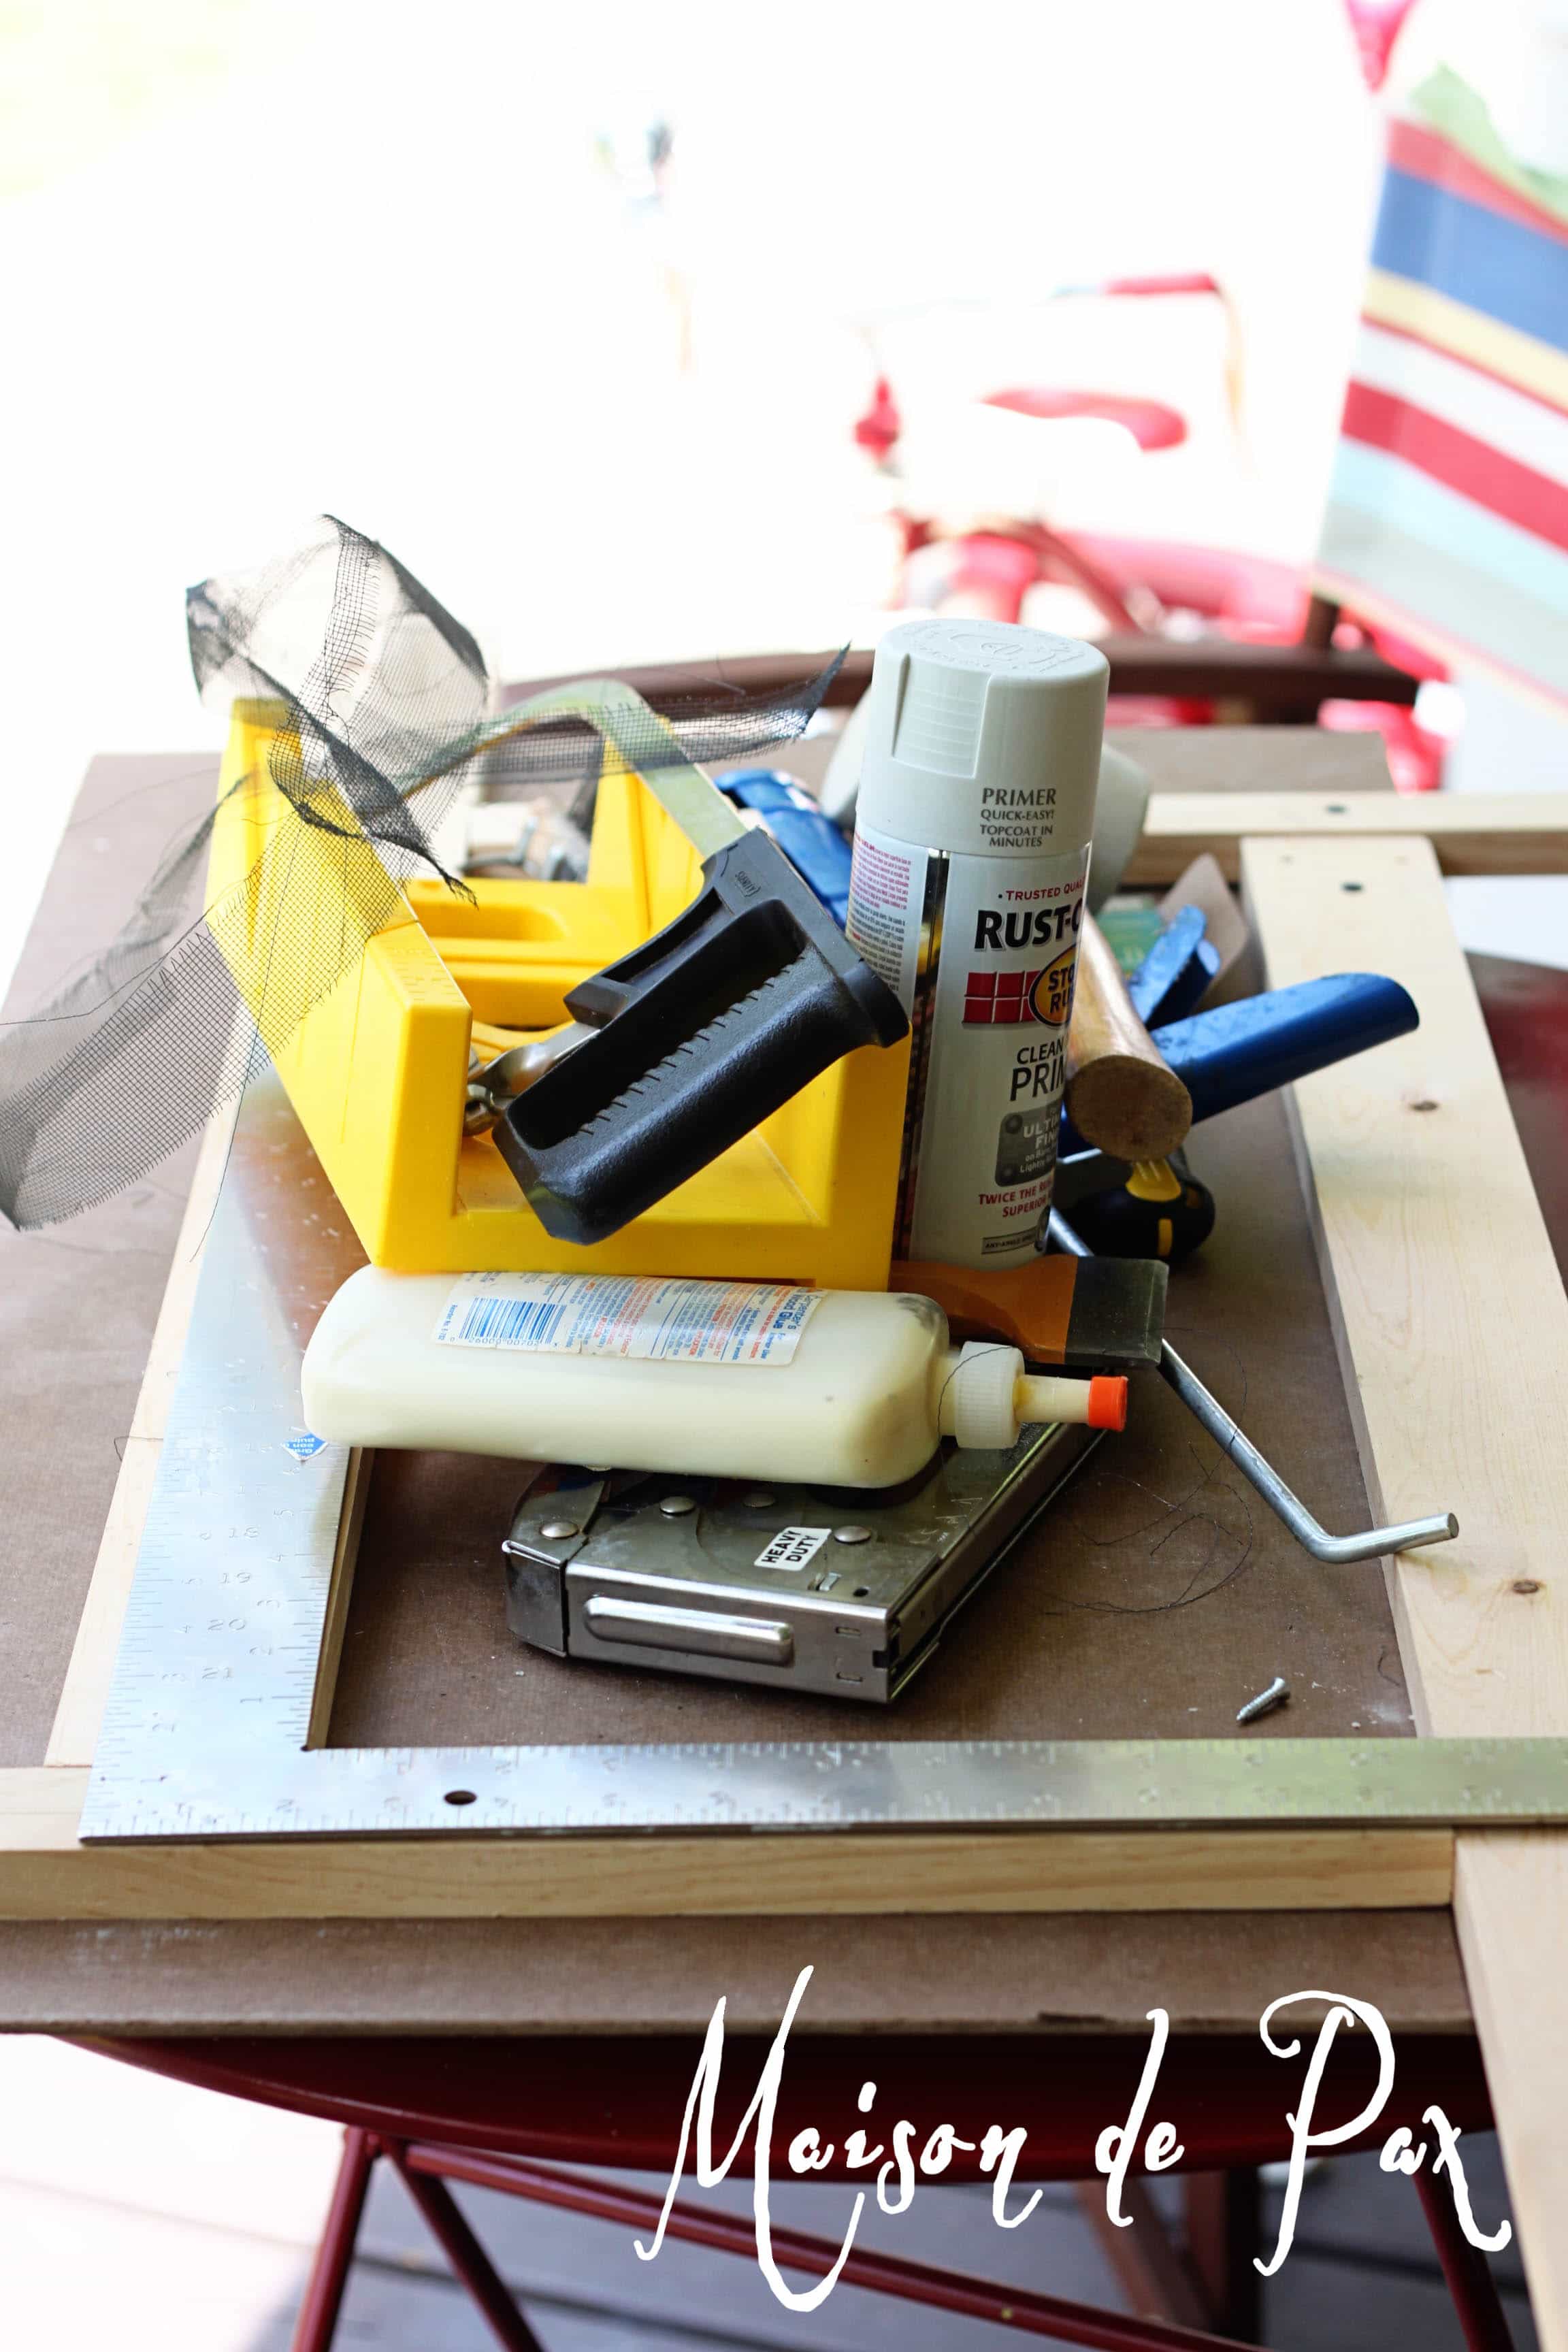
Materials Needed
- contractor paper and/or plastic drop cloths
- chemical resistant gloves, safety glasses, and protective mask
- citrus stripper, chemical stripper, and mineral spirits
- rags, cheap paint brushes, plastic putty knife, and steel wool in varying grades
- metal or glass containers
- palm sander with different sandpaper ranging from 100-300

How to remove varnish and stain from wood
- Protect
Lay down protection for your floors, ensure you have proper ventilation, and gather all necessary supplies.
- Apply citrus stripper
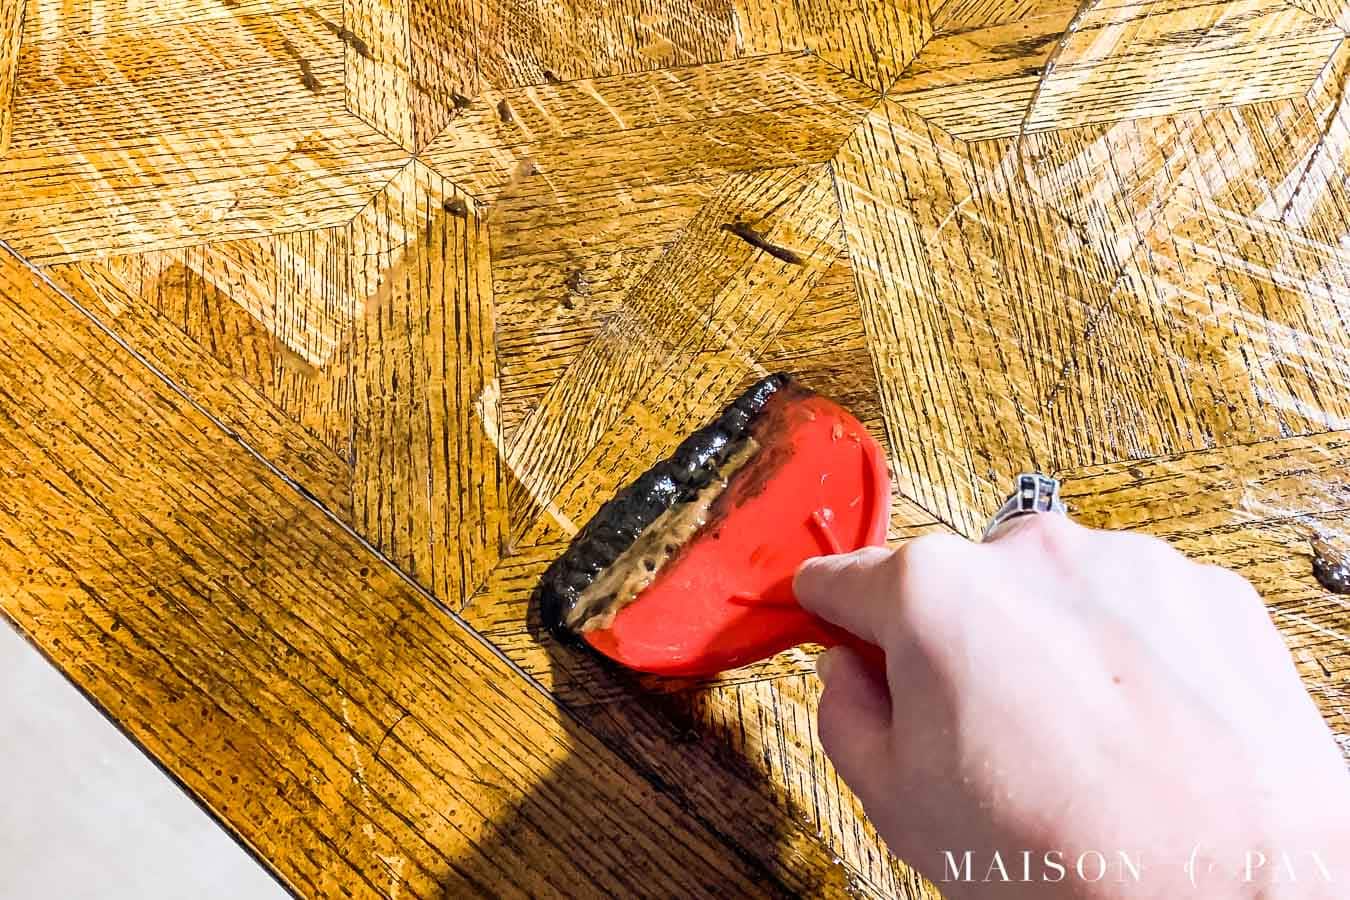
Apply a thick layer of Citristrip over the whole piece with a cheap paintbrush (use something you can throw away later). Let sit for at least 30 minutes, but do not let it dry completely. If it is trying to dry too quickly, cover it with plastic to allow it to stay wet and continue to work.
After 30 minutes (or more), use a plastic putty knife to scrape off the finish. Warning: it’s a goopy mess. Try to scrape directly into a trash can. If there is a lot of Citristip residue, you may want to clean it off with a wet rag, but try not to get your wood too wet.
- Apply chemical stripper
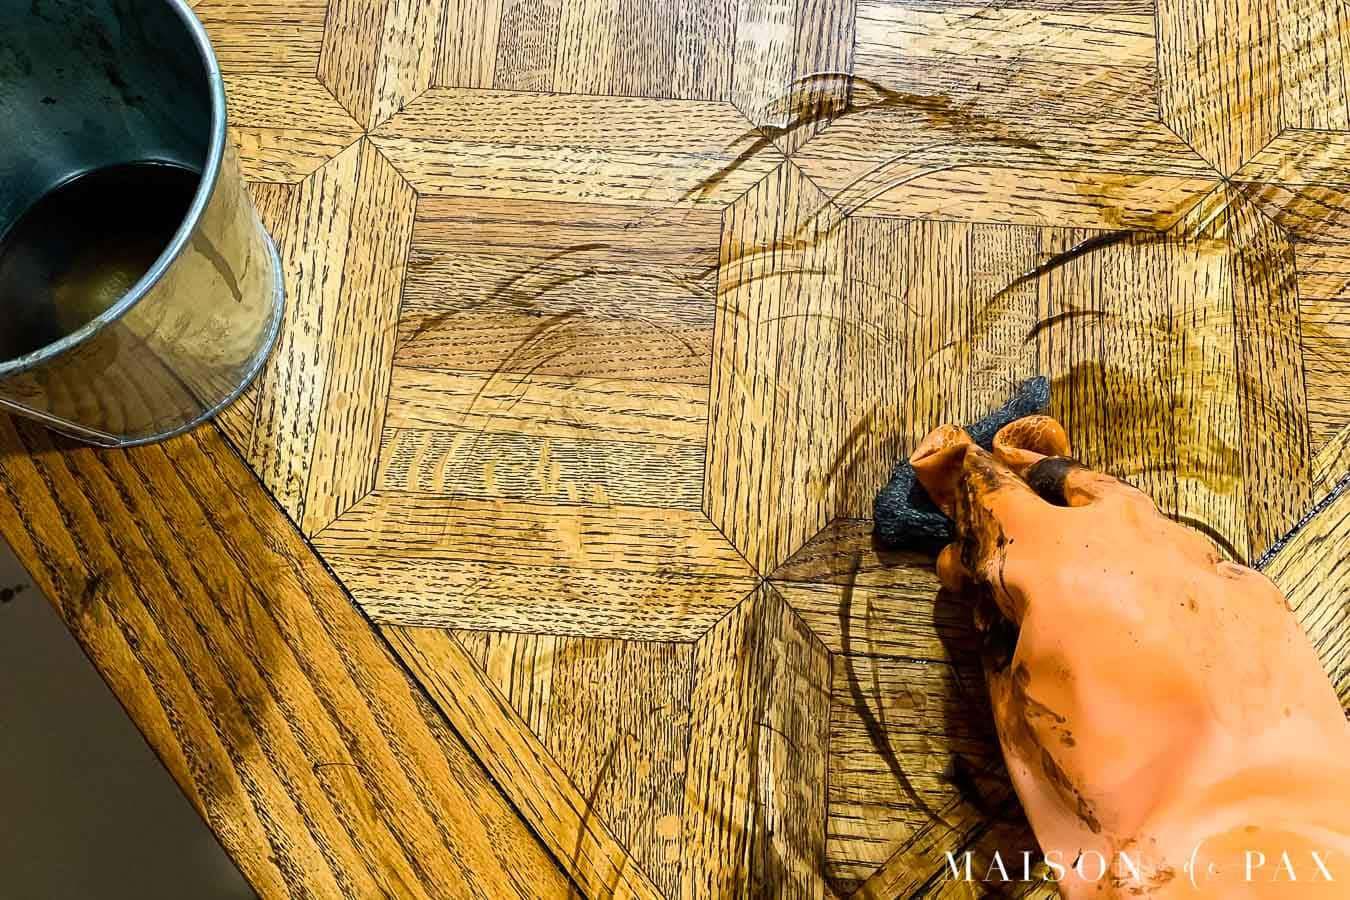
Next, wearing protective gloves, glasses, and mask, put some of the Formby’s into a metal or glass bucket or bowl. Tear off approximately half a refinishing pad of steel wool and dip it into the bowl. Using the drenched steel wool, rub in a circular motion over a dinner plate sized area until the wood is clean and the desired color.
Experiment using different grades of steel wool to see what works best for removing stain on your piece. When all the old finish has been removed, you are ready to sand. - Sand
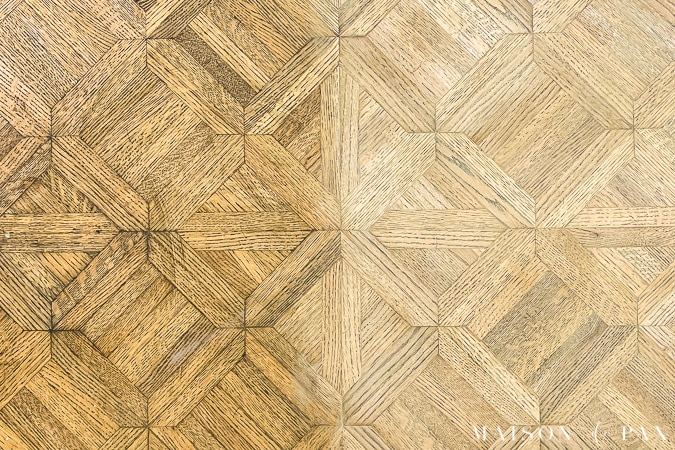
Starting with 150 grit sand paper (or 100 if the piece is particularly rough), give the entire piece a light sanding with a palm sander. Gradually move to higher grit papers (220, even 300) until the piece is as smooth as you would like.
As you can see, this step should remove the final traces of the stain you treated chemically.
*Note: be sure your table is solid wood, not veneer before sanding… Veneers need to be treated much more delicately.
- Clean
Clean the entire piece until it is free of sanding dust. I usually start by blowing it off with an air compressor, then wiping it with dry rags, and finish with a cloth dipped in mineral spirits.
Tips and Tricks for Stripping Furniture
There are several factors that will affect the process: the previous finish, the type of wood, and the age of the piece. This three step process, though (citrus stripper, chemical stripper, and sanding) has proved effective for me on many different types of stained pieces.
Latex and oil based paints can be removed, too, but you will want to use something like this product for the middle step instead of the chemical stripper I mentioned above.
A few tips I’ve found helpful when trying to refinish wood furniture:
- Try thick contractor’s paper instead of plastic to protect your floors (or perhaps paper on top of the plastic if you need the plastic layer for extra protection). Plastic alone can become slippery from the stripper drips.
- Use only plastic scrapers when removing old finishes; you don’t want to damage the wood when it is softened by the stripper.
- Scrape directly into a large trash can.
- Be sure to use industrial strength, chemical resistant gloves when using chemical stripper; regular rubber gloves melt after significant time with stripper. And keep an eye on them; if they start to buckle or get any holes, be sure to replace them.
- Have metal or glass containers on hand for rags, old steel wool, etc., as the chemicals can melt plastic.
- Patience is a virtue… there is nothing fast about this process!
It’s true: refinishing furniture properly requires lots of patience… but it can be so rewarding! I’m excited to share with you next week how we transformed the newly stripped table into a gorgeous piece for our ranch dining room.
Until then, be sure to pin this for your next project!


Once you get your wood to that gorgeous natural finish how do you protect it without changing its look ?i have a very old wood bed I am working on !
Great question!! I’m working on the post right now that will answer that. 😉 Planning to publish it next week!
do you have any suggestions for stripping stain and finish from wooden balustrades for a stairway? there’s some fancy lathing, not the simple round or square spindles. We’d like to go from dark wood stain to a lighter stain.
I’m guessing here, but I think that for balustrades, you might try brushing on the citristrip and then wrapping them in saran wrap for a few hours. This will keep the stripper from sliding down with gravity and give it more time to work into the nooks and crannies. Then you can try the plastic scraper, but you might find that a scrub brush or something else that can form to the shape of the spindle will be easier than a flat scraper. I think that following up with chemical stripper should help you get the remaining stain. Hope this helps!
Great information!! I have a question about removing paint. Under your tips and tricks above, you mention using a product to strip latex and oil based paint. I can not find the name of that product. Would you mind sharing? Thank you
The product I was referencing is called Formby’s Paint and Poly remover, but unfortunately it seems to be discontinued. I’m afraid I haven’t tried another brand yet, but here is a highly rated paint remover I found online: https://www.lowes.com/pd/Klean-Strip-Kwik-Paint-and-Varnish-Stripper-1-qt/1000659649 I Hope this helps!
Thank you so much for responding. I have used this product you found on line and while it somewhat worked, I am not super happy with it. I’m stripping our staircase wall which has 8 layers of oil based paint. It has been a bear stripping all the intricate molding details.
I did find a soy based stripper from Franmer on line. I might try it this spring when I can open up the house again for ventilation!!! If it works I will let you know. Thanks again.
Yes! Bannisters and staircase surfaces are curved so it is harder than stripping from a mostly flat surface. Let me know if it works for you!
What can I use on a stained dinning table that the top protective coat has been removed my son spilt a Reed diffuser on the table so there is a patch of just stain no top varnish I would like to remove all top varnish without touching the stain beneath if possible
Thanks Paula
It depends somewhat on what kind of sealer was on the table… but if it was polyurethane (which I think is likely unless it is an antique?), then this article may be helpful.
I used a stripper and then sanded my table top with different grades of sand paper and love the smoothness of the table, however it seems to have developed blotchy whites spots in one area and I don’t want to restain it until I know if I can do anything about these spots.
Very frustrating as it took me a long time to get the finish off of the table and to sand it down.
Any suggestions?
Hmm, I’d consider using a pre-stain conditioner, but sometimes that is the effect of using a stripped table. Maybe you could try staining that part lightly with another part that isn’t blotchy next to it to compare before you stain the whole table?
I have a parquet top dining table that looks exactly like the table top pictured here. I think I read in this tutorial that you shouldn’t sand a veneer, but the parquet is a veneer, isn’t it? It looks like you sanded the veneer on your table. Let me know if you think I can safely sand my table. I will be using a the strippers you recommend. Thanks in advance.
Great question! I should clarify that sanding a veneer is usually fine (especially just to smooth before finishing), but you have to be careful not to sand through the veneer layer… which means that sanding to remove the old finish is not recommended. It’s better to remove an old finish on veneer chemically and then give it just a light sanding to smooth before your new finish. I hope that helps!
Thank you for the clarification! I have an extra table insert/extension which I rarely use. I will start with that piece to see what results I get. .
That’s a great place to start to test the process!
Our new construction stairs were just stained and sealed with Bona, which is a hard sealer. The color came out much too dark as too many coats were applied. I’m told the Bona makes it impossible to sand or strip at this point because of how hard and smooth it is. I’m looking for solutions to tell my contractor because he and the floor guy are not wanting to budge.
I’m sorry to hear that’s happened. I don’t have experience with removing Bona, and my experience with refinishing flooring is limited to sanding off the old finish. I hope you are able to work something out!