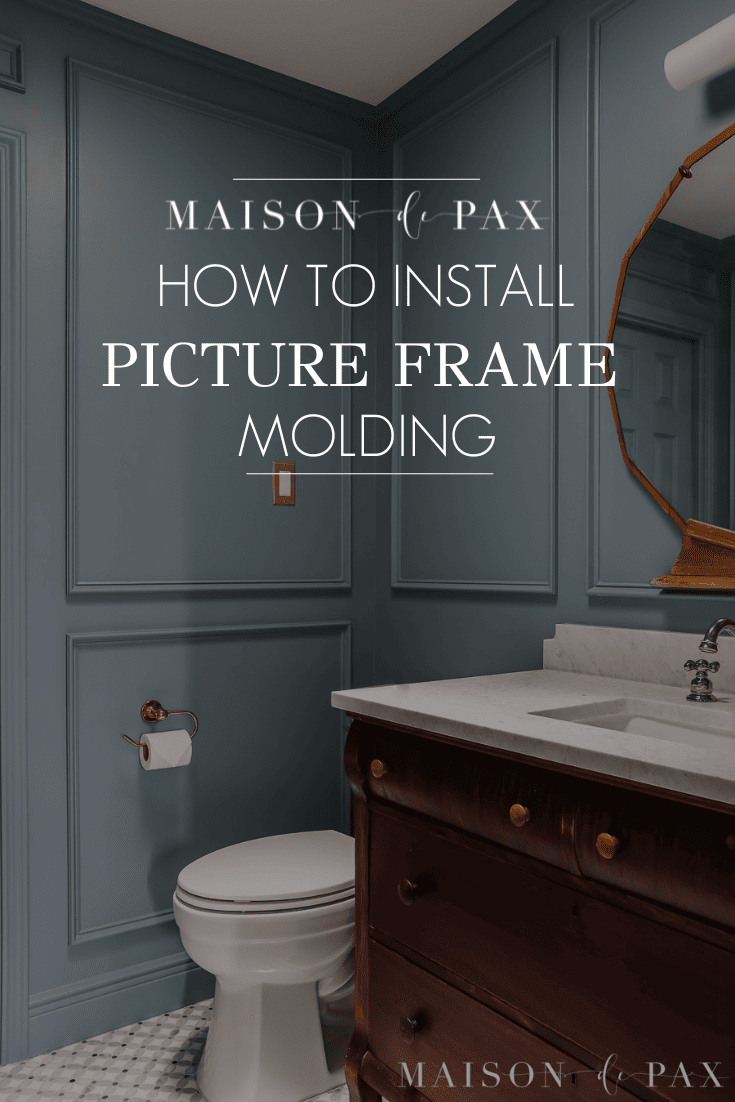
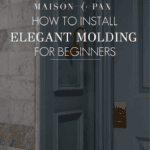
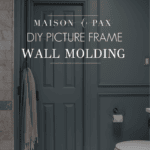
DIY Picture Frame Molding
Looking to add DIY picture frame molding to your walls? Check out this simple step-by-step tutorial for a beautiful, elegant result!

Ever since we lived in France, I’ve been a sucker for elegant wall moldings. And picture frame moulding is one of my favorite looks.
You can make it as complex or simple as you like. You can add a chair rail and crown molding. Or you can install just the top half over wainscoting. You can even install double picture frame boxes… It’s like a simpler form of box molding, which is also beautiful.
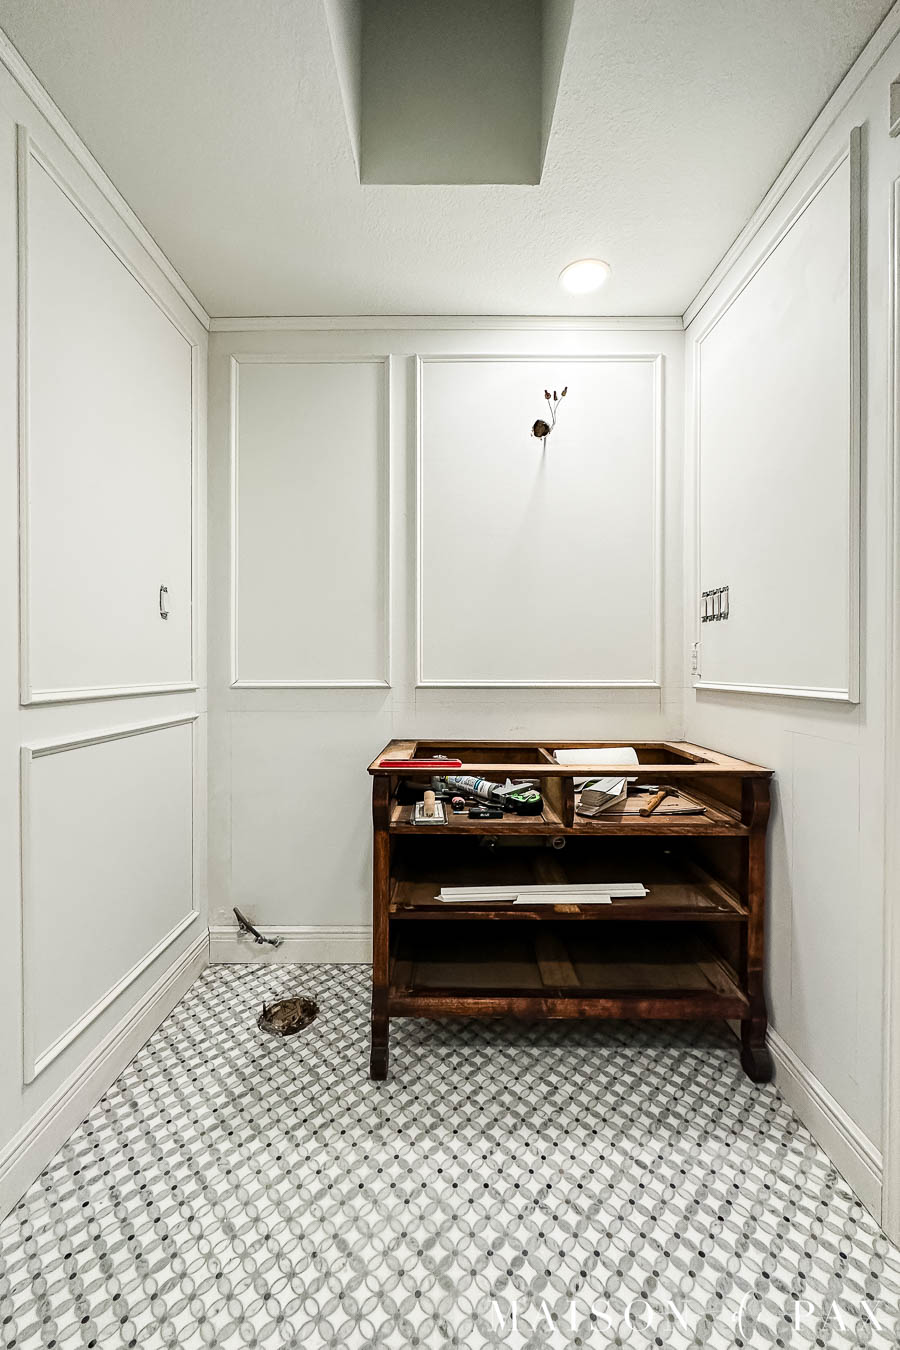
But for this small bathroom remodel, I chose a simple picture frame molding, and I’m excited to show you how I did it.

Preparation for Installing Picture Frame Moulding
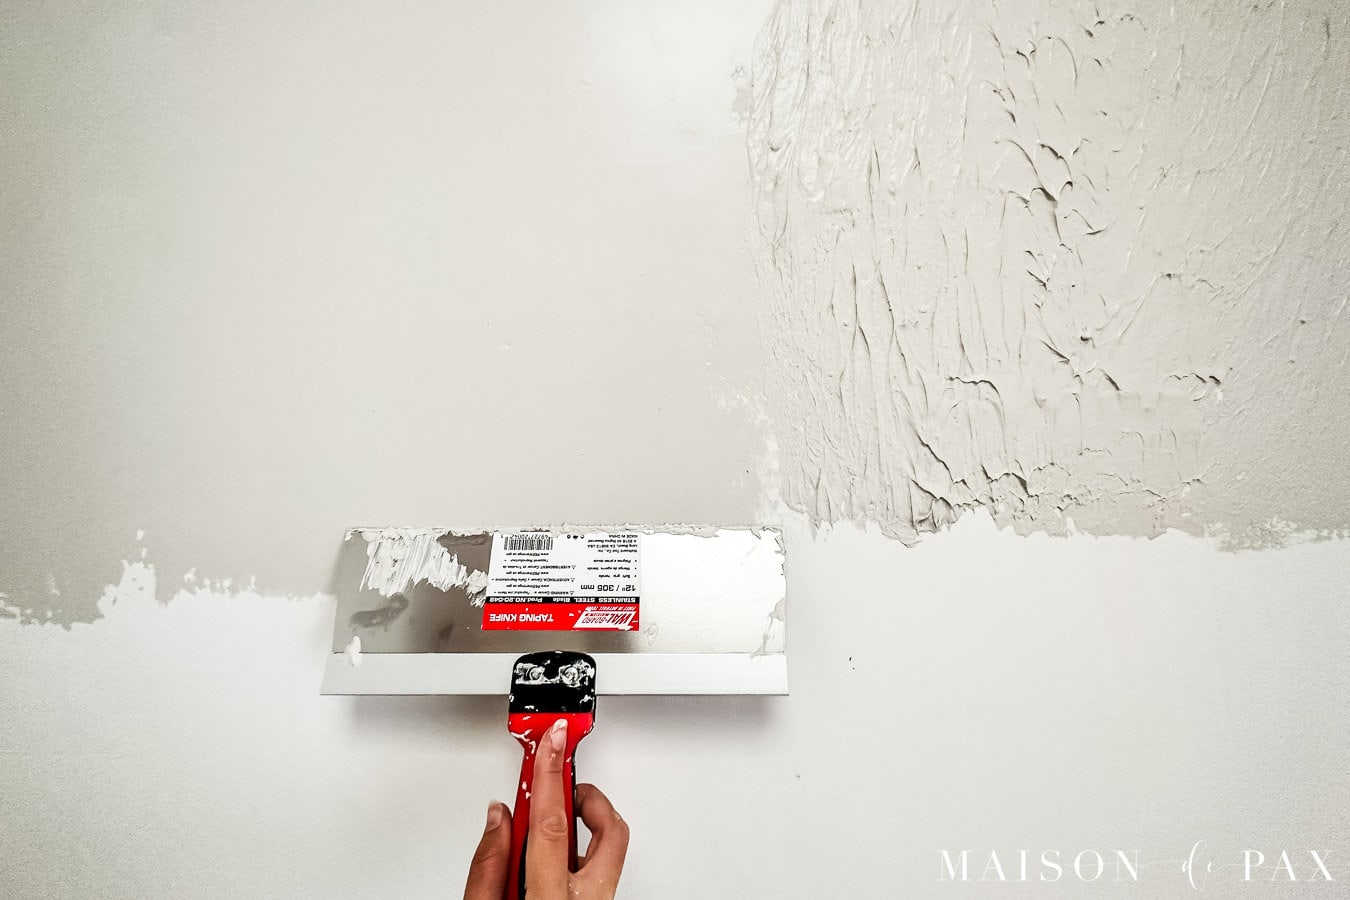
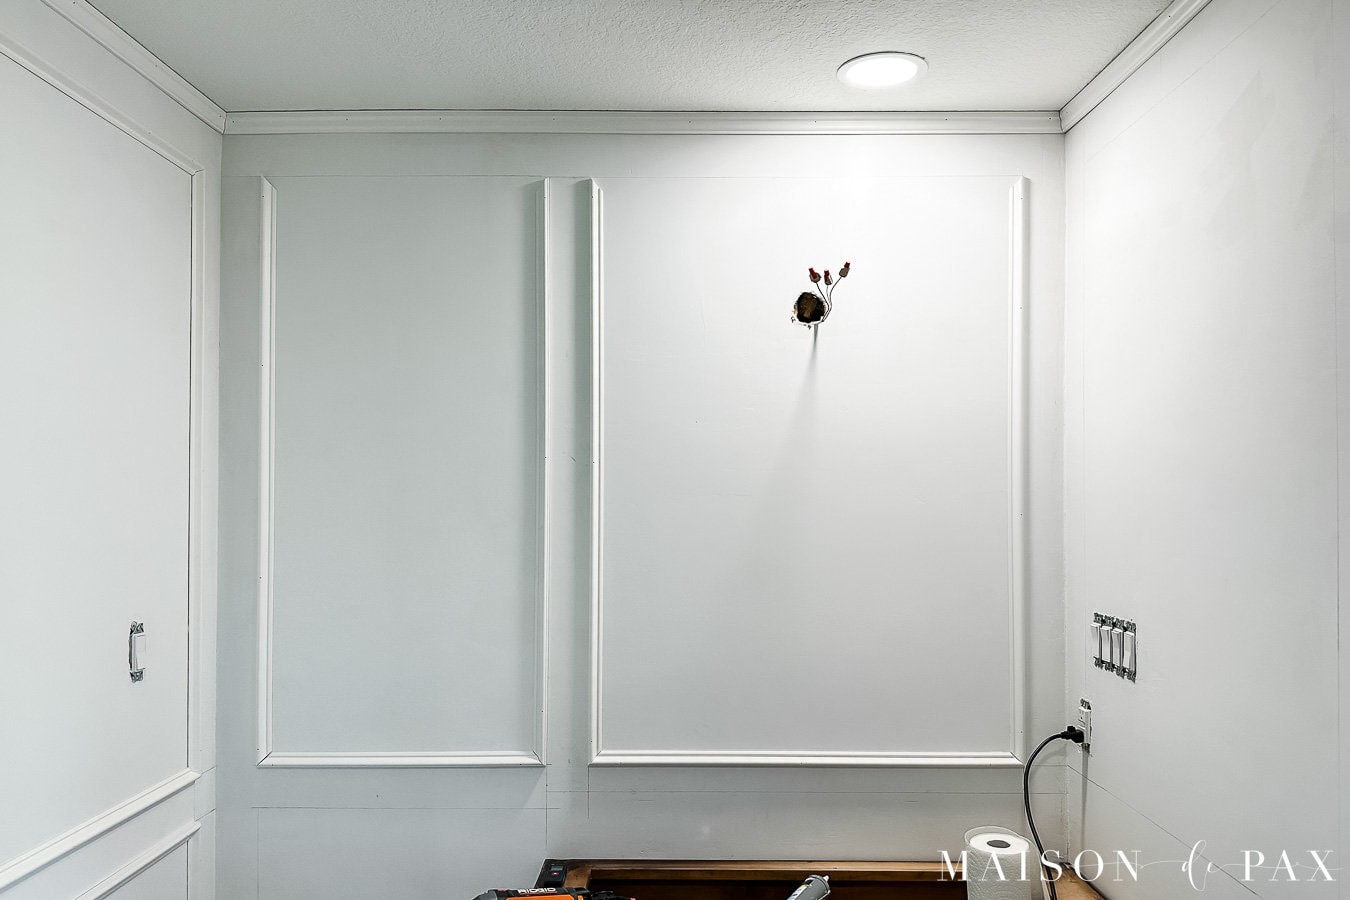
Start with Smooth Wall Texture
I have seen this kind of molding installed over heavily textured walls, but for a truly elegant, authentic look, it is best installed over smooth walls. Since my walls had a heavy knock-down texture, I chose to skim coat my walls smooth before installing the picture frame boxes. Tutorial for that coming soon.
If you are content with the texture of your walls, then the only preparation you need to do is make sure the walls are clean.
The Trick to Easy Picture Frame Molding
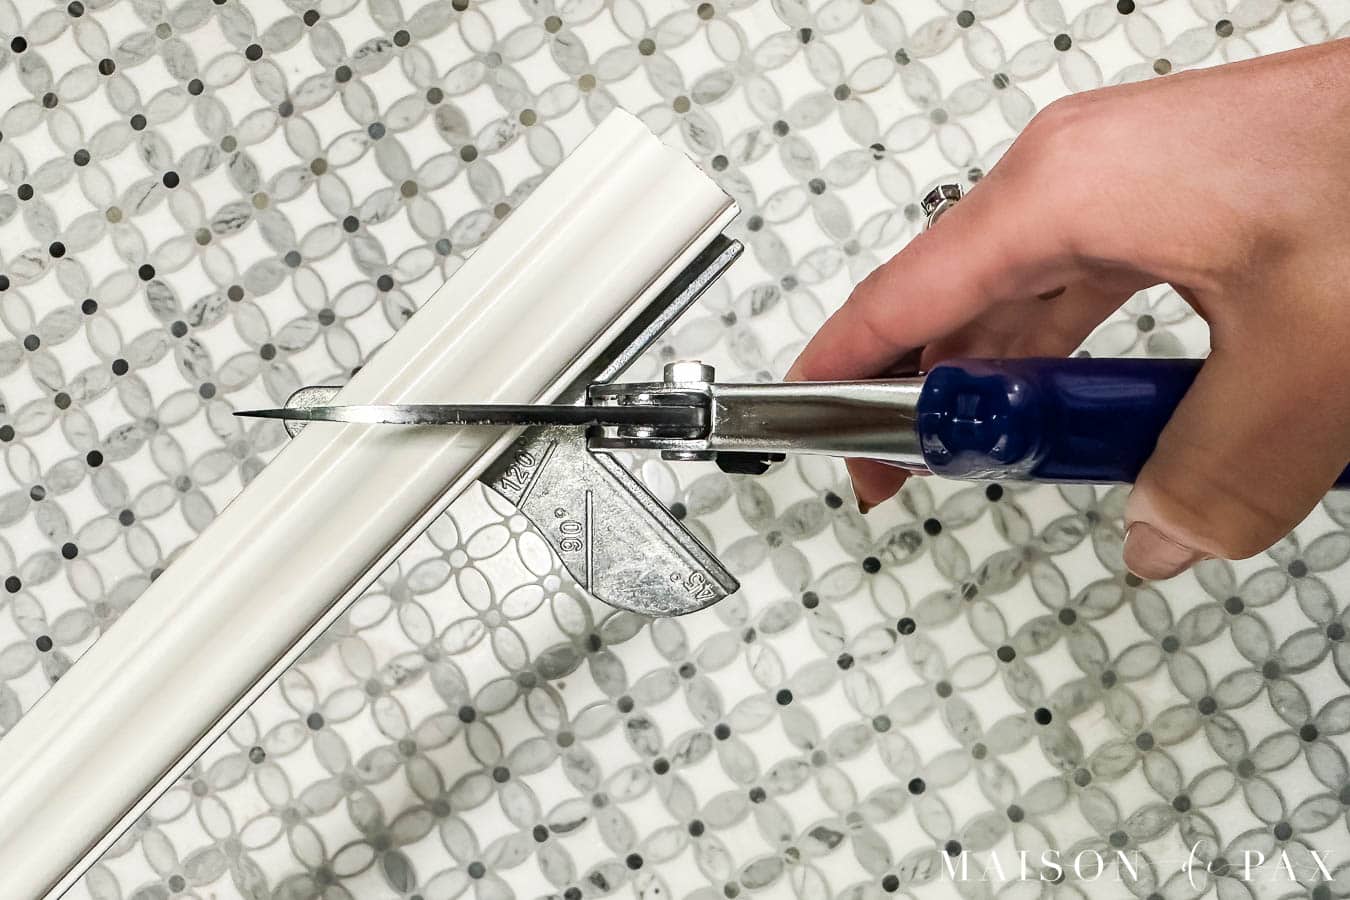
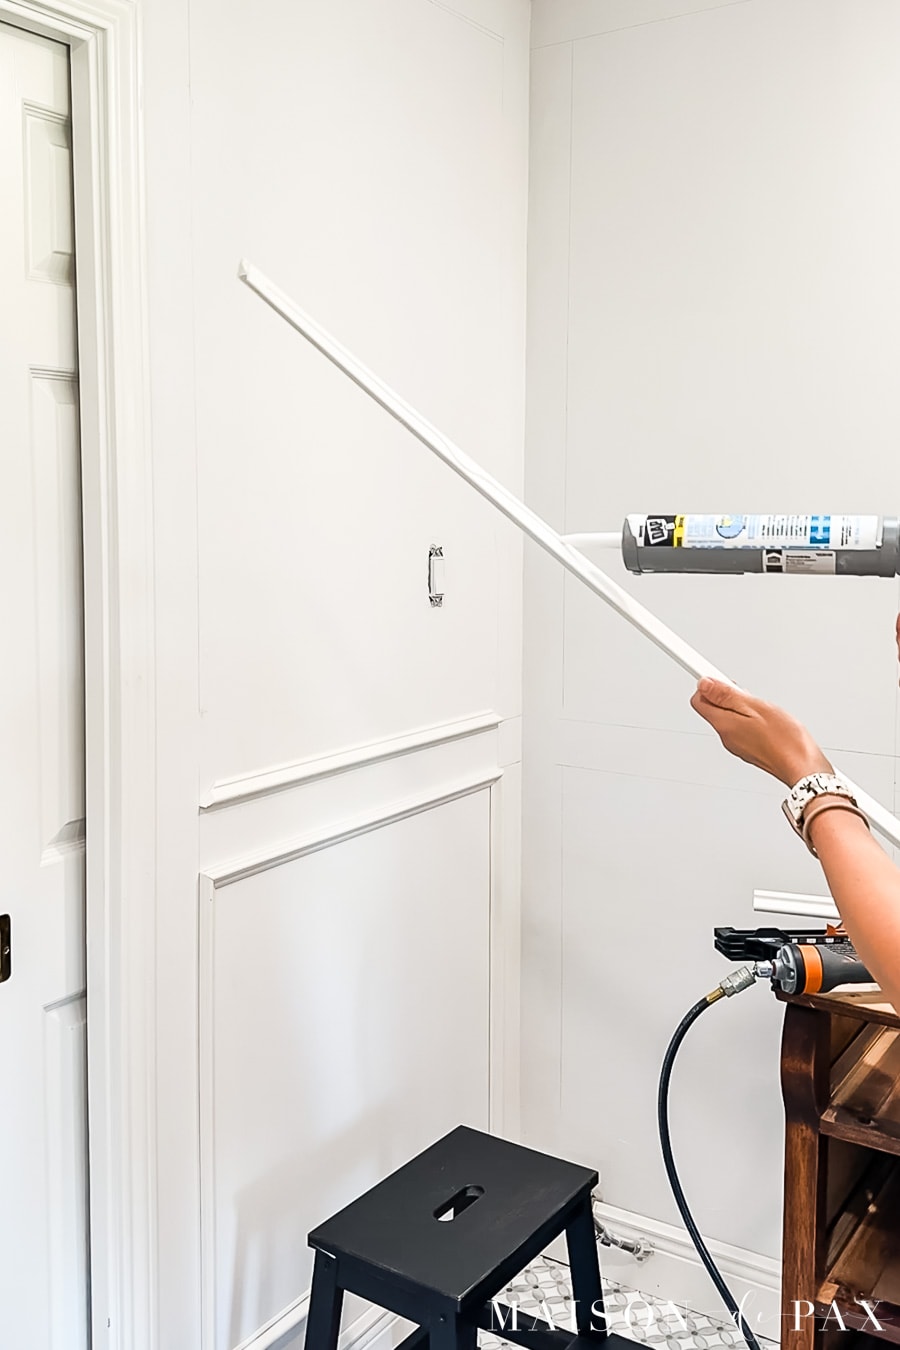
If you use wood molding (which works great!), then you’ll need to use a miter saw or hand saw plus miter box to cut the trim pieces. However, I chose this pvc molding, which was wonderful for two reasons:
- I was installing this in a bathroom, so the waterproof nature of pvc was a benefit.
- I was able to cut it all using shears (see materials below), which allowed me to make all my cuts in the bathroom rather than having to run downstairs to the garage for every piece.
Materials Needed to Install DIY Picture Frame Molding
This post contains affiliate links. Click here to read my full disclosure.
- Level and tape measure
- Spacer board (usually a 1×4, 1×5, or 1×6 is good) and pencil
- Base cap moulding (can also use a wood version like this if you perefer)
- Angle shears
- Caulk and caulk gun
- Nail gun and brads
- Wood filler (not spackle, which can shrink) and sandpaper
How to Install DIY Picture Frame Molding
Step 0 – Install Crown and Baseboards
If you don’t already have crown molding or baseboards in the room, you’ll want to install those before beginning your picture frame boxes, as their size will determine your box spacing.
Step 1 – Plan your Boxes
First you need to consider your space. Although this small bathroom doesn’t have a lot of wall space, I still had to decide the layout of my boxes. For a bedroom or living room, you’ll want to use a tape measure and consider how to draw somewhat similar boxes on each wall. Be sure to account for the space between the boxes. If you are unsure about the placement, use painter’s tape to represent the boxes and give you a visual.
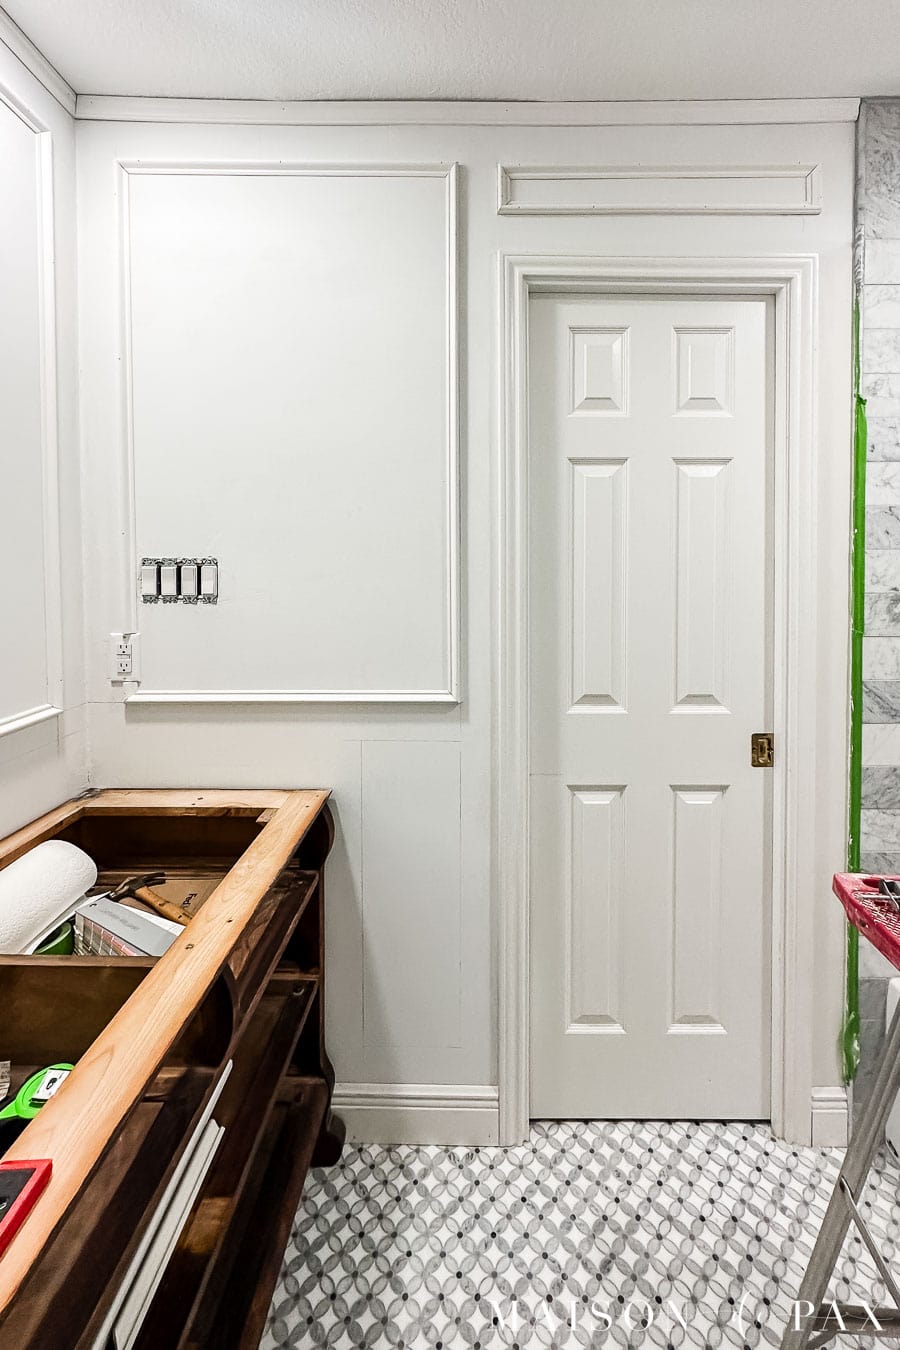
For a bathroom, though, I recommend using your fixtures and focal points as a guide, rather than the wall widths. For example, I centered one box over the vanity and another over the toilet. Then I fit one between the corner and the door, and one over each door.
Roughly speaking, it is aesthetically pleasing to have 1/3 of the wall for lower boxes and 2/3 of the wall for upper boxes. Or if you do a chair rail, it should be roughly 1/3 of the way up the wall and the boxes should go above and below. A laser level can be especially helpful for your main horizontal lines.
However, I chose to use the vanity backsplash height as a guide. It was a little more than 1/3 of the way up the wall, but in a space that small it was more important that I not have competing heights. I think it was the right choice. I also considered adding a box next to the vanity (see the pencil lines?) but later decided it was unnecessary.
Moral of the story? You have some flexibility in the 1/3:2/3 ratio rule and in the exact layout of your boxes.
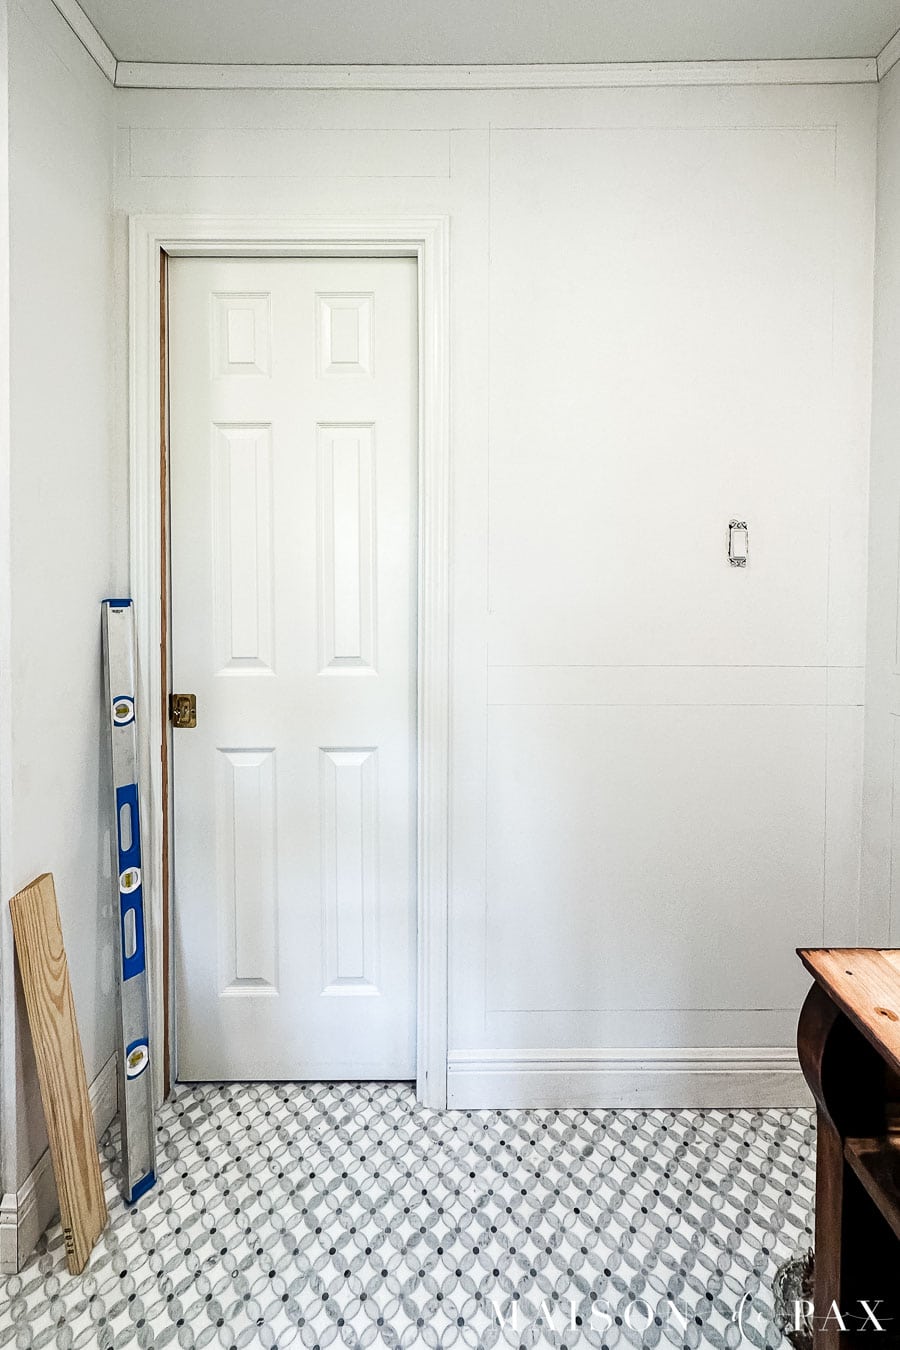
Step 2 – Draw your Boxes
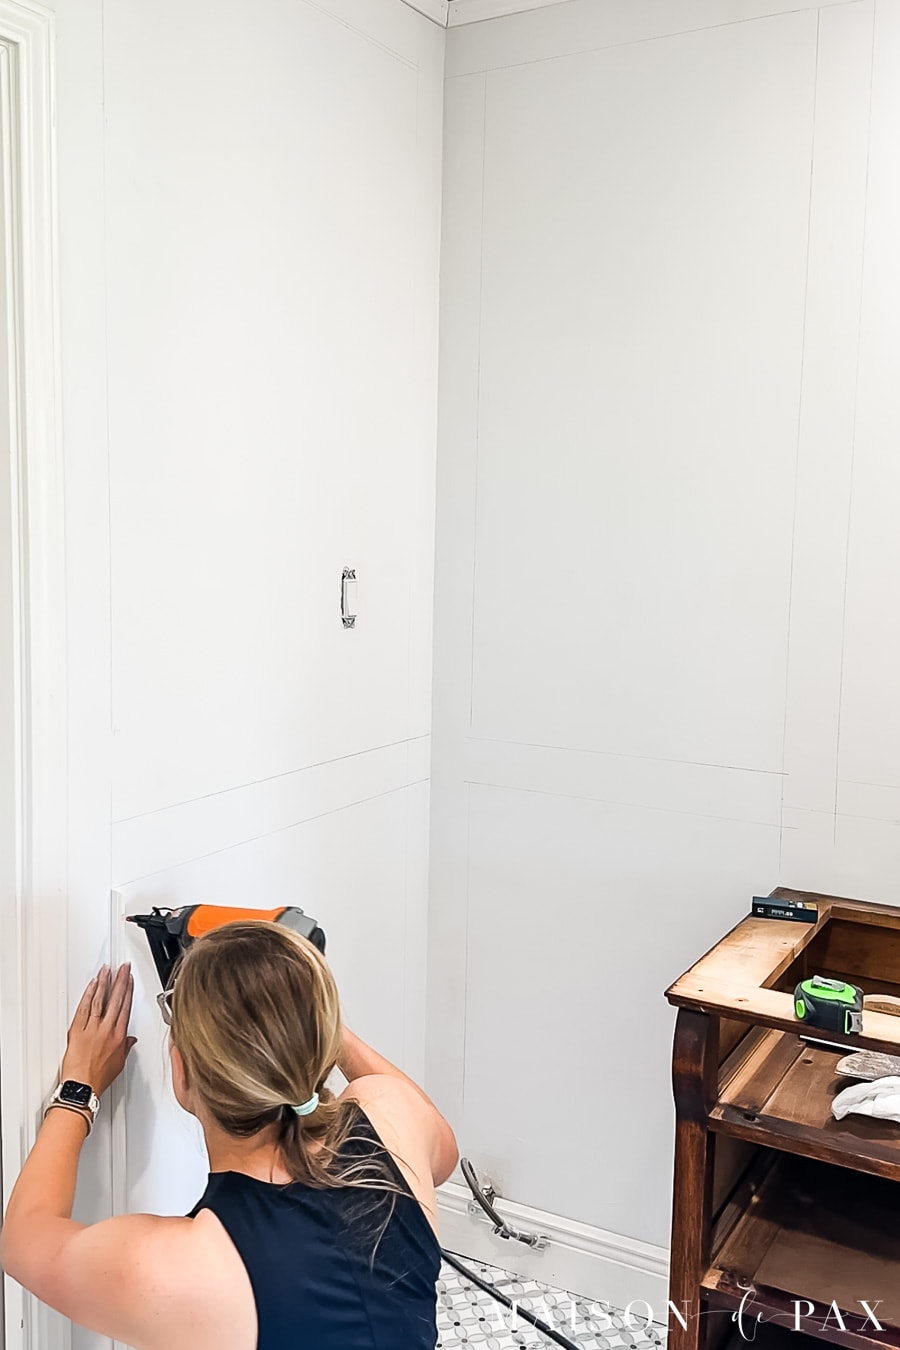
Decide what your “space” will be between the boxes. Using a 1×4 for smaller spaces or a 1×6 for larger spaces usually works pretty well. Hold that board against the corners, ceiling, baseboards, door trim, etc. and draw with a pencil where the boxes will go.
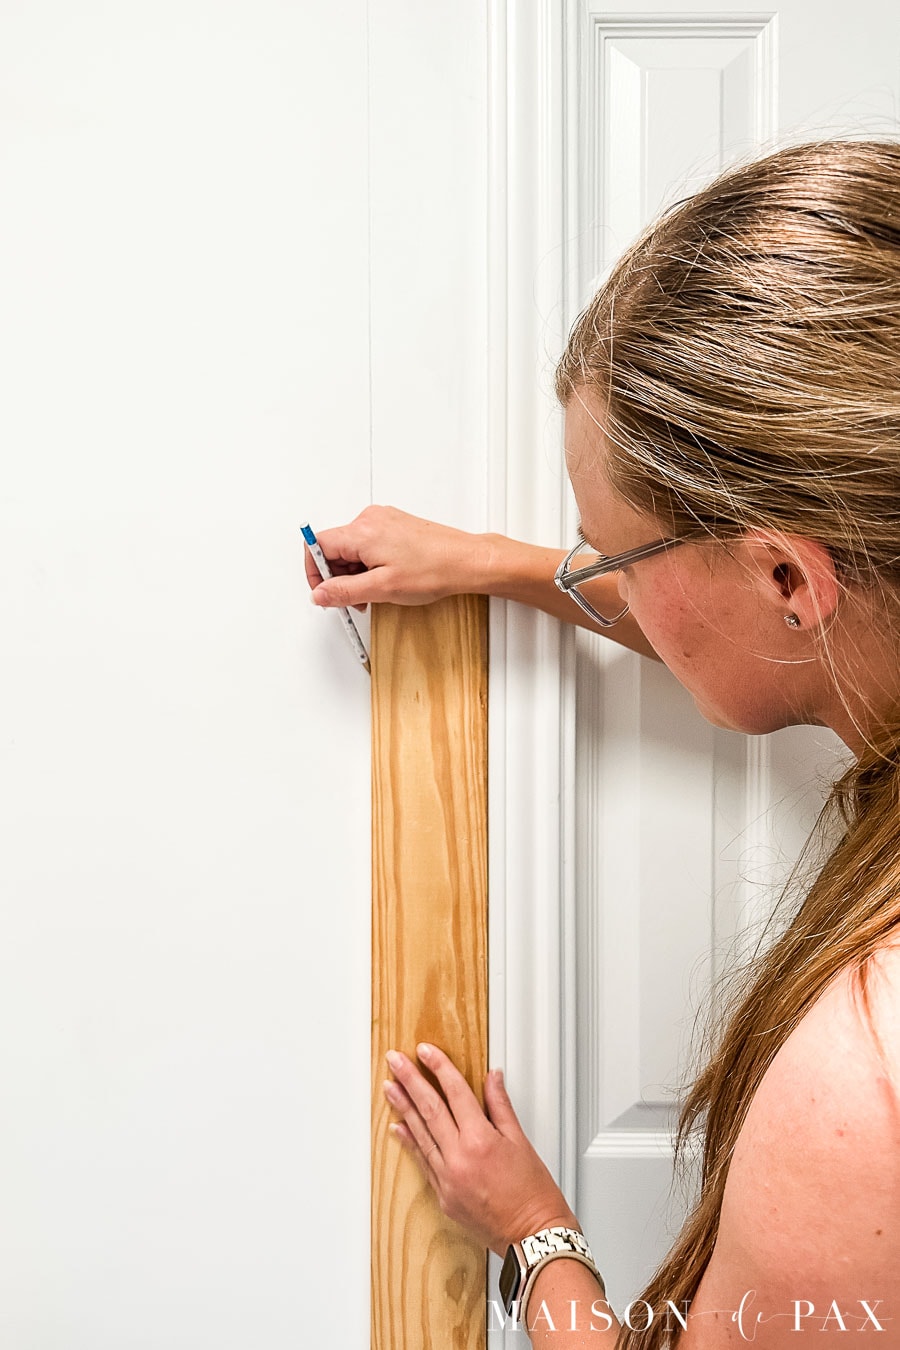
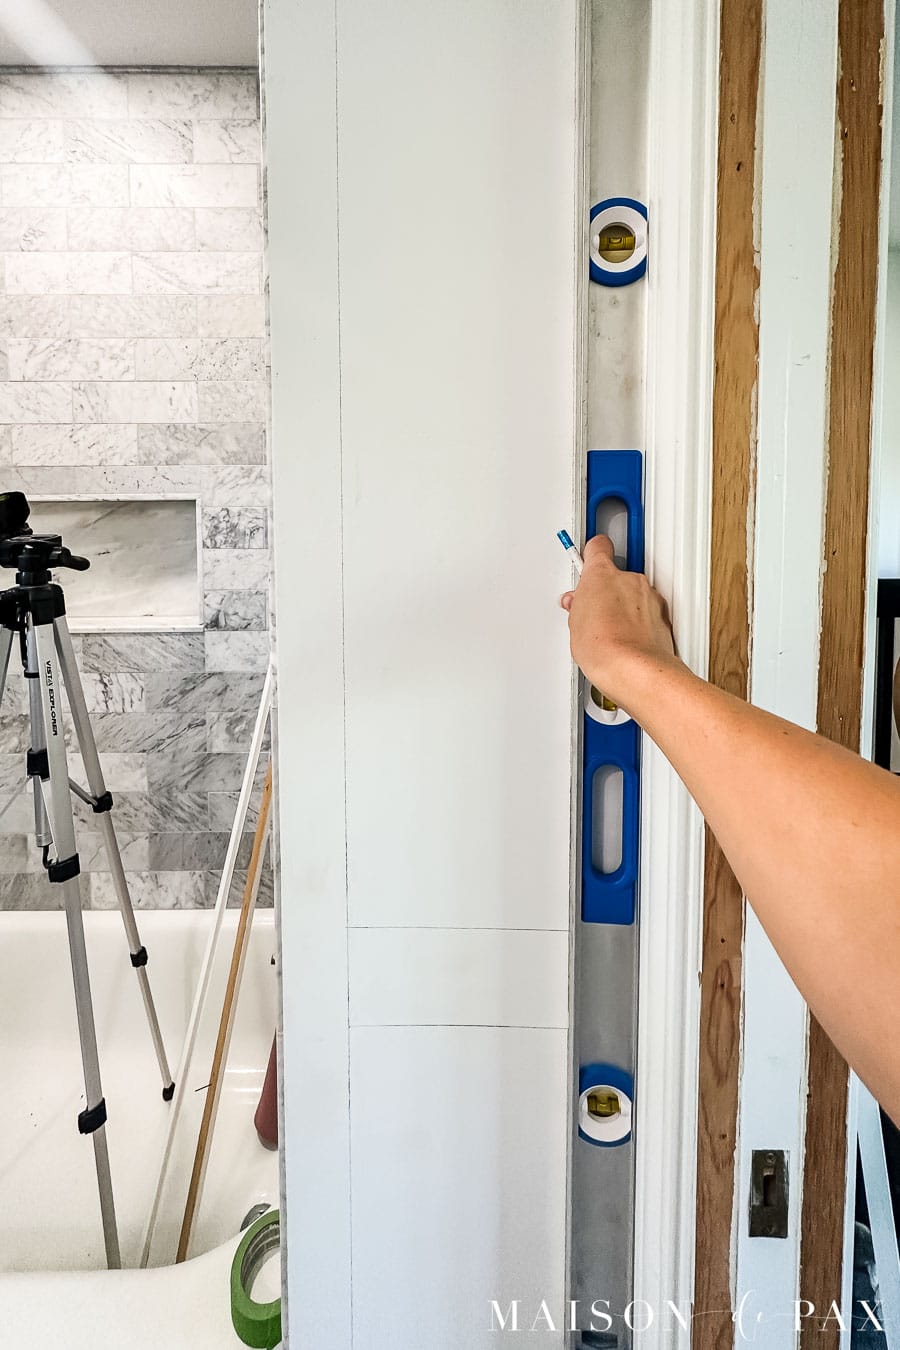
If your wall is long enough for multiple boxes, use a long level to ensure that your vertical lines are plumb. I recommend only using the level for the spots where you don’t have a door frame, wall, or ceiling. For those, simply use your spacer.
In most homes, the walls are not perfectly square, but it is less noticeable if the trim boxes match the lines of your home. If the walls or ceiling are really far from square, then you might consider splitting the difference when drawing your boxes, as I had to do for this box above the door.
You should use the same spacer between boxes, corners, ceilings, and baseboards. The only exception is when you are matching existing door trim or filling a wall that is a little too skinny for your current spacer. In that case, you can fudge a little like I did here, using a ~2″ spacer rather than my ~3″ one.
Step 3 – Cut and Install your Molding
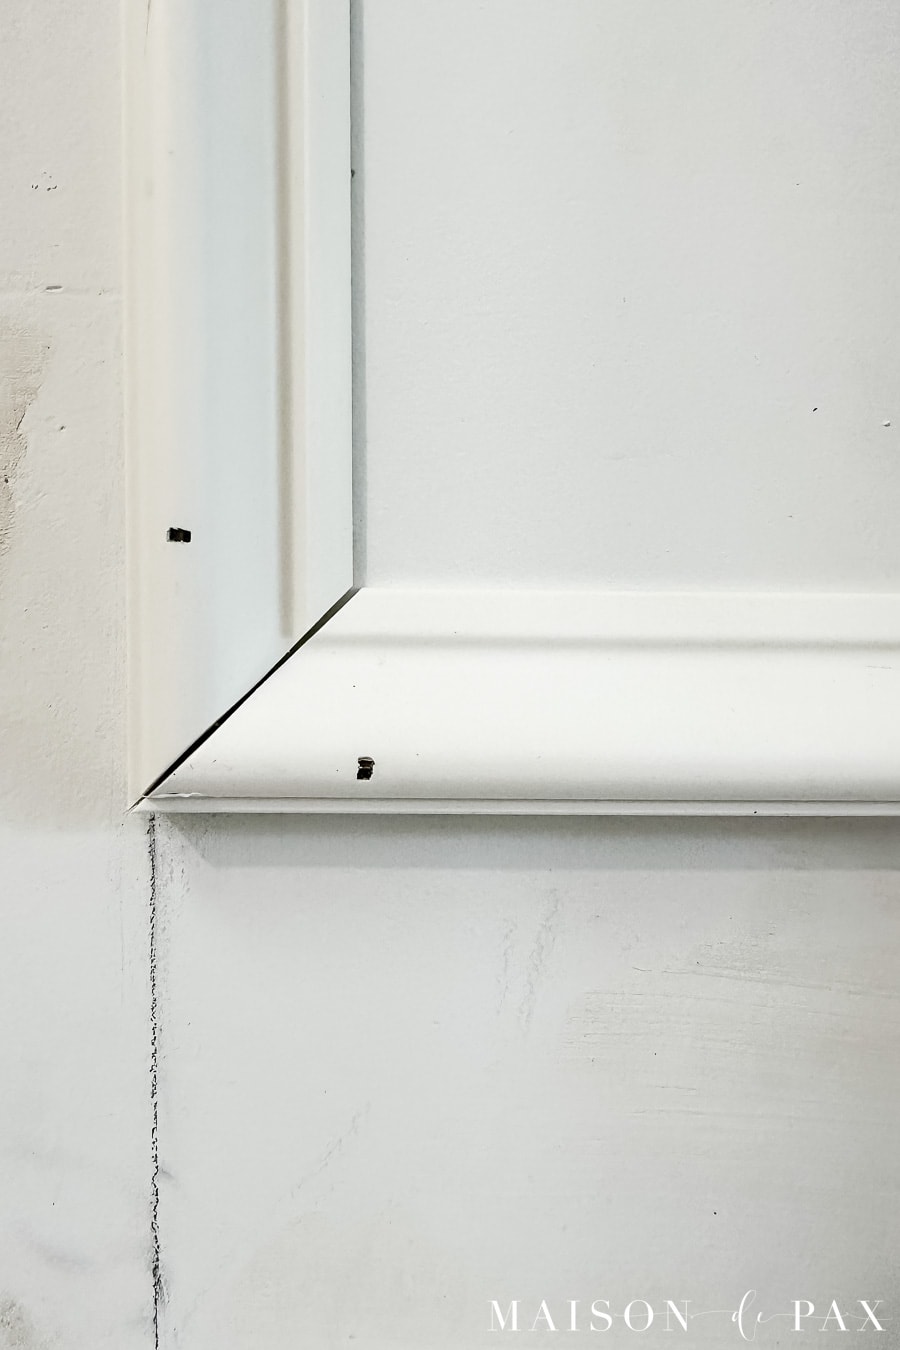
This is where it helps to use the pvc wall trim, but if you choose to use the wood trim, it just means more trips back and forth to the saw. For each box, measure the length of one side and cut the trim at a 45-degree angle on both ends with the longer edge the length you measured.
If your house is mostly square, you can just cut two of each length for each box. However, if you know the rectangles are a little wonky, you’ll want to cut the exact length you drew. It may take a little extra filler if the 45° angles don’t line up, but it’s easy to cover that up with wood filler.
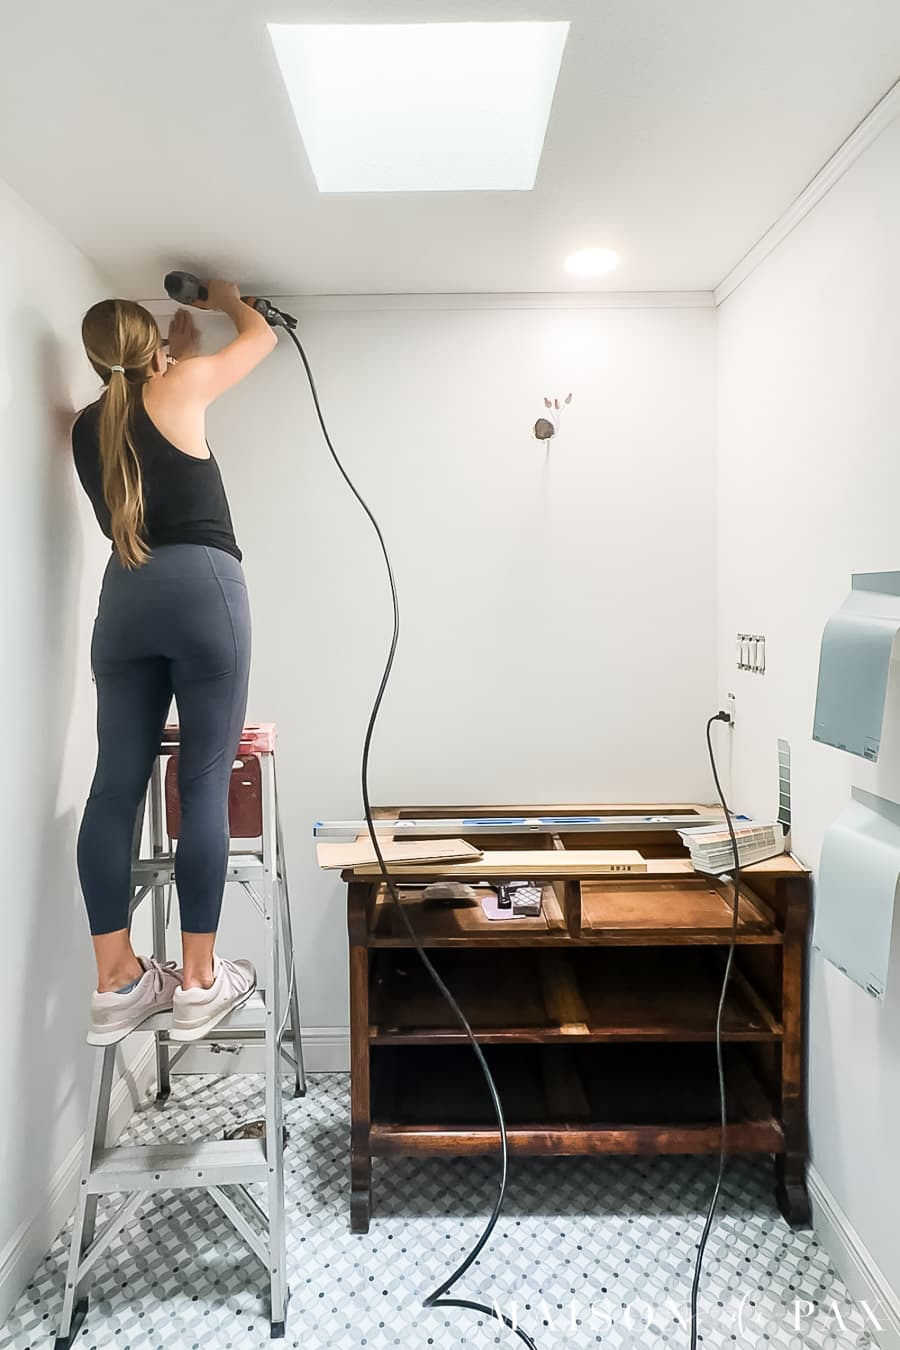
I like to install the bottom piece first, then the side pieces. I wait to get up on a ladder for the top pieces until I have finished a wall.
To install put a line of caulk along the back of the trim and place it on the wall along the pencil line you drew. The caulk will hold it to the wall while you use a nail gun with 1.5-2″ brad nails to secure the trim in place. It’s very lightweight, so 2-3 nails per piece is plenty, even if they are just going into drywall rather than studs.
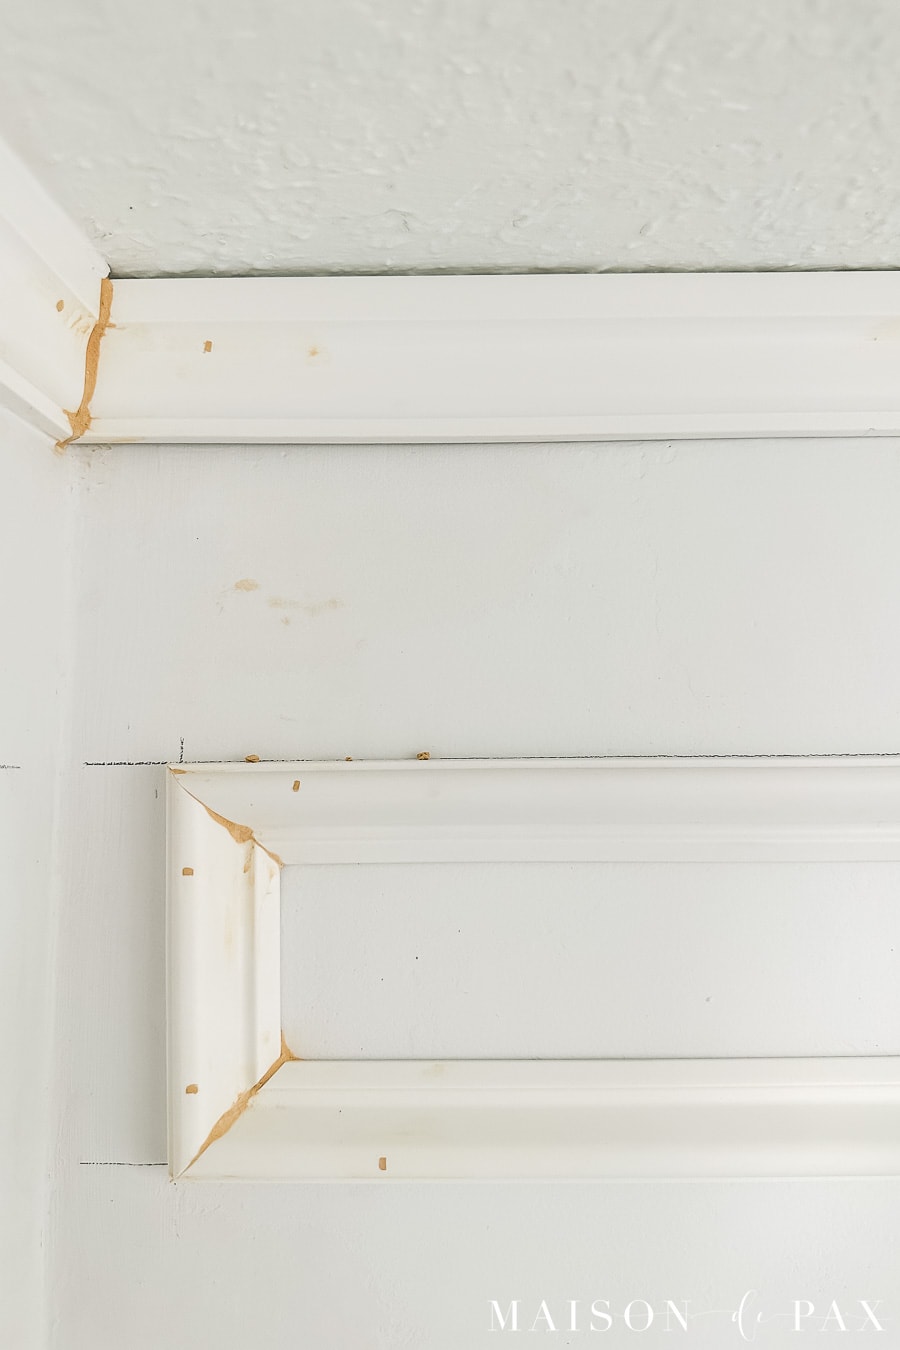
Step 4 – Fill and Caulk
When all your molding boxes are installed, you’ll want to use wood filler on the nail holes (and corners if they weren’t perfect) and caulk along the seams where the trim meets the wall. Let it all dry before you paint. You’ll need to use a brush to paint the trim boxes, but a roller should suffice for the interior of the boxes. I like to paint the wall and trim all in a satin finish.
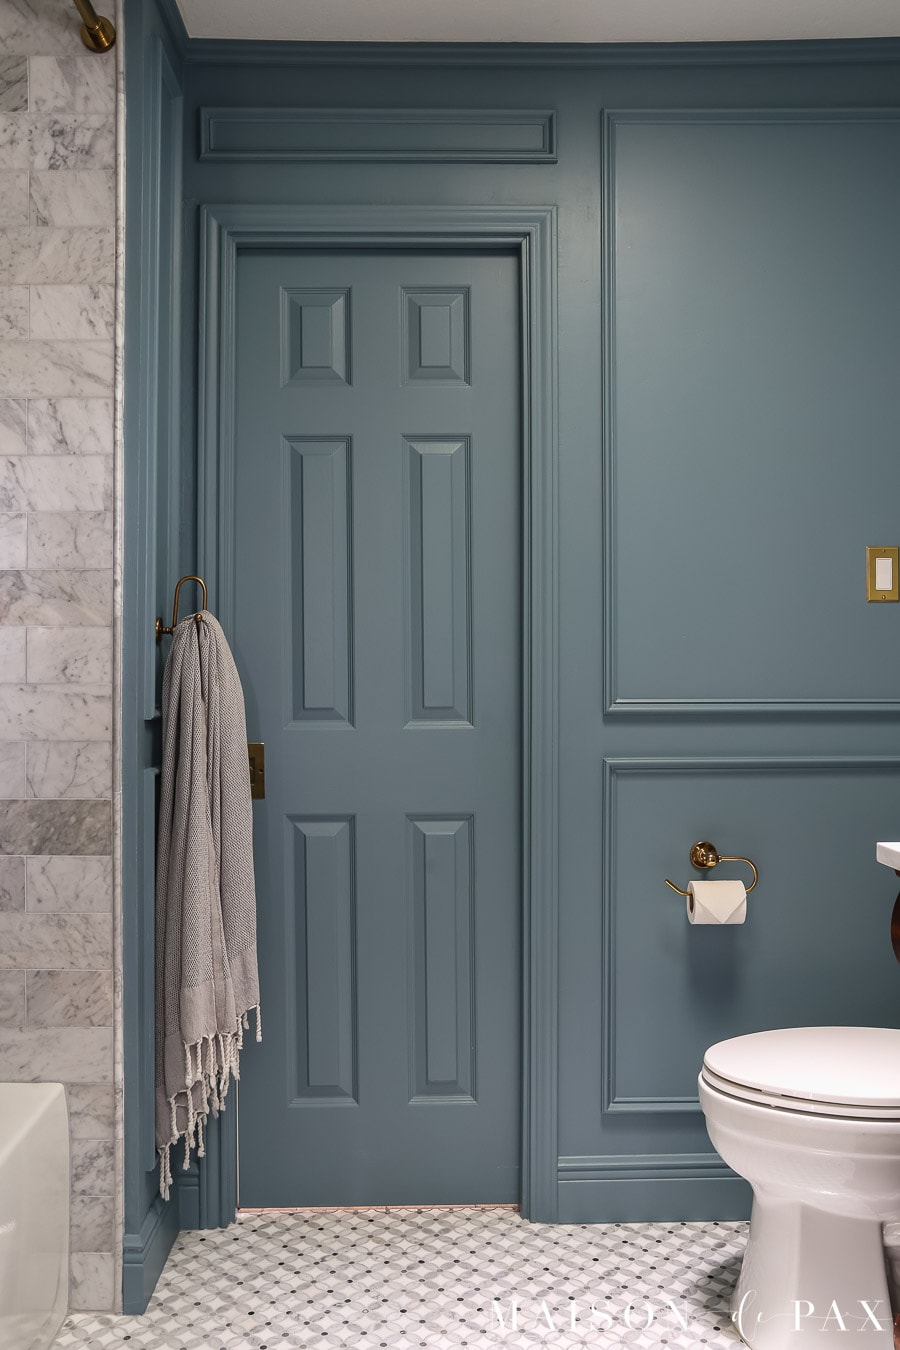
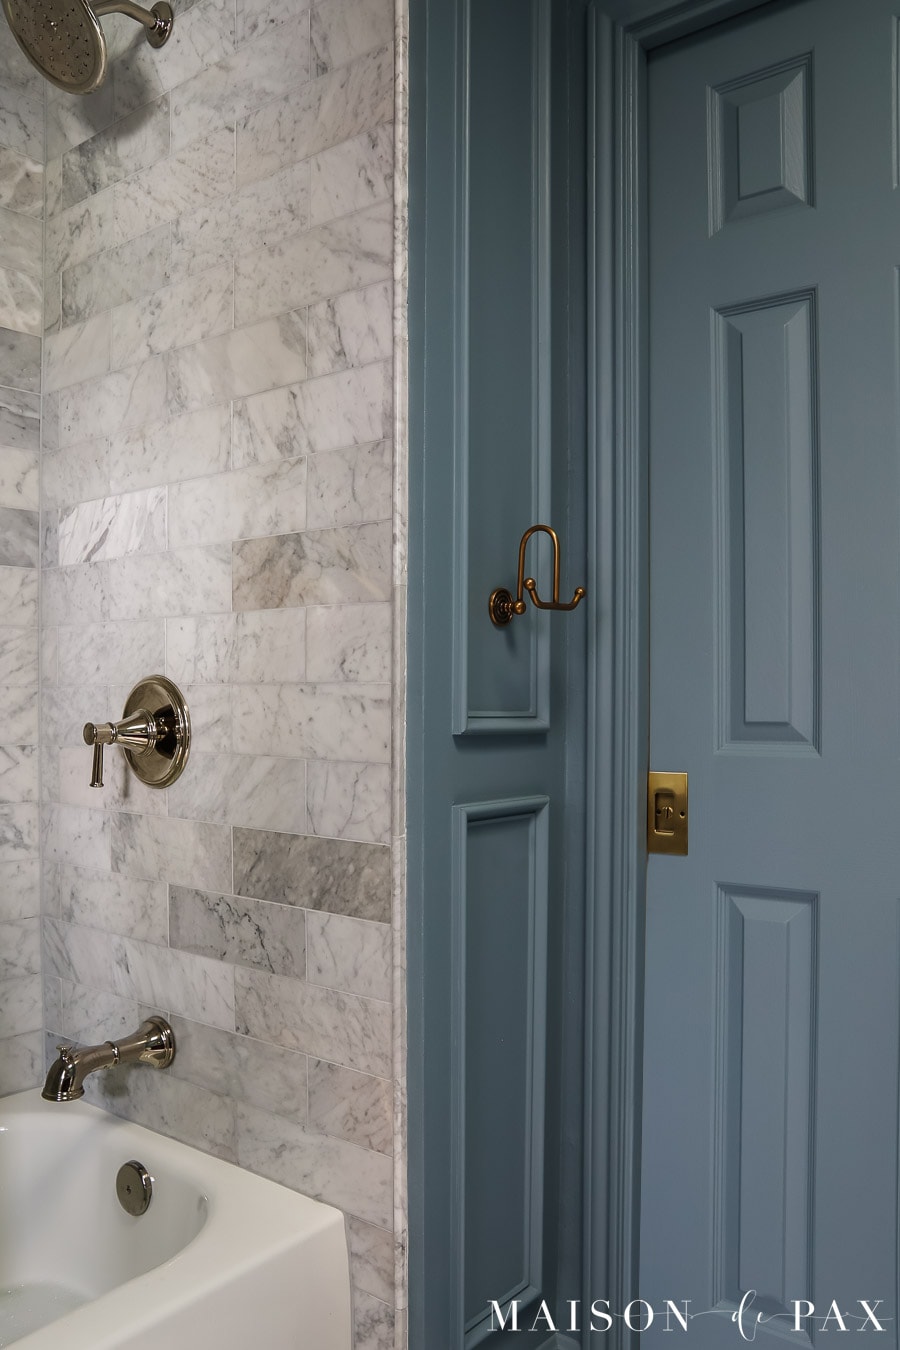
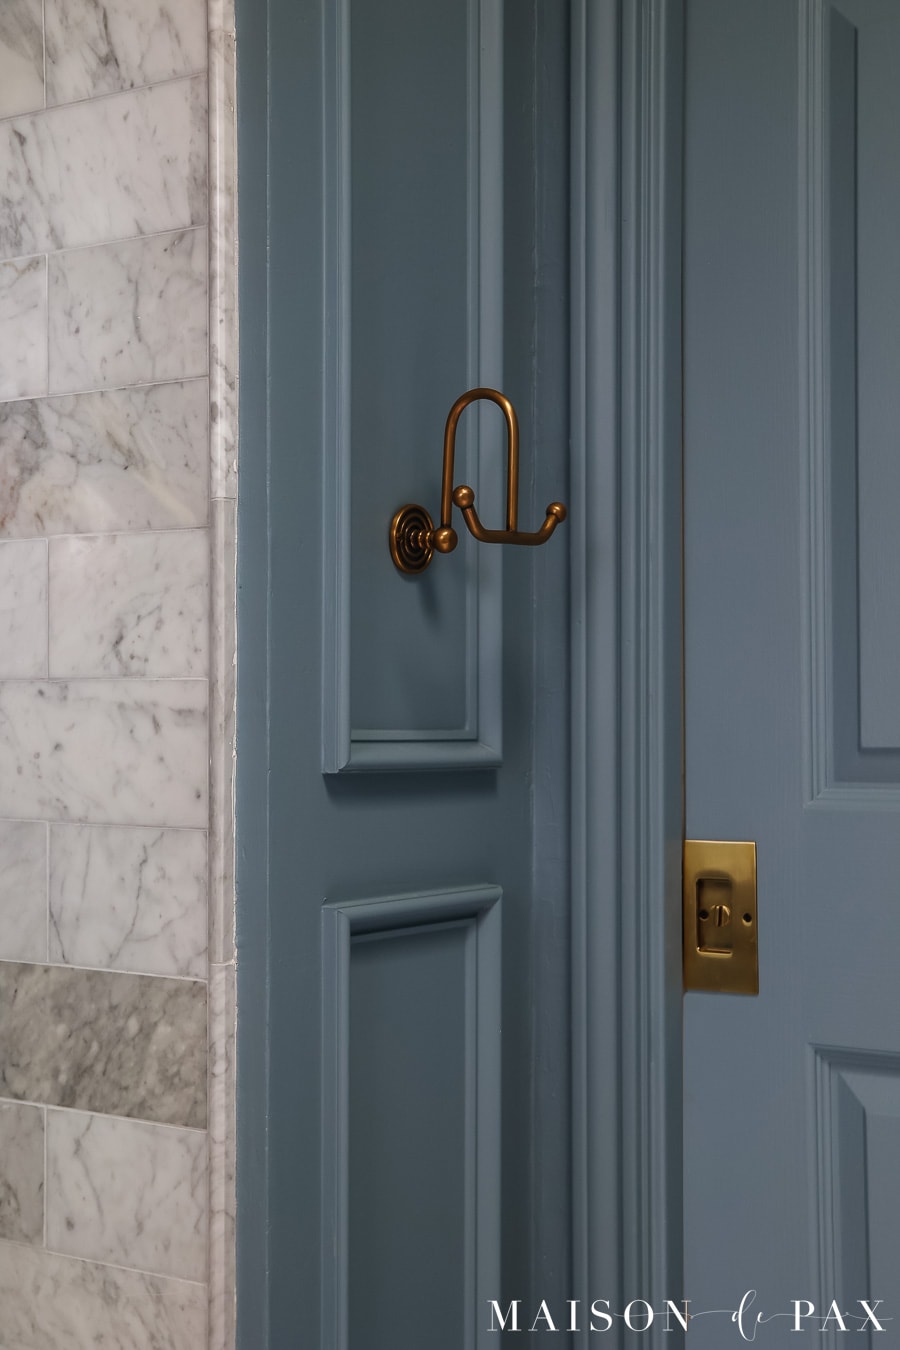
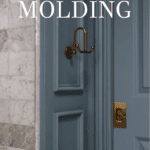
And because I know you’ll ask, the paint color in here is SW Morning at Sea. Isn’t it lovely? I’m really happy with the robe hook and unlacquered brass toilet paper holder too!
I’m excited to show you the rest of the projects in this space soon. In the meantime, you can see how I converted that antique dresser into a vanity here. And get more bathroom ideas here.

![My OCD [and our master closet]](https://www.maisondepax.com/wp-content/uploads/2013/04/empty-painted-master-closet-window.jpg)
Beautiful makeover, Rachel. Great job of explaining the process.
Thank you, Carol!
This was such a good tutorial. I’m getting ready to do a dining room wall and now I think I can. This is what I want in a decorating blog – step by step. You remind me of me when I was younger. Thanks
Thank you, Heather! I hope you feel empowered to get it done!
Where did you get your robe hook and toilet paper holder? They are beautiful.
Hi Wendy!
I’m really happy with them! They are both from Etsy– the double hook can be found here (affiliate link): https://rstyle.me/+W6pEFy-mxa2xYFhBYIIRow
The toilet paper holder can be found here (affiliate): https://rstyle.me/+qydGbgRjdoWBn_NlKWZqYw