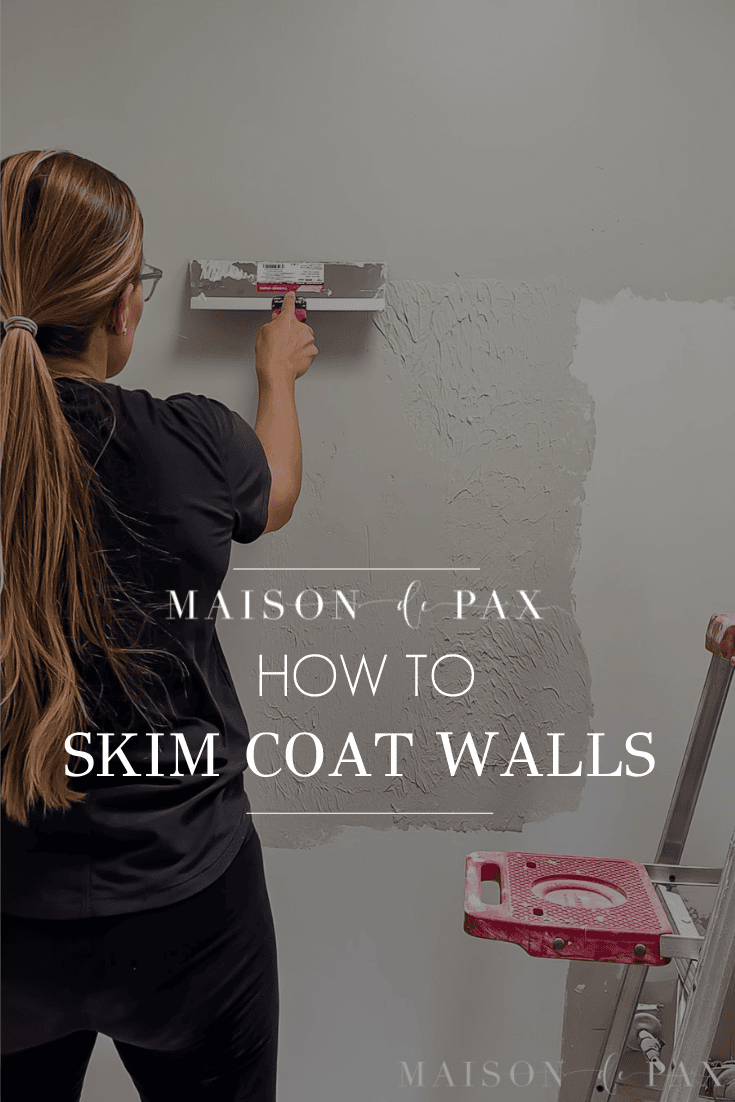
How to Smooth Textured Walls
Learn how to smooth textured walls with this simple DIY skim coating tutorial.
One of my favorite ways to add character to a space is through molding and trim work. Unfortunately, my last two homes have had super bold 80’s and 90’s orange peel texture, which does not fit the elegant vibe I prefer. So I set out to create smooth walls.

I’ll admit, the process is slow and messy, so I have only done it in a few, select spaces. But the spaces I have done turned out so well that I’m hoping to do as many as I can manage.
I must also confess that a professional could do a much better job. But this diy skim coating is a great solution for a small space or small budget. Or for a person like me who really likes to learn how to do things. I’m far from pro level yet, but I am getting better. 😉
A Quick Note on Wall Texture
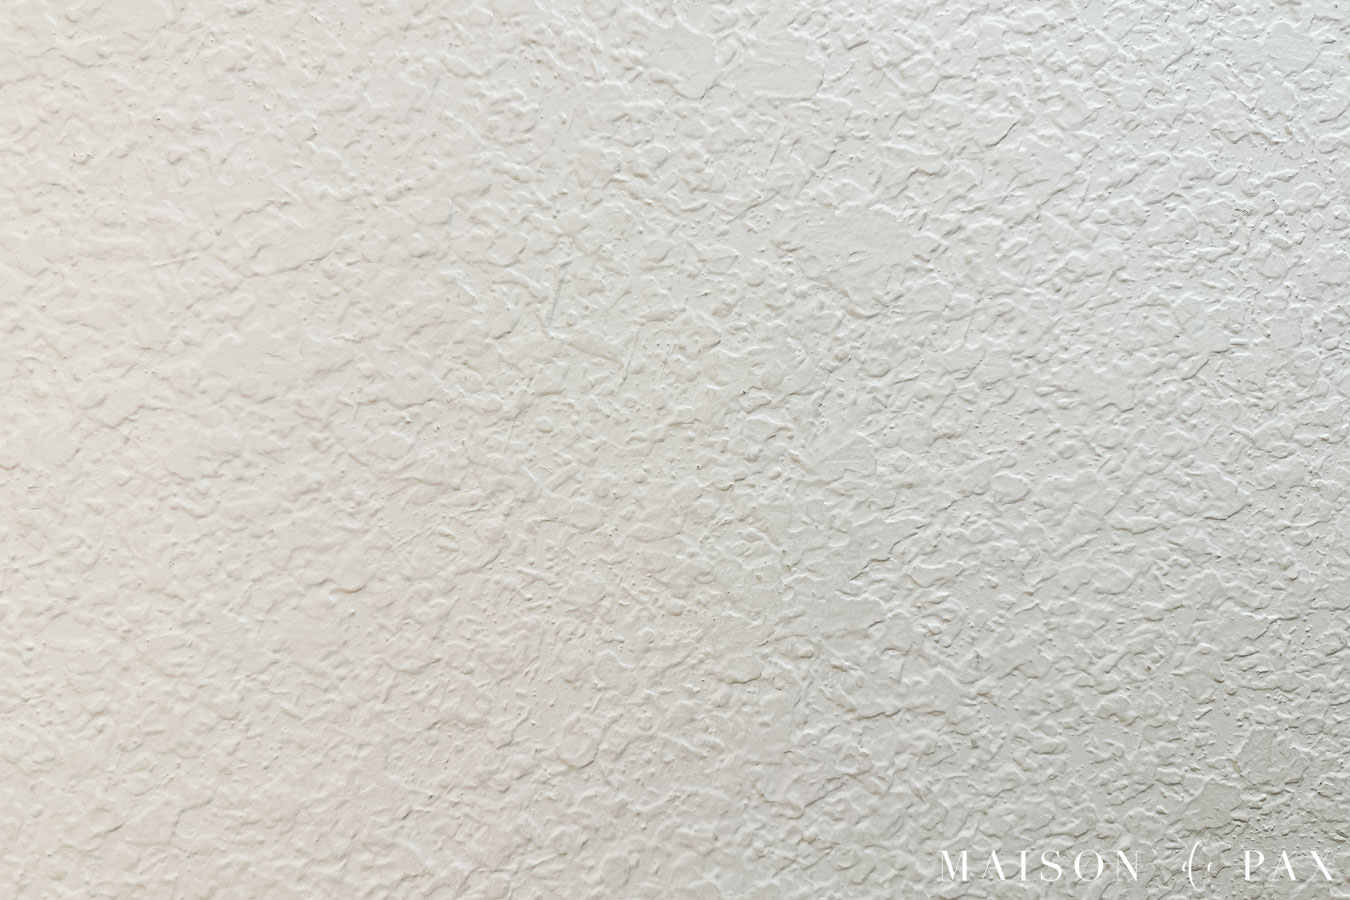
This is a very regional thing. In Texas, almost all the walls have texture. This was our existing texture before I skim coated:
Drywall Terminology:
- Level 0 – Just sheetrock screwed into the wall or ceiling; no level or taping has been done
- Level 1 – Joint tape has been applied and mudded, but no other leveling has been done
- Level 2 – A thin layer of joint compound has been applied over tape and drywall screws; this is the level done before tiling or (sometimes) in garages
- Level 3 – Another layer of joint compound has been applied, but the finish is not very smooth; this is meant for walls that will receive texture (like orange peel) to cover the imperfections
- Level 4 – Another layer of compound applied and smoothed; a standard smooth finish ready for paint or wallpaper
- Level 5 – An extra layer (or more) of thin joint compound is applied until the wall has a perfectly smooth finish
Though level 5 is amazing, my DIY finish would fall in Level 4ish, which serves my budget and purposes. And I like it much better than the orange peel or knockdown texture we typically have here in Texas.
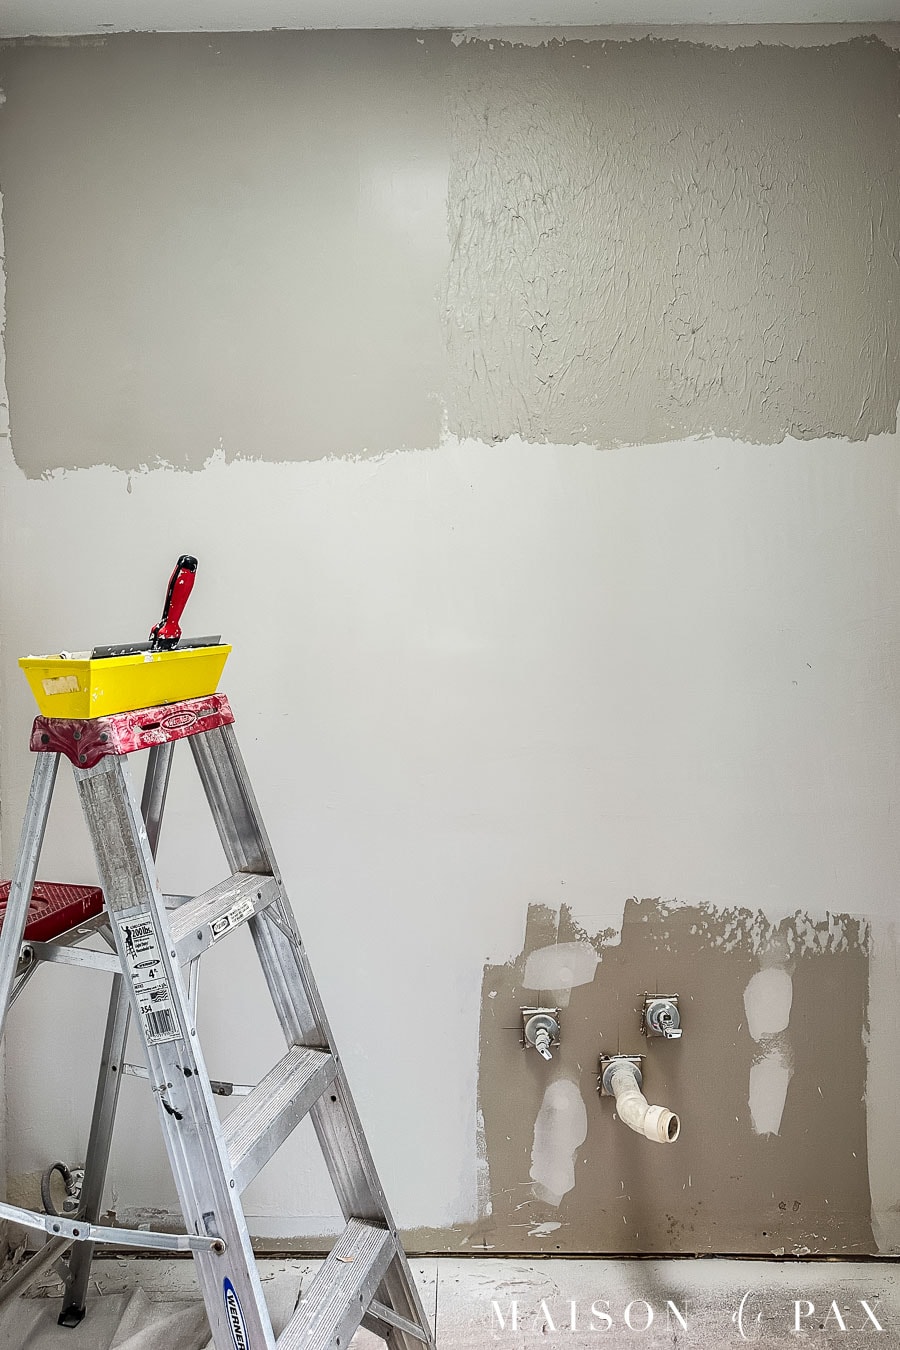
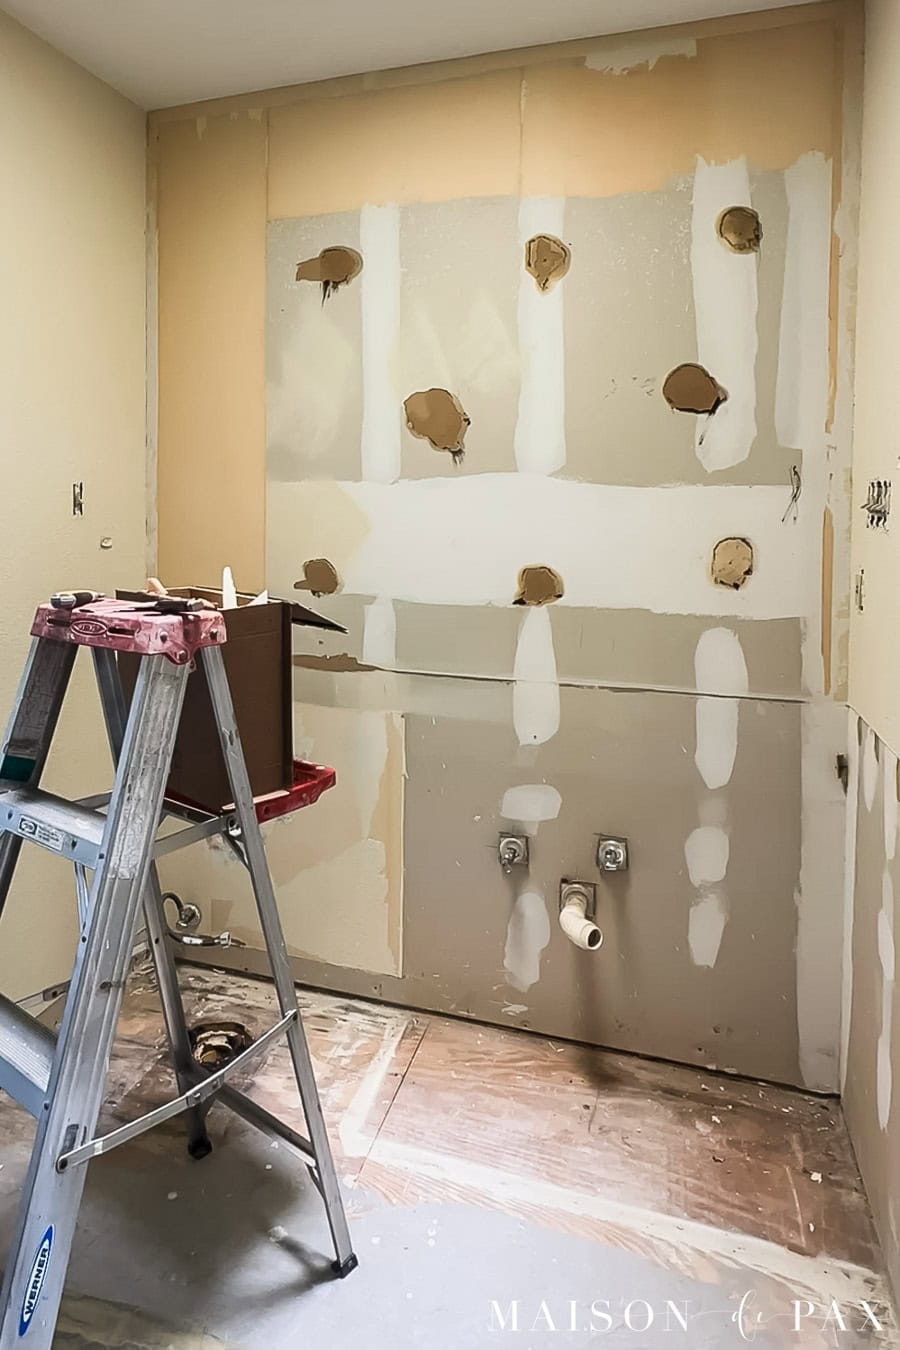
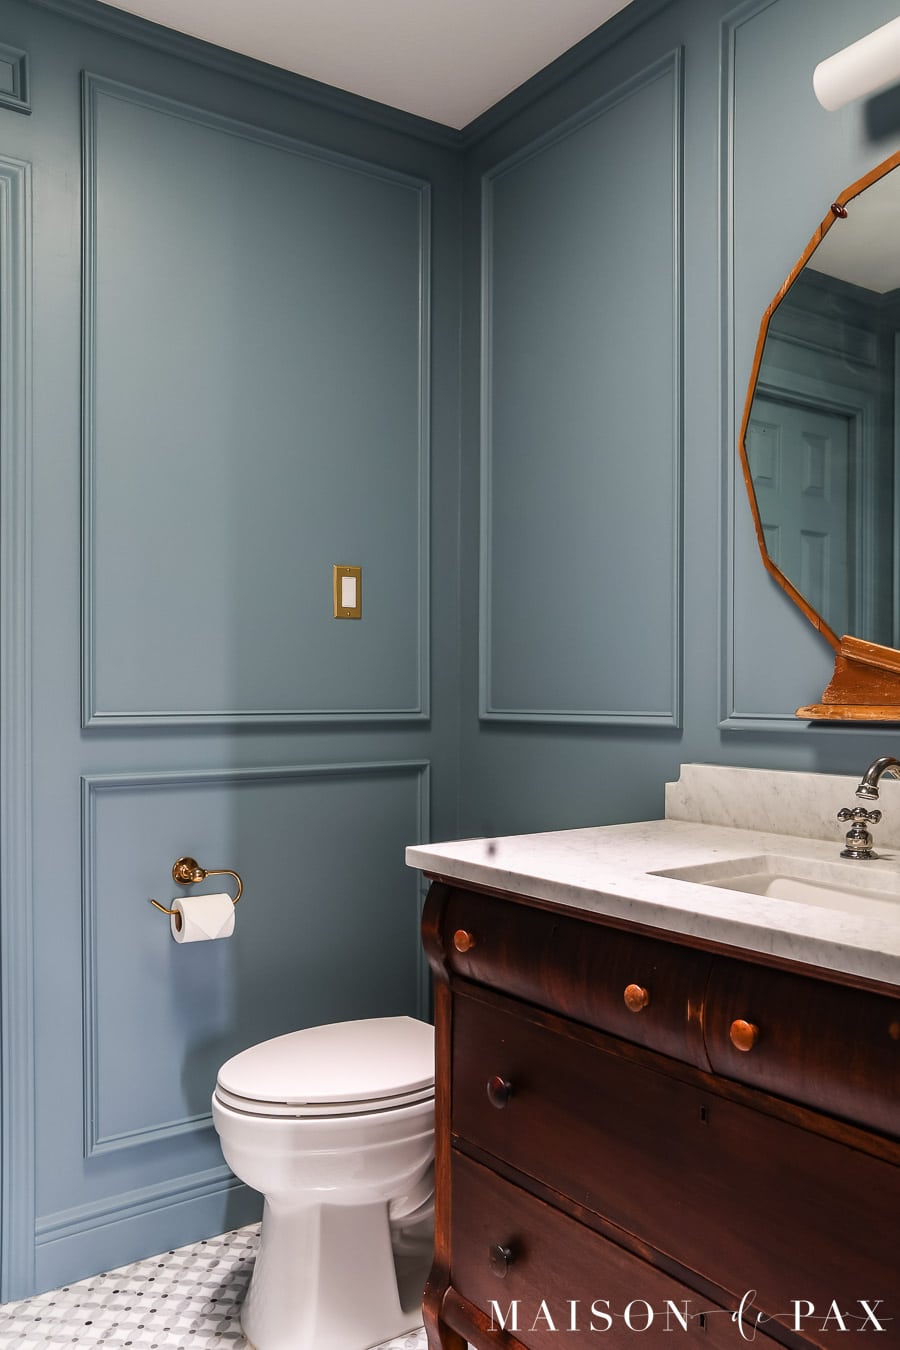
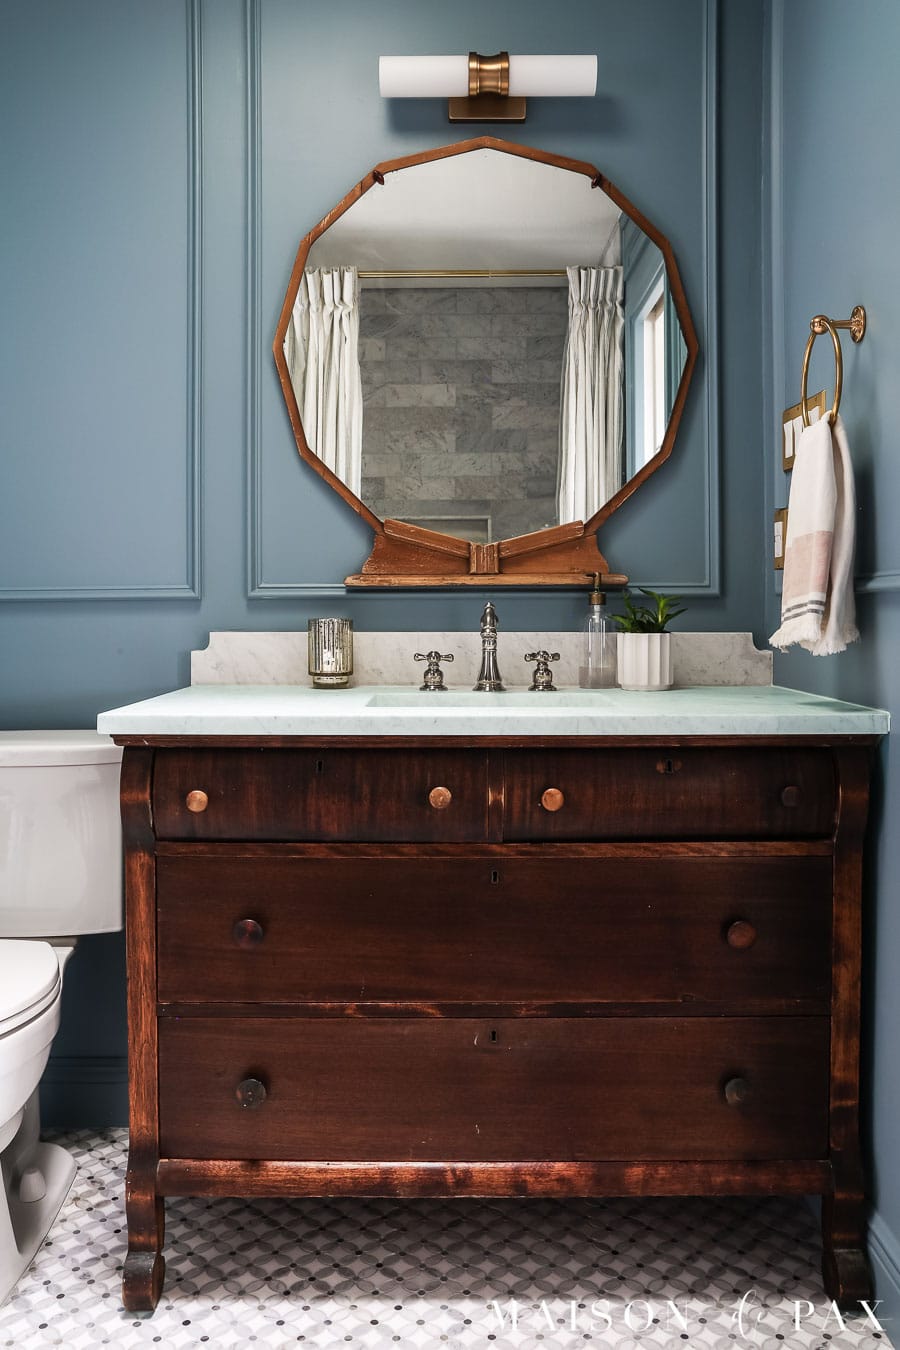
This process works over plain drywall, heavily textured walls, and walls damaged from glue or wallpaper. Here is what my daughter’s bathroom walls looked like before (the undamaged walls had the texture I showed above) and after:
Materials Needed to Skim Coat Textured Walls
This post contains affiliate links. Click here to read my full disclosure.
- all purpose joint compound
- mud pan
- 12-14″ taping knife, 2-6″ taping knife (depending on your smallest space)
- optional: 5 gallon bucket, drill, mixing paddle, roller with 3/4″ nap
- plastic sheeting, drop cloths, and/or paper for protection
- 180-220 grit sandpaper
- shop vac, dust mask or respirator
How to Smooth Textured Walls
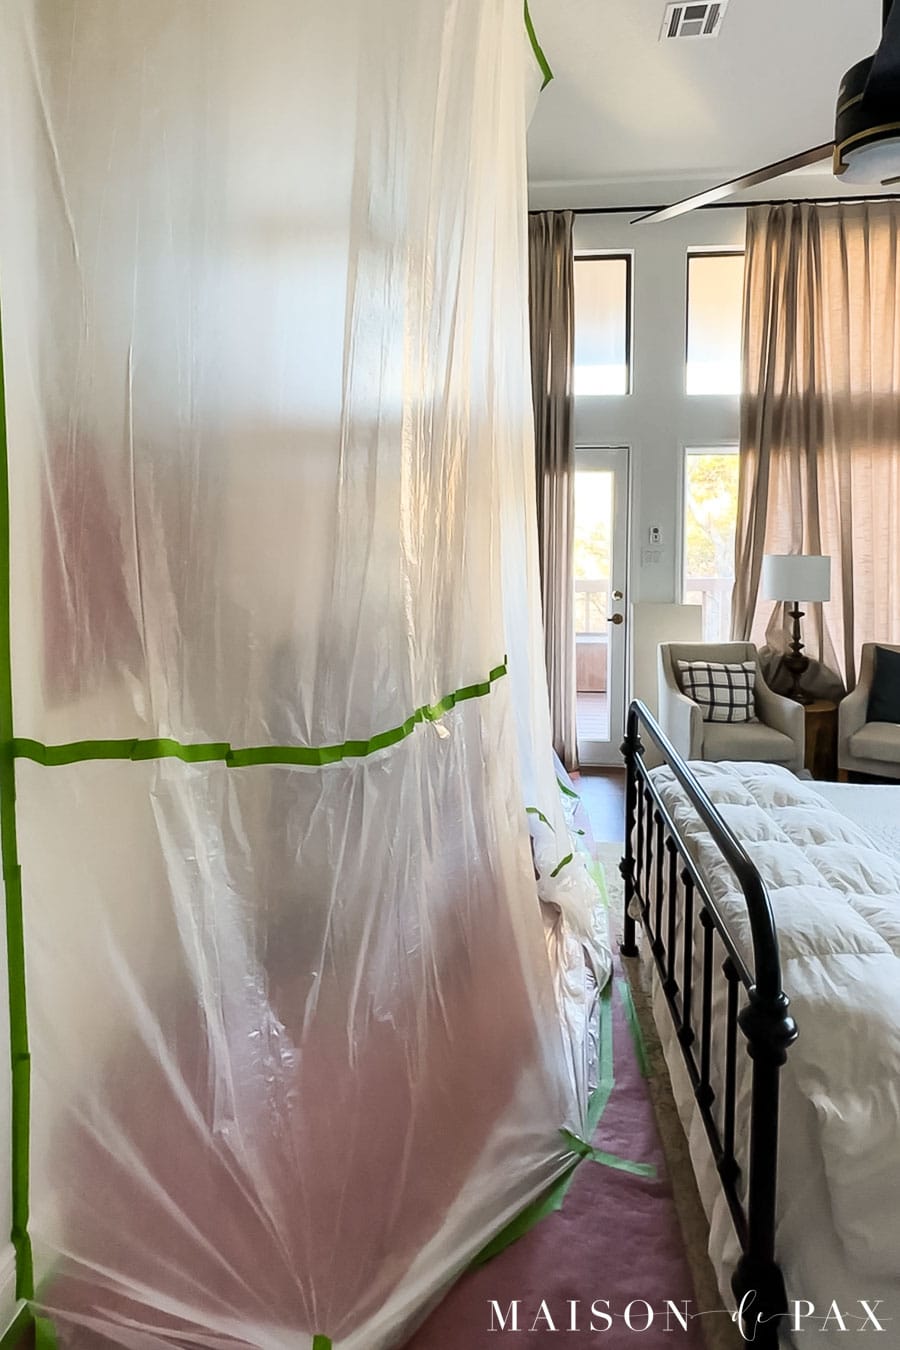
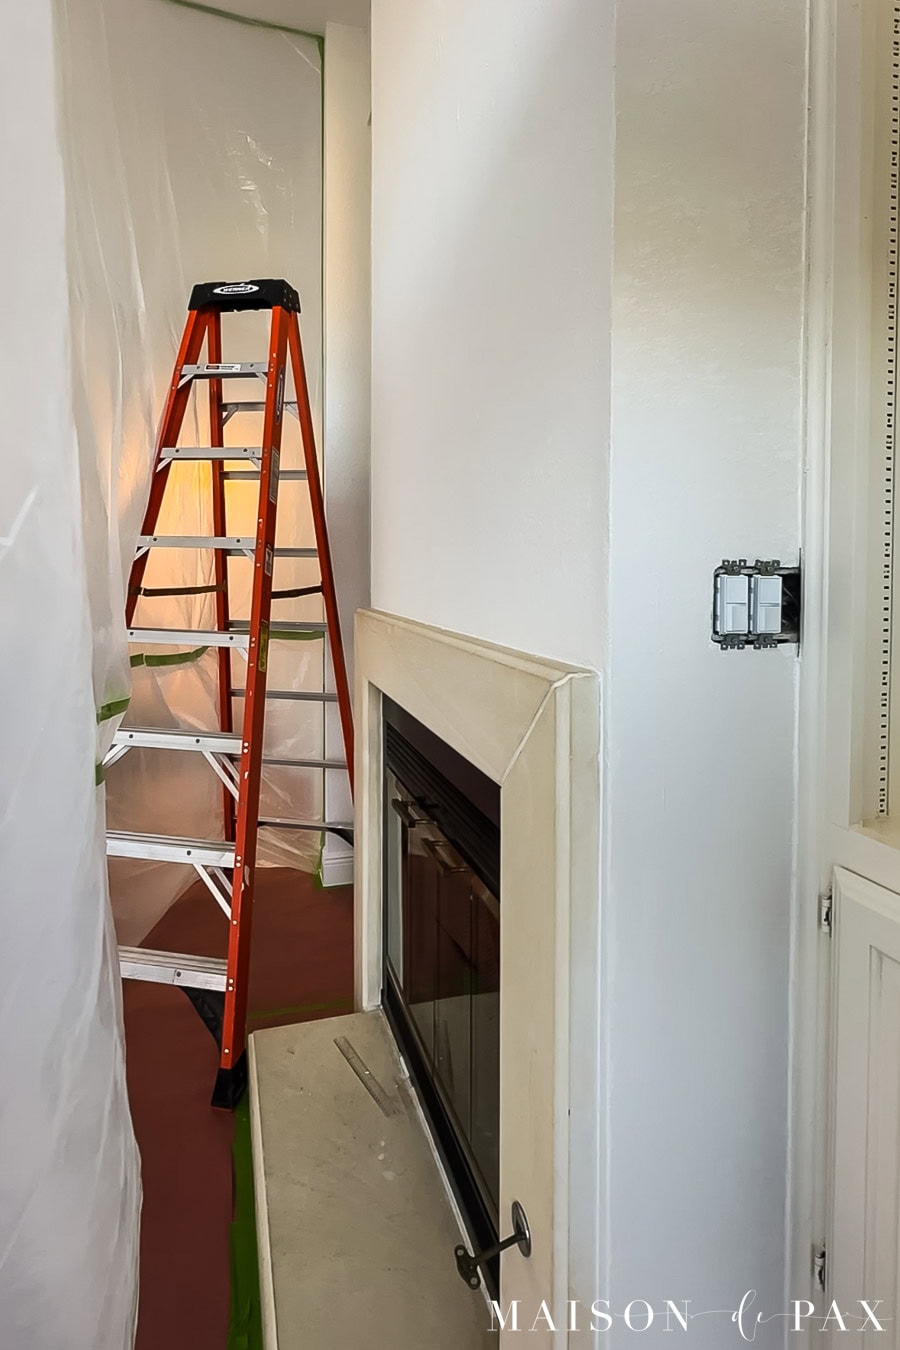
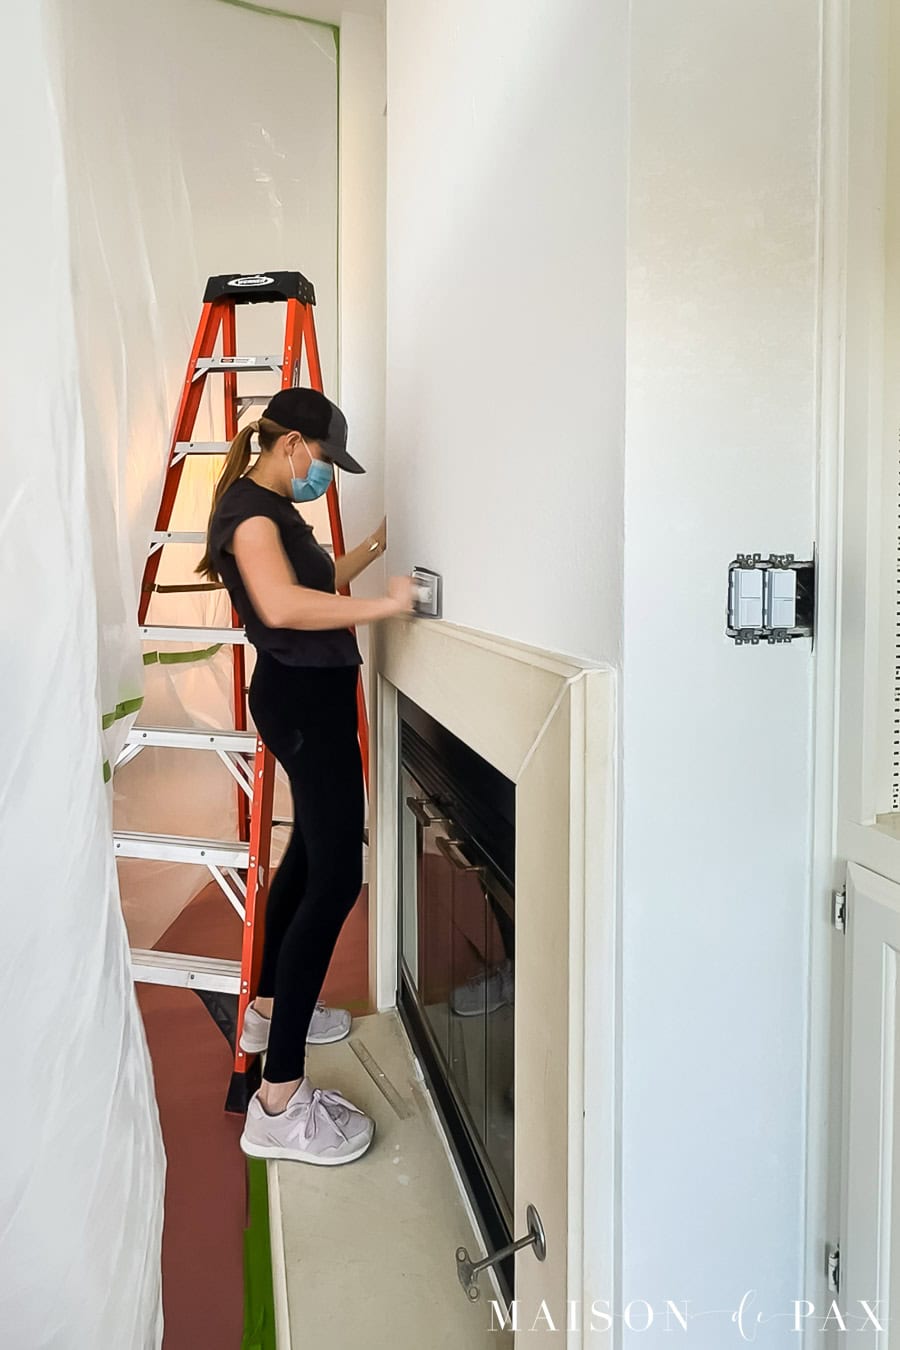
Step 0 – Prep
This is a messy project. If you can do this before you move into a home, I highly recommend that. If not, protect your floors with paper, remove all furniture or cover it completely with plastic, and enclose that room or space as much as possible.
For walls with drywall damage (where wallpaper and glue were removed), I start with a coat of primer. For undamaged painted walls, you can simply skim coat on top of the paint.
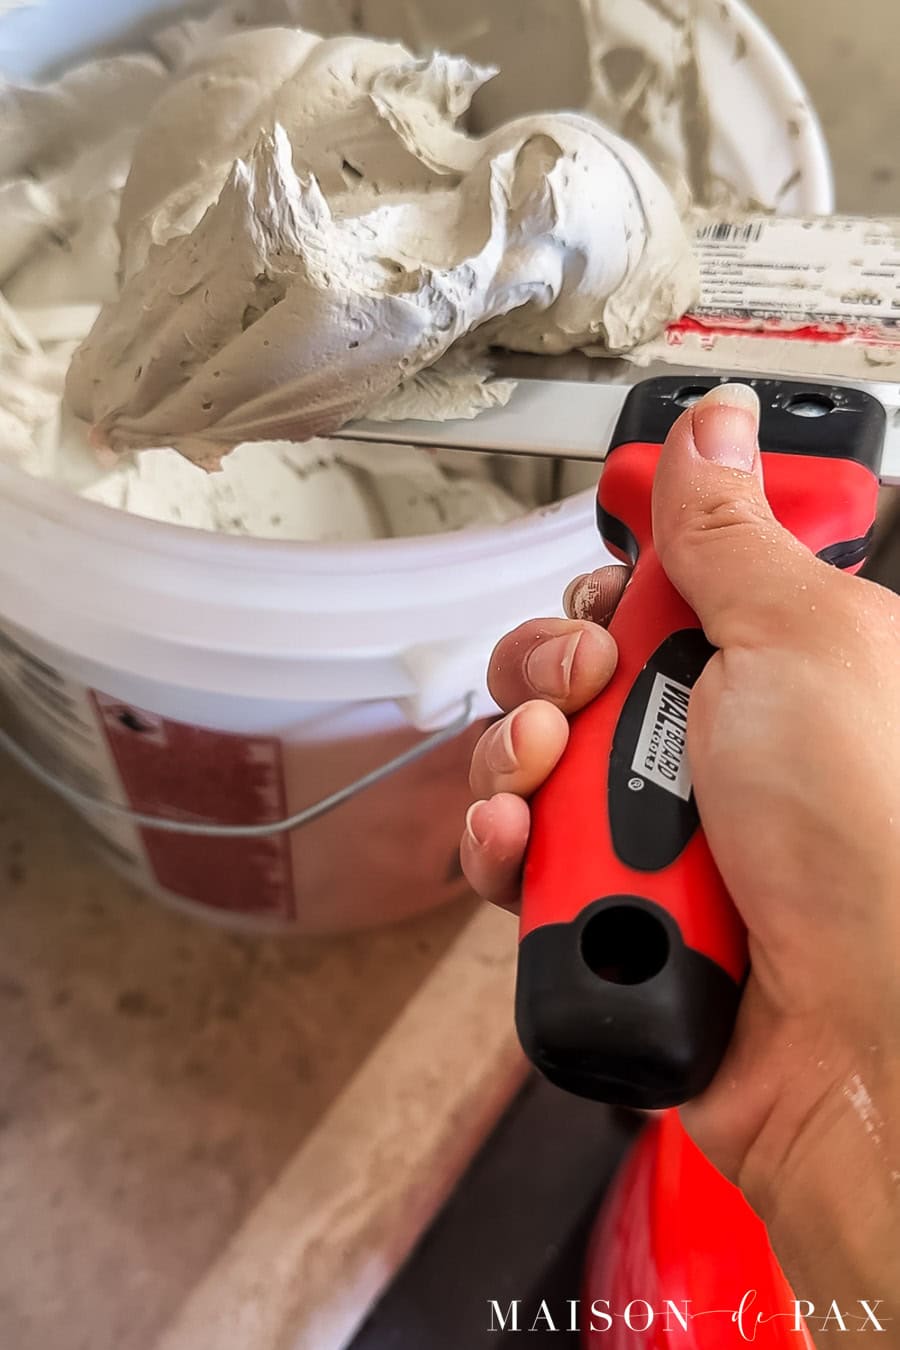
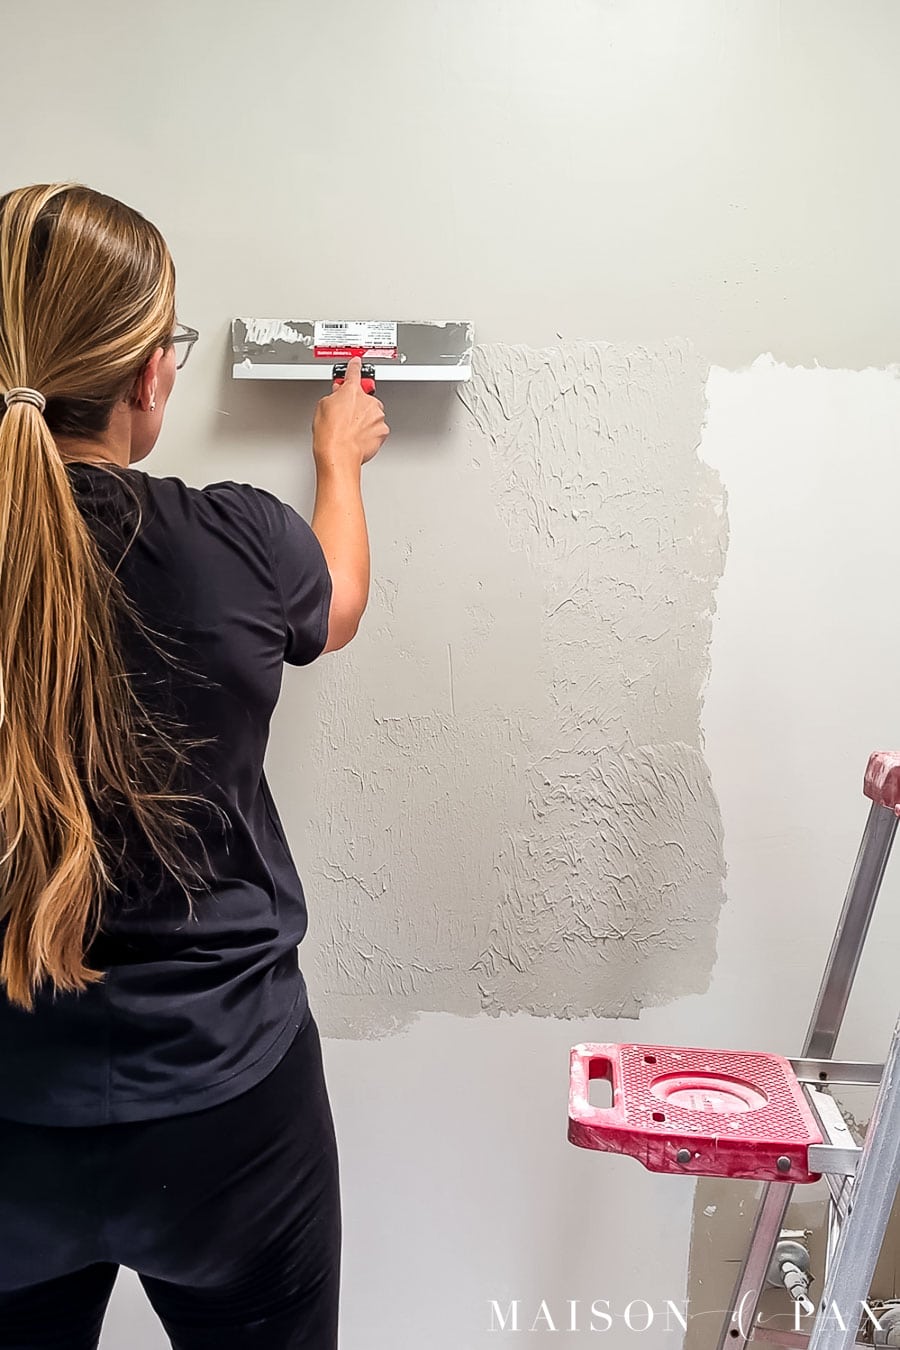
Step 1 – Apply a coat of drywall mud to the wall
You have two options for this: you can roll the mud on in small sections and then smooth it out with your drywall knife, or you can simply use your drywall knife to apply the mud as you go.
I have used both methods, and both have their merits. Using a roller felt like an extra step and extra mess, but I actually think those walls turned out a little smoother and more even than the walls where I just used my drywall knife.
If you choose to roll it on, you’ll need to put some mud into a 5 gallon bucket, add a tiny bit of water, and mix it with a drill and paddle mixer attachment until it is the consistency of peanut butter without any lumps. Try not to overmix it, though, or it will get more air bubbles (which you’ll see later is a problem).
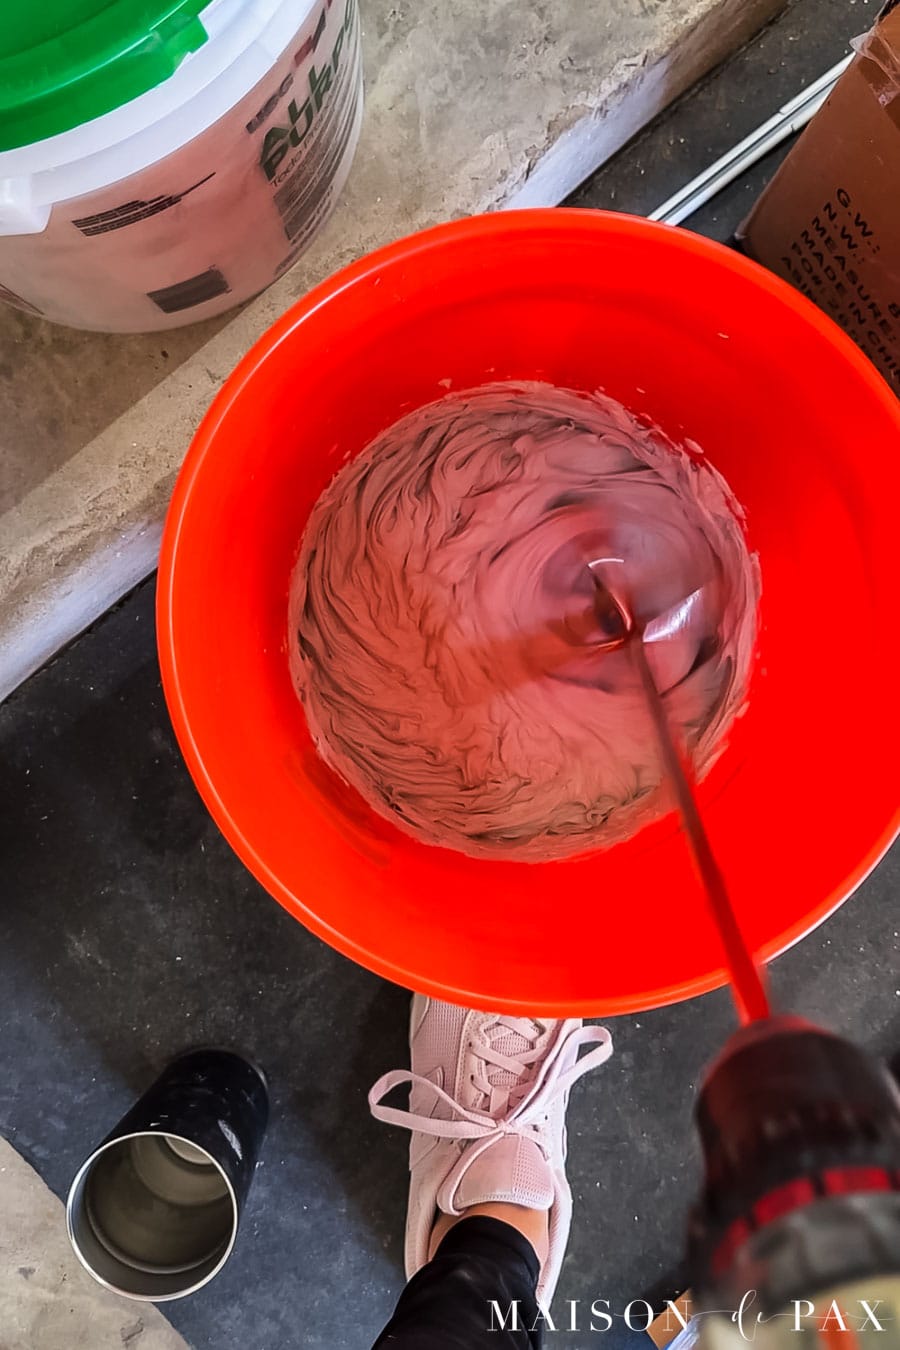
Use a thick nap roller and roll the mixture onto the walls.
Tip: Roll on no more than 3×5′ sections at a time.
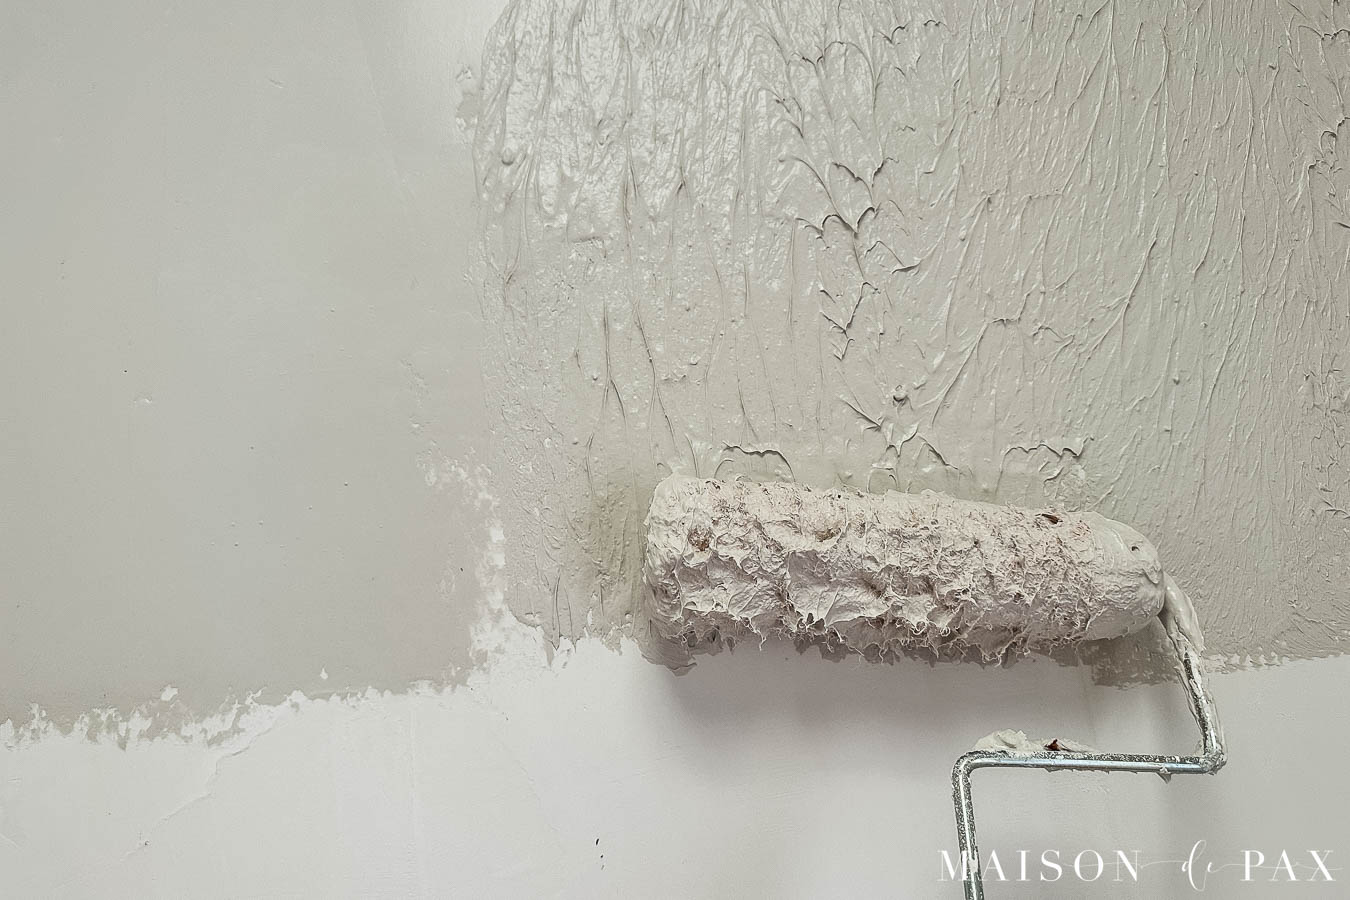
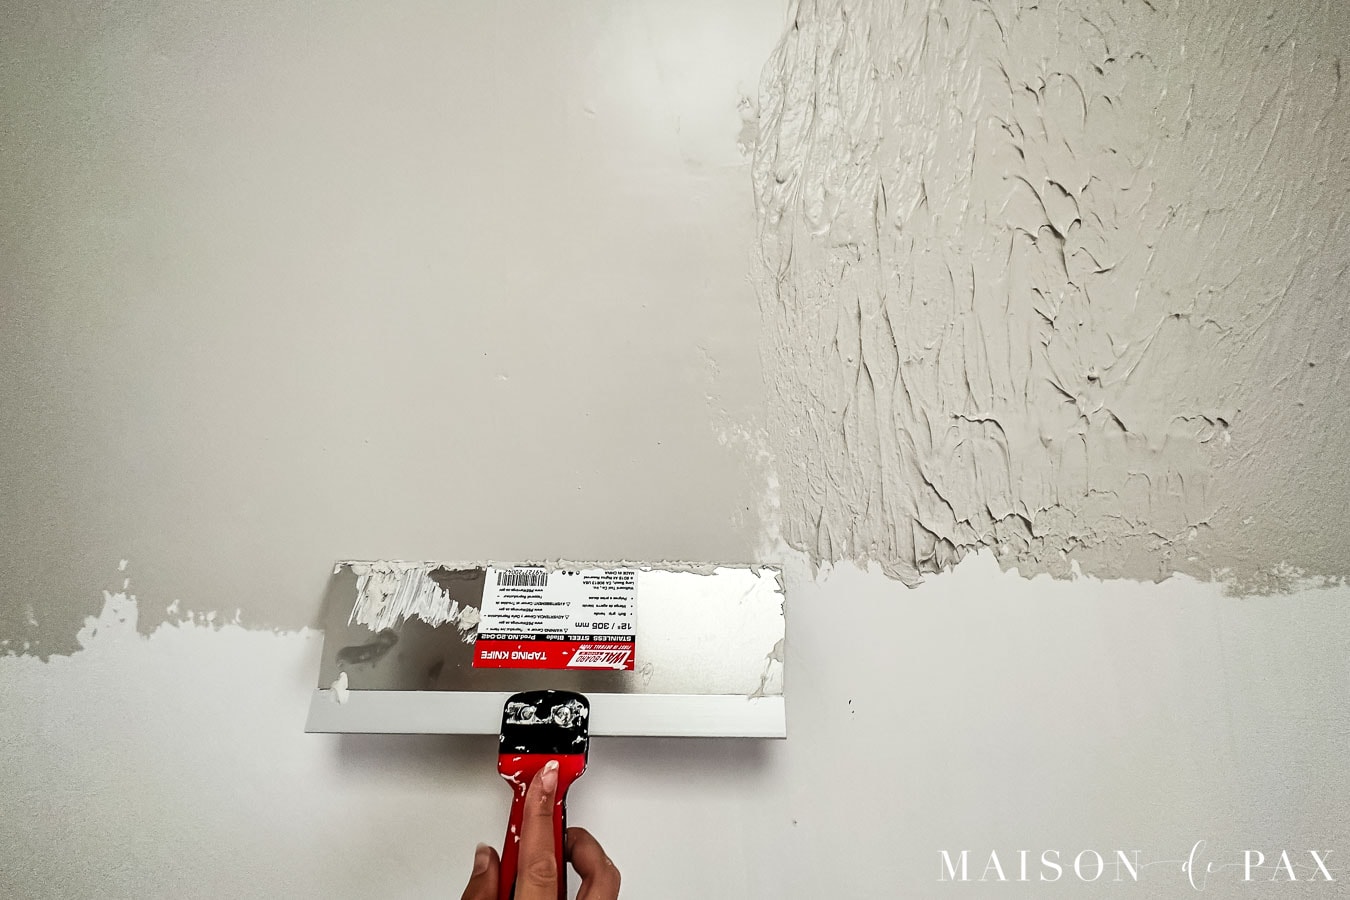
Then use your taping knife to scrape off the excess and smooth out the mud. Wipe your knife against the edge of your mud pan regularly to keep it clean.
Tip: The trick isTHIN layers of joint compound. You are not icing a cake.
Another tip: Angle your knife pretty low (so your handle is closer to the wall).
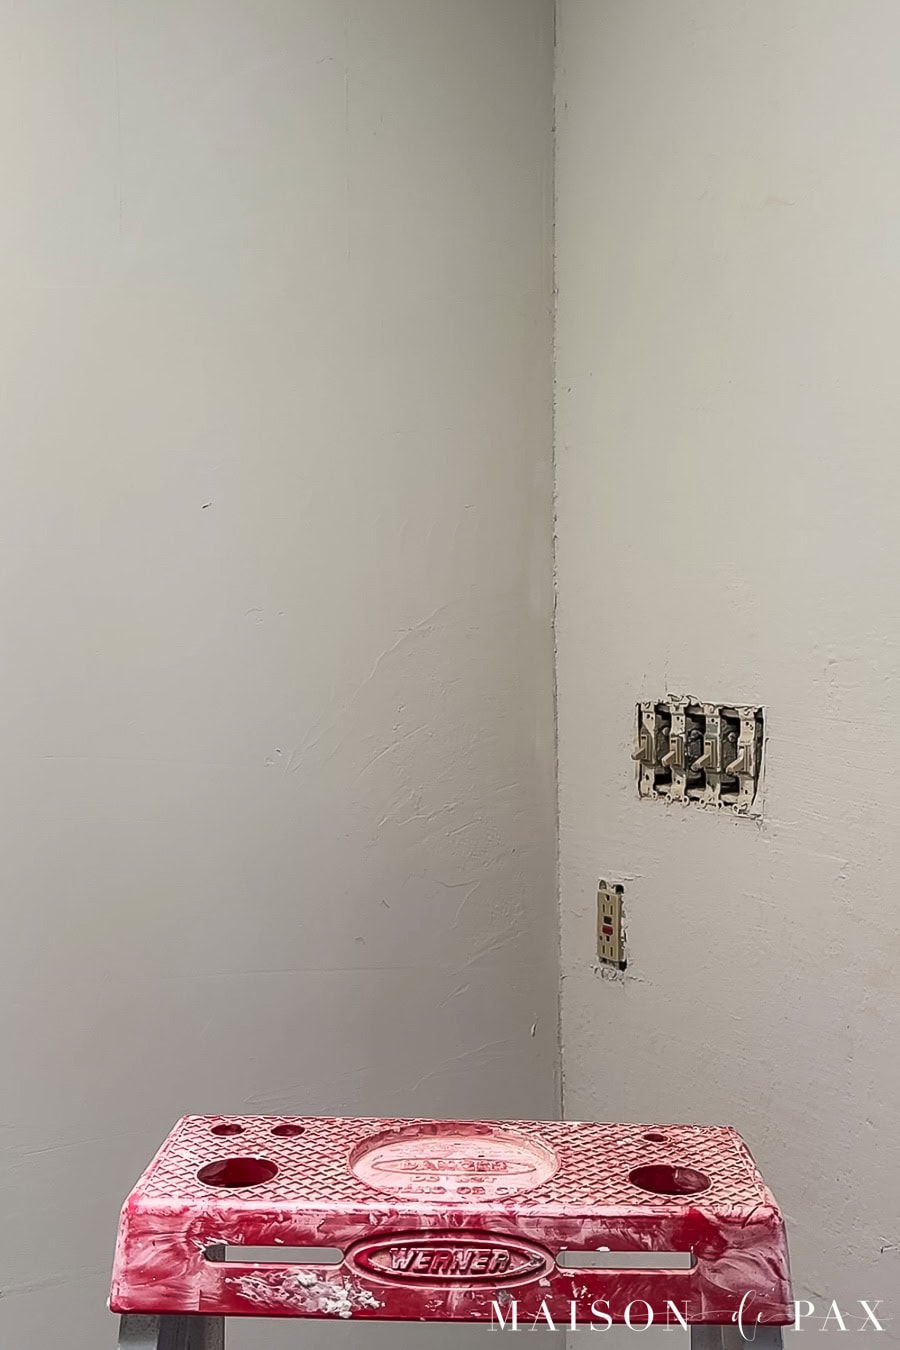
Use a small knife for the corners and small spaces around outlets and trim. The paint roller won’t get enough mud into the corners, so work directly with mud from your much pan.
Tip: Clean your knife often so you don’t get hardened pieces of mud that make bumps in your finish.
Step 2 – Let it dry completely
Drywall work is slow. Multiple coats must completely dry before going on to the next step. I wait until the next day before moving on. The first coat won’t be perfect. Don’t worry.
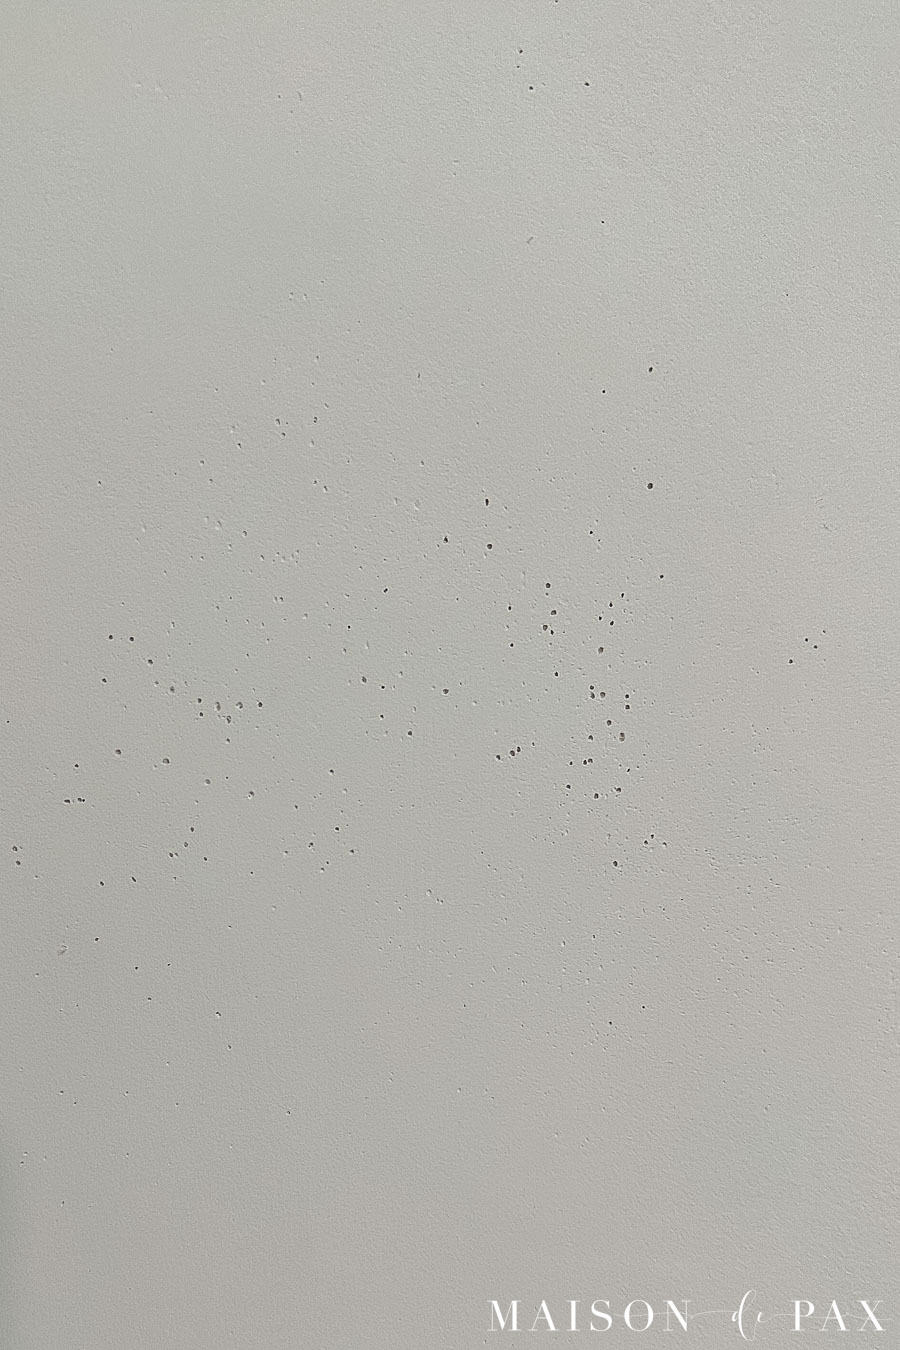
You will likely notice some air bubbles as the compound dries. These are (unfortunately) normal. Opinions are mixed on how to avoid them, but most agree that too much water or too much mixing in your compound can make them worse.
Step 3 – Lightly sand between coats
The real sanding work will be done after the final coat. At this point, you simply want to remove any particularly high or rough patches. I found that a light sanding over the entire wall with 180 grit sandpaper sufficed.
Remember that drywall dust is messy. Like really messy. Wear a mask or respirator and protect your home with plastic tarps, etc.
Step 4 – Apply a second coat
If you prefer to simply apply the compound from your mud pan this time, that’s fine. You shouldn’t need as much drywall compound this time as you did for the first coat.
Tip: You may notice an “edge” as you scrape smooth. Don’t panic, as this can be sanded away later, but do consider applying a little more pressure to one side of the knife as you go to lessen those lines.
Where air bubbles were sanded, you will have tiny holes.
Tip: You’ll need to be sure to fill these in. If more air bubbles keep coming in those space spots, don’t panic. You can fill them in with a little spackle later.

Don’t forget to let it dry completely.
Step 5 – Sand smooth
You can buy or rent a drywall sander, but I just used a hand sander with a mix of 180 and 220 sandpaper for this. A sanding sponge would work, too. You may still find little holes or imperfections… And a third coat is always an option for those areas.
At this point, if I still have little holes from air bubbles, I have had more success filling them with spackle, rather than more drywall mud. A light fill with spackle and a smooth sanding works well.
Tip: A damp rag can also help smooth out spackle or even drywall mud.
Step 6 – Prime
Drywall mud must be primed before you do anything else. There are special primers for fresh sheetrock, but a basic water based all purpose primer will work, too.
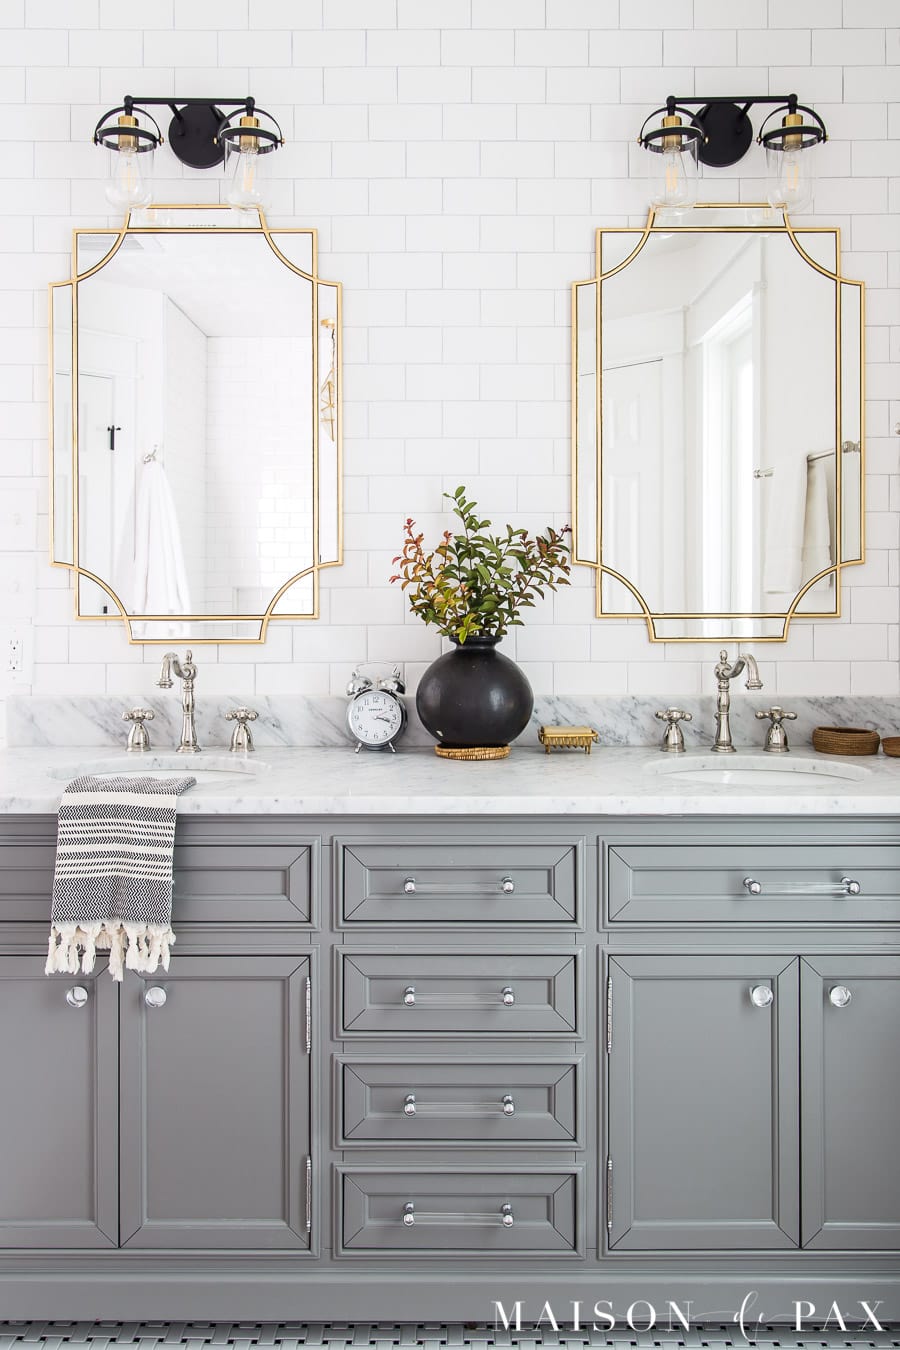
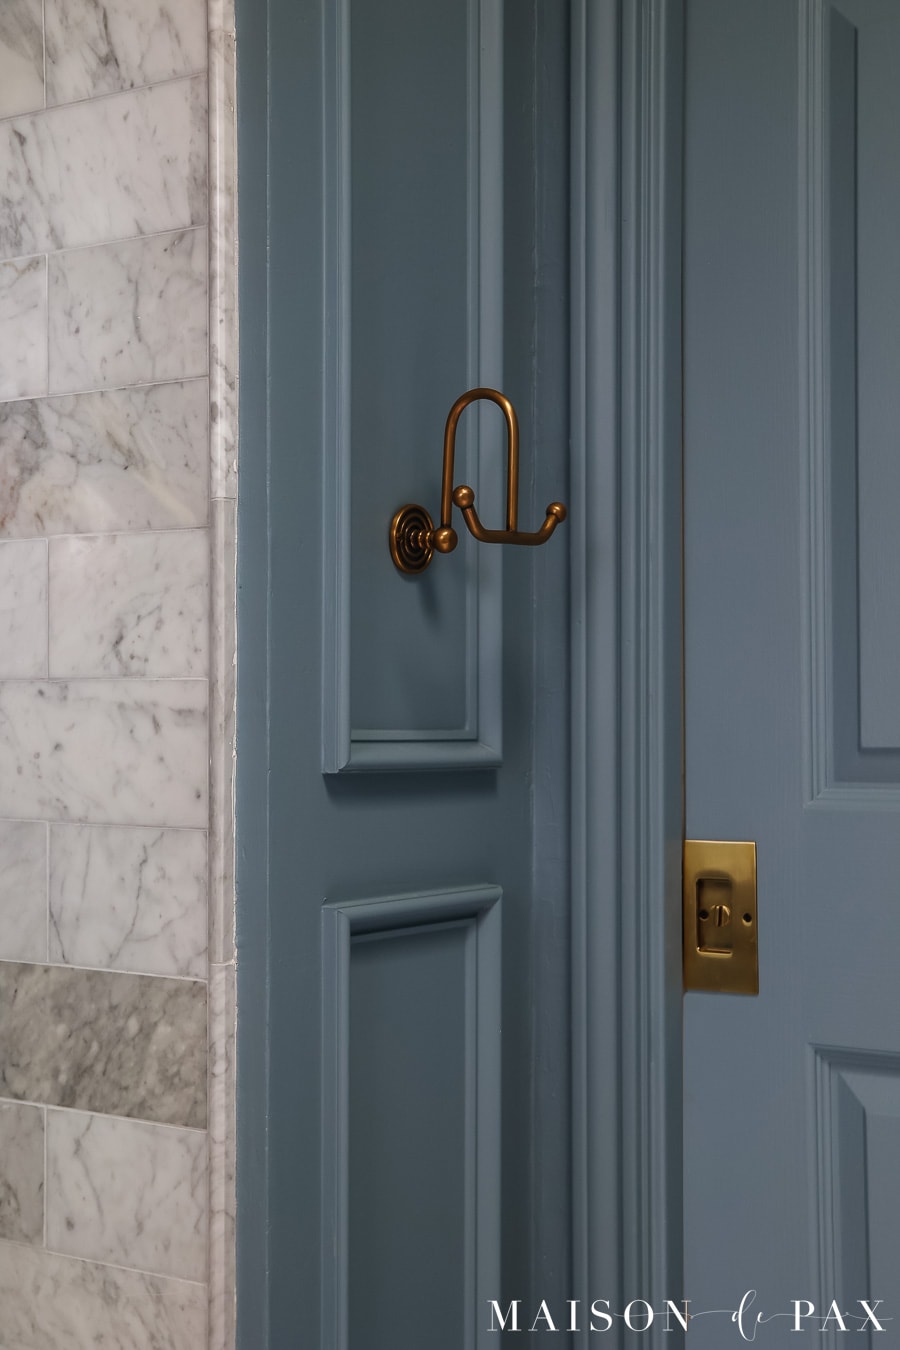
Once the space is primed, you can paint, add trim and molding (like I did in my girls’ bathroom), or wallpaper your new smooth surface!
I hope you found this tutorial on how to smooth textured walls helpful. Let me know if you have any questions.