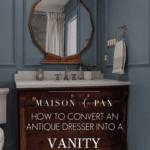
How to Turn a Dresser into a Vanity
Find out how to convert a vintage dresser into a bathroom vanity with this step by step tutorial!
As I design spaces for our new home, I know I want to blend classic character with a modern touch. And it all started with this elegant moody bathroom for my daughters. When we decided to go ahead and gut the space, I knew that turning an antique dresser into a bathroom vanity would be the icing on the cake.
I’ll share the full process and reveal of the bathroom soon, but first I wanted to share how we transformed this beautiful antique dresser into a vanity.
This is actually my third time to turn a vintage dresser into a vanity, but the first two were prior to this website, so I’m afraid I have neither pictures nor tutorials… But suffice it to say that you have a few options when you convert a dresser. Let me try to address a few of them with these FAQs:
FAQs on Turning a Dresser into a Vanity
Can you make a dresser into a vanity?
Absolutely! You will lose some drawer functionality when you do this. The sink will likely make the top drawers unusable (or at least smaller). And you’ll lose some storage space to the plumbing, but a dresser vanity is a great, unique option for a bathroom!

What height should a dresser be for a vanity?
Generally, standard vanity height ranges from 32-36 inches, and standard vanity depth ranges from 18-25 inches. You can set the dresser right on top of the floor tiles. If you choose a vessel sink (see below), you can start with a slightly shorter dresser, depending on the height of your sink.
How do you add a sink to a dresser for a vanity?
You have a couple of options depending on the type of sinks and counters you prefer:
- You can keep the wooden top and install a drop in sink or a vessel sink. This involves cutting a hole for the sink, installing the sink above the wooden top, and sealing the wooden top with something substantial to ensure that it is waterproof.
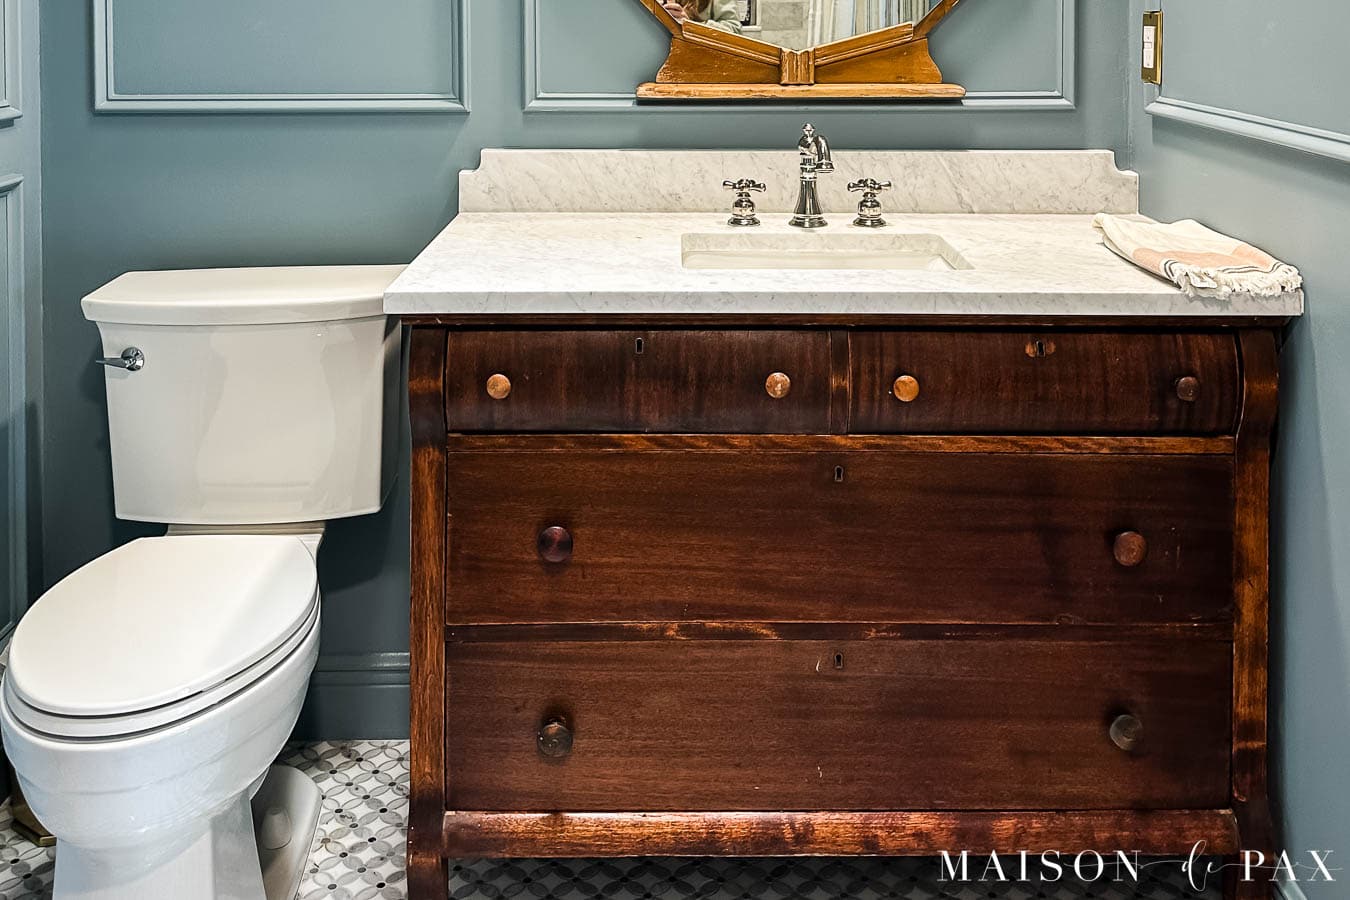
Note: the sink hole must match the exact sink you choose. - On the other hand, you can remove the wooden dresser top and use a stone or ceramic top, which we chose to do here. We had some other countertop work to have done in the home, so we used a local countertop fabricator to install a Carrara marble top with a simple ceramic sink.
This time we opted for a marble top, which required hiring a countertop fabricator. But the last two times we chose to keep the wooden top and install a vessel sink, which was a diy project. Both are great options!

How to Turn a Dresser into a Vanity
- Find the right size dresser
You’ll want to look for an old dresser that fits your own bathroom layout. The width is entirely up to you and your space (see above for heights and depths). I found this beautiful vintage dresser locally on facebook marketplace, but thrift stores or neighborhood trading sites are other great resources. Make sure you can find a sink that will fit your dresser.

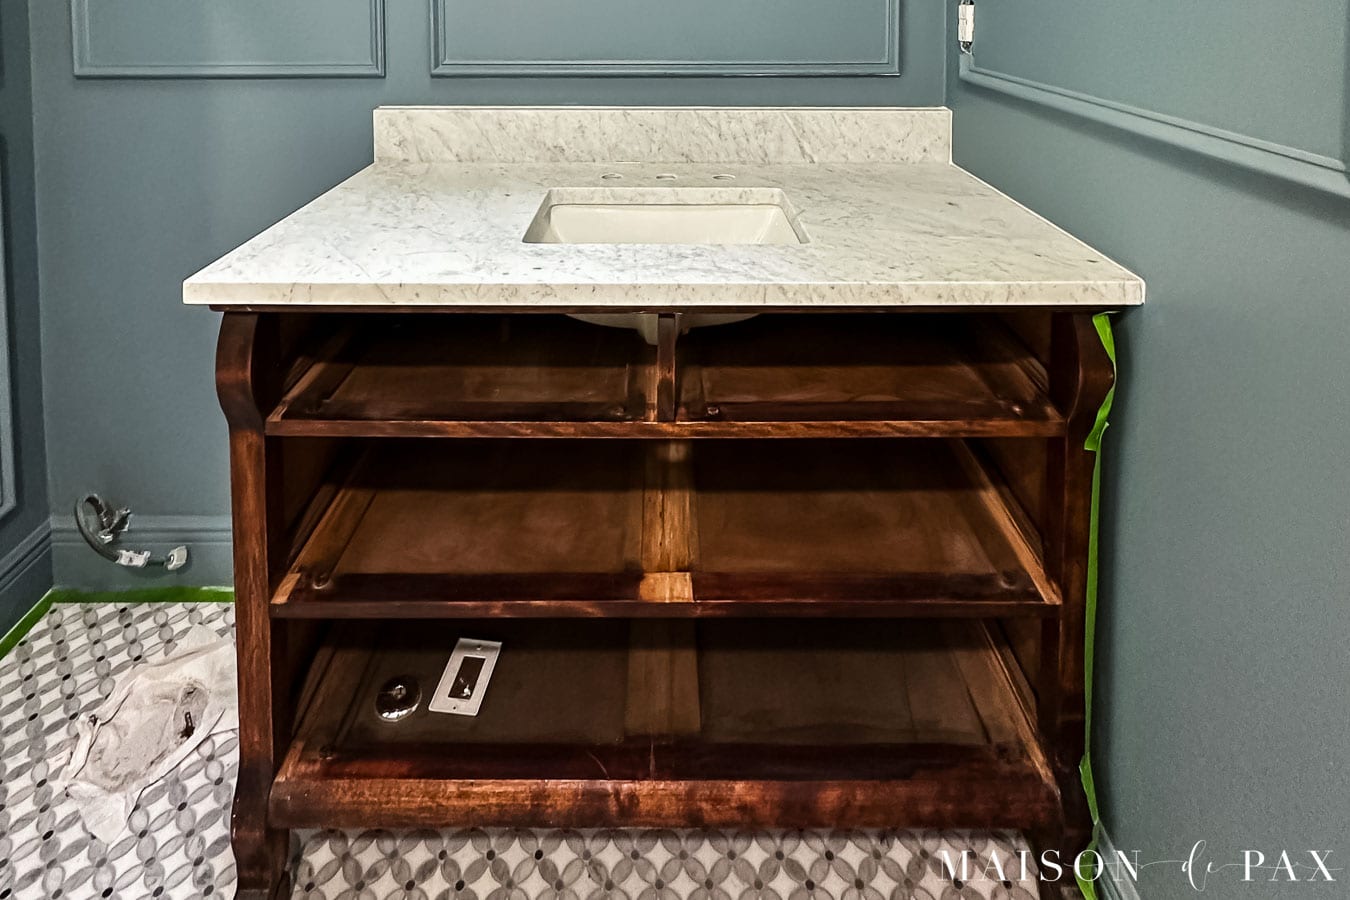
- Remove all drawers
Just set aside all upper and lower drawers for now. If it has any shelves, set those aside, as well. You want a basic cabinet to work with.

- Remove the top (or cut hole for sink)
If you plan to use stone, remove the top of the dresser. If you decide to use a vessel sink, then order the vessel sink before preparing the dresser. Then use a jigsaw to prepare the top according to the sink’s cut out template. You will also need to use a waterproof top-coat. You can use a marine wood sealer or an epoxy for an extra durable finish.
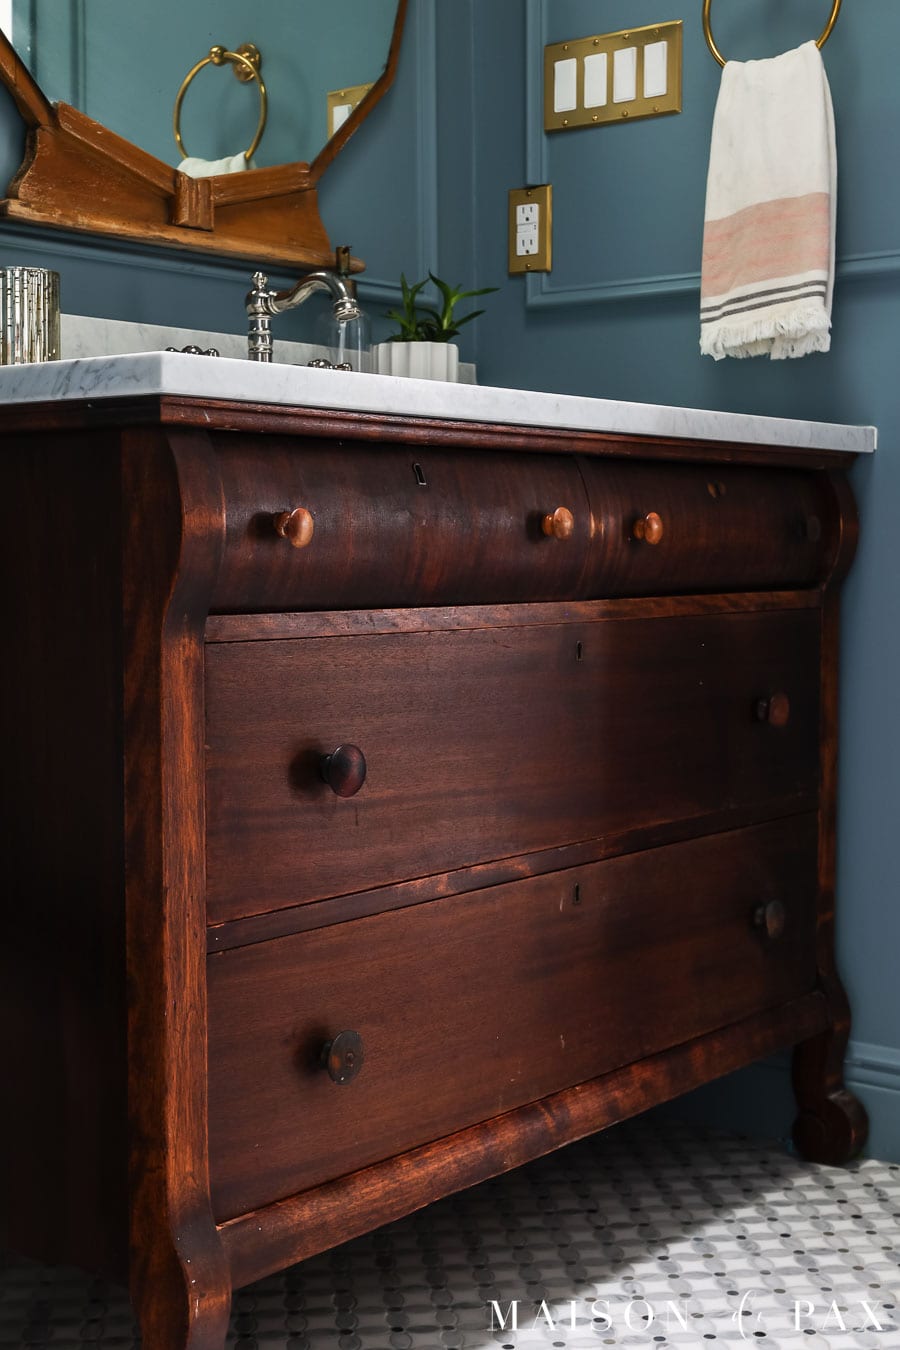
- Refinish or paint the dresser (optional)
I loved the look of the dresser I found, but you could certainly strip and refinish with wood stain or paint the dresser if you desire.
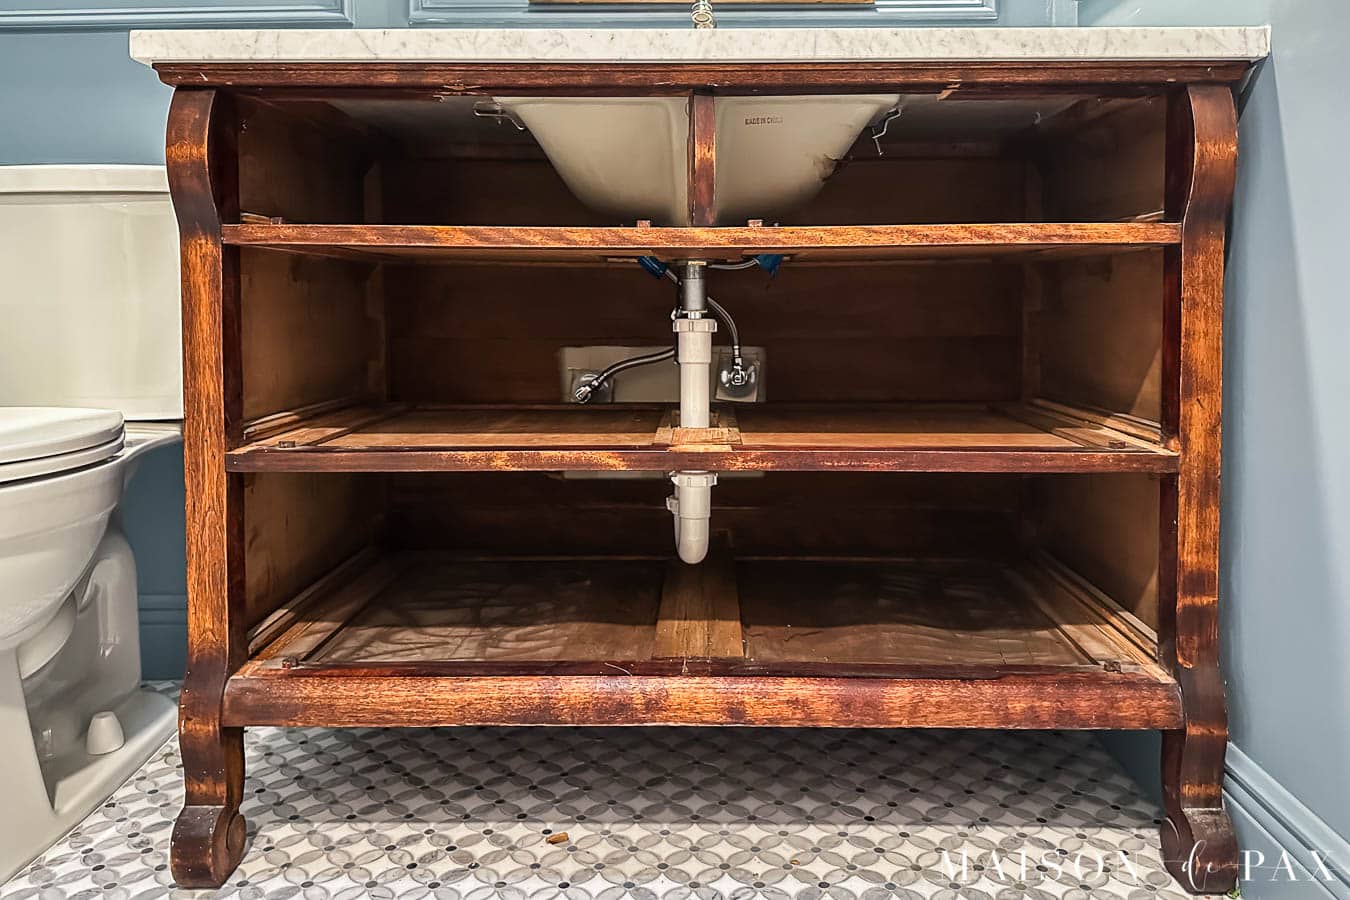
- Cut out back of vanity (and drawer supports) for water lines and plumbing
Measure for your water lines and drain lines, and use a hole saw to cut a small hole for each of those lines in the back of the dresser.
If you have solid drawer supports, then you’ll need to cut holes in those, as well, for the sink and drain lines. This is probably better done with a jigsaw blade or even an oscillating saw or small circular saw. Sand the edges of all cuts with 120 or 150 grit sandpaper. - Secure dresser to wall
Slide the dresser over the wall plumbing and then secure the dresser into a couple of studs with long screws.
- Install (countertop and) sink
If you are using a vessel sink, install the sink according to instructions, and run a bead of silicone where the sink meets the countertop. If you are installing a stone top, do that now. You’ll want to have your faucet already chosen so you can plan your faucet hole accordingly.
- Reattach plumbing
Next, install your faucet and sink drain. Feel free to outsource this to a plumber if you don’t feel comfortable with this step.
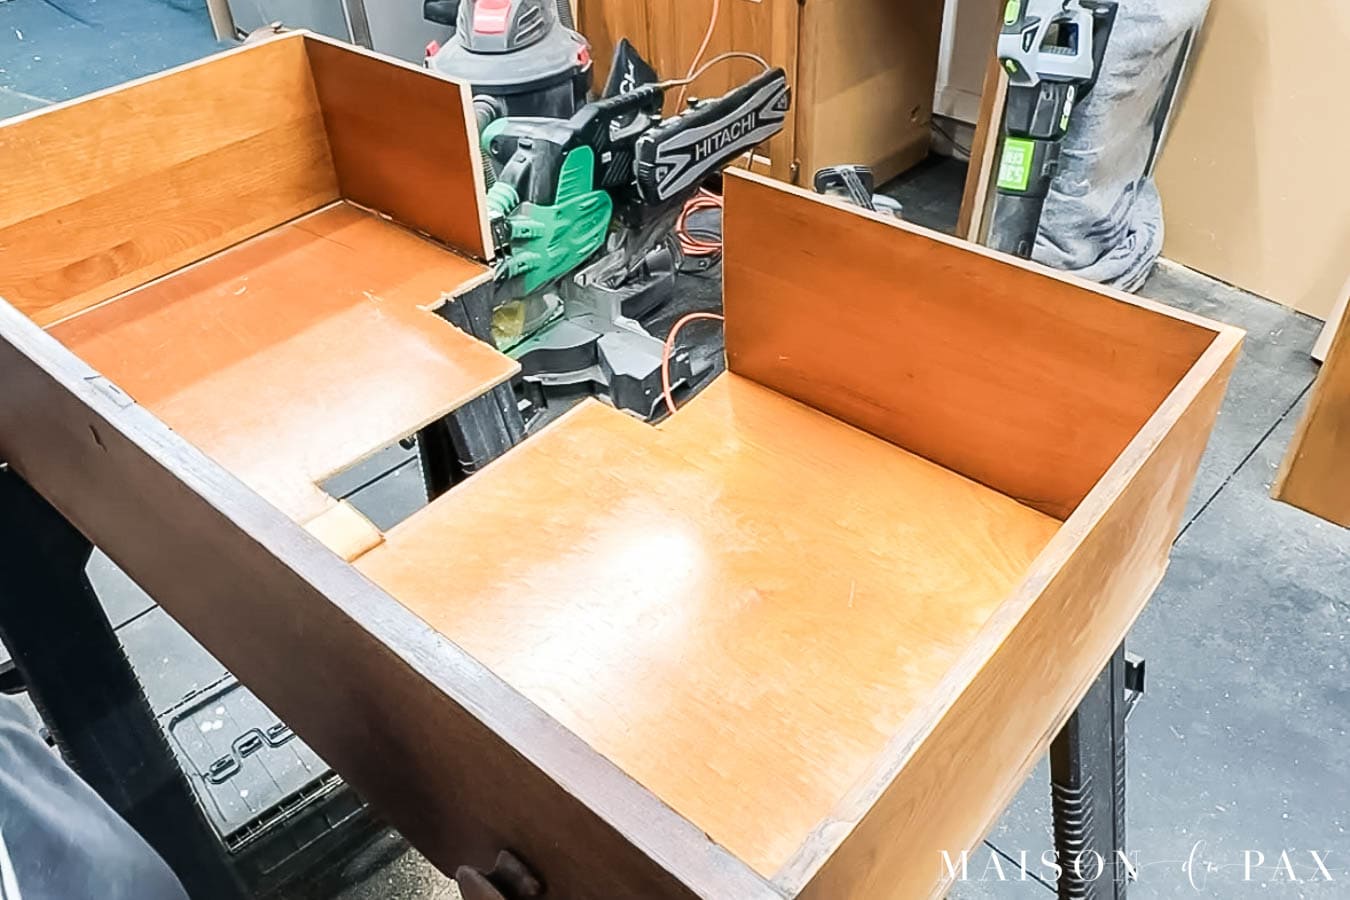
- Retrofit drawers
Now that your plumbing pipes and sink drain are in place, measure around them to see what changes you need to make to your drawers. Cut out sections of the drawers to accommodate the sink, drain hole, drain pipe, and water lines. Additionally, see below for more about the drawers.


How to Retrofit the Drawers to Remain Functional
Don’t give up on your drawers! You could simply remove the drawer fronts from the back of the drawer and glue the fronts onto the dresser. However, why give up bathroom storage?
For this project, I managed to salvage about half of each of the top drawers on the vanity and most of the bottom drawers. First, I carefully measured and cut the existing drawer boxes to fit around the plumbing and maximize the space. That’s why I recommend waiting until after the plumbing is installed to make these adjustments.
I saved all the scrap pieces so that I could rebuild the drawer boxes using wood glue and finishing nails.
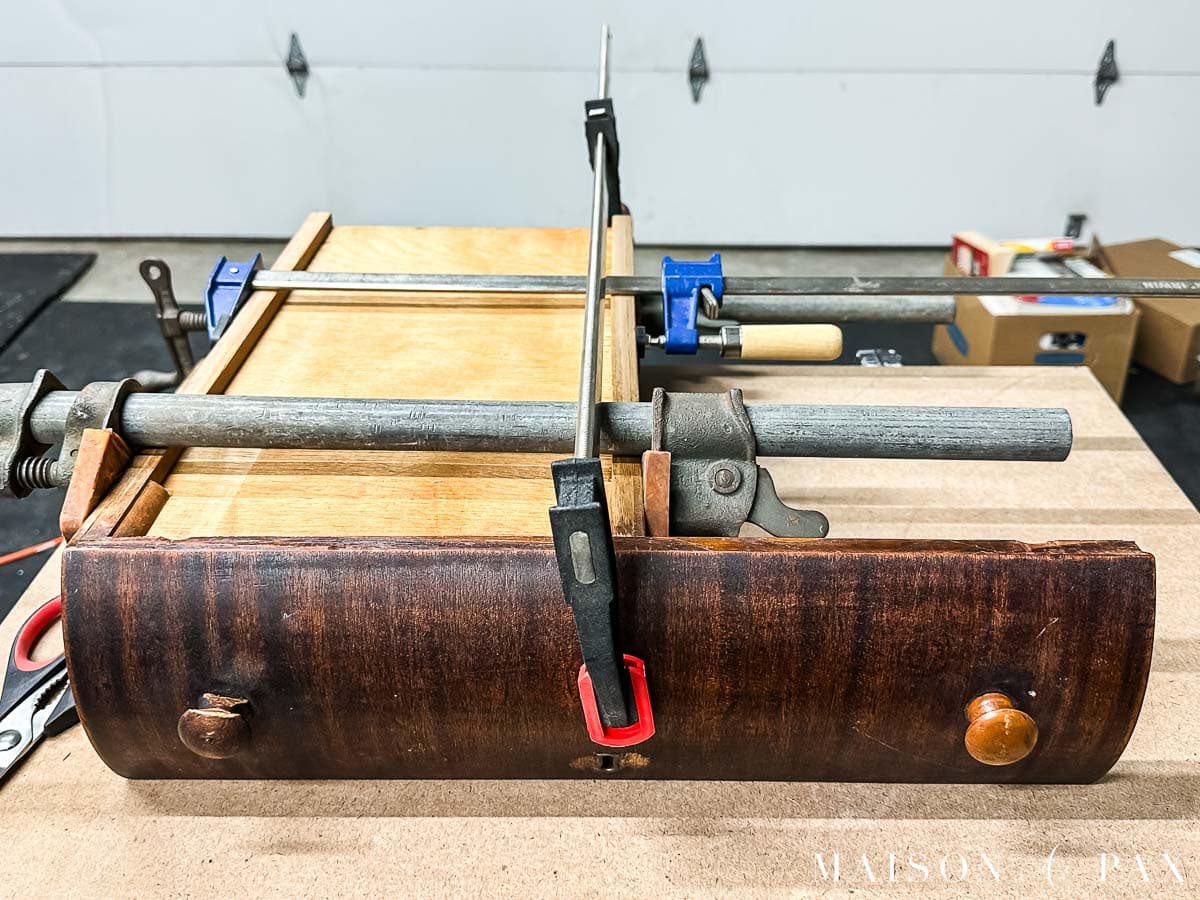
I also added new drawer slides inside the dresser for the top drawers, which I cut from 1x2s.
Then I lined all the drawers with peel and stick wallpaper to protect them.

This post contains affiliate links. Click here to read my full disclosure.
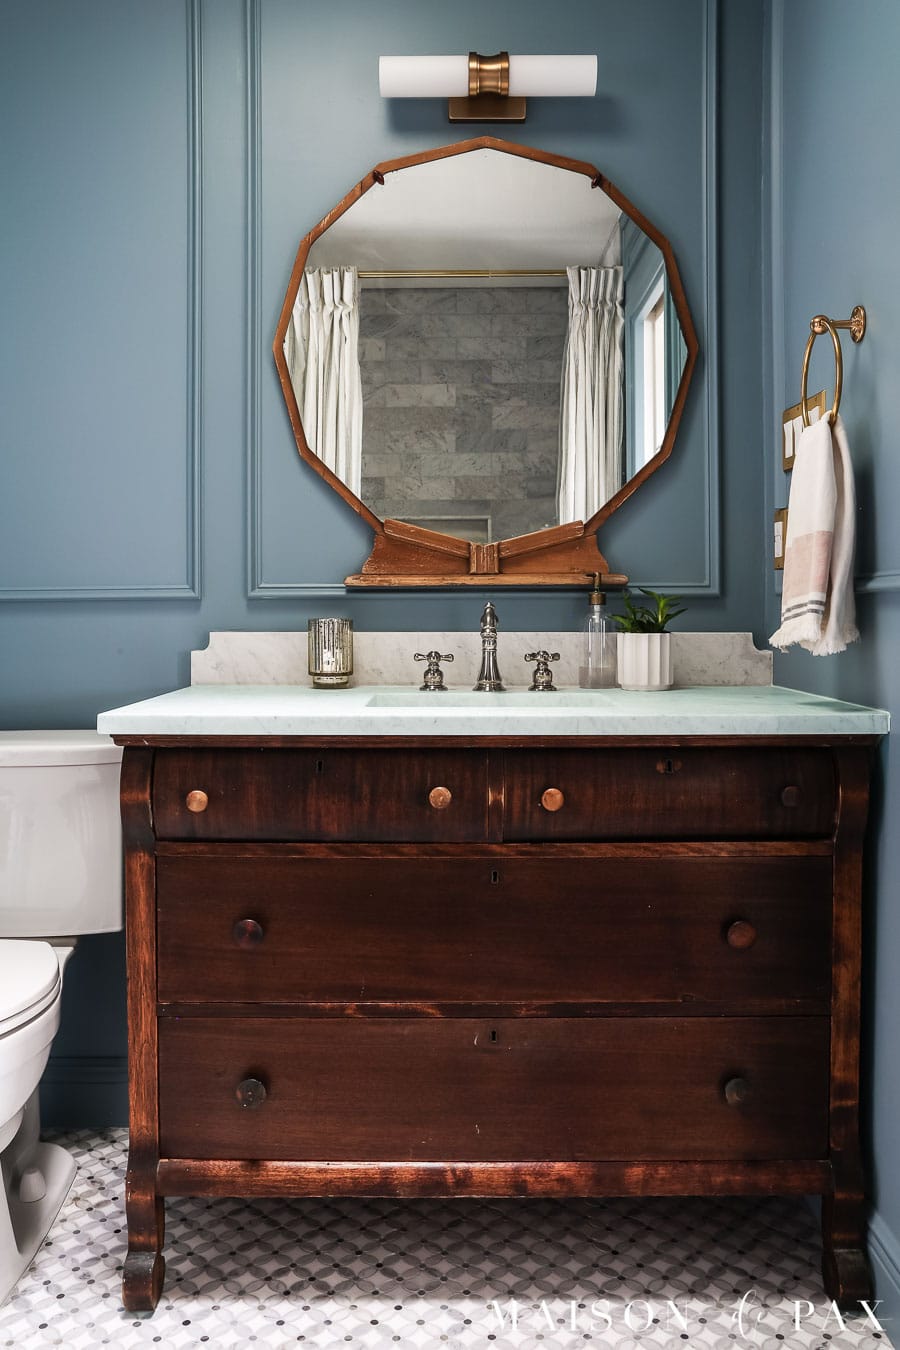
In the end, I think this beautiful antique dresser turned vanity is the highlight of the bathroom renovation! Here are a few of the items we used in addition to the vanity:
light | faucet | towel ring | brass switch plates | floor tile | shower tile | paint: SW Morning at Sea | wallpaper for drawer lining

I hope it empowers you to consider turning an old dresser into a unique diy bathroom vanity.


Hi Rachel, gorgeous dresser/vanity! I love the widespread faucet you installed. Are you willing to share the name/manufacturer of the faucet? Thanks.
Thank you so much! Yes, it is by Kingston Brass; here is an (affiliate) link. I hope this helps!
Thanks so much for the link, Rachel! You’re so talented!!
You’re welcome, Julie! And thank you so much for your kind words!!
looks great. I like the paint and the trim work. You did a wonderful job.
Thank you so much, Dee!
Gorgeous European look for the bathroom. Beautiful. Thank you for the tutorial.
Thank you, Jen! We are so happy with how it turned out. 🙂
What color did you choose I love it!
Do you mean the wall paint color?