RH Vintage Paris Map Knock Off
Learn how to make a giant DIY vintage map. You can follow this tutorial exactly to copy the RH Paris map for a fraction of the cost or you can use this same technique for any map.
________________
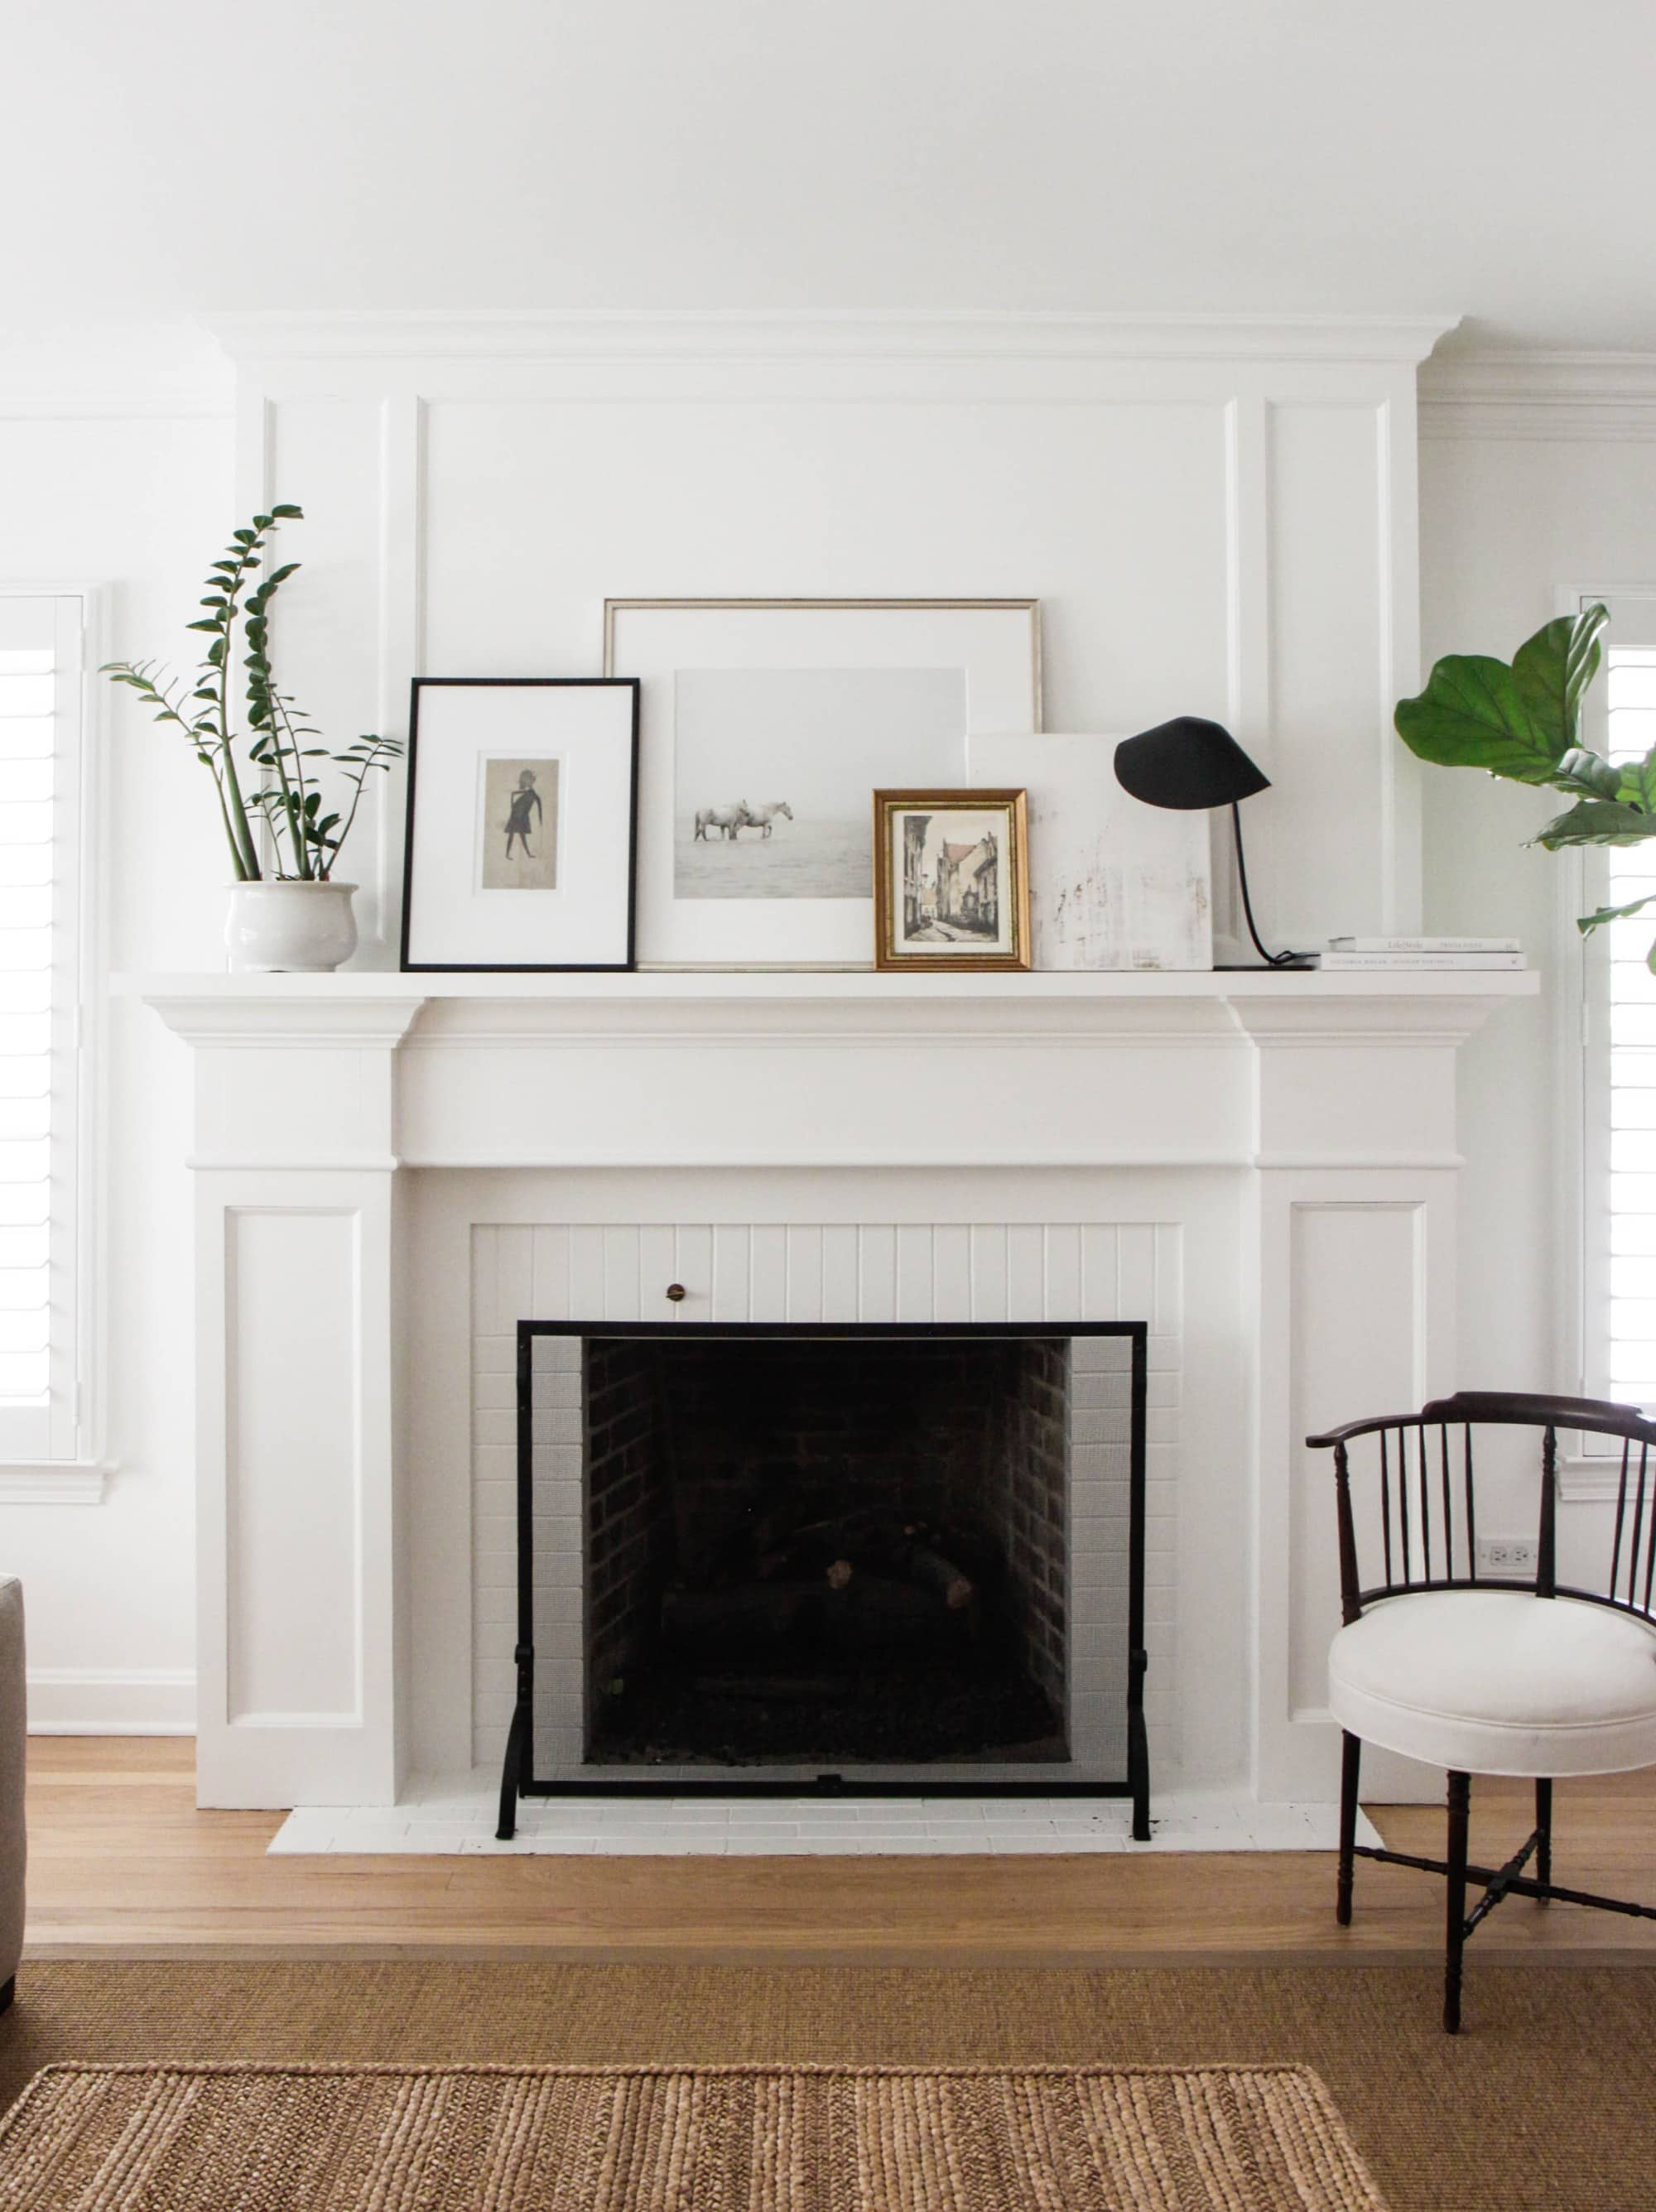
I have a slight obsession with Restoration Hardware (I’ve already knocked off one of their cribs). And, since we lived there, an even greater obsession with Paris. That is what inspired this:
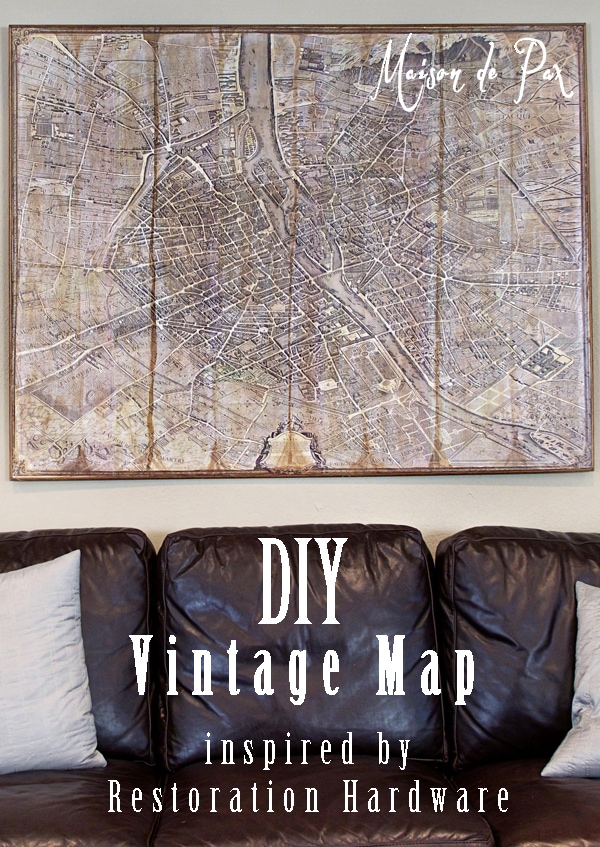
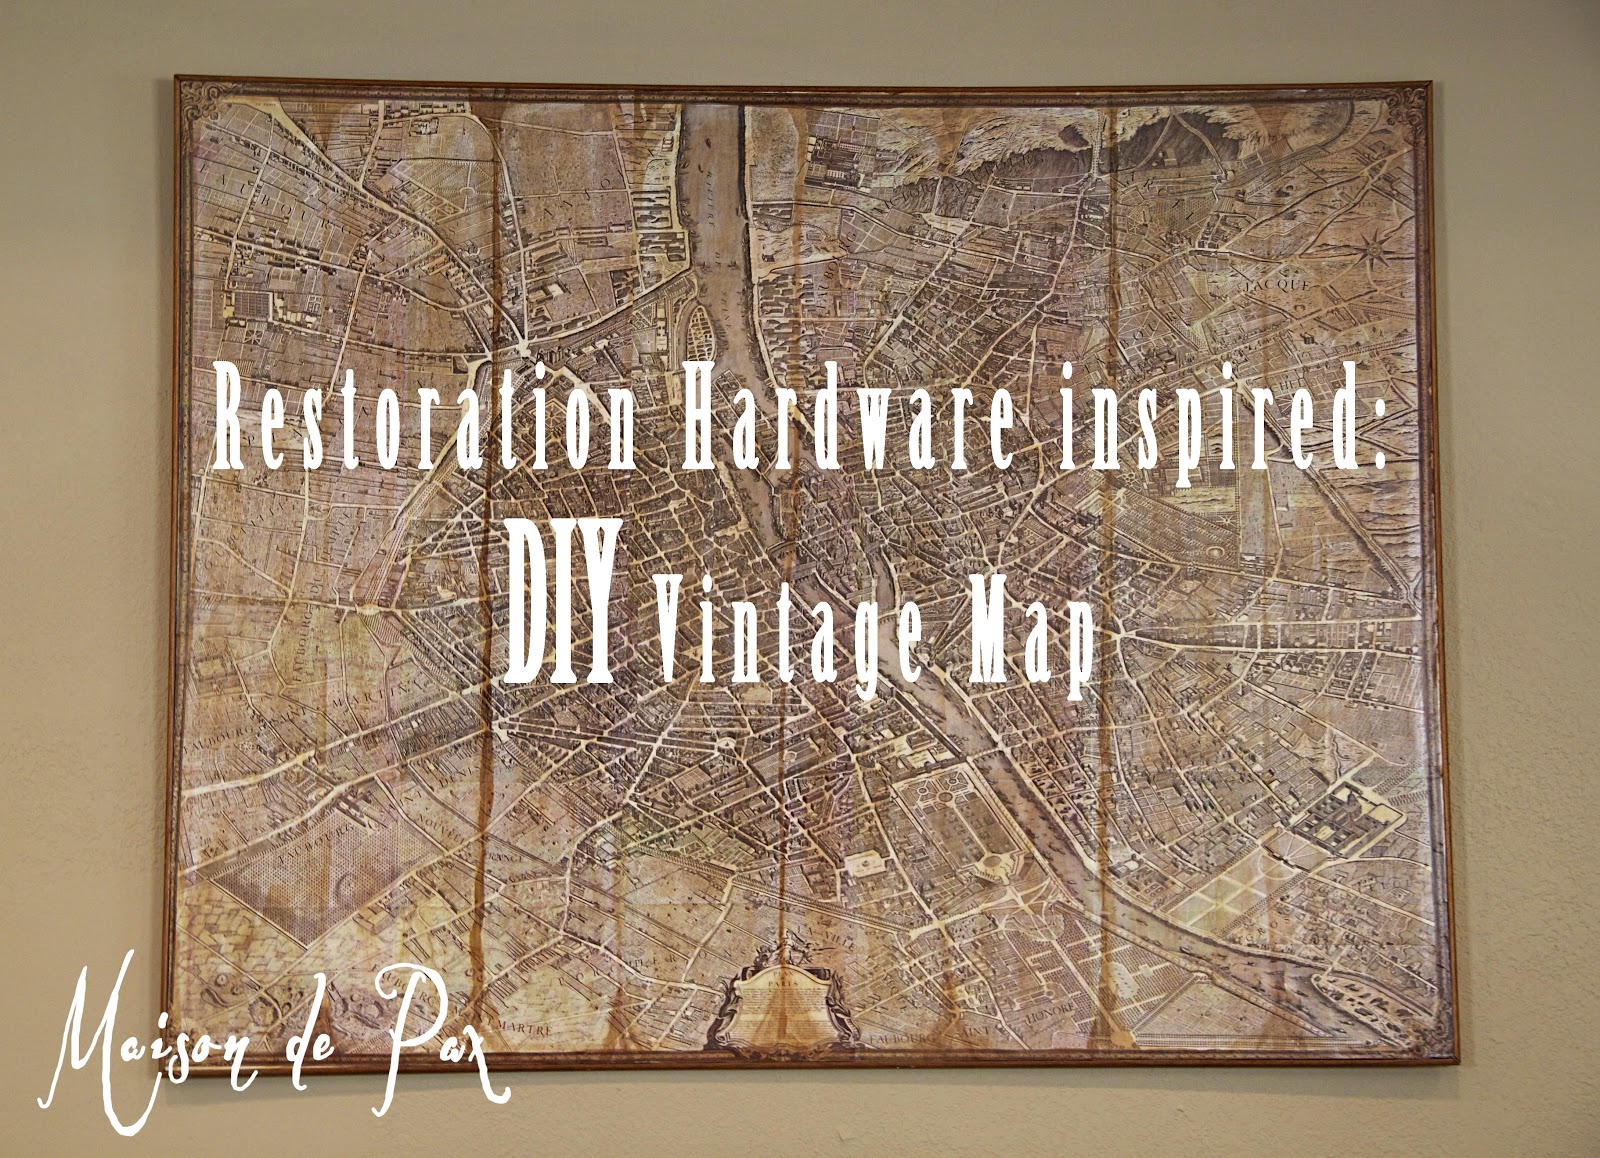
You see, Restoration Hardware sells a decoupaged panel of this map, a reproduction of Turgot’s 1739 map of Paris…
For $1700-2500. So far out of my price range. But this map is incredible. Truly. It has TO-SCALE drawings of each building in Paris at the time. It took Turgot 5 years to draw it. It’s done from a crazy angled perspective (north is actually down and to the left) because it’s set up with a straight-on view of the face of Notre Dame (only my most favorite place in the whole world). So I knew I had to have it. And you, too, can have it if you want!
How to make a DIY giant vintage map:
Materials:
- 1/4″ plywood (no thicker than 1/2″)
- hi-res map image
- photoshop or some other image editing tool
- instant coffee
- matte modge podge
- quarter round trim
- finishing nails and hammer (or air compressor and nail gun)
- heavy duty french cleat strip anchor
Here’s how I made my map:
1. Found a (free!) high-resolution copy of the map online here; however, the picture was in black and white, which was not what I wanted.
2. Used Photoshop to edit the picture to give it an aged parchment look. (If you don’t have photoshop, I’m sure there are some online editing tools you could use. Also, if you choose a different map, there are many online that you can find that already have an aged parchment look. I simply couldn’t find one with high enough resolution for this particular map.)
3. Rather than print out an enormous poster (I made the final 55″x43″), which would have been very pricey, I cropped the picture into 36 8×10″ pieces and simply printed them out (at Fex Ex Kinkos) on regular letter-sized pages. The effect actually added to its authentic aged look by making it look like it had been creased and folded over the years.
4. Cut 1/4″ plywood to the proper size. (In retrospect, thicker would have been better. I did thin so it wouldn’t be too heavy, but the trim would have been easier to attach to something thicker).
5. Trimmed the white edges off the pictures (using a paper cutter).
6. Used Modge Podge to glue each piece to the plywood.
7. Used rather concentrated instant coffee to add some more age lines (especially where the map would have been folded).
8. Used several layers of Modge Podge to seal it all in.
9. Used cheap quarter round from Lowe’s in a medium wood color to cover the sides of the plywood.

10. Used a french cleat to hang it flush against the wall.
AND I LOVE IT. Here’s a round up of the costs:
- 4′ x 8′ sheet of 1/4″ plywood: $13 (didn’t even use the whole thing)
- printing costs: ~$40
- modge podge: already had it
- instant coffee: already had it
- two 12′ pieces of quarter round trim: $15
- heavy duty strip anchor: $8 (use a 40% off coupon if you go to Hobby Lobby!)
- total: ~$75… WAY better than $1700!
Plus, though it actually covers a fairly small area since it was done before the major renovations and expansion of Paris in the 1800’s (in fact, if the Eiffel Tower had been built then, which it wasn’t, it wouldn’t even be on the map… it’s location is about 5 inches off the bottom right corner of the map), it almost includes where we used to live. That would be about here:

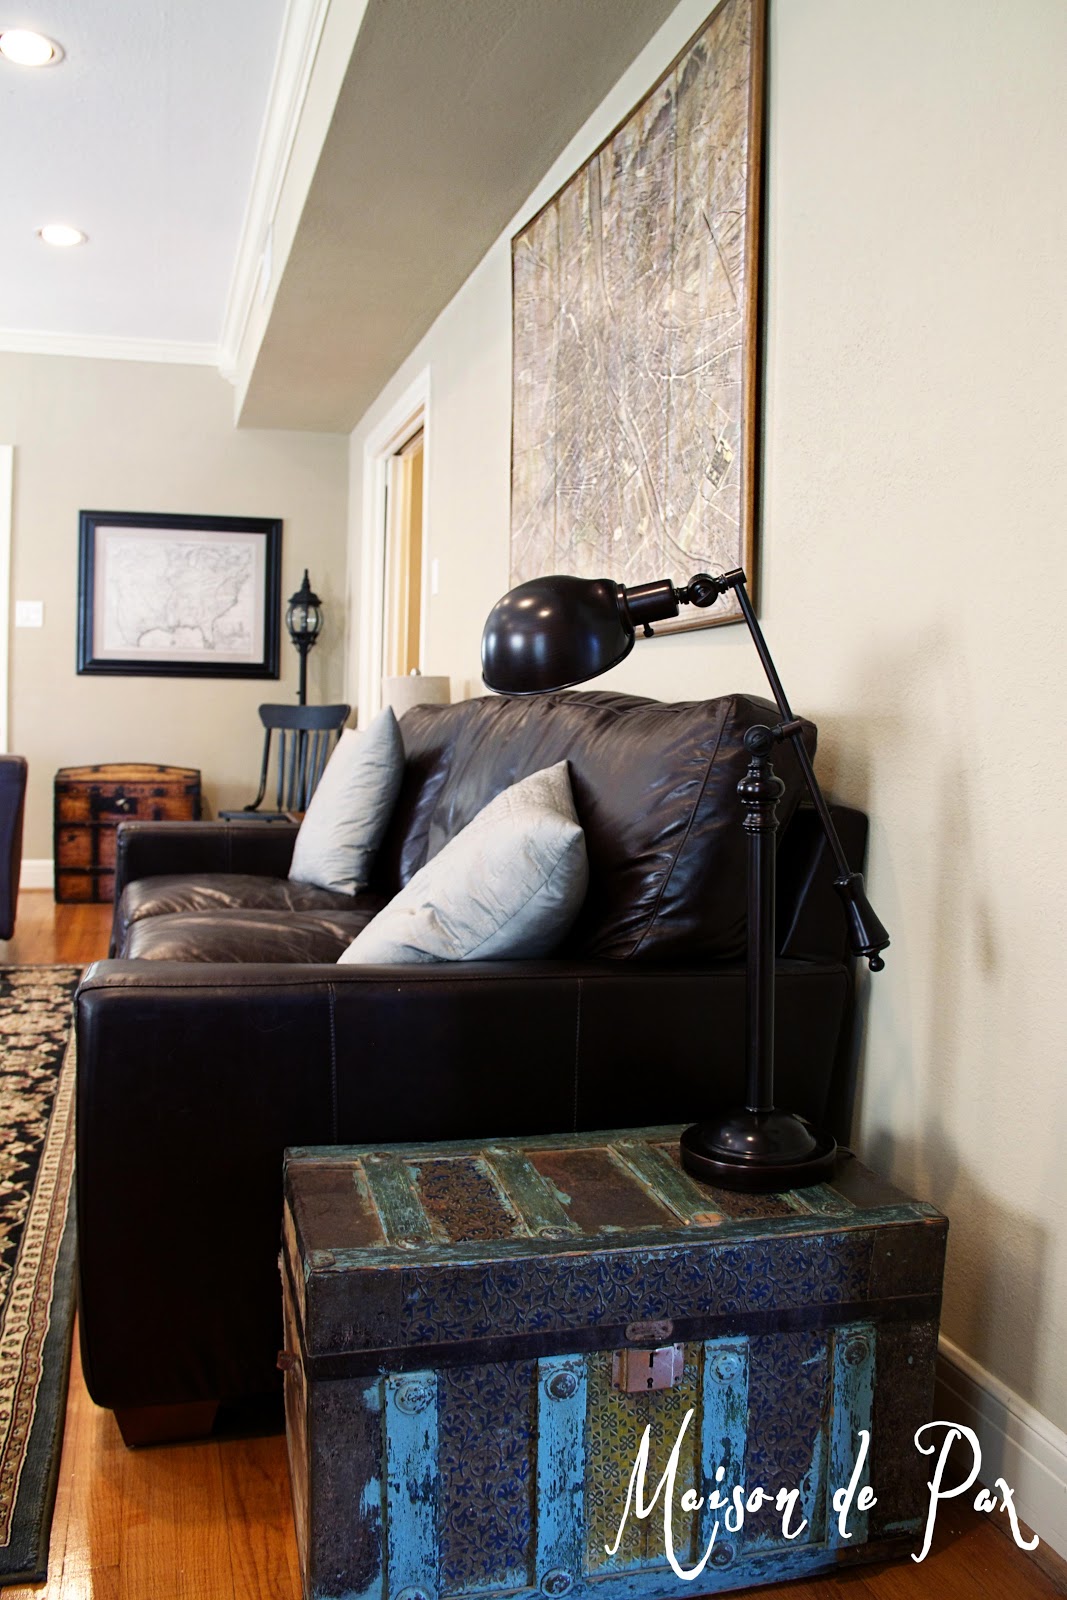
So I love the reminder it gives me of our life there and the way it pays homage to Paris without being cheesy (since you wouldn’t know at a glance that it necessarily is Paris), not to mention the vintage effect it has on the room, the statement that it makes, and the proportions for that wall.
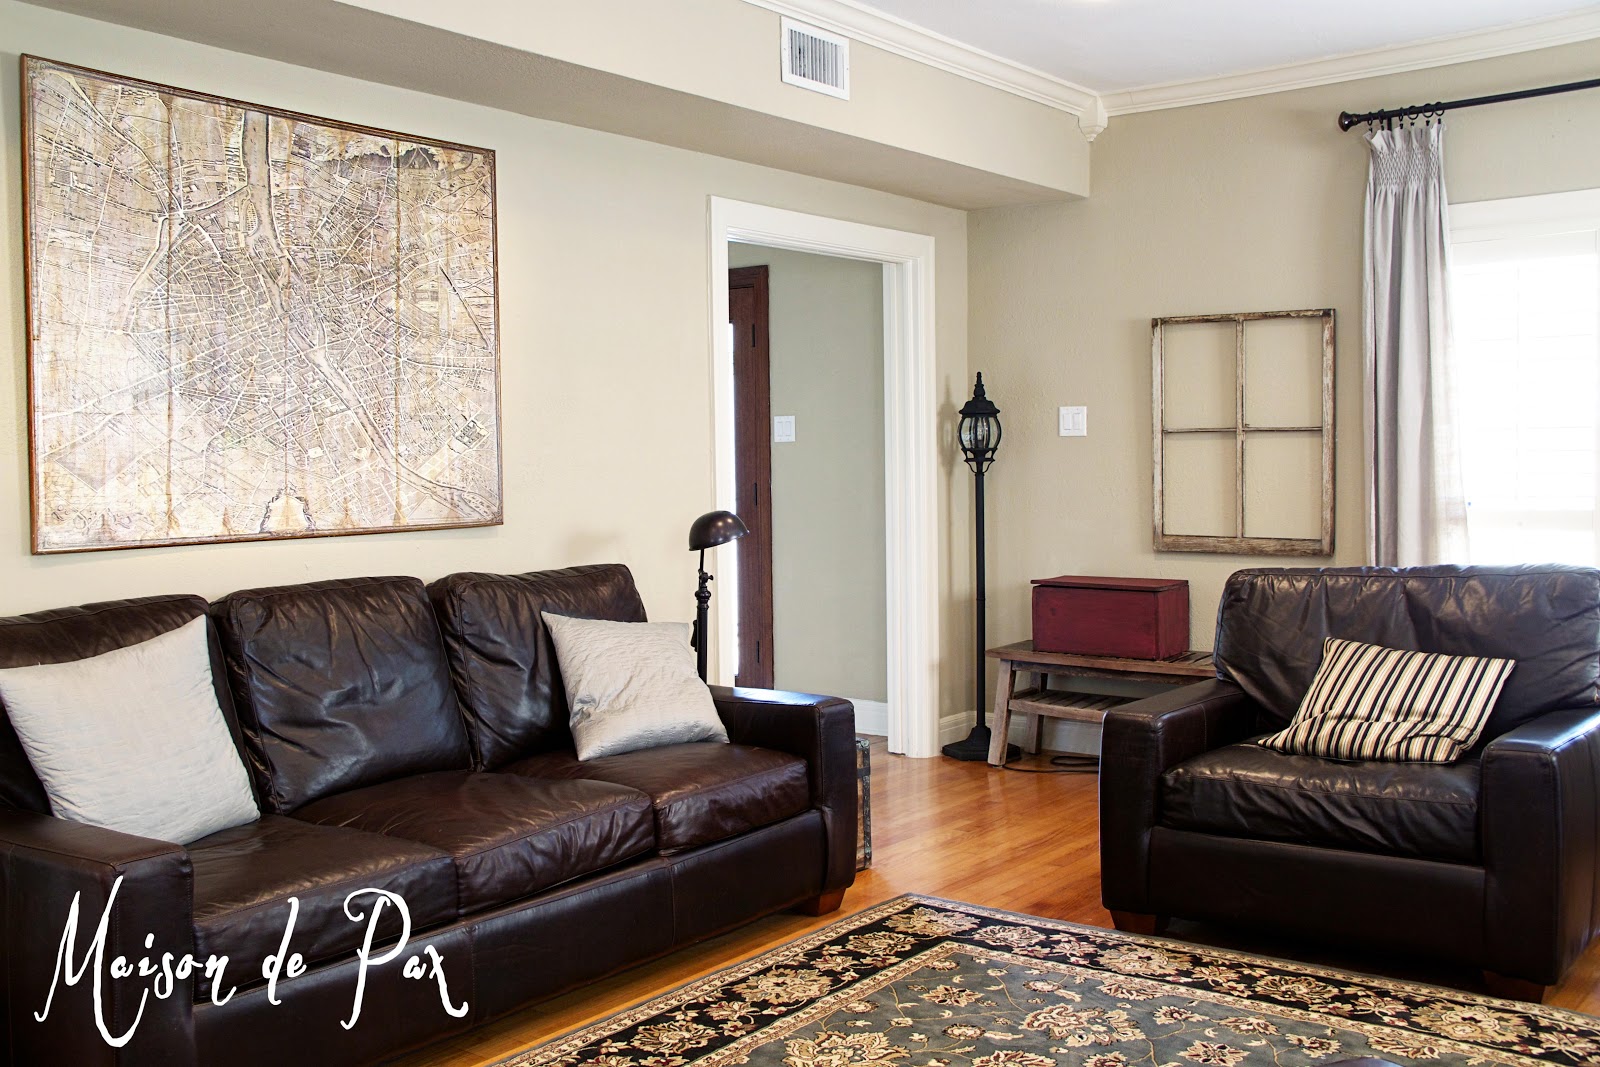
I promise to give a fuller tour of the living room sometime (and, like everything in our house, it is still a work in progress), but I hope you can appreciate the success of this particular DIY!

This is so cool!! Great job!
Oh, and I pinned it too!
Thanks, Amber!! I’m so glad you liked it. 🙂
Seriously love this!!! I want to visit Maison de Pax!
Thanks!! We love visitors. 🙂
That is ingenious. When I move in with my crafty future roommate, I’ll pose the idea to her (I outsource my projects…otherwise, they become Pinstrosities).
Nice… Good luck to her. 😉
Hi, I couldn’t find your email address. Just wanted you to know that you’ve been featured on this week’s Welcome Wagon Friday post. You should be receiving neighborly visits shortly. Welcome to our neighborhood!
Brenda
http://www.cozylittlehouse.com/
Thank you so much, Brenda! I’m so honored and thankful!!
Love it!!! You’re blog is great!
Thanks, Julie!!
Wow! Such a fantastic idea. C’est magnifique 😉
Found you at Cozy Little House. Pinning this!
Kate
Merci beaucoup, Kate! So glad you came by. Please come back!
Rachel, this is genius! LOVE how this turned out, and at such a fantastic price to boot. I was one of the other featured blogs at Cozy Little House Welcome Wagon today, and wanted to come over and say hello. I’m adding you to my Bloglovin’ following list 🙂
Jeanette @ Creating a Life
Thank you so much, Jeanette! I’m heading over to your place right now. 🙂
I LOVE this so much! It has an amazing vintage feel! You did an awesome job! Pinning! Would love it if you would link this up to Give Me The Goods Monday: 1 Party, 5 Blogs! http://www.rainonatinroof.com/2013/04/give-me-goods-monday-link-party-4.html
Jenna @ Rain on a Tin Roof
Thanks, Jenna!! I so appreciate your hosting that party each week – so fun!
It turned out great and love your tips on the coffee for aging. Great job.
Thanks, Di! I had to find some use for that old, nasty, instant coffee. 😉
Just lovely! It’s such a statement piece. I also love Paris, we visited 5 years ago and will hopefully be going again this summer! 🙂
You’ll have to let me know if/when you go, Jen!
Wow! I’m with you on the price tag of RH’s map!! But you’ve done a fabulous job with the map, I love it!! Pinning!!
Jenny from diywithjenandb.blogspot.com
I’m so glad you like it, Jenny! Thanks for stopping by. 🙂
Amazing. I love the map and it definitely is a fabulous focal point. Great idea. Thanks for joining Inspire Me. Hugs, Marty
Thanks, Marty! You always host such a fabulous party – wouldn’t miss it. 😉
Way to go! I can’t believe that people would pay that much for that map from RH. Seriously, you did a fabulous job and it looks just as good. Stopping by from Savvy Southern Style.
You did a great job, thank you for all the tips!
Thank you so much, Tina! I’m so glad you liked it. 🙂
Hi! Loved this sooo much that I just had to feature them on my blog! The post will be live in the morning: http://rainonatinroof.com
Jenna @ Rain on a Tin Roof
Aaaahhhh!!! Thank you so much, Jenna! You made my day. 🙂
You did a wonderful job on that vintage map!
Thanks, Julie! I so appreciate your coming by… come back any time!
You are brilliant! This looks terrific!
Thank you so much, Lisa! Please come back any time!! 🙂
Your map is so awesome! Better than PB’s. I wonder if this could be printed as Engineer prints. They are huge, and I think Staples does it. I’ve heard it’s very inexpensive, but I’ve never tried it.
I’d love it if you would share this at “What We Accomplished Wednesday,” at Green Willow Pond. It is live right now. Have a great week!
Hugs,
Deborah
Thanks, Deborah! I, too, have heard of the success of Engineer prints, but I thought they were only black and white… I might be mistaken, though. If I am, that would be a great option, too! Thanks so much for coming by, and thank you for the invitation – I’m headed there right now. 🙂
So awesome. What a great way to cover a wall. Think I’ll try a smaller version! Thanks for sharing.
Thanks, Mary! I’d love to see it if you do!
Oh my gosh!! That is so cool, now i want to make one too! Found you through My Repurposed Life’s Catch as Catch Can 118…
Cher @ Designs by Studio C
http://designsbystudioc.com
Thank you so much!
oh, wow–LOVE that! it looks great, and it’s wonderful that it has special meaning for you, too 🙂
Thanks, Gretchen! I like things that look cool, but I love things that have meaning, too. 😉
I also have seen the Restoration Hardware Map and gasped, both because I loved it and at the price! Your vintage map turned out beautifully and thank you so much for the tutorial. Visiting from French Country Cottage.
Lori
Thank you so much for coming by, Lori! Please come back any time. 🙂
I love this!! What a fantastic idea. Thanks so much for linking up to Give Me The Goods Monday! Can’t wait to see what goods you bring this coming Monday!
Jamie @ somuchbetterwithage.com
I featured your amazing DIY Map Art today here! http://www.settingforfour.com/2013/04/10-indoor-and-outdoor-home-projects.html I also pinned it to my linky party pinboard! Thanks for sharing at Project Inspired Linky Party!
Thank you so much, Heather! I’m honored!!
Featuring you tonight at Knick of Time Tuesday! LOVE this!
Thank you so much, Angie! I love your blog and your work – what an honor to be featured!! Take care~
Wow! You did yourself proud. This is amazing! Thanks for sharing it with Share Your Cup.
hugs,
Jann
Thanks, Jann! As always, you host such a great party. Thanks for including me!
Thanks for the freebie! I can’t wait to try this! Even though I’ve never been to Paris I can sort of with this DIY project! Yay!
Christine
You should definitely go… even if only via this map. 😉 Thanks for stopping by!
Rachel this is amazing! Thank you for including a link to a free map. I just might have to try this knock off as well. Thanks for linking up to ITS PARTY TIME. Shared on G+ today. HUGS!
Thank you, Clydia! You’ll have to let me know how it turns out if you do. 🙂
I am featuring your Vintage map today on my blog. Thanks for linking it up. The next party starts later today. I hope you will link up again.
http://www.ifitsnotbaroquedesignblog.blogspot.com/
Thank you so much for the feature, Lauren!!
Fabulous, and I love the pricetag!
Thanks, Korrie! $75 sure beats $1700, doesn’t it? 🙂
I love this. And, I have had so much fun browsing your site… a girl after my own heart. If only I had a chance to live in Paris. One lucky lady! Thanks for sharing your tricks and ideas. Can’t wait to read more!
I’m so so glad, Jessica! And I’m so glad you found me… Living in Paris was SUCH a blessing and gift, but don’t give up hope for yourself; you never know what the future might hold! 🙂 Excited to have you around!!
Your map looks amazing! Do you mind if I ask what type of mod podge you used. The original, matte or antique? Thanks so much,
Thank you so much! I’m so glad you like the map. 🙂 And that’s a great question! I used the matte modge podge for this project.
Thanks for letting me know Rachel!
You’re so welcome!
Hi Rachel! I’m obsessed with maps!! I have no idea if you’ll get this, as it’s an older post? But I love the WHOLE thing. Any divide for me?? I’ve tried modge podging a map, and also one other thing…but the paper gets kind of bubbly , then looks like I’ve ruined it. Yours looks great. What am I doing wrong?! Want to do this! A certain KIND of paper..or modge podge? Thanks for any advice. Mimi
Oh no, Mimi! I confess that I’m not sure what I do that’s right or wrong, but I’ll certainly tell you so you can try it. I used a foam brush and wipe it on the board (or whatever I’m gluing the paper to) in a VERY thin layer. Then I put a little on the back of the paper, too. I press it down and let it dry. Once the back is dry, I put a layer on top to seal it… I hope this helps! And I’m SO glad you like the map!! 🙂
Omg…you’re sooo sweet to answer me this quickly. I think you’re right…I bet I just put on touch much modge podge. I’ll def try this again. Can not wait. Yours turned out so great. Thanks for the help❤️
You’re so welcome, Mimi! Good luck!!
Hi Rachel,
I am so excited to finally start this project today. I have been patiently waiting until I had a full day and today is the day! My question is, on the map that you downloaded-which size did you download to your computer to take to print? Thank you so much! I was at a French restaurant in San Francisco when I saw this on the wall and the server told me I could get it at RH. I immediately went to order it until I saw the price. I saw your website and was in heaven. Thank you so much sharing!!
You are so welcome, Melissa! I used the one labeled “original file” – the one that is 14.29 MB. I hope this helps, and I hope your map turns out fabulous!!
Did you use glossy or matte mod podge?
I used matte. 🙂
Amazing…I must try this! Awese,==
Thank you, Marie! I’m so glad you like it. 🙂
Hi Rachel! I absolutely love your creation and that is a major understatement. I want to replicate this and hang it in my living room. I do have a question. How did you crop the large picture into 36-8×10’s? Did you do this in photoshop?
I hope you are able to retrieve this question. Thank you.
You are so kind, Carrie!! I’m so glad you like it. 🙂 Yes, I did use Photoshop to crop the pictures. I actually cropped them all to ~8.25 x ~10.5 (since that would still print out on an 8.5 x 11 paper), and I let them overlap just a bit. That way, when I was decoupaging them all together, I didn’t risk tiny little gaps. I hope this helps!!
Rachel – thanks for the fast response. I am so excited to start. How did you apply the instant coffee? At what point did you use it? 😉
You’re so welcome, Carrie! I think I used a sponge brush to apply the coffee, but a paper towel would probably work just as well. And I’m pretty sure I applied the coffee after I glued the whole thing down but before I applied the modge podge on top of the map (I wanted it to soak into the map some). Hope this helps, and good luck!!
Rachel, I absolutely love your map and would love to make one myself. Are you willing to share how you got the parchment look on the map you downloaded. I have a tried a few options, but none look as good as yours. Any help would be great. Thanks!
Lovely map Rachel. Do you mind sharing how you achieved the parchment look in photoshop? I tried a couple of techniques, but none look as good as yours. Any help would be appreciated. Thanks!
Thank you so much! So glad you like it. I confess that I don’t remember exactly, but I’m pretty sure I used the “match color” tool. Since I could only find a black and white of the Turgot Paris map, I simply looked around online until I found a different antique map that had the aged, parchment look I was going for. Then, with both images open in Photoshop (but the black and white Turgot map active), you can choose Image > Adjustments > Match Color. It will allow you to choose the source image, and you can choose the other map. My Photoshop is old (CS3), but I imagine that newer versions have a similar tool. I hope this helps!!
Thank you so much for your response. I’ll try out your tip!
You’re welcome, Mukti. I hope it helps!
Sorry for the millions of questions! Hoping this will be my last. How did you attach the trim?
Thanks!
It’s totally ok! We used wood glue and then finishing nails. Hope this helps. 🙂
This is awesome Rachel! Just a tip: Pic Monkey (www.picmonkey.com) is a free editing site. It’s not quite up there with photoshop, but it still has some nice tools and effects. I believe membership is $10/month if you want to unlock some of their premium effects.
Thanks, Gabby! I’ve actually heard that Photoshop now offers access to its programs for $10/month, as well… Might be a great option if someone doesn’t want to buy the whole package. 🙂 xoxo
love the map and want to make my own!! i laid it out in photoshop based on the 8.25×10.5 specs you provided but am not getting 36 prints 🙁 what am i doing wrong? did you crop the images vertically or horizontally?
also, yours look seamless. did you print them as 8.25×10.5 and overlap the images to be 8×10?
thanks!
also, what type of paper did you use? regular or glossy?
Whatever regular paper they had in the color printer at FedEx. 🙂
Hi Paula, those are such great questions! I confess that I didn’t remember, but looking back it appears that I only did 8×10, but I did overlap. So my first crop was from 0-10″ from the left edge of the image. My second crop was 9.5-19.5ish inches from the left edge. Does that make sense? It allowed me to have 8×10″ pictures (ensuring the entire picture would be printed on letter sized paper without the printer missing the edge) that I could overlap slightly to avoid gaps. I hope this makes sense and helps! Oh, and I would add that it’s totally imperfect, and no one EVER knows except me. The details of the map are so intricate and wonderful, and the creases of the pages overlapped looks like age lines in a true antique map. It’s very forgiving. 🙂
Found this on Pinterest. Wow, I love this! Can I ask how heavy it is? Thanks!
Thank you, Edith! I’m a TERRIBLE estimator, but it’s not too terrible… Using 1/4″ plywood made all the difference. I admit that something thicker wouldn’t have needed the trim around the edge (saving one step, of course), but I felt better keeping it lighter with the 1/4″. I do definitely recommend the heavy duty hanger we used, though. Better safe than sorry. 🙂
Did you print out the pieces of the maps on your typical standard size computer paper?
Yes. The paper was standard sized computer paper. Hope this helps!
Hello! How did you crop the picture into 36 8×10’s? Is this generally an option when you go to print?
I actually use the literal crop function in Photoshop because at the time the printing place I was using did not have the option to automatically crop. I have heard mention since then of a web program that will do it for you, though, and some print places may be able to do that now (it’s been almost three years since I made it). I hope this helps!
Did you do the instant coffee technique before or after you put mod podge on the pieces? Can you share that process a little more? I don’t have instant coffee so I’m wondering if coffee from inside a kcup could work.
Any coffee will work. I just used instant so I didn’t have to brew it and wait for it to cool. The brown coffee will stain the paper, but you must do it BEFORE you mod podge. The mod podge will seal the paper and not allow the coffee to stain it. I hope this helps!
Are you willing to do this again and sell it for a cost?
I am obsessed with this! But do not have the crafty steady hand.
Would be happy to buy!
You are so sweet, Danielle! I’m afraid it’s just not do-able for me right now, and shipping would be really expensive, too! I do want to encourage you, though, that it was not a difficult project. If you really don’t want to tackle it, see if you can find someone local who would like to make one because that will at least save you an astronomical shipping cost. 🙂
Can you explain how to crop the map into printable 8×10’s ? I’m so confused about this part. The rest I can absolutely do.
Thanks!
Great question! I was working in a very old version of Photoshop at the time (and it’s been several years since I did this), so I imagine there are MUCH easier ways to do that today… But I basically turned on the rulers on my PS screen and literally used the crop feature to crop an 8×10 shape starting in the top left corder and “save as” map1 (or whatever you want to title it). I then went back to the original image and cropped another 8×10 but starting at 10 inches from the edge, so it would fit right next to the first, and “save as” map2… and so on. When I finished the top row, I moved down 8″ and worked my way across the second row, and so forth. I hope this helps and makes sense!