Installing Crown Molding
This was a first-time DIY for Mr. Pax and me…

One of the first things we loved about our 1940 colonial was the beautiful moldings.

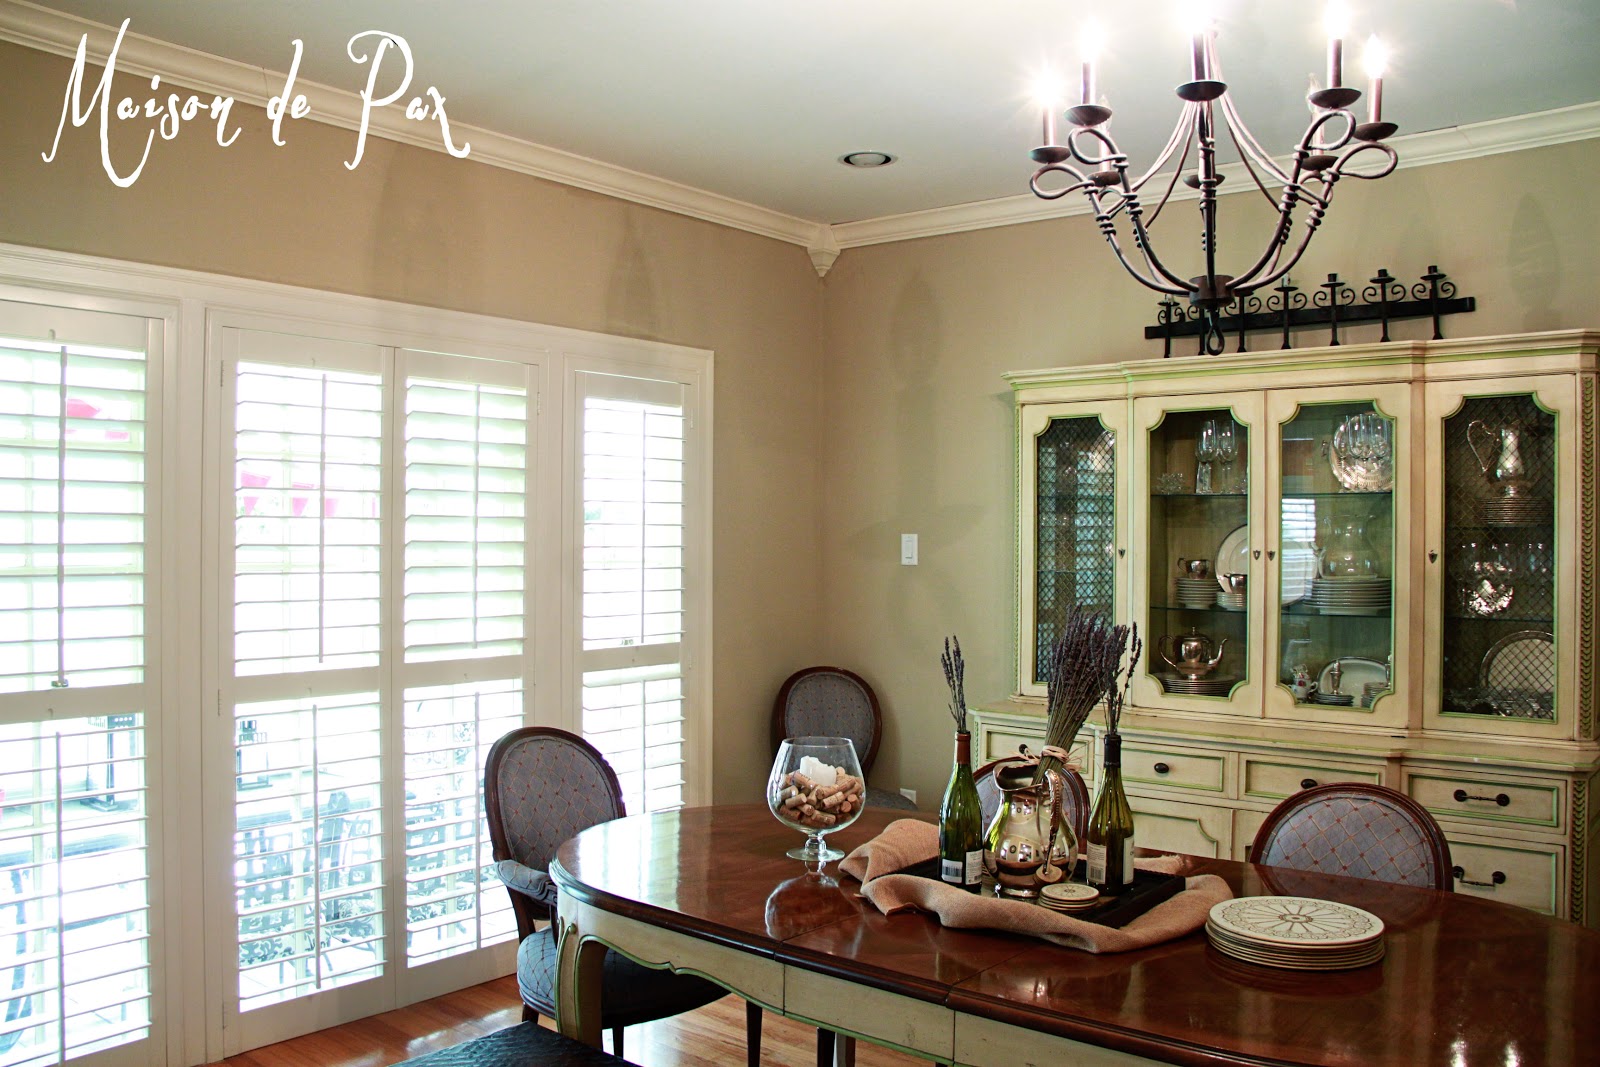
Unfortunately, though, they are not in every room in the house. In fact, most of them are limited to the living room. As I indicated in my very first post, we decided the dining room needed a little “up-do” to match, so we undertook installing crown molding ourselves. It was easy. And fast. Is there any better recommendation I can make?
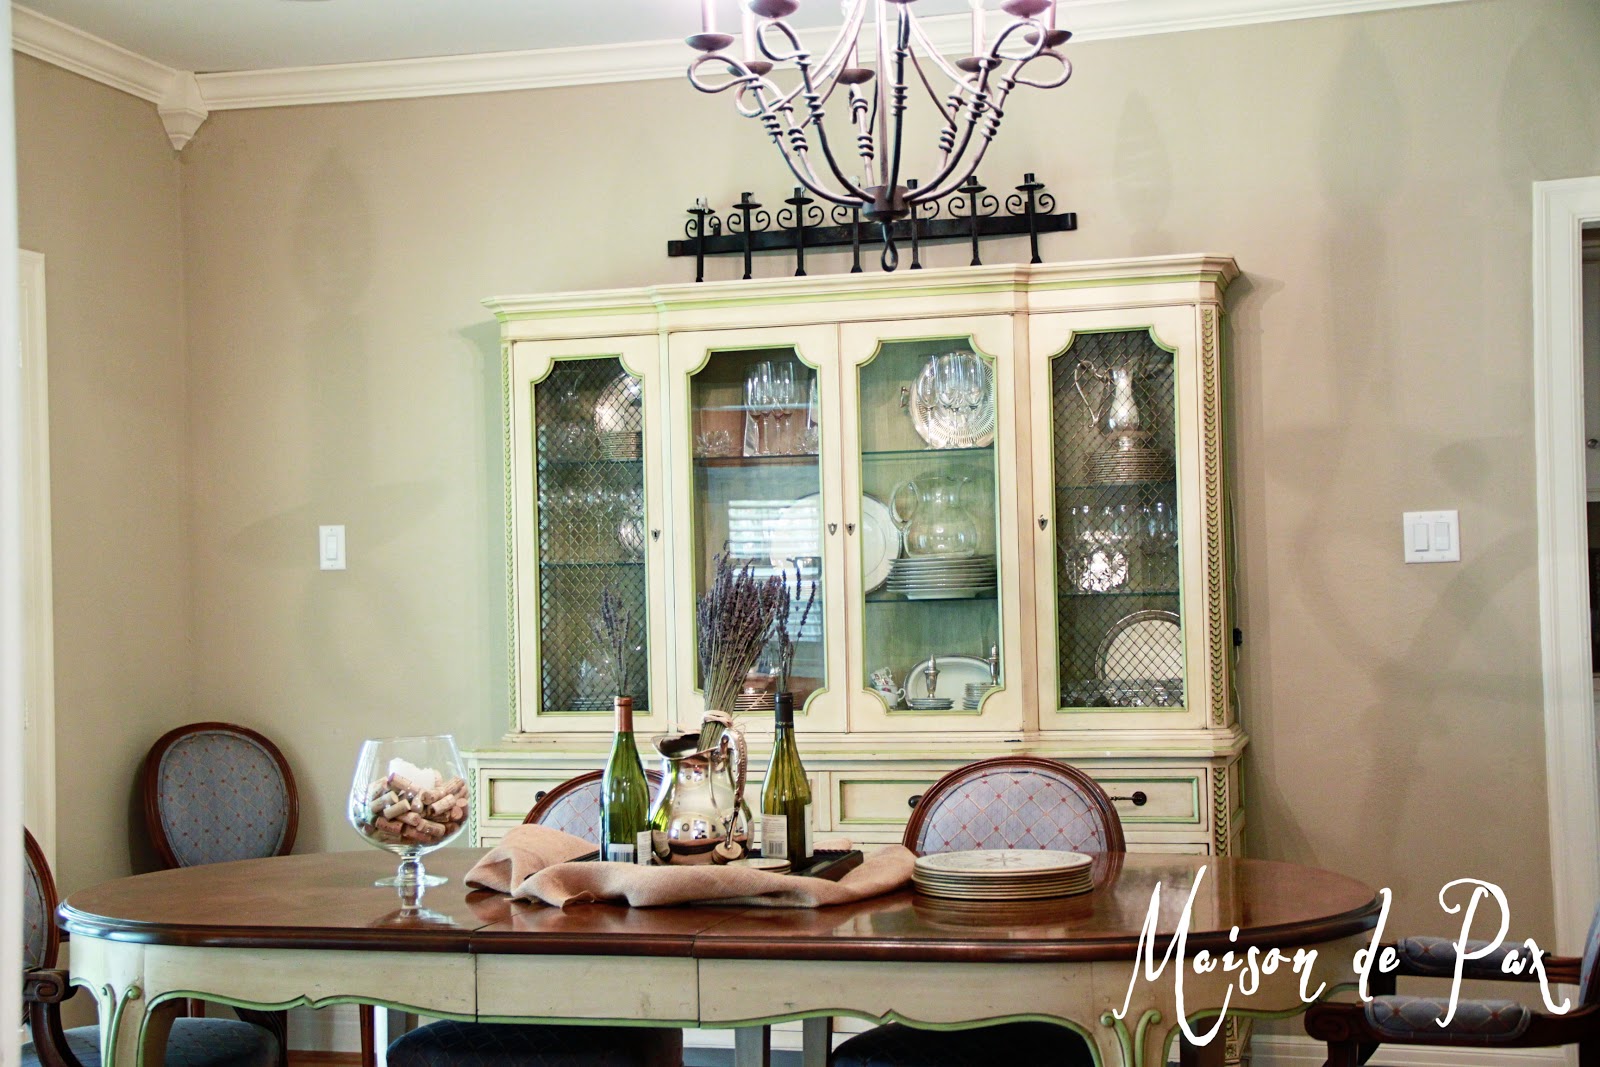
It’s a small touch, but a worthwhile one. There are numerous how-to’s out there that will be much better than mine, so I thought I’d rather give you just a few thoughts/tips that might help.
#1 It is probably only really cost effective if you already have the tools.
You’ll need a chop saw (A hand saw would work, in theory, but the angles are tough and need to be exact) and a nail gun with finishing nails. We have both. That limits the cost to materials: moldings, finishing nails, caulk, paint.
#2 Get the pre-primed molding.
I’m not afraid of painting things. In fact, I really like to paint. But the pre-primed stuff is glorious. It saves you at least two coats (maybe more), and the smooth surface of the pre-primed is simply impossible to match at home. Definitely worth it.
#3 Paint before you install.
My husband and I lined all the boards up on a table and painted two coats on in no time – so much easier than painting above your head! We did that after we put the boys to bed on a Saturday evening and still had time to watch a show together. 🙂
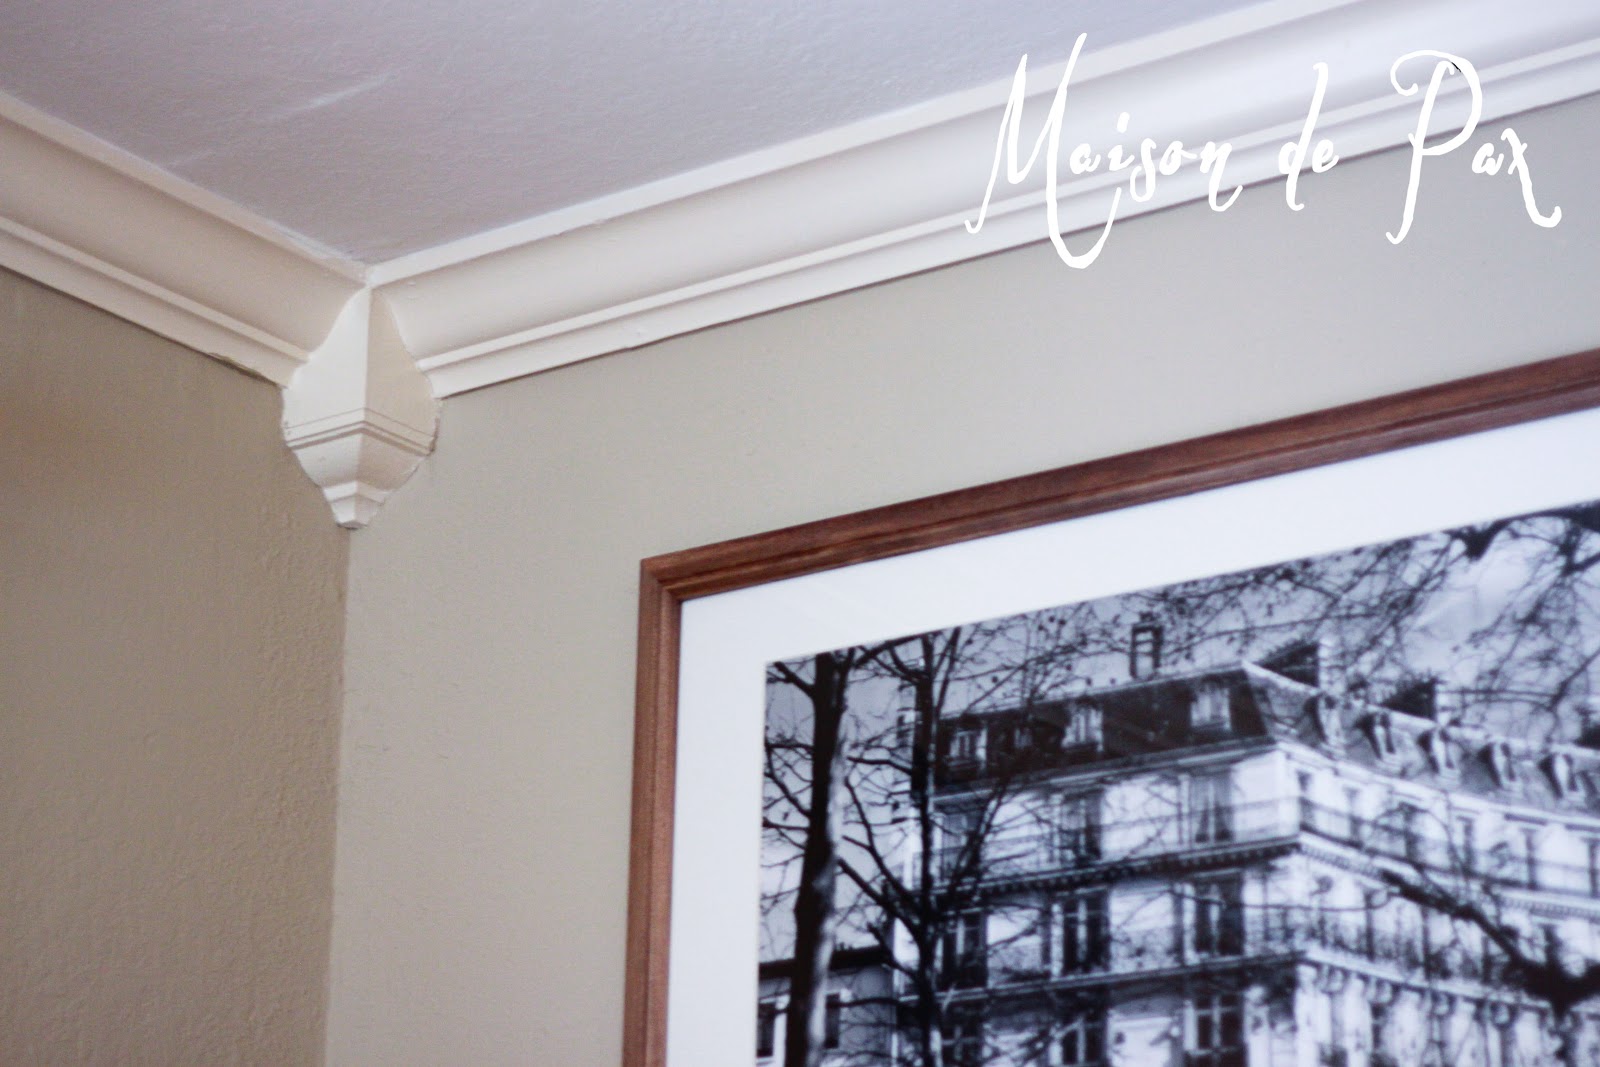
#4 Use inside blocks in the corners… if the room is square.
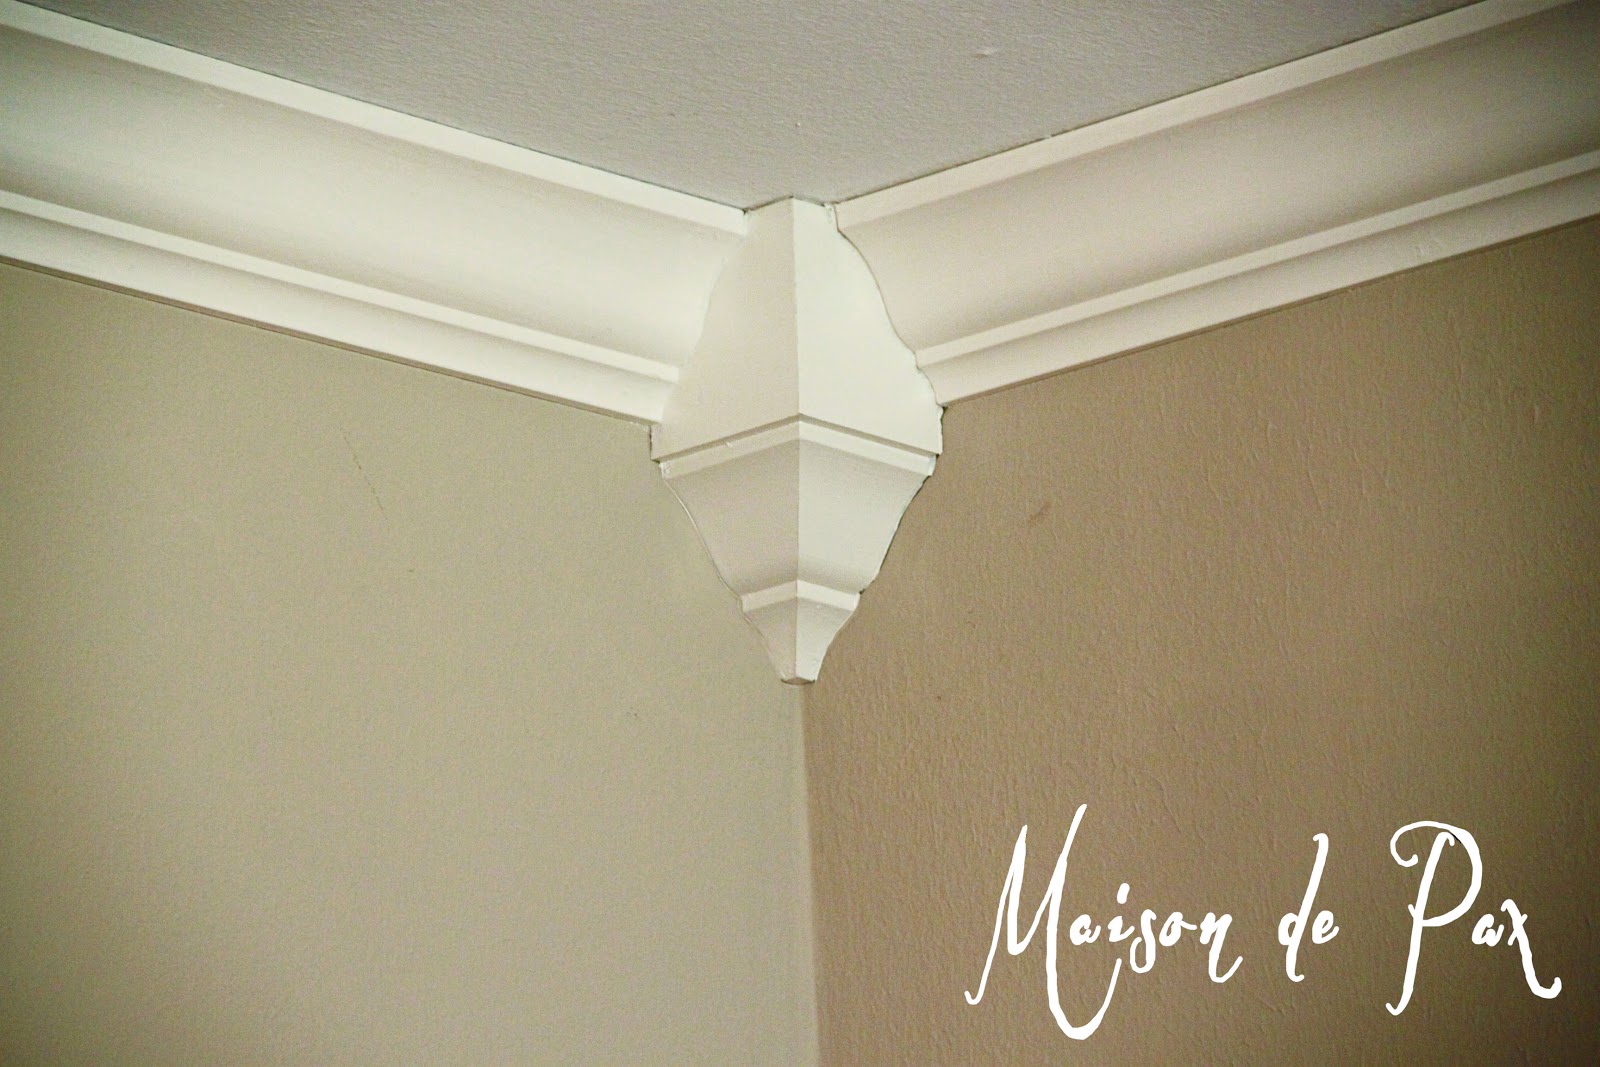
Luckily, our living room was already done with corner pieces. I think they add interest and elegance. Plus they make your cuts much easier because you don’t have to fit corner seams. If your room has lots of outside corners or strange angles, these really won’t work, but for a square room they’re fabulous.
#5 If your trim is white (ish), use white caulk.
We used clear caulk, which seemed like a good idea because we knew we would get some excess on the wall and the clear would obviously mean less painting to cover it up. But note to self: it is much easier to simply cut-in the wall once more than it is to get trim paint into every little crevice filled with caulk. I wish we’d simply used white. It’s easy to learn how to use a caulk gun, and wiping away the excess properly takes a little practice but makes SUCH a visual difference!
#6 This is definitely a two person job, but only one of you has to know what you’re doing. 😉
Fortunately for me, Mr. Pax did all the reading up on exactly what to do. I just stood there and held the pieces in place for him to make cuts and install.
# 7 We managed to complete our dining room during just one nap time!
I know this isn’t really a “tip,” but I think it’s worth celebrating! After painting on Saturday night, we were able to install all the molding during nap time on Sunday. That is a true winner for me!
How about you? Have you done your own crown molding? Any great tips for the rest of us?


Great Post! Thanks for sharing such beautiful information with us. Please keep sharing.
You are welcome!