Book Page Christmas Ornaments
Well, despite my love for Thanksgiving, I’m still sharing Christmas posts this week… because I know that if you’re like me, you’ll need these starting Friday! Before I share a little tutorial on making book page ornaments, though, I want to say how thankful I am for the little holiday I just shared with my family. I am so blessed!! I hope you all have an amazing time with your family and friends this week, too. Now… on to book page ornaments!
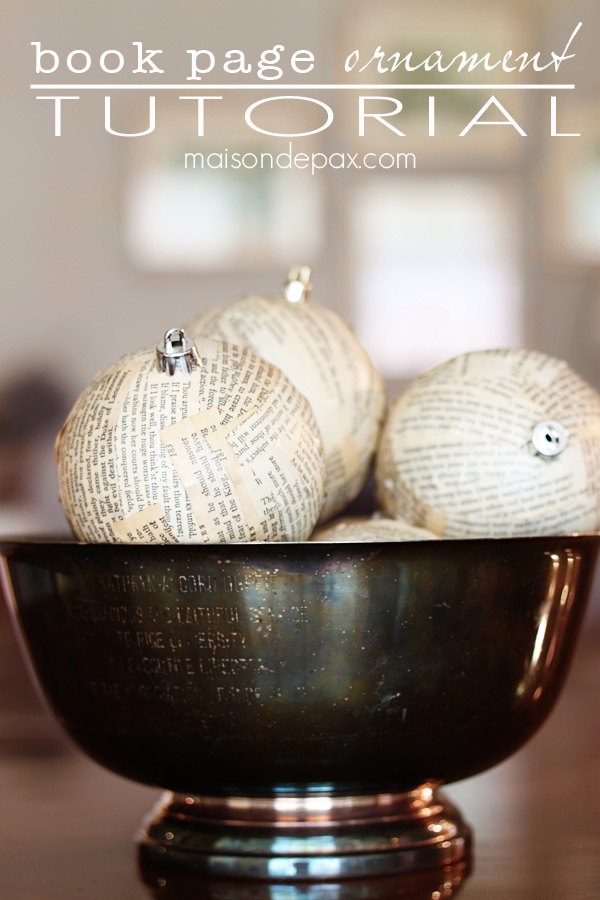
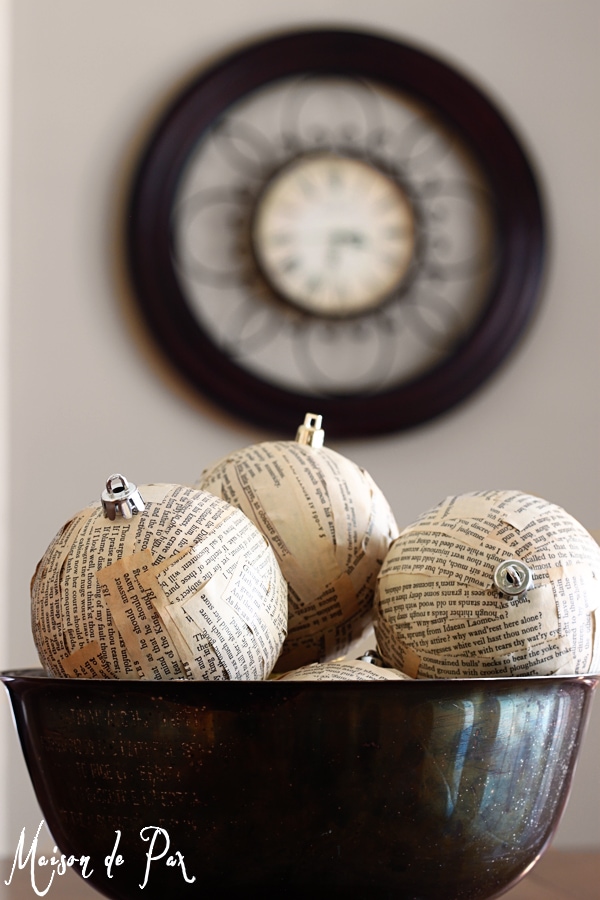
I’m really loving incorporating texture and typography into my neutral decor. I tend to be drawn to neutrals (and I think they’re beautiful at Christmas time as they evoke a “white Christmas”), but I don’t want them to be flat and boring… Enter old book pages and sheet music. I used old sheet music for my Christmas trees, but being the literature lover that I am, I decided to use the scraps from my book page pumpkins to create some book page Christmas ornaments.
There are some crafts that turn out to be easier than they look… and there are some that are, unfortunately, the opposite. I thought these would be a snap, and I just sprayed on some adhesive, cut up some book pages, and started slapping them on… Big. Mistake. The result wasn’t terrible, but it was lumpy and awkward in lots of places. So I started over with some trial and error, and I thought you might like to benefit from my findings! 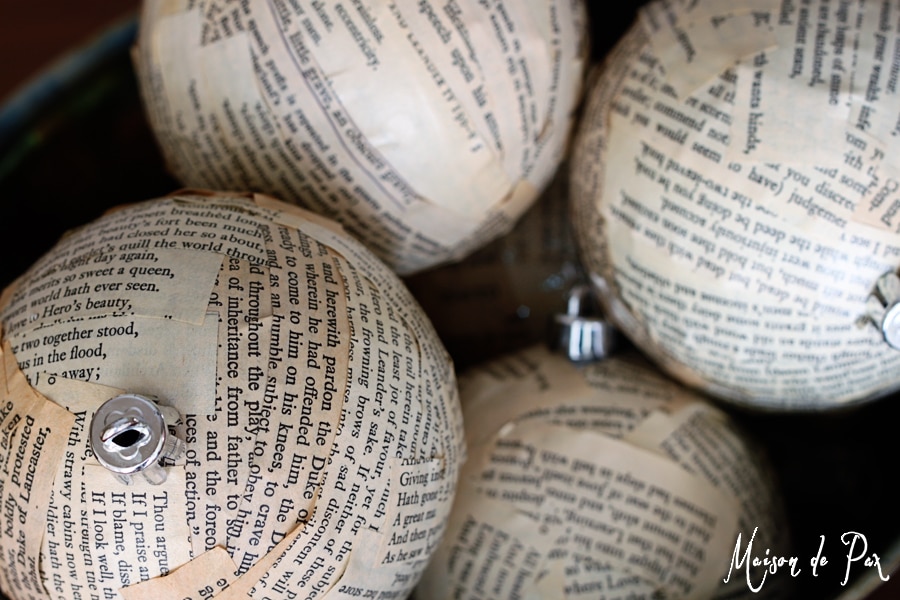 Materials for book page ornaments:
- modge podge (or elmer’s glue)
- water and a paper plate
- old book pages cut into strips (mine were ~1/2 – 3/4″ x 2″)
- plastic ornaments
Make your own book page ornaments:
- Remove the decorative caps from the top of the ornament (if they’re removable… don’t lose them! You’ll put them back later).
- Pour some modge podge (or elmer’s glue) onto a paper plate.
- Water down the glue slightly (and stir) so that it’s not gloppy.
- Dip a strip of book page into the glue then press as flat as possible to the curvature of the ornament.
- Start at the top of the ornament, making a grid around the hole for the ornament hook (purposefully laying 4 strips perpendicular to each other around the hole – one in each direction).
- Using the different directions of the first 4 strips, continue to dip in the glue and press down onto the ornament in a random pattern until the entire ornament is covered.
- Coat the outside lightly in modge podge (if it isn’t already covered from the excess).
- Let dry, then replace the decorative cap.
I found that dipping the entire paper strip in the watered down modge podge made it more pliable to fit the curved ornaments. Note: the modge podge will further yellow your paper a bit… if you want a whiter end result, start with almost new book pages.
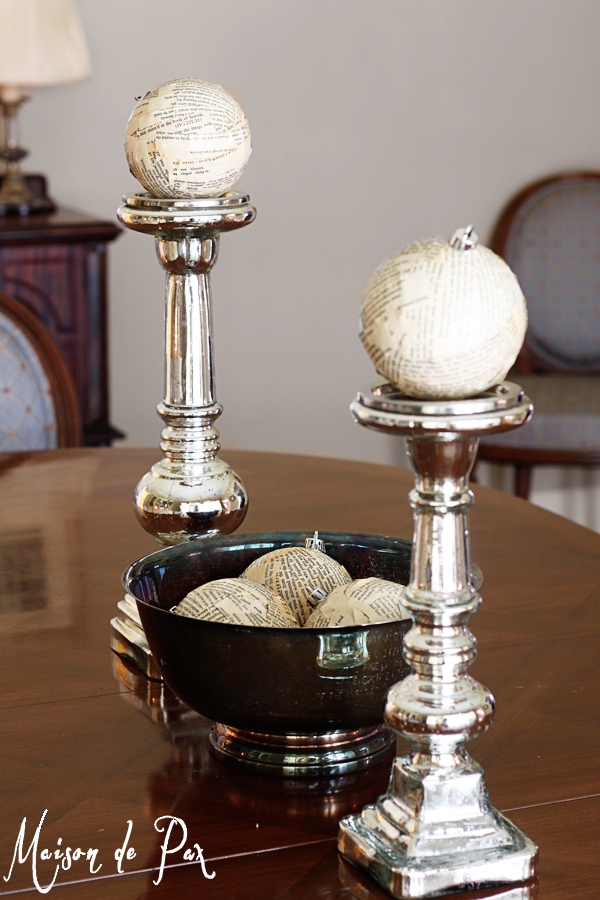
Although I haven’t officially decorated for Christmas yet (I keep randomly throwing out decorations to photograph and then stashing them in my closet… ha!), I’ve enjoyed the versatility of these already. I think they make excellent candlestick toppers.
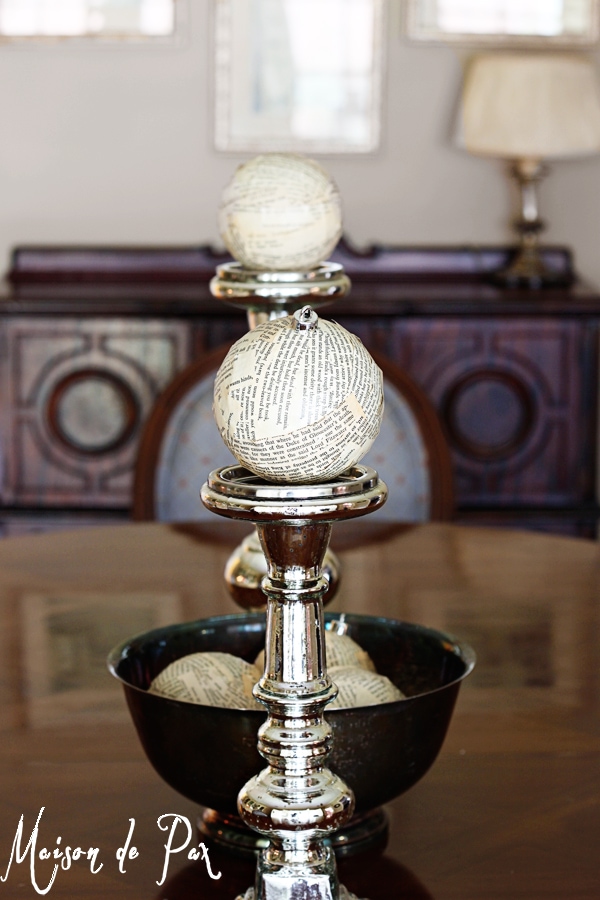
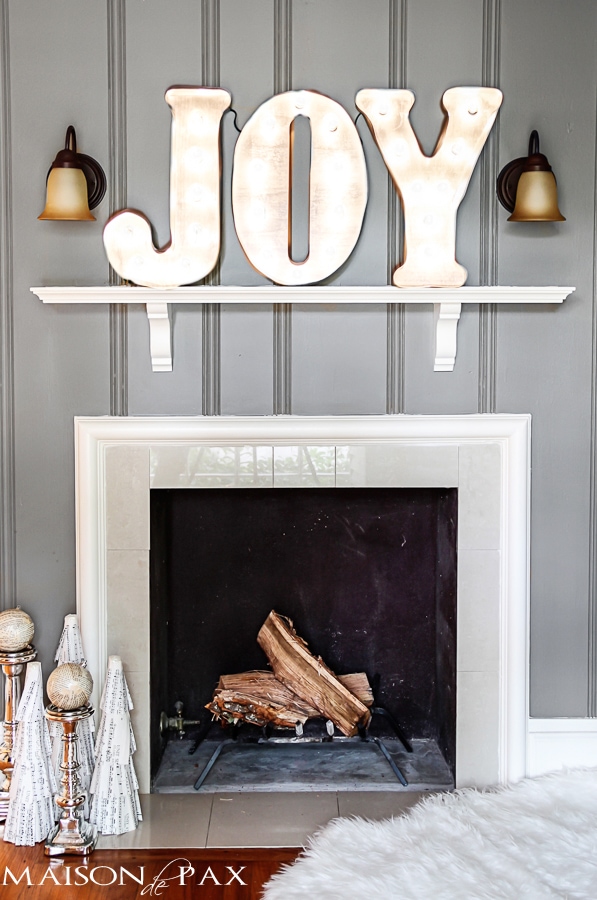
On candlesticks, they can grace not only the table, but also the hearth, like they did when I shared my vintage marquee letters.
And, of course, they would be a stunning complement to any Christmas tree, especially coupled with some glitzy silver and gold to juxtapose the softer, antique, textured look of the book pages. That’s probably where mine will end up… but we’ll see! In the meantime, I hope you enjoy them as much as I do!
And I want to say again, Happy Thanksgiving to all my US friends… and to my non-US followers, I’m thankful for you, too. 😉
MORE DIY DECOR:

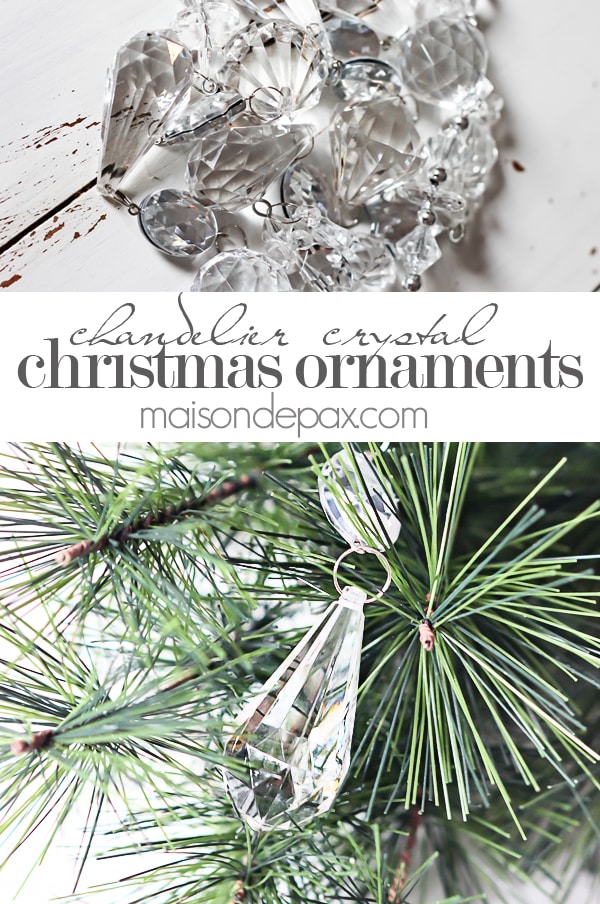
Chandelier Crystal Christmas Ornaments


You did an amazing job on these Rachel- they are such a cute idea!!
Love these, Rachel! They are simply beautiful! I’m a total sucker for book page DIY’s : )
They give everything a classy touch of age, don’t they, Liz? 😉
These turned out so beautiful! I love that it’s a little more on the neutral side. Sometimes Christmas decorations can be so overwhelming–these ornaments are perfect!
Thank you so much, Carrie! I’m so glad you like them. 🙂
Yes I sure do appreciate having the benefit of your experience when I make these. Won’t be this year as all my round ornaments are still in big shed under – who knows what- so no round ornies this year. I love book page projects so will enjoy making these next year. I have a notebook I keep future projects I want to do. I see so many on blog land I had to find some way to keep track of things I really want to make in the future. Love how your book page ornaments look, a great and different look.
We have about 9 inches of snow in our back yard where the storage shed is and our decoration boxes. It’s been quite cold here and with snow, hubs just not game to go digging. But that’s ok, we made do and still got some decent decorating done. Made our own tree out of a tomato cage and few other things to make it look like a tree.
Great idea, great tutorial. Hope your holidays are wonderful and happy.
So glad you found the tutorial helpful, Jane Ellen! Hope you have a wonderful holiday, too. 🙂
I just love these! Definitely sharing at Redoux tomorrow, pinning on my boards as well as the Redoux Features board. I want to remember this project for next year!
Thank you so much, Karen! So glad you like them. Hope you have a fabulous Christmas!
Rachel, I love this project so much. You did a great job! I featured this project at Work it Wednesday today.
http://www.placeofmytaste.com/2013/12/work-it-wednesday-no28.html
Have a great day!
Thank you so much, Aniko!
Love this, Rachel! You have the best projects 😉
Hugs,
Jamie
Thanks, Jamie! Hope you have a fabulous Christmas. 🙂