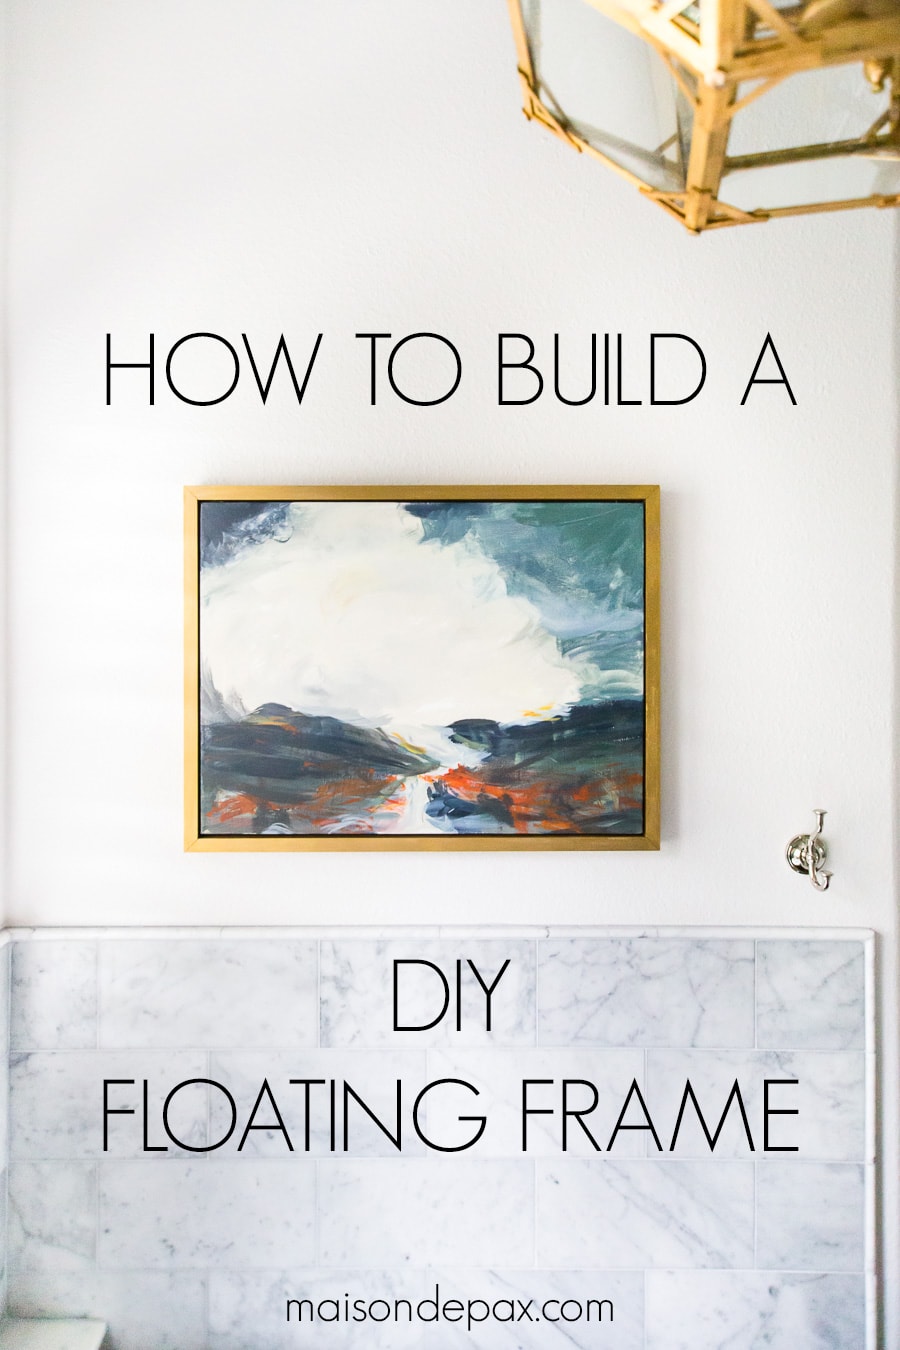
DIY Floating Frame for Wall Art
Art Floating frames are a beautiful way to finish canvas art, but they can be expensive! Find out how to build a DIY floating frame for just $5.
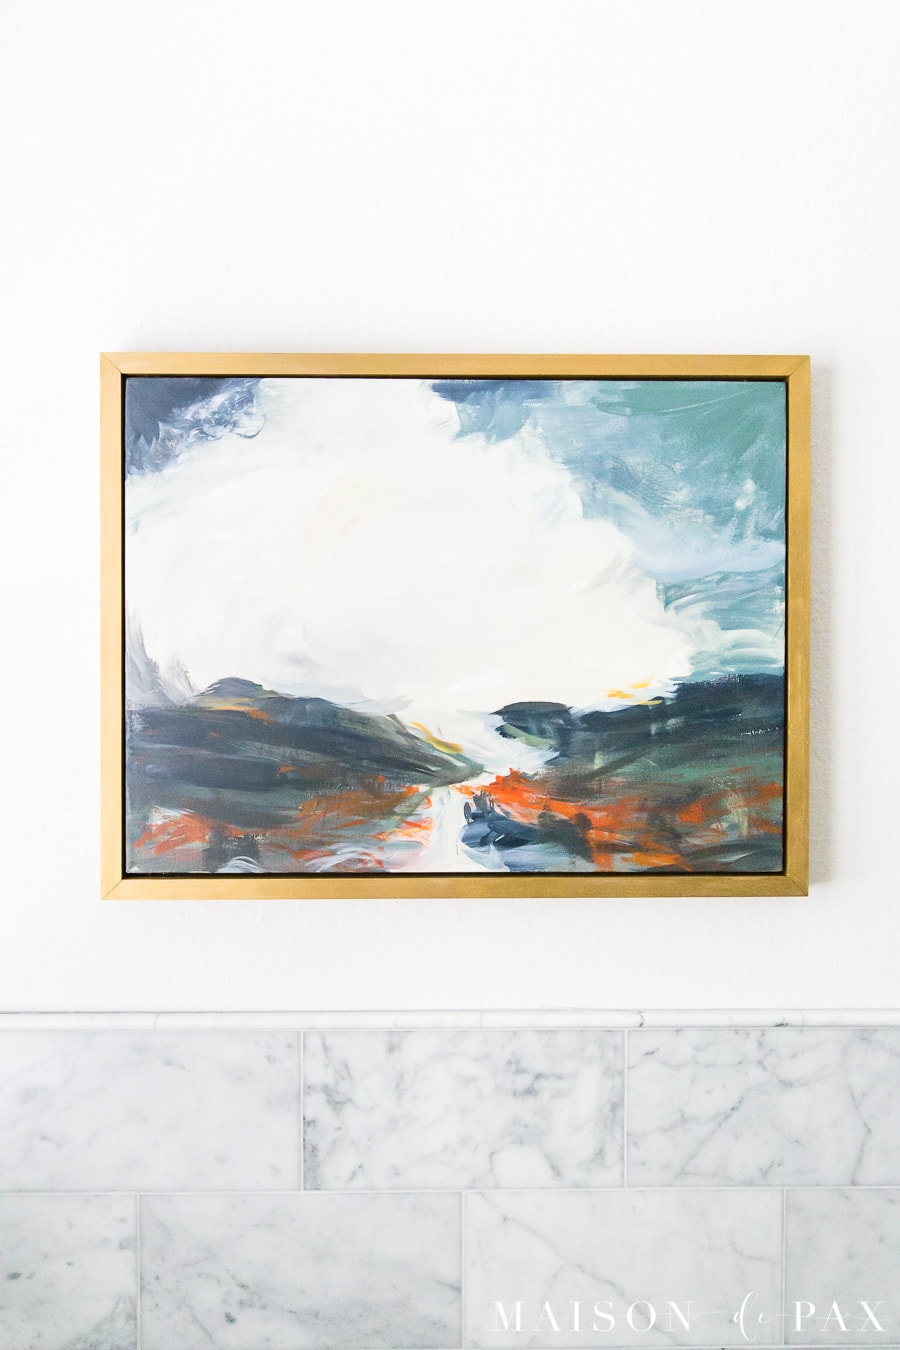
I can’t believe how much you all loved the DIY abstract art I created recently. Clearly, beautiful, affordable, DIY wall art ideas are always a win!
And, of course, I got tons of questions about how I framed this stretched canvas art. Fortunately, these picture frames are quick, easy, and cost only $5 (the price of an eight foot 1×2 board).
DIY ART Floating Frame
Video Tutorial for Canvas Art Frame
I shared a step-by-step video on Instagram recently… I know it’s not ideal format here, but I know that seeing a video can be helpful. And don’t worry, I have written instructions below.
This post contains affiliate links. Click here to read my full disclosure.
Materials Needed for floating mitered frame
- 1×2 pine board (see below for measuring instructions)
- measuring tape, pencil, square
- miter saw
- nail gun and finishing nails
- (optional) gold leaf rub ‘n buff
How to build a floating frame for canvas art
Note: this works best if the depth of your canvas frame is roughly the same as your floater frame depth (which will be 1.5″, since that’s the actual depth of a nominal 1×2). If your canvas paintings are significantly more shallow than your frame, then you may want to follow a different method.
How to build a DIY wood frame with a floating look for canvas art
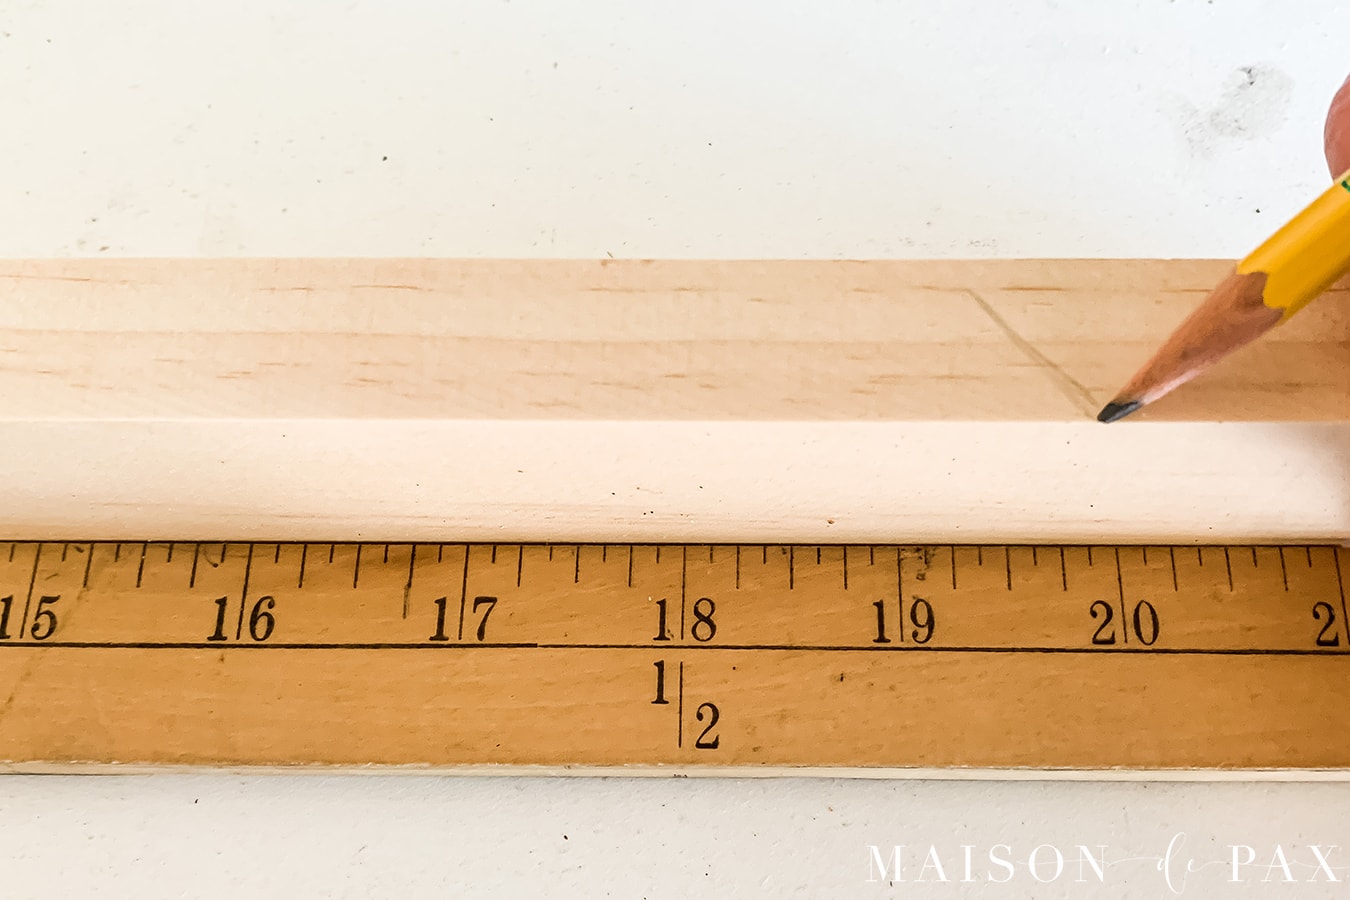
- Measure
Note: You will be making a mitered cut at a 45° angle. The measurements I am giving you is for the longer side of the angled cut, which will enable you to accurately plan for the amount of wood you need.
The actual length will depend on the size of your canvas, but you are looking for the sides of your canvas + 1.75 inches for each length. For example, my canvas was 18×24, so I needed two pieces of wood that were 19.75″ long (at the long side of the mitered edge) and two pieces that were 25.75″ long.
Turn your 1×2 on its side, so that the shorter sides (the .75″ wide sides) are parallel to the ground. Mark your length you determined above on the short side of the board facing you.
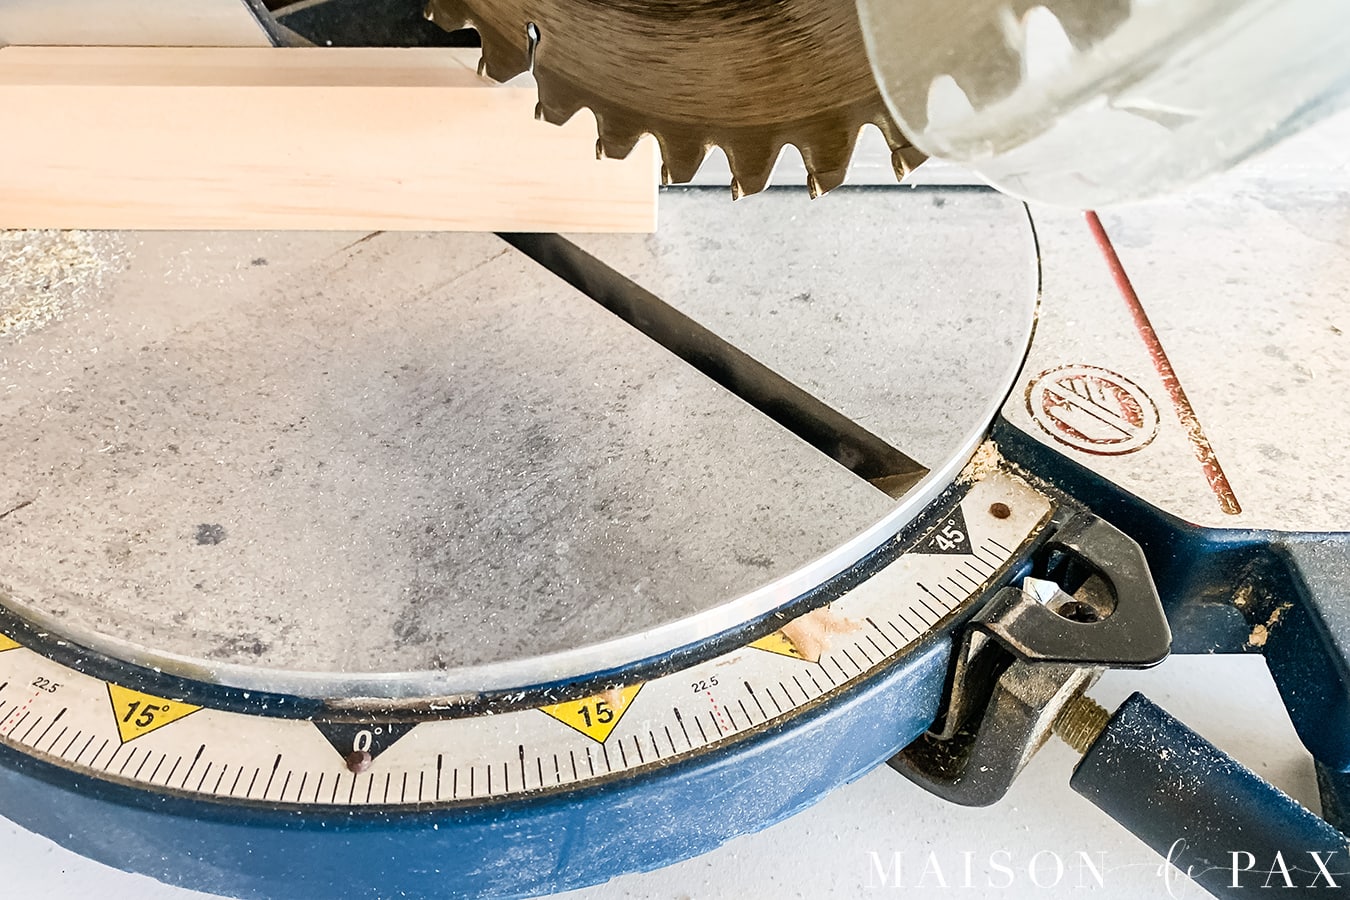
- Cut
Using your miter saw, cut the pieces at a 45° angle so that the longer side of the mitered edge reaches your mark.
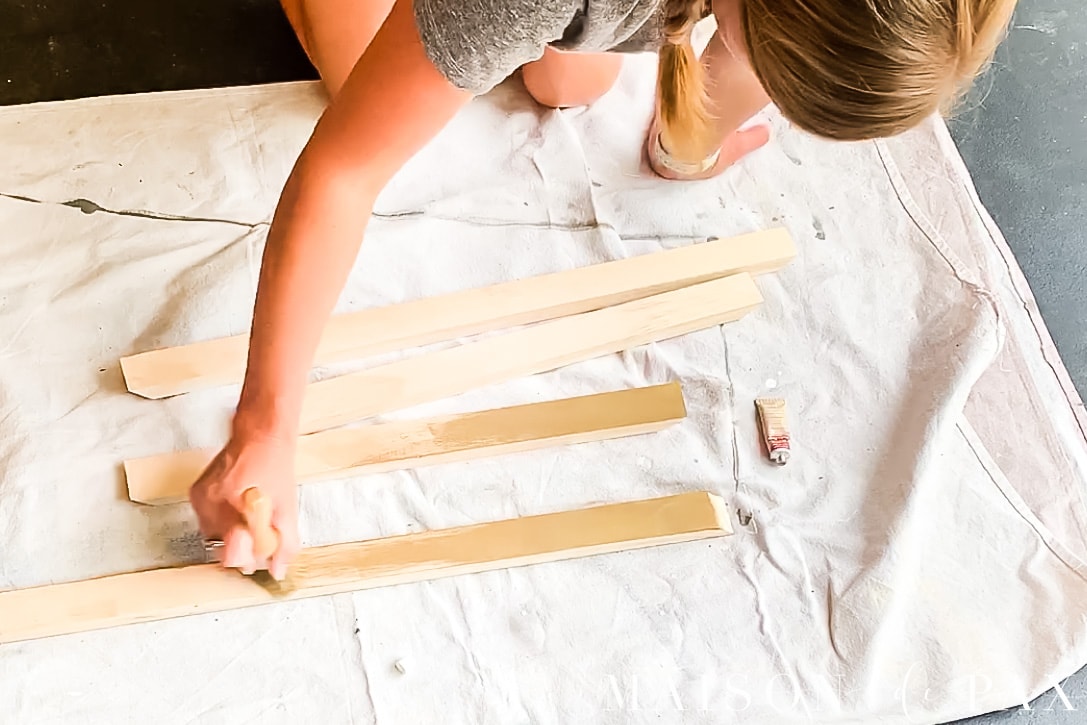
Then, using the scraps left over, cut four 1/8″ slivers of wood. These will be used later as your spacers for your “floating” frame. - Paint (Optional)
Before assembling the frame, I recommend painting or staining the four cut pieces as desired. I used the gold leaf Rub ‘n Buff for a gorgeous gold finish.
Be sure to paint at least three sides of your frame pieces (the back of the frame, the side that will rest agains the wall, can remain unpainted).
You may also want to paint the 1/8″ spacers black at this point. This will make them less visible when you assemble your frame.
- Build
I couldn’t find my square at the time, so I used the actual canvas, but a real square would be best. Using a square, position two pieces of the frame to form a right angle at the miter joints.
Insert one finishing nail into the frame to hold it secure. Mine felt plenty secure without any wood glue, but feel free to add a little before you nail the boards if you want. I recommend putting the finishing nails only into the top and bottom pieces of the frame if the sides will be visible in the finished space.
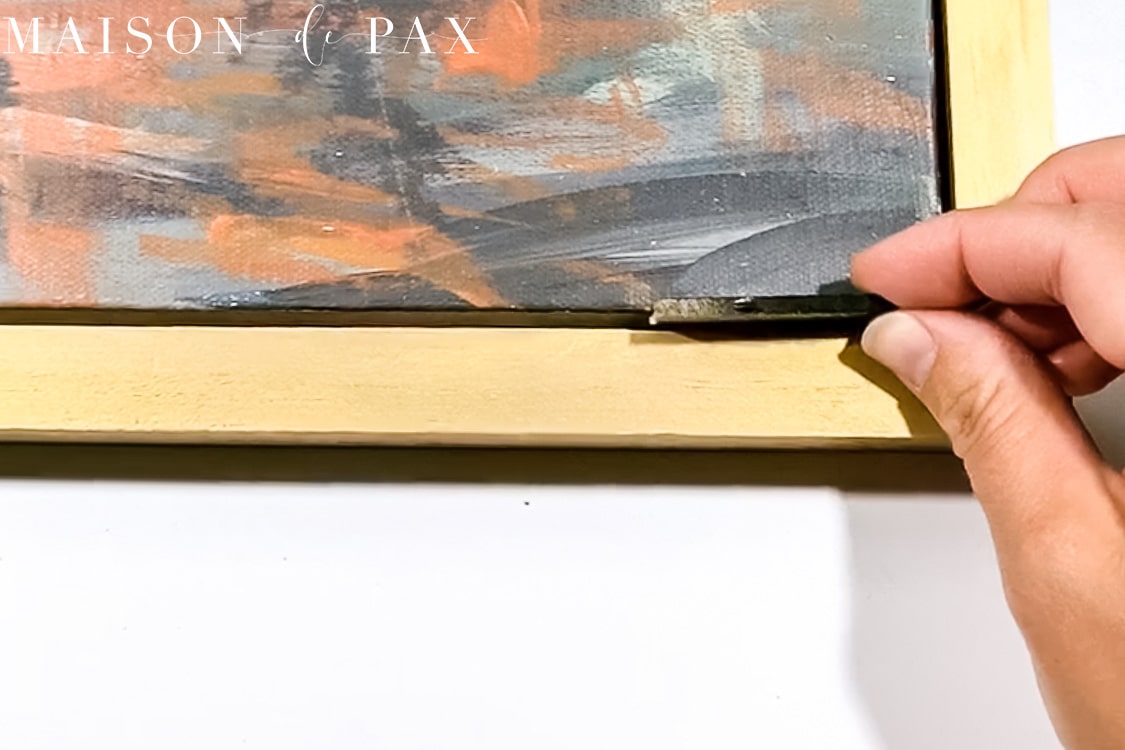
- Install Canvas
Use the 1/8″ spacers at the edge of the canvas on either end of the top and bottom of the frame to situation the canvas inside the assembled outer frame. Put a single finishing nail through the frame, spacer, and canvas in each of those four spots.
Once you have installed two, you may find that you don’t need the other two spaces.

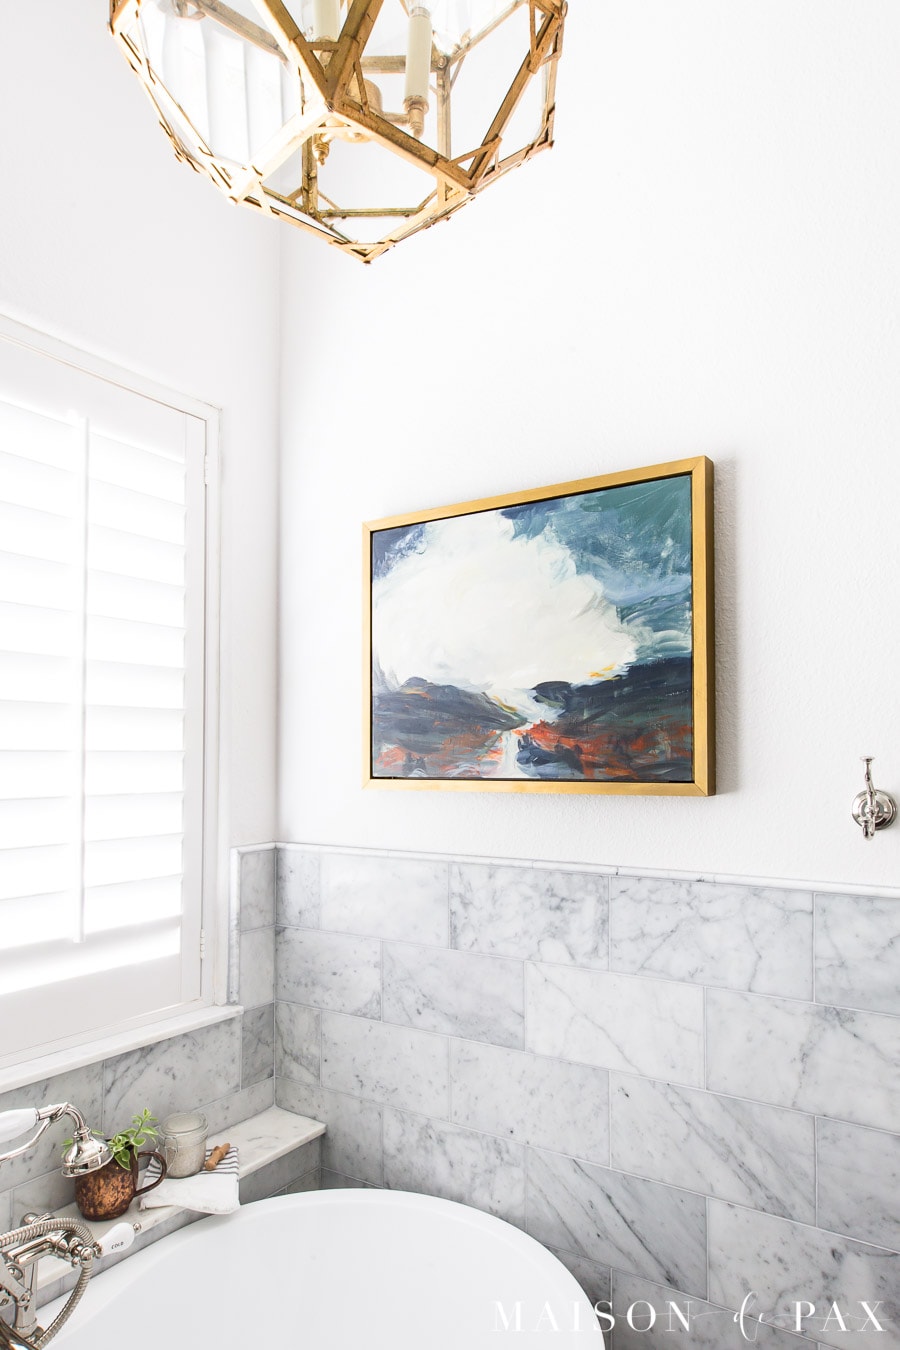
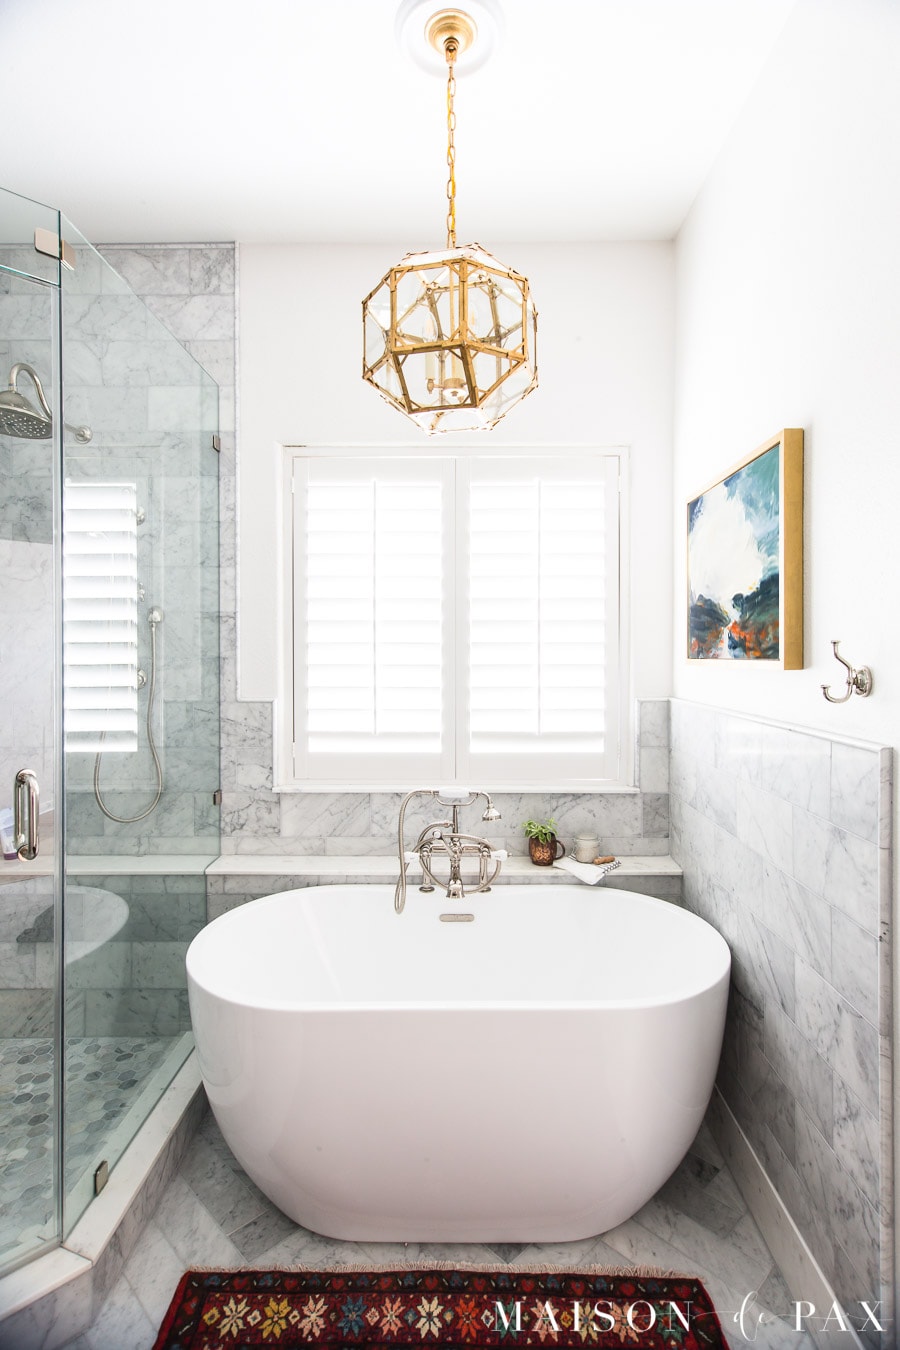
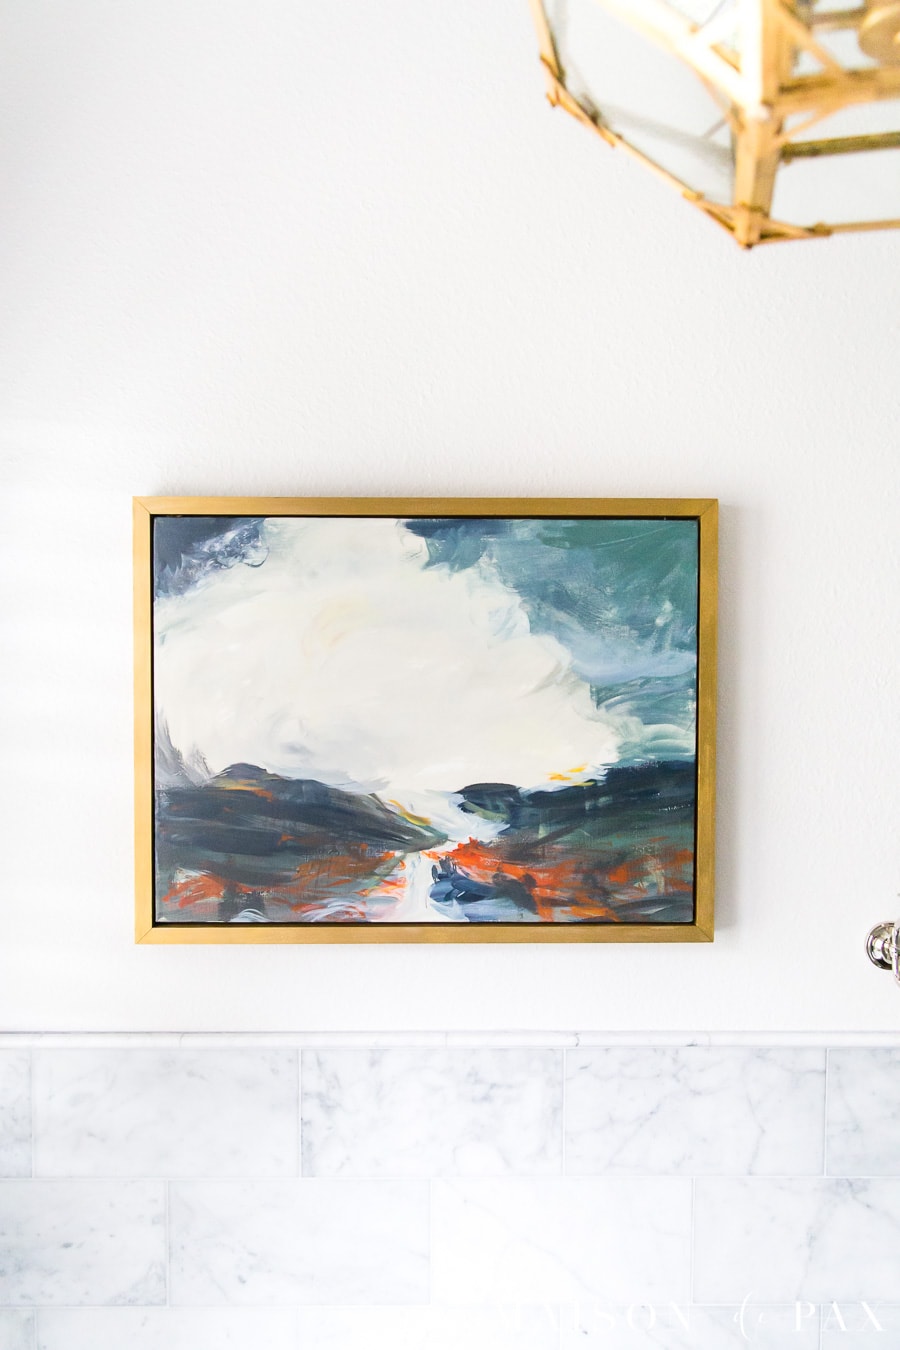
And that’s it! I hung my canvas floater frame using command strips at the bottom and top of the frame so it would be flush against the wall. Obviously, I used it alone in our master bathroom, and I love how it complements the gold hardware. I think these art frames would be beautiful in a living room, too… or as part of a gallery wall in any space!
The spacers and finishing nails are basically invisible in the finished piece.
It was so easy and affordable, I’ve been thinking about painting a few more pieces to frame. 😉
Be sure to pin it for later!


Great frame idea and that bathroom is fabulous too.
Thank you, Marty!
Thank you, Rachel. it is very helpful. I have a couple of my father’s oil paintings and I can’t wait to frame them.
How fun! Thanks for sharing, Majlinda.
Amazing! Thank you so much for the fabulous step by step tutorial. I love the results of your framing. The canvas looks amazing to. I can’t wait to give this a try. I especially thank you for the tip to stain/paint or whatever, before putting the canvas in the frame.
Stay safe!
So glad it was helpful, Ivory!
You mentioned this works best if the canvas is the same depth as the frame… Is 1.5” the depth of this frame? 1×2 with short side facing out, right? Maybe you could add that to help those who aren’t versed in nominal vs actual lumber/trim dimensions. In case people already have a canvas or go to purchase it first 🙂 Love your creative yet simple solutions!
Yes! Great point, Mel. I’ll add that detail. Thanks so much!
This tutorial is exactly what I was looking to make a floating frame for my new canvas. I can’t wait to get started. Thank you.
Awesome, Debbi! I am so glad it is helpful.
Rachel, this tutorial is exactly what I need. We have a large canvas that I bought on Etsy. We stretched and framed it ourselves. It looks bare and I’ve wanted a gold floating frame, but wasn’t sure how to accomplish that. You’ve shared exactly what I need to do. Thanks.
I’m so glad it was helpful, Carol!