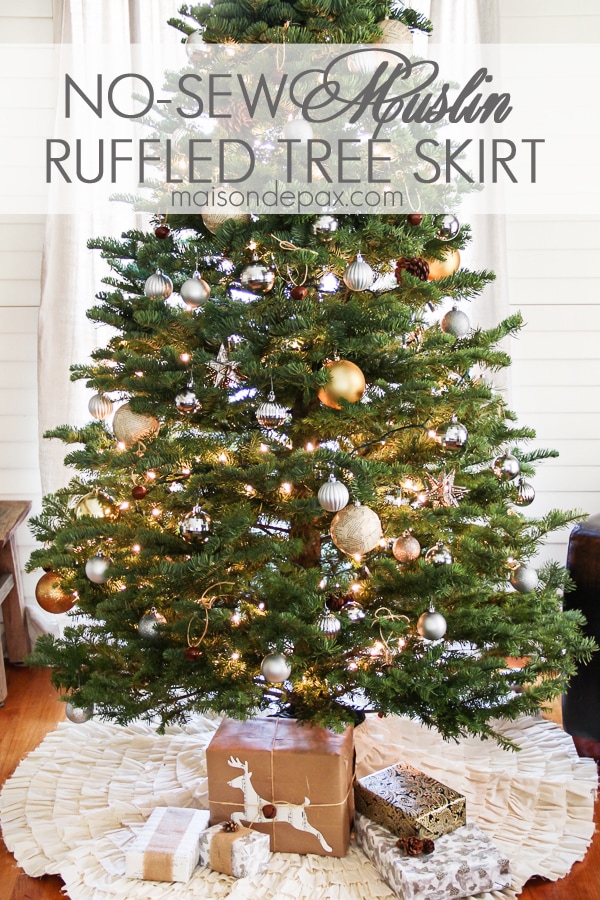
No-Sew Ruffled Muslin Tree Skirt
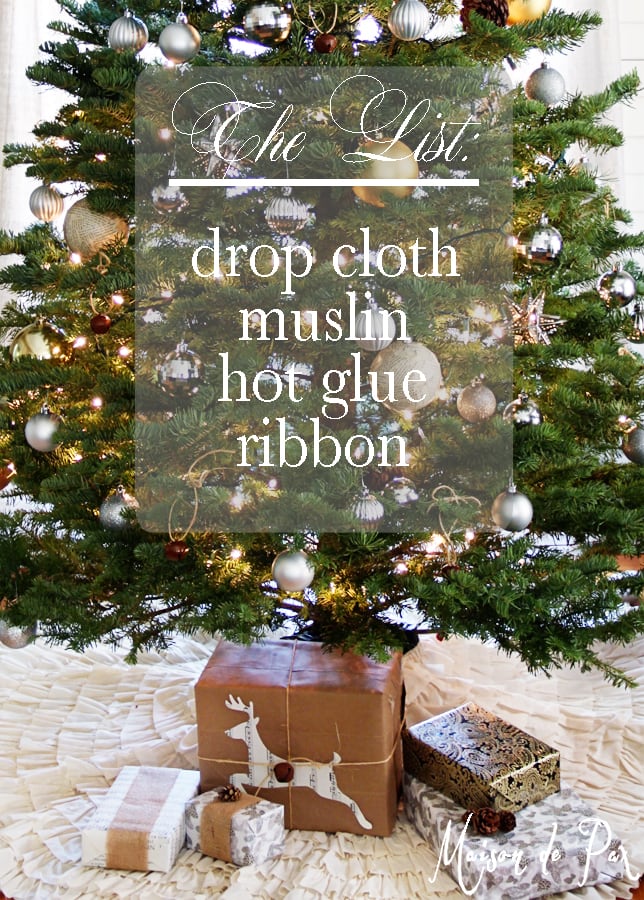
- unbleached muslin (approximately 3 yds)
- drop cloth (4 1/2′ x 4 1/2′)
- hot glue
- grosgrain ribbon
Once I had my plan (and my materials because – another great piece of news – I already had them all!), I began looking online for DIY tree skirt help. Turns out, I’m not the first one to make a ruffled tree skirt (surprise, surprise), so I especially want to give credit to Miss Mustard Seed for her gorgeous ruffled tree skirt. And though I would never presume to improve upon anything Marian does, I did lots of things differently simply to match my materials and my taste… So I’ll give you my own version here.
To make your own no-sew ruffled muslin tree skirt:
1. Make your base:
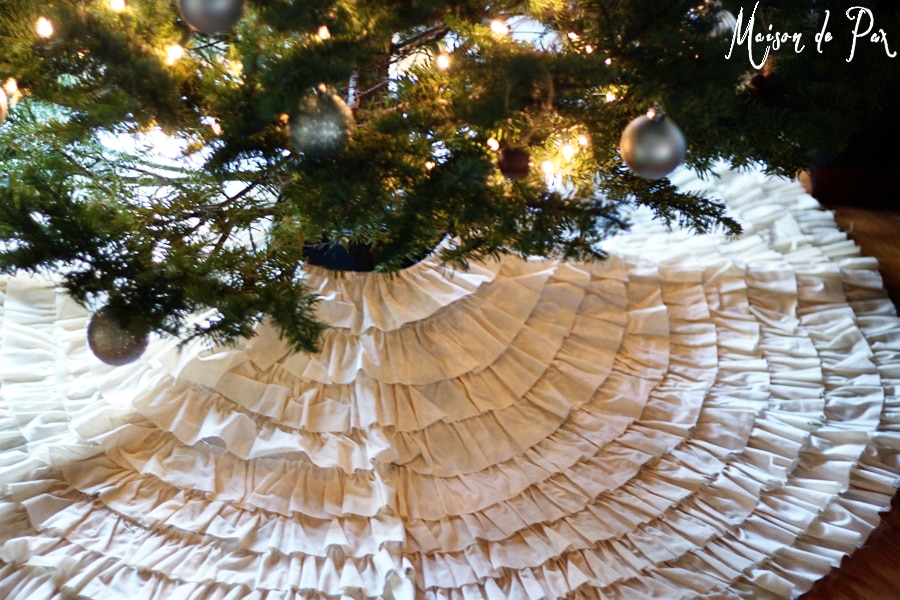
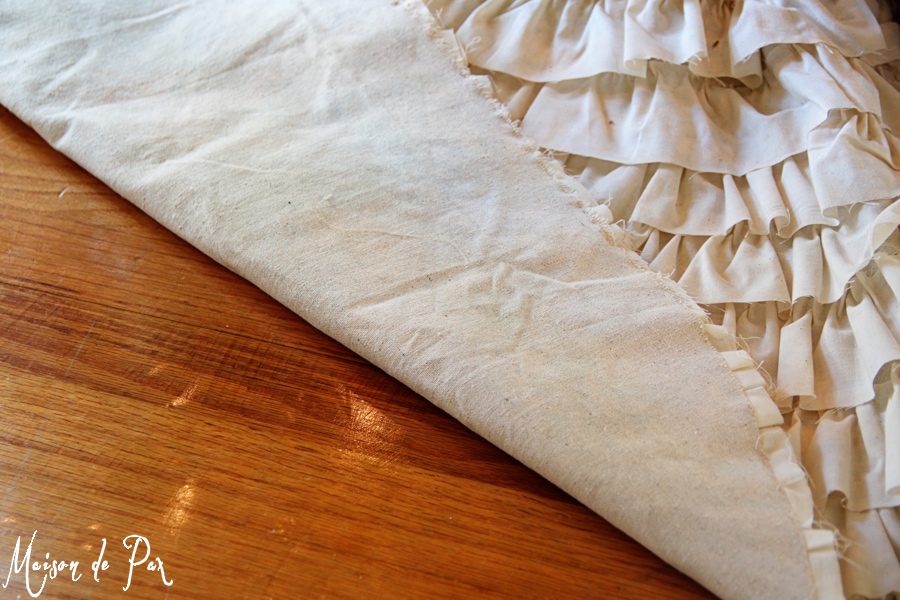
For instructions on this portion, I will refer you directly to the “Measure and Cut Canvas” portion of Miss Mustard Seed’s tutorial. I will spare you any of my process pictures since I made this one evening after I put my boys to bed (and while I watched television… a movie and a half, that’s how long it took from start to finish!). Her tutorial for this is very clear. You can, however, see how the bottom of the skirt looks when finished.
2. Prepare your muslin:
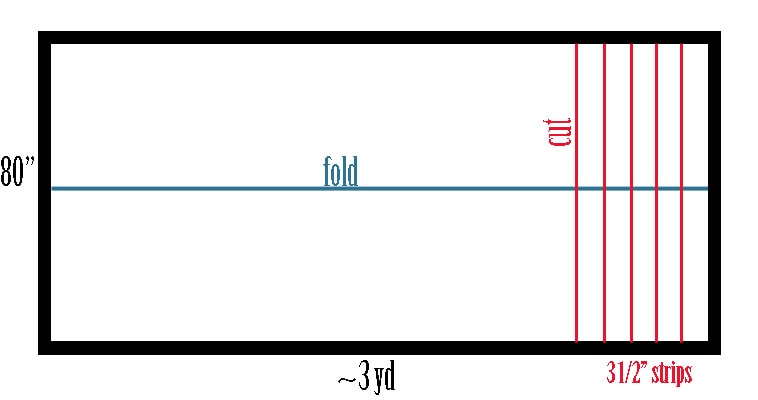
I love muslin. It’s light, natural, and SO inexpensive! Also, for this project, since you will be cutting long strips, you can purchase extra wide muslin (my was 80″ wide), meaning you can make longer strips, saving time. For my skirt, I cut 3 1/2″ wide strips. To cut your muslin, fold the fabric in half (along the blue line) once or twice, so that your fabric is doubled or quadrupled over. Then use a yardstick to draw lightly in pencil or chalk straight lines every 3 1/2″ (see red lines). Finally, cut through all the layers of fabric along those red lines. This was the most efficient way I found to cut loooooonnnnng strips of muslin and keep them fairly straight.
3. Make your ruffles:
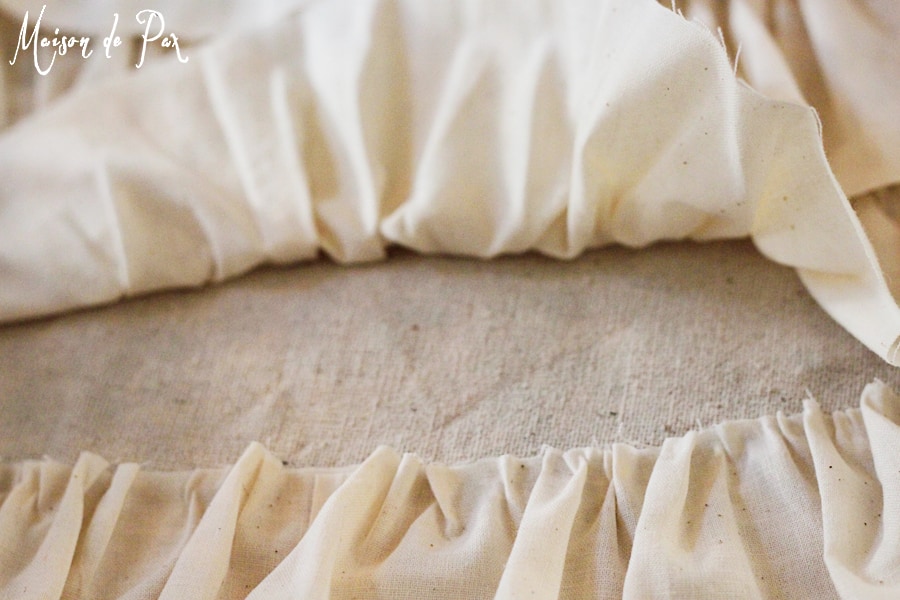
Starting with the outside edge of the drop cloth, run a bead of glue about 2 1/2″ in from the edge. Lay the muslin on the hot glue and then scrunch it into ruffles (you have to work fast so the glue doesn’t dry before you get the ruffles made). Work in no more than 10-12″ sections. Start your next row 2 1/2″ further in.
4. Attach ribbon ties:
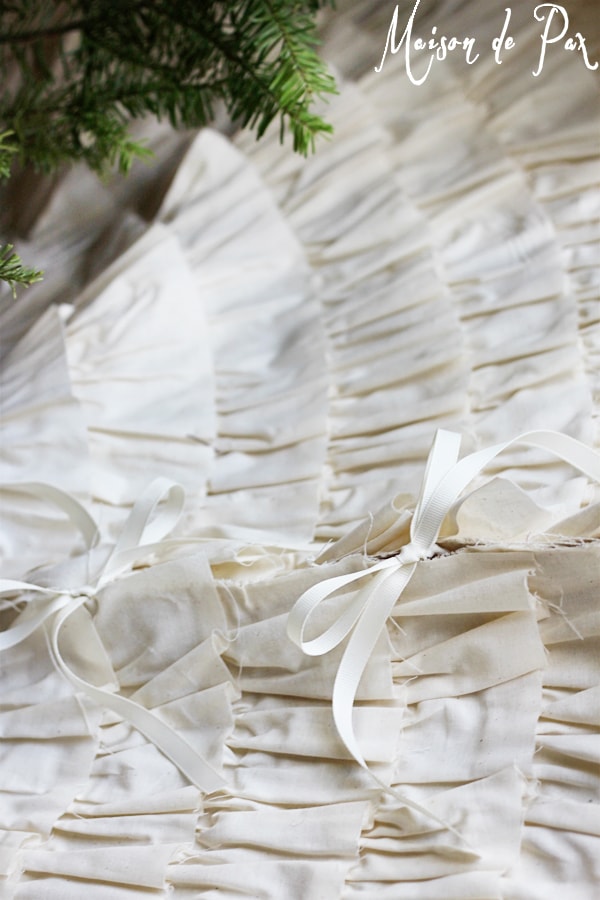
I used 1/2″ grosgrain ribbon that matched the muslin (which I already had on hand), but you could use any ribbon you want. Cut the ribbon into ten 1′ pieces. Evenly space five ribbons on either side of the slit you made in the skirt and attach with hot glue. Tie ribbons into bows once skirt is in place.
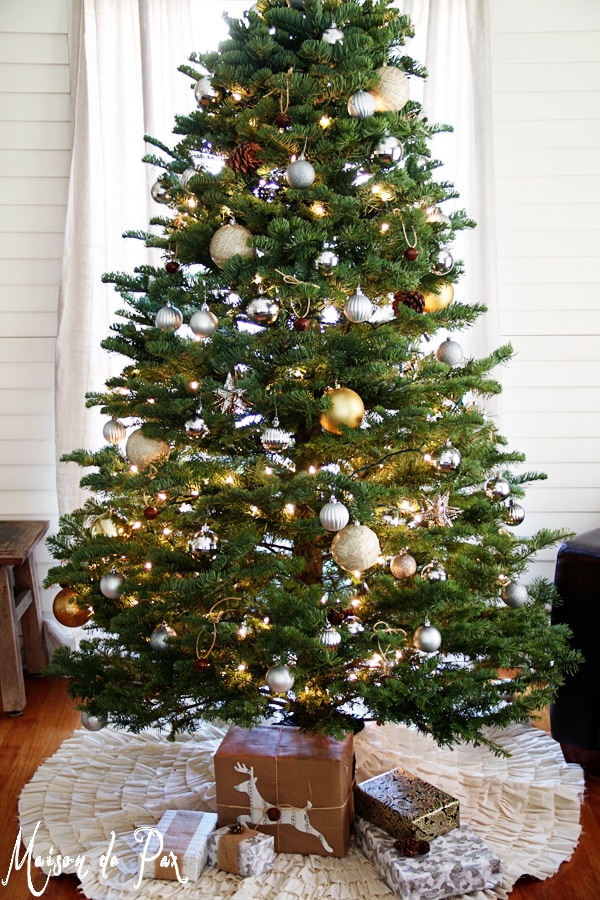
I couldn’t be more pleased with the result… I never could bring myself to spend a fortune on a tree skirt, and I’m honestly not sure I would like anything I bought nearly as well as this. That is the perfect formula: inexpensive and beautiful! An excellent handmade addition to Christmas.
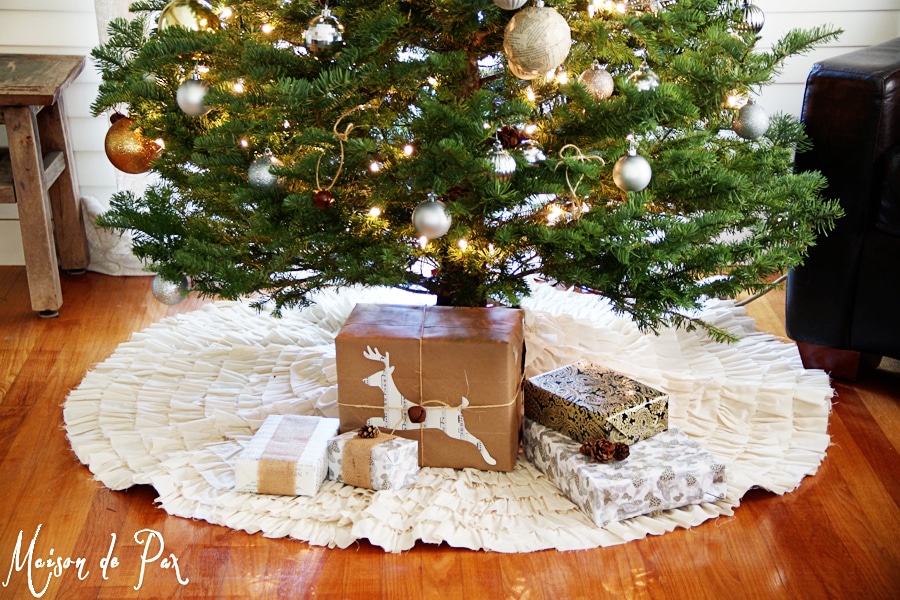
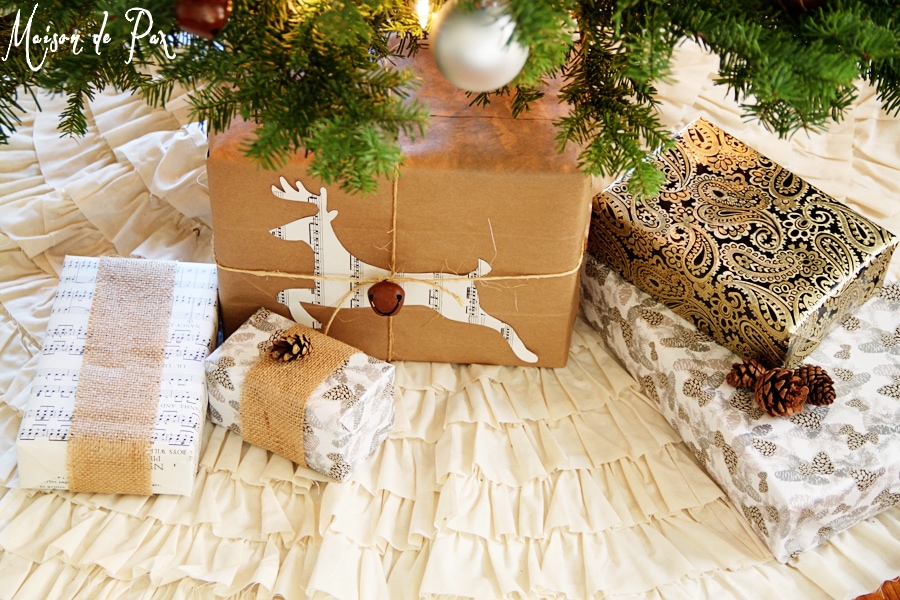
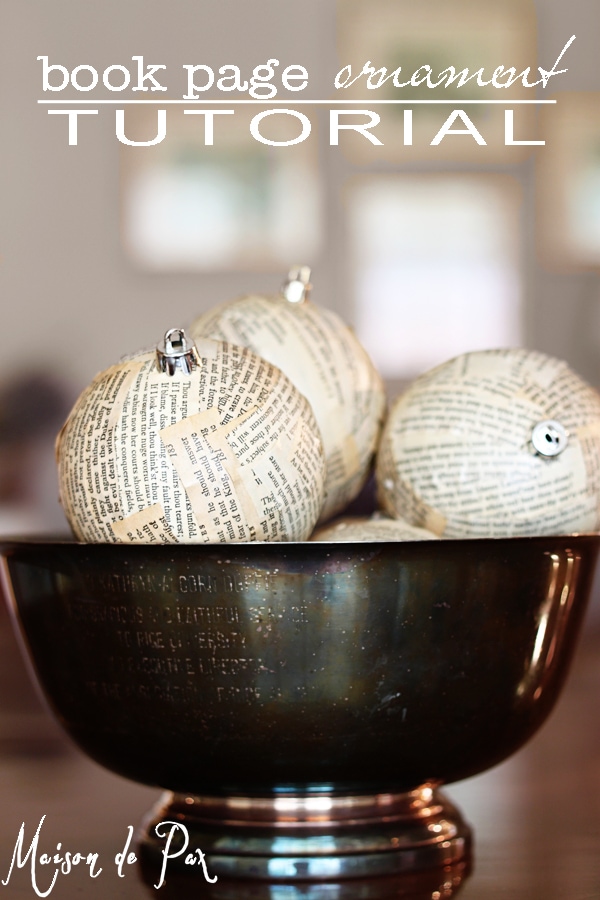
And I love how the soft ruffles complement the diy book page ornaments and other neutral but textural elements on the tree.
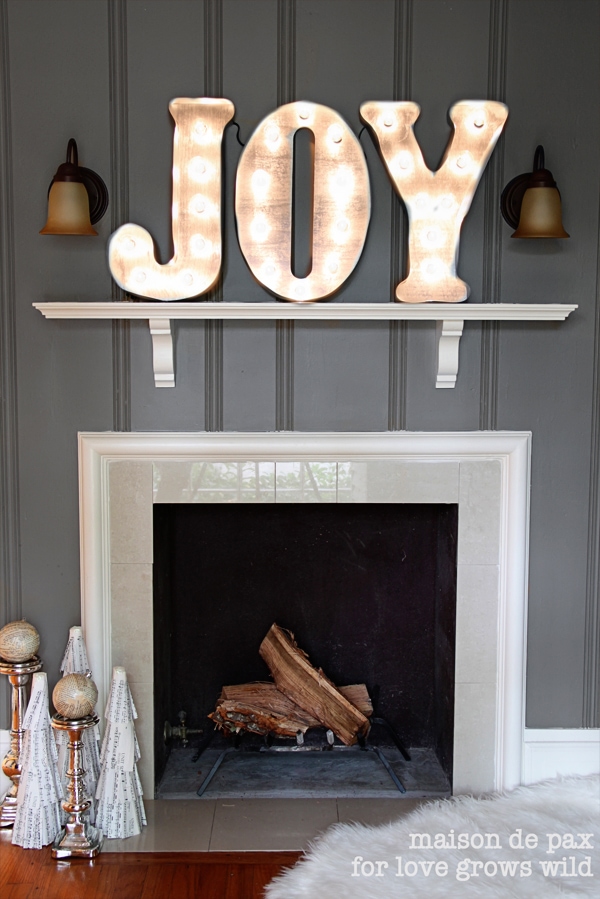
Don’t miss these other handmade Christmas tutorials:


This is absolutely beautiful and simple! I have been wanting a new skirt and this is it! Also love the wrapping idea with the deer. Shared and pinned! Merry Christmas! Christy
Thank you so much, Christy! I’m so glad you like it. 🙂
What a gorgeous tree skirt.embarassed to say I threw a few yards of red burlap around my tree….with no pretty ruffles.
Oh Laura, TRUST ME when I say there is no judgment for that here!! Like I said, it’s only taken me 10 years to do anything about a real tree skirt. 🙂 I’m so glad you like it!
It is beautiful Rachel!
Thank you so much, Mary!
So pretty! And I love how easy it looks! Thanks so much for sharing with us! Hugs…Debbie
I’m so glad you like it, Debbie! 🙂
BEautiful! It doesn’t look like it could possibly be no-sew! Great job, Rachel -love it! 🙂
Thanks, Julie!!
No sew! Yep… you’ve sold me. I definitely need a new tree skirt and yours is gorgeous! Pinned and definitely going to try one.
So glad to hear it, Maryann! Good luck with it!!
Oh how pretty! I need to make a new skirt this year. I may make one like yours! Have a great weekend!
Thank you, Deborah! I hope you enjoy it!!
Love that tree skirt Rachel!! It’s really lovely.
Thank you so much, Anita! I’m so glad you like it. 🙂
I’ve always wanted to make one of these – thanks for the tutorial!
You are very welcome, Doreen!!
I always thought ruffled tree skirts were difficult to make, but your tutorial has given me hope that maybe I can make a version for myself. Yours is gorgeous!
Thanks, Amy! I’m sure you could make a gorgeous one. 🙂
Your tree skirt is beautiful, Rachel! And I especially love that it’s no-sew!
Thank you, Sheila! I just love hot glue. 🙂
This is gorgeous! I can’t believe this was a no sew project you did a fantastic job!!
Thanks, Dria! I was amazed myself that something no-sew could turn out so fabulous! 🙂
Rachel!!! Your tree skirt is so lovely! And, I also love your wrapping with the cut-out reindeer silhouette.
Thanks, Linda! I’m so glad you like it. 🙂
Have I told you I love this? Because I do. 🙂
Awww… so so glad. 🙂
Love your beautiful ruffled skirt!
xx
Anne
Thank you, Anne! I’m so glad you like it. 🙂
I love this tree skirt, so pretty and simple. I adore homemade Christmas items as they remind me what matters at Christmas, family. I have a tree skirt that my mother made for me and I just absolutely adore it as it makes me think if her every time I see it. I hope you have a wonderful Christmas!
Thank you so much, Angie! I couldn’t agree more about homemade Christmas decor… it’s so much more personal and special that way! I hope you have a wonderful Christmas, as well!!
Do you have any idea how long I’ve wanted to make a tree skirt like this?? Yours is BEAUTIFUL, Rachel!! It’s the perfect backdrop for your gorgeous tree. Seriously, come make me one now!! 🙂 Thanks so much for sharing! Have a very Merry Christmas, sweet friend!
So glad you like it, Liz! I’ll make you a deal: I’ll come make you a tree skirt if you’ll come make me a mistletoe ball. 😉 Hope you’re enjoying the holidays!!
Hi Rachel, I wanted to drop by again to let you know I’ll be featuring your beautiful tree skirt at this weeks Open House party. Happy Holidays!
Hugs,
Sherry
Oh thank you so much, Sherry! I’m so glad you like it and honored to be featured. 🙂
I love your no sew tree skirt, very classy! Saw you featured over No Minimalist Here.
Thank you so much, Betsy! I’m so glad you like it, and I’m so glad to have you here. Merry Christmas!!
Hello Rachel,
Love your DIY tree skirt…marking this one for next year. I would like to invite you to come by and share it any Christmas post at my Christmas party that is now going on.
Blessings,
Linda
Thank you so much, Linda! I’m so glad you like it, and I’d be honored to come to your party. Thanks for the invitation!
Rachel
Totally completely love it. I think I might need one. 😉 Thank you for sharing at Feathered Nest Friday!
Haha. I hope you get a chance to make one – I’ve so enjoyed mine!! Take care and have a wonderful Christmas!
Rachel
That is beautiful and elegant. :).
Thank you so much, Holly! So glad you like it. 🙂
Rachel!
Love the Skirt! I am wondering where you purchased your Christmas TREE?
Thank you so much, Kate! The tree was a real one that we purchased from Houston Garden Center that year. Hope this helps. 🙂