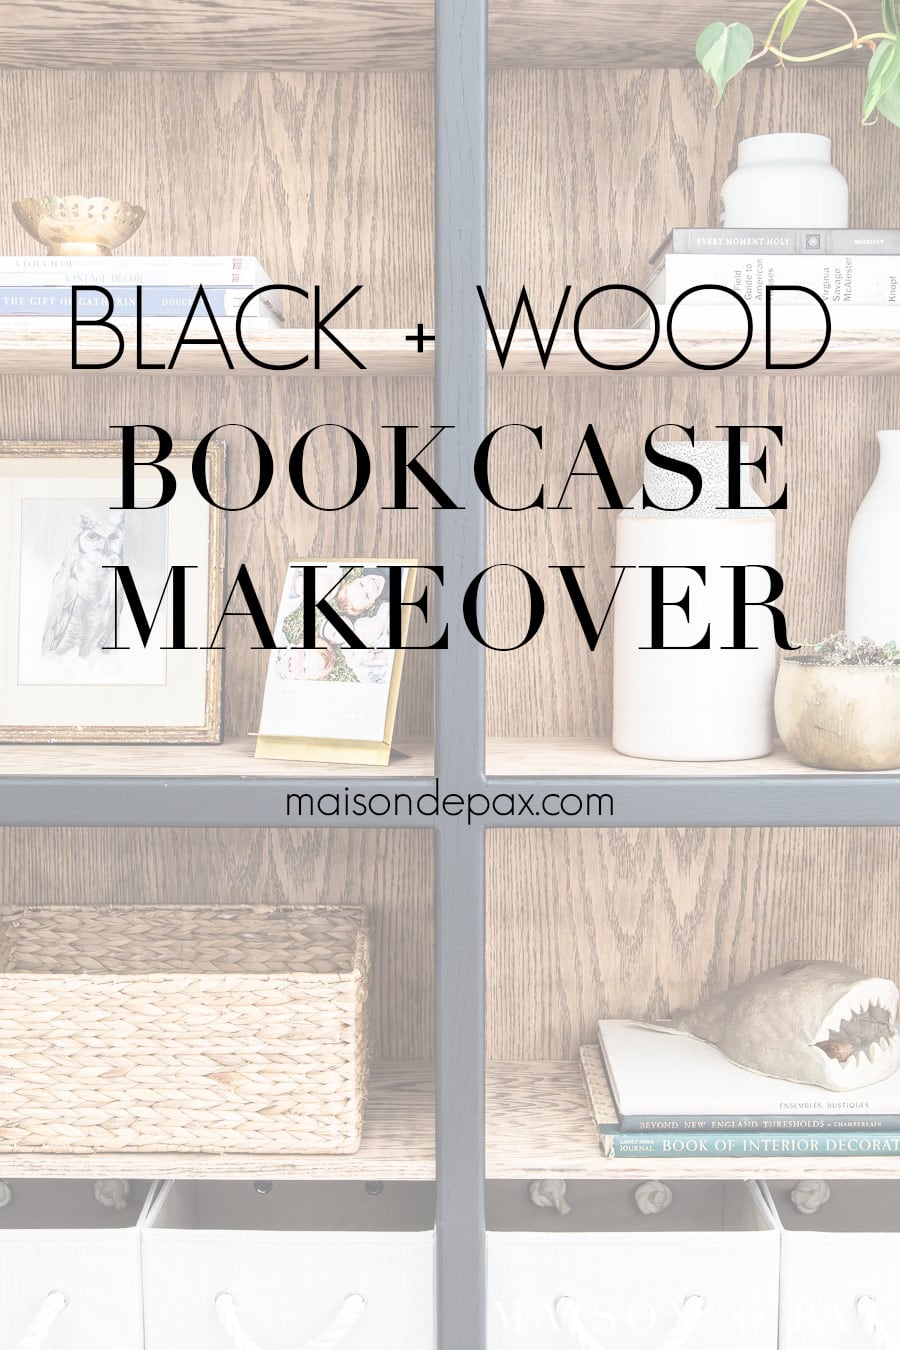
Bookcase Makeover: Black and Wood Oak Bookcase
See how a dark, drab, outdated oak bookcase was transformed into a beautiful modern black and wood bookcase! Get the full tutorial for this bookcase makeover.
It’s been a while since I’ve done a basic furniture makeover… and I have to say, this oak bookcase makeover was downright therapeutic. With a few simple steps, I gave this outdated bookcase a new look with a black and light wood finish!
This post contains affiliate links. Click here to read my full disclosure.
I have been looking for a large, shallow bookcase for this wall in my new home office for some time now. I needed more storage, but I don’t have room for file cabinets or other traditional office furniture.
Besides, what if I want to move it to the living room some day? I like options. 😉 .
I fell in love with this cabinet, but I knew I didn’t have the space for the glass doors to function, and I wasn’t prepared to spend that much for this little hidden space. So I kept an eye on local Facebook Marketplace and Craigslist for a real wood bookcase or cabinet that would fit the space.
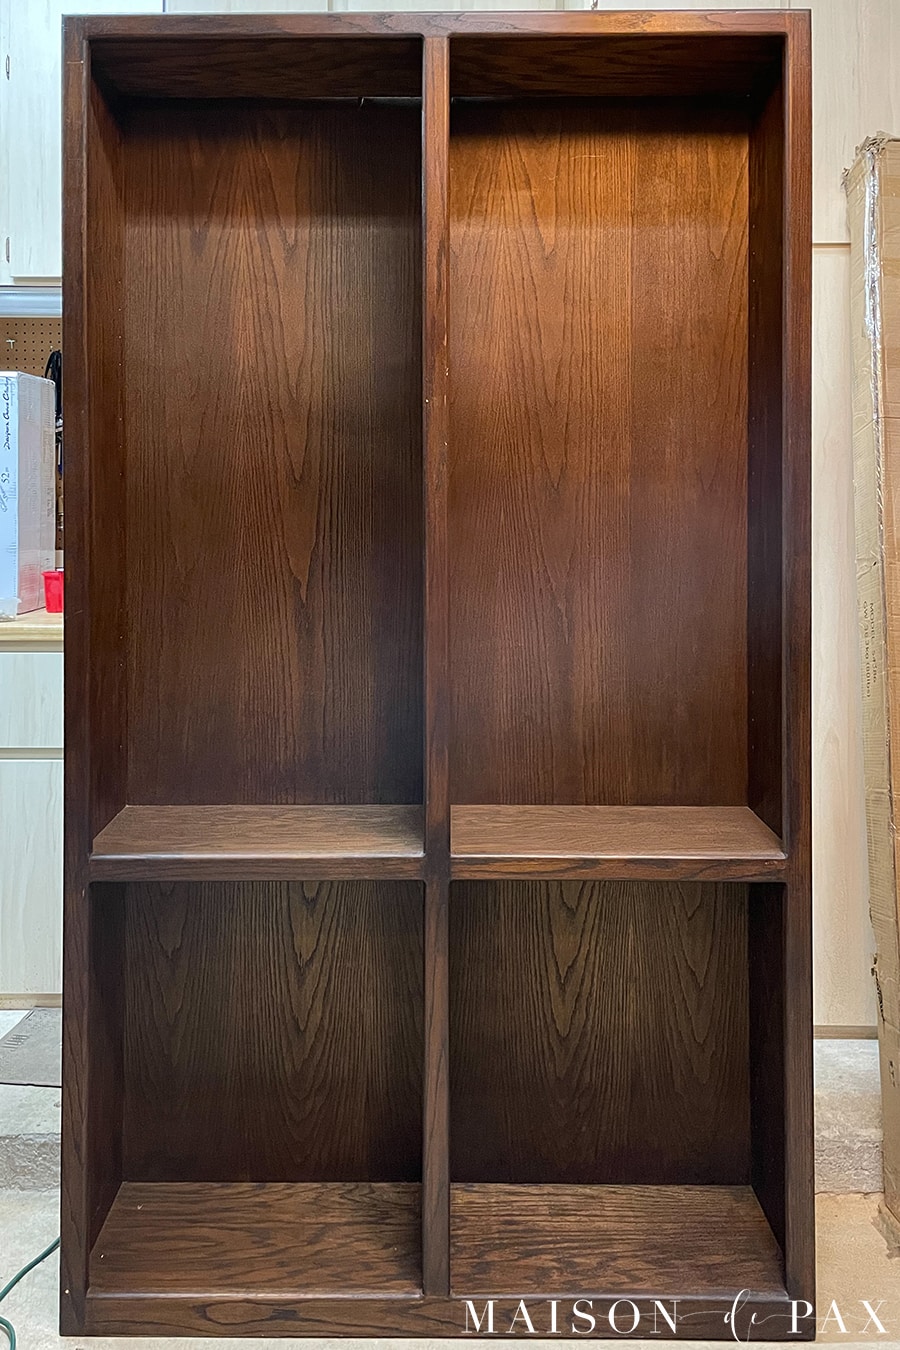
Fortunately, this double sided one was not only the perfect size (7 feet tall by 4 feet wide), but it was made of real oak wood and oak plywood, which both made it sturdy and gave it beautiful wood grain. It just needed a little refresh.
Here is what it looked like before.
How to Sand and Paint a Bookcase
If you followed along on Instagram as I was working on this project, then you know that it was fairly time-consuming. Fortunately, though, it wasn’t hard. This fixer upper just took a little patience and some high quality paint.
Here’s a little video tutorial for this oak bookshelf makeover.
And here are the written instructions for your reference!
Materials Needed:
- Real wood bookcase
Note: high-quality plywood is ok, too. Plywood has a thin layer of real wood on top of pressed wood, which makes it a common use for shelves and sides of furniture since it is straight and sturdy. Just be careful if sanding plywood, as you want to be sure not to sand all the way through the thin layer of finished wood. - Palm or orbital sander (here’s my favorite) with a variety of sandpaper
- Fusion Mineral Paint in coal black + trim roller + paintbrush
This is probably my favorite paint for small furniture projects. It goes on easily, requires no top coat, and usually doesn’t require primer either. It has beautiful coverage and a lovely, satiny-matte finish in a variety of paint colors. Thank you to Fusion for providing this paint!
Black and Wood Bookcase Makeover
Give an old oak bookcase a fresh, new look with these simple steps.
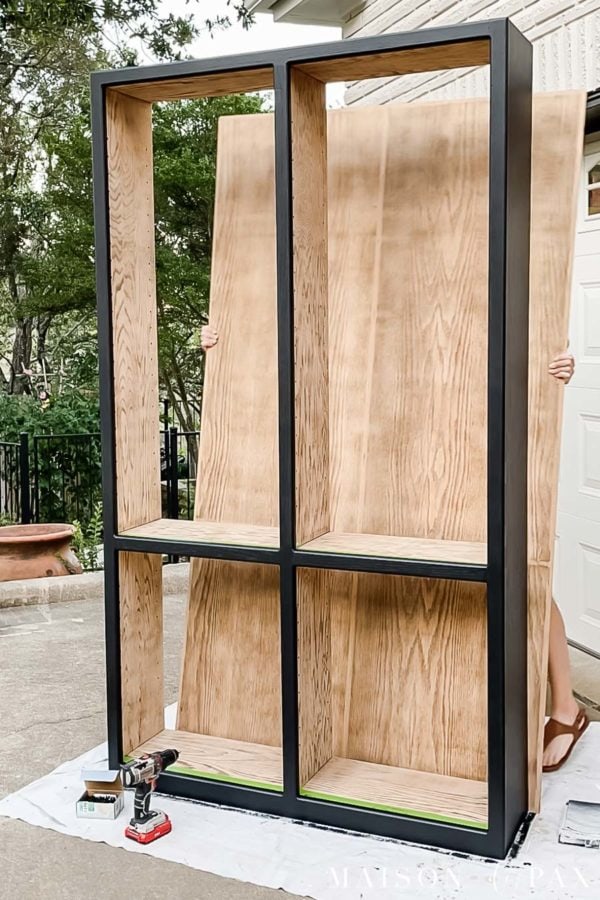
- Prep the bookcase
Remove the shelves and shelf pins (if removable) and gather your supplies. (Optional: remove the back of the bookcase if removal is easy; this will make sanding the nooks and crannies much easier.)
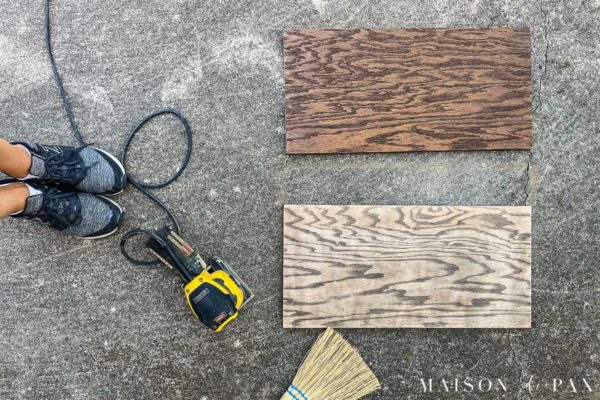
- Remove the old finish
Starting with 60 or 80 grit sandpaper, sand to remove the dark stain and old finish. Be careful not to sand through any veneers.
Tip: Take extra care at edges and corners to keep your sander flat so you don’t wear through the finished layer. A smooth, flat sander will ensure the old stain and sealer is removed evenly.
Bonus tip: Be sure to enlist help on this part if your kids are around. 😉
- Smooth the wood
Once the old finish and stain is removed, sand the entire piece (inside and out) with 220 grit sandpaper to smooth out any imperfections and prepare the piece for paint.
- Clean the bookcase
Remove all sanding dust. Consider an air compressor, shop vac, damp rag, and tack cloth.
- Paint the exterior
Using your trim roller (and brush for the nooks and crannies), apply 2 even coats of paint over the outside of the piece. Let dry.
- Reattach the back
If you removed the back in step 1, then reattach it now. The back panel was previously held on with staples, but I reattached it with screws.

Bookcase Refinishing FAQs
Does the bookcase have to be real wood?
Unfortunately, you cannot sand mdf or particle board. You need real wood to be able to sand to reveal the natural wood grain. This limits you to plywood or solid wood furniture for this kind of makeover. You could, however, take a faux wood bookcase that already had a light-wood color and paint the outside black to get a similar overall effect.
Do I need to strip the old finish off the portion I’m painting?
Nope! I lightly sanded mine to remove imperfections and prepare the wood to receive the paint, but the paint I used covered up any previous finish.
Can I use a different kind of paint?
Of course! I love this paint for furniture makeovers (and I especially love how it took to the oak grain on this bookcase), but there are many options for painting furniture. Check out my furniture archives for more paint ideas for furniture makeovers and diy projects.
Do I need to put some kind of top coat on the paint?
Nope! That’s the beauty of this paint. Great adhesion, no top coat required.
Don’t I need to seal the sanded wood?
In this case, the bookcase will only be holding books, office supplies, and a few decorative items… So I opted not to seal the raw wood of the interior since that was extra work and sealing wood can often change the color and appearance.
However, if you were doing this to a more high-traffic piece of furniture, I would choose to protect the wood in some way. For mid-traffic pieces (like a nightstand), see this suggestion for protecting a raw-wood look. For high-traffic pieces (like a dining table), see this method for sealing a natural-looking wood.
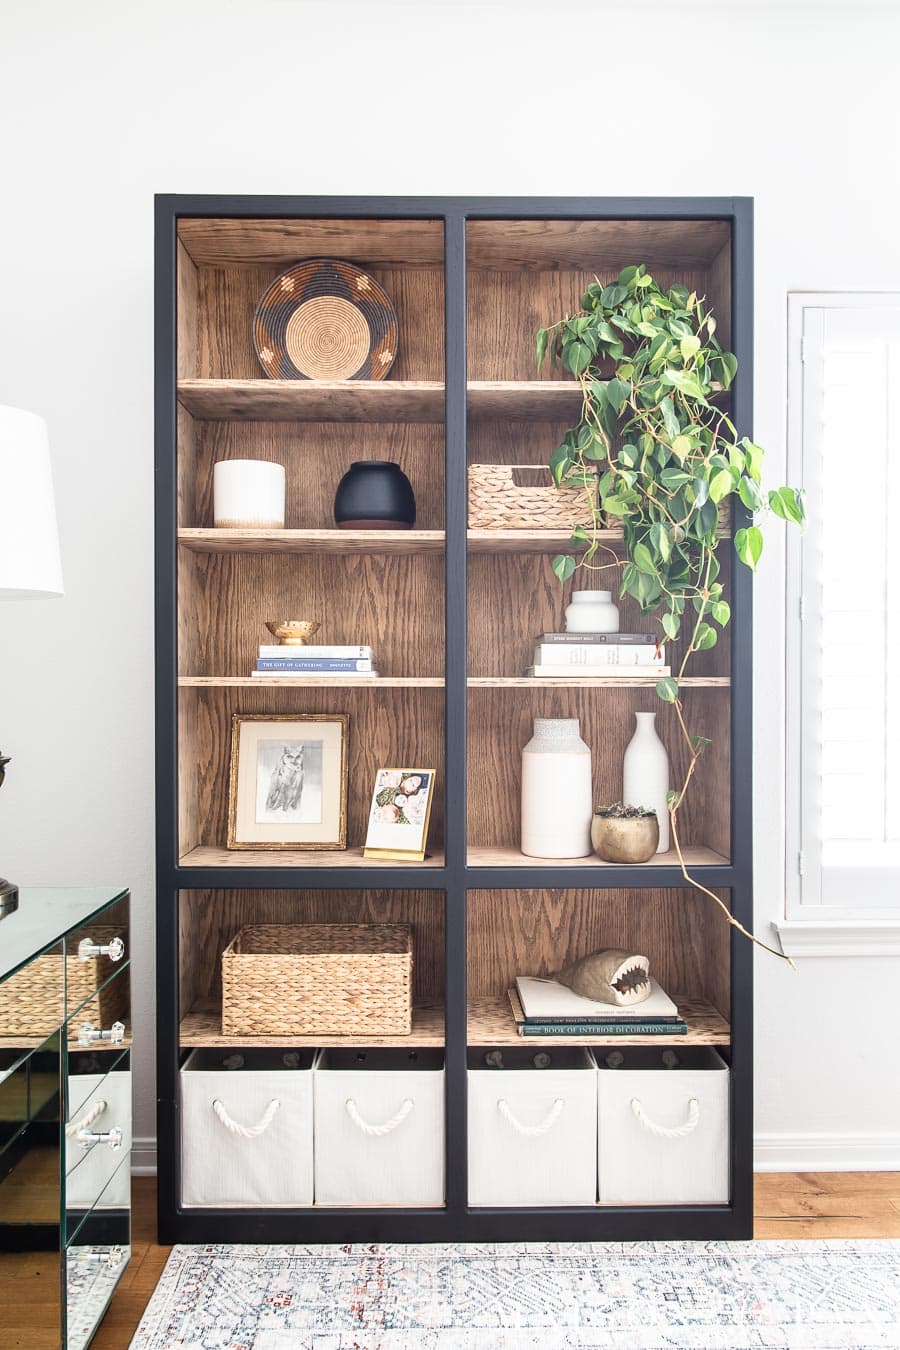
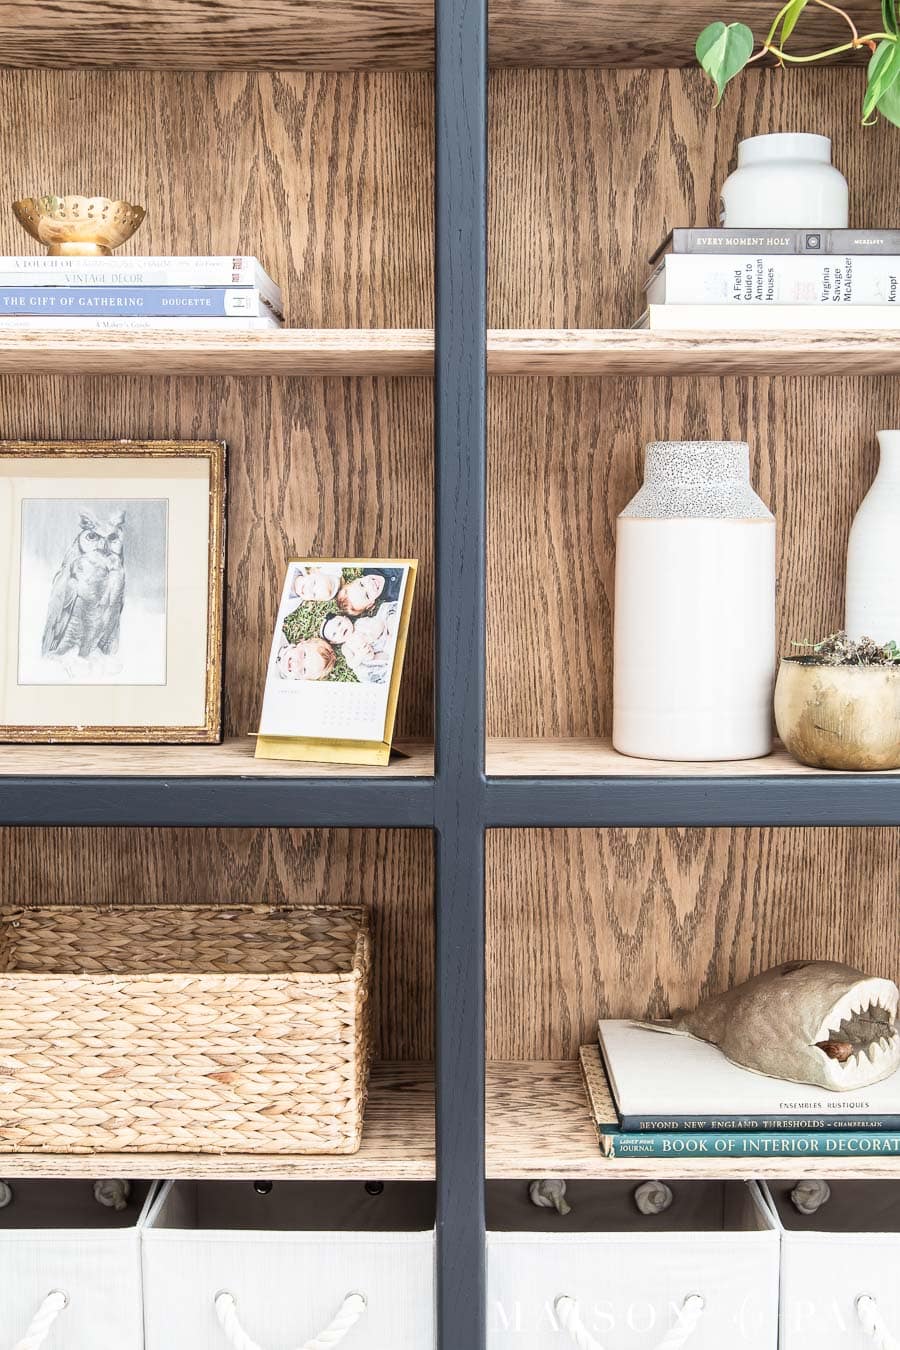
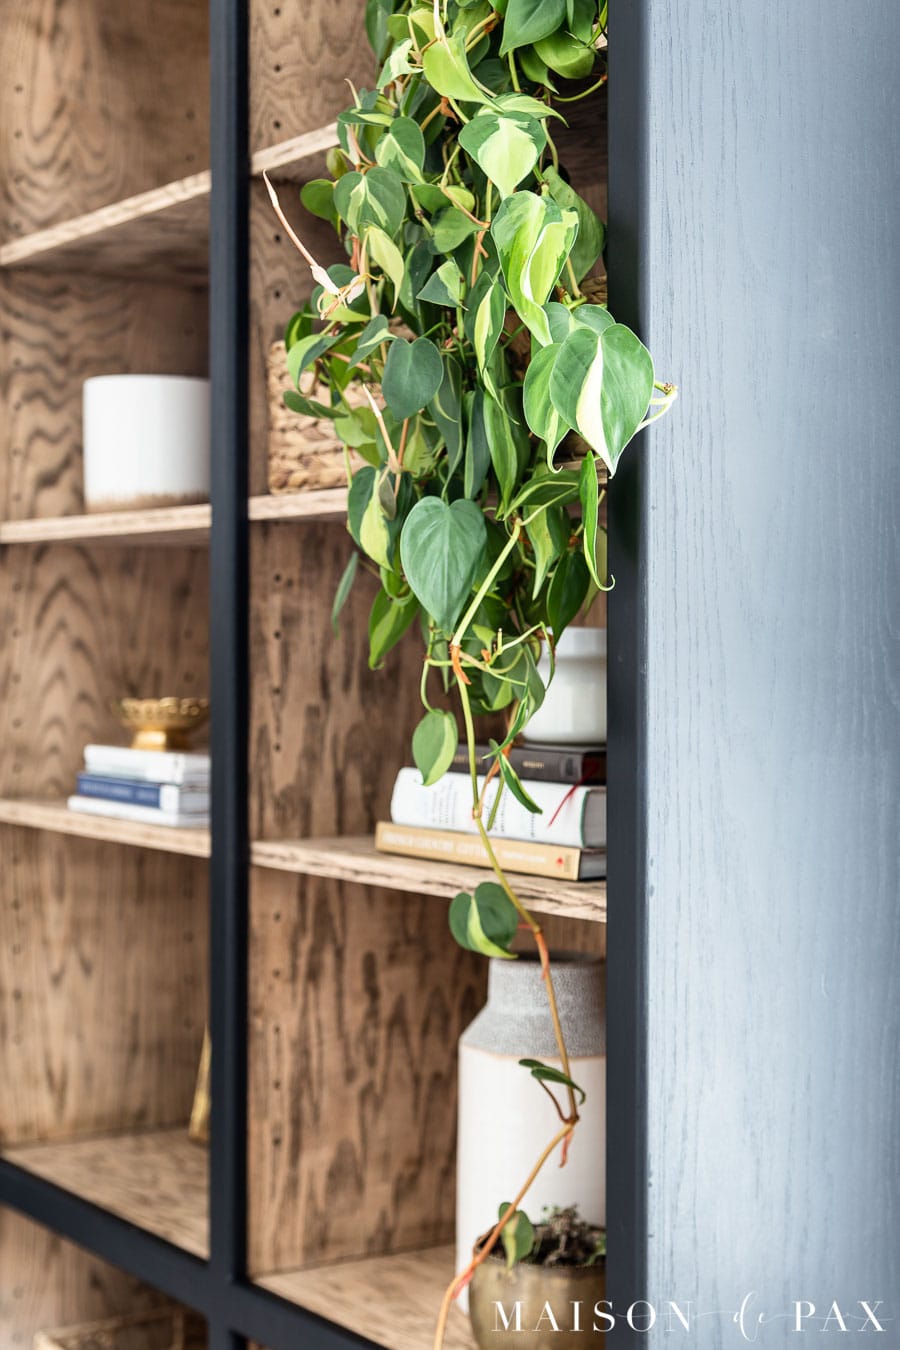
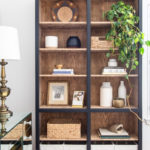
Office Bookcase Decorating Ideas
Once finished, I couldn’t help styling the bookshelves in my office with some of my favorite pots, baskets, and decorative vases. I’m so thankful to have the extra storage and display in my new office.
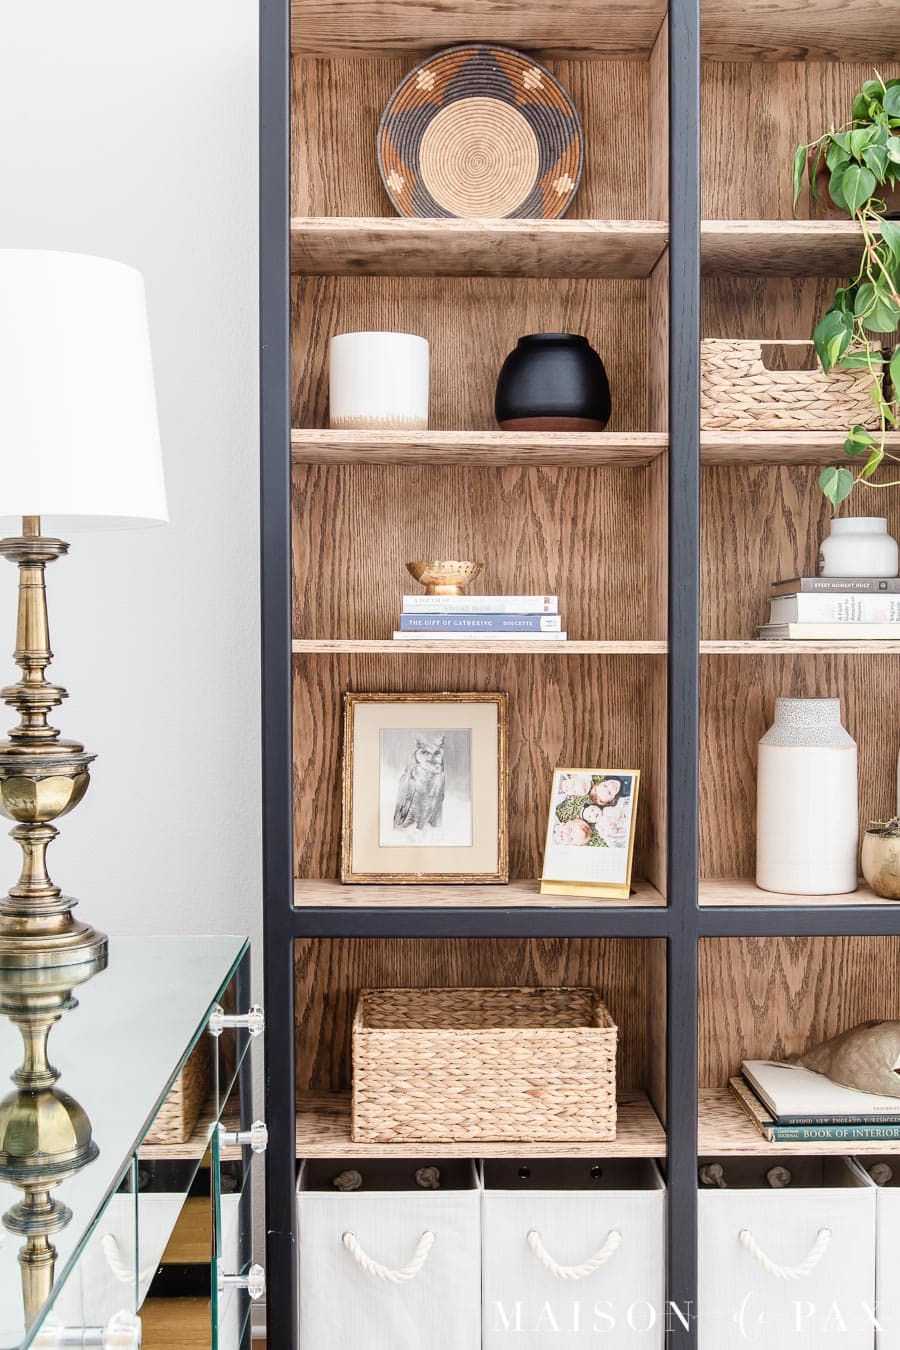
Next time you see this, it will likely have more baskets and bins to store my design materials (slowly getting organized over here!). But in the meantime, I wanted to share the bookshelf decorating ideas, too.
I hope you enjoyed these bookcase makeover ideas! Don’t forget to pin it.


This is a gorgeous makeover. I love the black with the wood! Thanks for sharing!
Thank you so much, Amy!
The bookcase makeover looks fabulous! Love how you combined the raw wood finish with black!
Awwww thank you, Jane!
Beautiful!
Thanks, Renae!
Very pretty. Always nice to find real wood. I like the two sides.
Thank you so much, Stephanie! Real wood is always a win, isn’t it?
Beautiful job! For the back of the bookcase did you apply any stain or poly. to seal it? Thanks for sharing!!
Hi Karen, I didn’t add a finish to the bookshelf, but if you are using it for a high traffic item, I recommend sealing it!
Love the bookcase. How far apart did you decide to place the shelves? Thank you.
Sherry
Thank you, Sherry! I just tried to space them roughly evenly, which led to each one being ~13-15″ high. I may end up making a few more so that I could have some shorter shelves for the shorter baskets and some books, but for now this is working! 🙂
Simply stunning.
Thank you, Vickie!
Absolutely stunning
Thank you!
Where did you get the white baskets on the bottom shelves? Love it!
Thank you! The bins are from Amazon; here’s an affiliate link: https://amzn.to/3kirFwG I hope this helps!