Just like when we designed our classy baby gate, I am always working to make my home both beautiful and kid friendly… and these side tables satisfied both of those requirements. Now comes the promised tutorial.
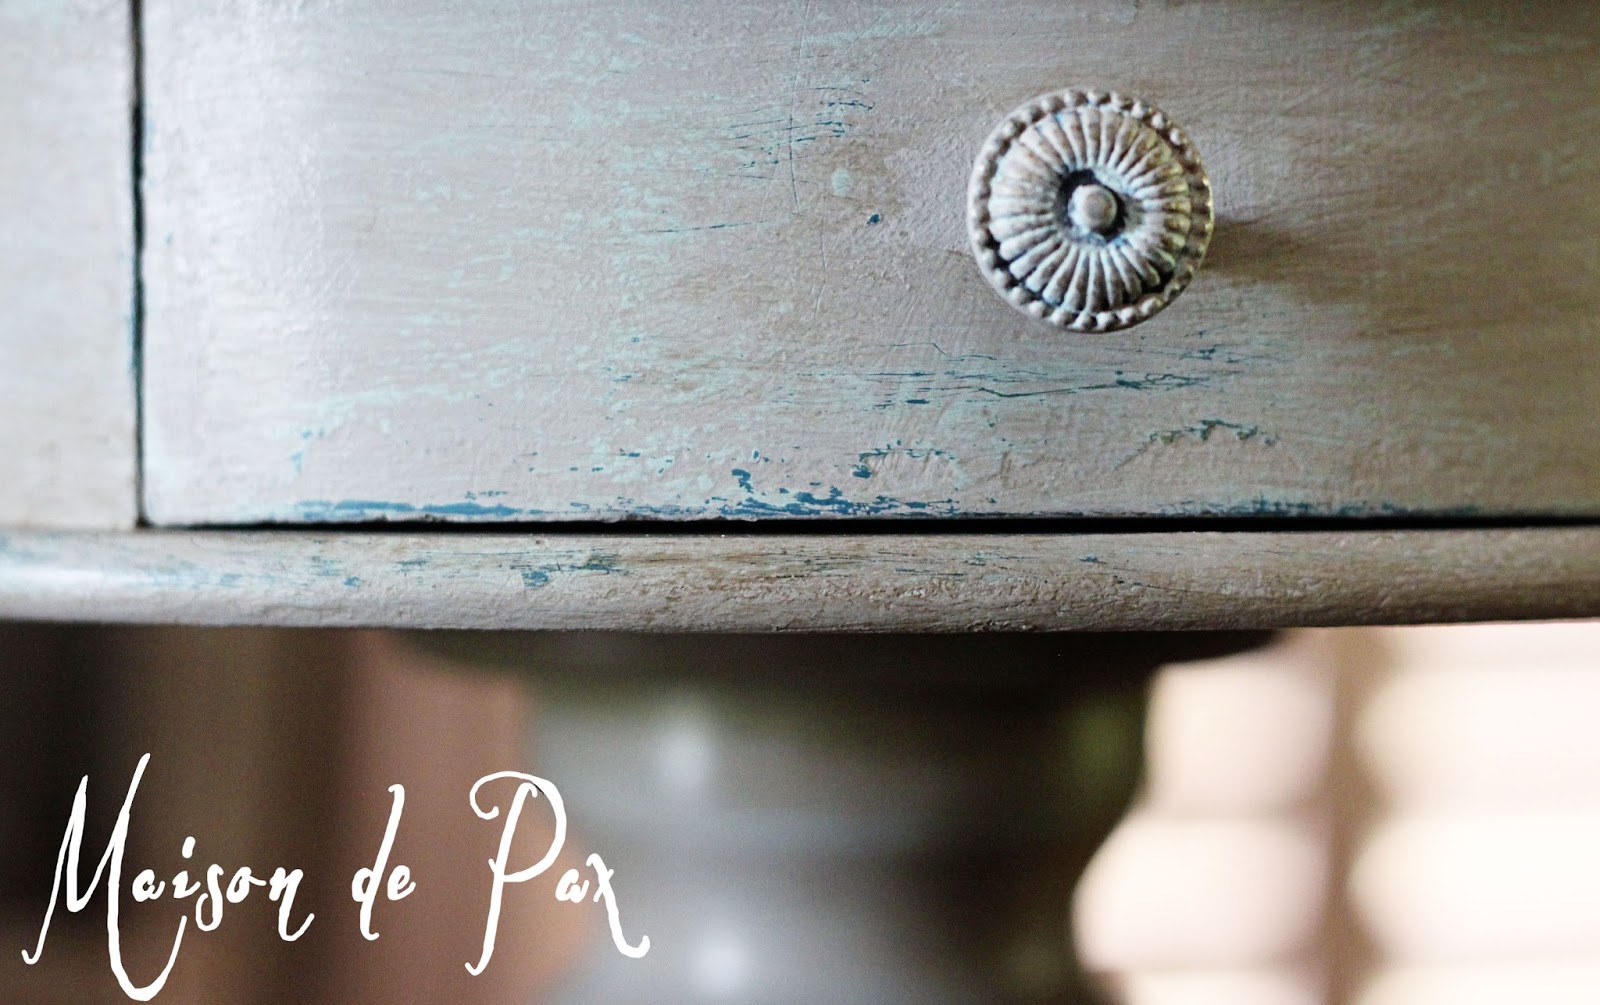
I wanted something mostly neutral gray (since I am obsessed with that color… click here to see many of my other recent gray projects), but I wanted it to complement and even give a nod to the blue in our living room, especially the antique blue cabinet. I love how the deep turquoise shows where the lighter blue has chipped.
And I wanted something similar with these tables, so I decided to try a wax resist. I’ve used wax to layer paint in the past, but never on this scale before (just on small frames and such). Here, I used three different layers of paint with wax in between to create a textured final product. Isn’t it gorgeous?
Here is what you need to achieve this look:
- deep turquoise paint (I used a sample of Behr Cathedral)
- medium green-gray-blue paint (I used a sample of Behr Gray Morning)
- light gray paint (I used ASCP Paris Gray)
- plaster of Paris
- a white candle
- rough and smooth sandpaper (I used 60 and 220)
- clear wax
- dark wax
- buffing rag
Here is the process:
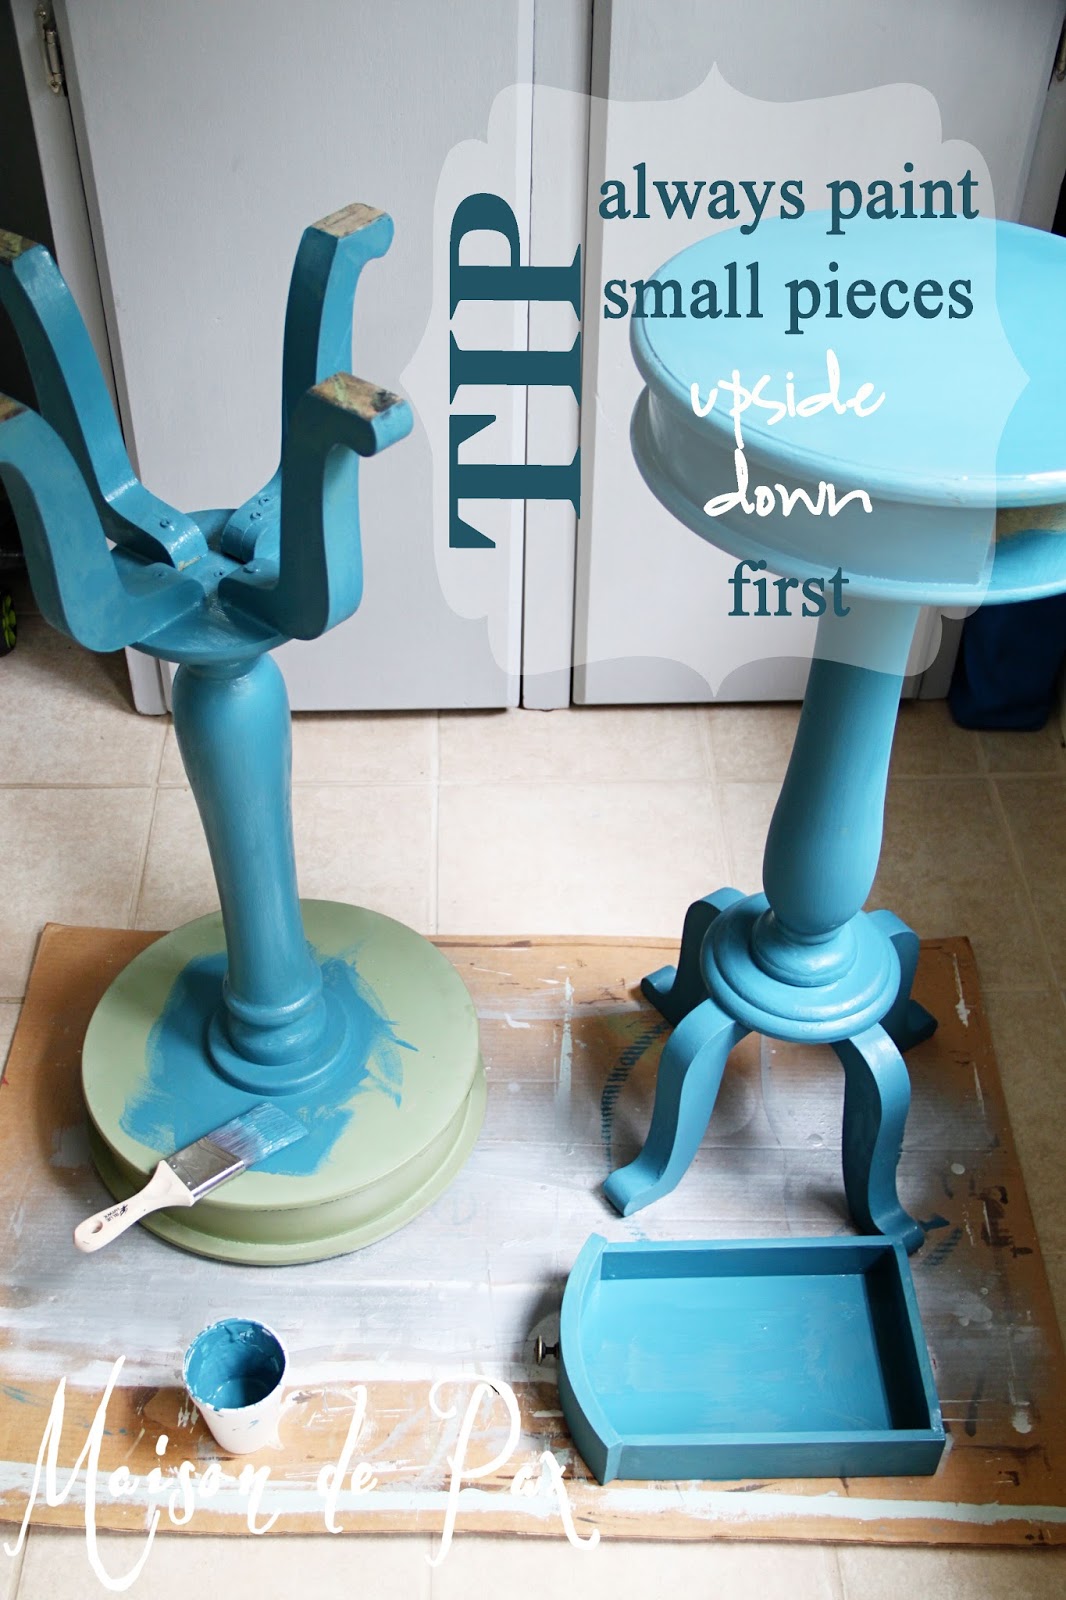
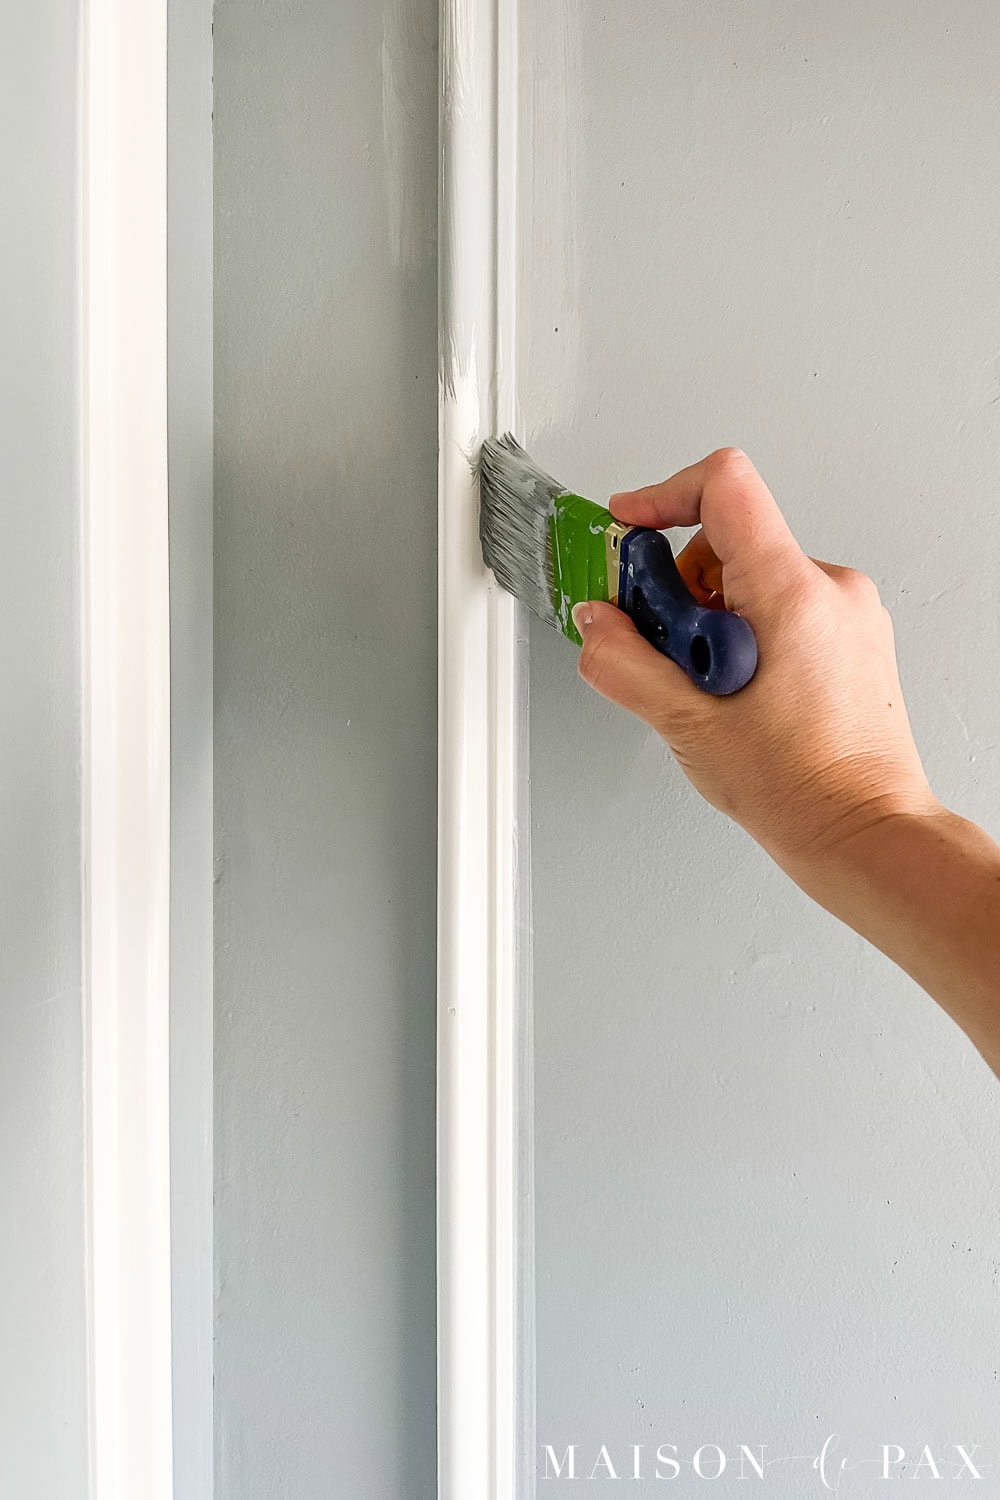
Step 1: Paint your piece with a deep turquoise chalk paint.
If your paint is not chalk paint, be sure to add plaster of Paris (see
here for more info on homemade chalk paint). And, for what it’s worth, always remember to turn smaller pieces (like chairs and side tables) upside down first when painting. Then flip it over to finish.
Step 2: Rub the candle wax over places where you’d like the deep turquoise to show through.
This step will keep the next coat of paint from adhering where the wax has been applied. I simply took the wax portion out of a tea light, and it worked perfectly – an excellent size to hold in my hand. Use different pressures and patterns with the wax.
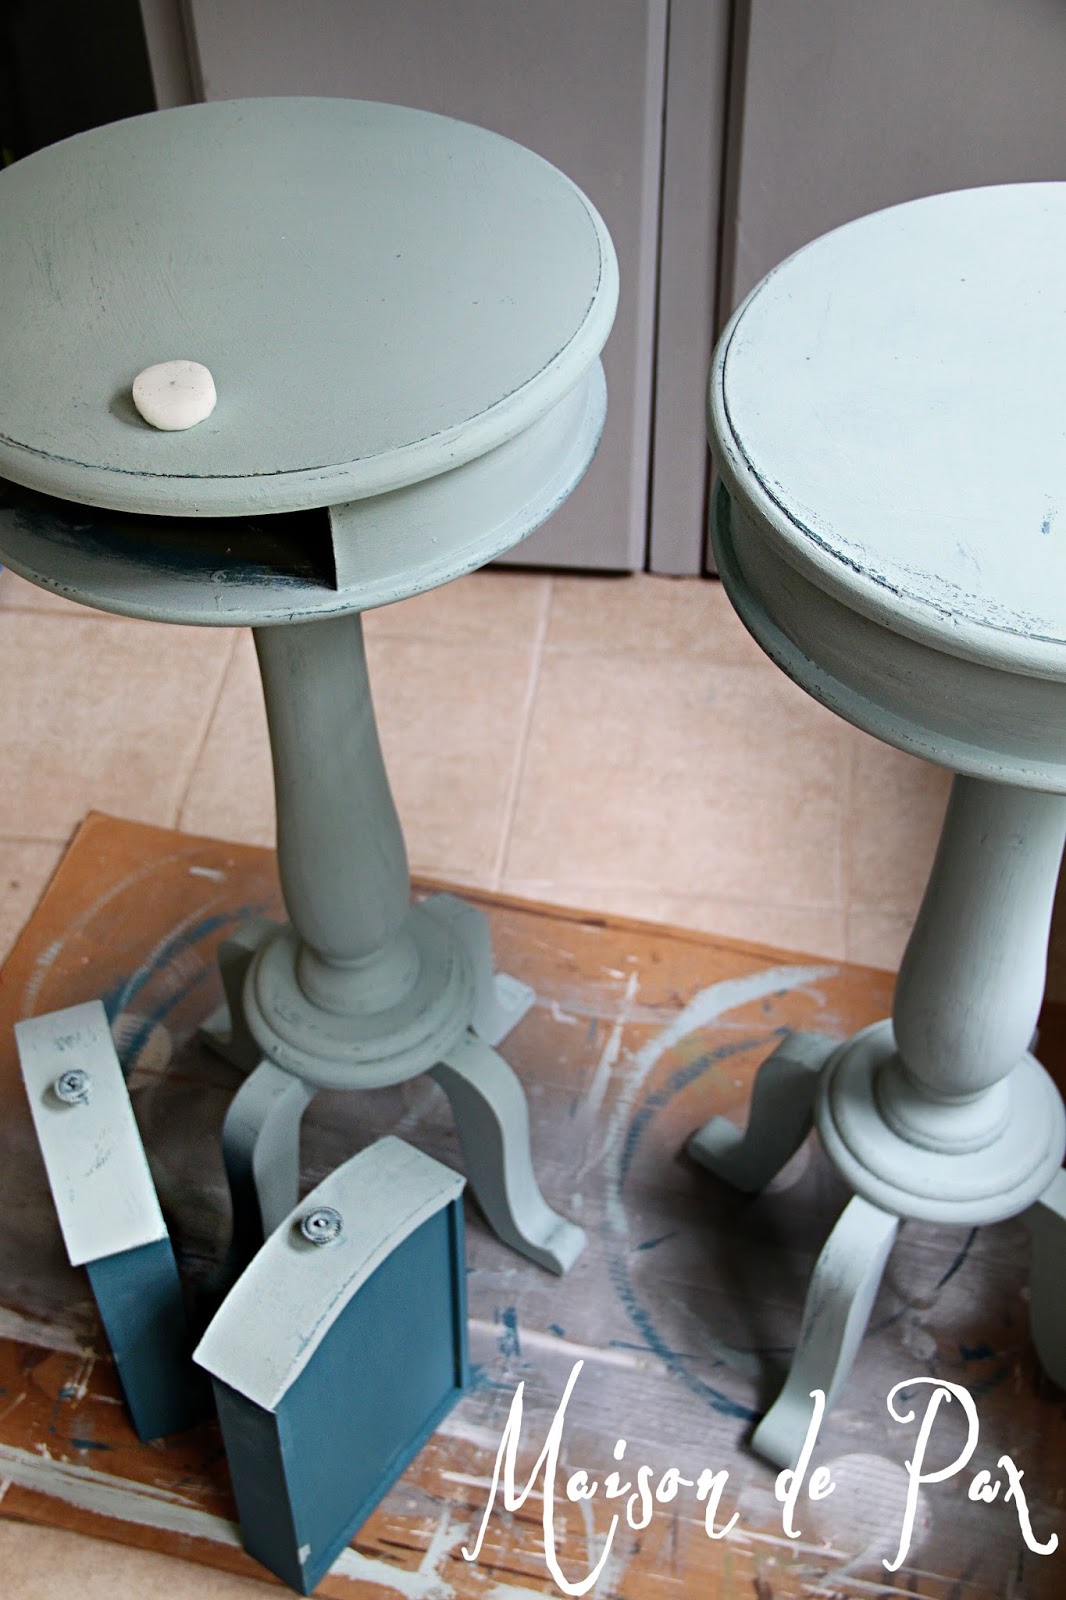
Step 3: Paint your piece with a medium green-gray-blue chalk paint.
As above, be sure to add PoP if your paint is not already chalk paint.
Step 4: Sand to allow deep turquoise to show through.
Using your rough sandpaper, sand the piece in the places where you applied the wax. Feel free to sand elsewhere, too, just remember that it’s difficult to sand off only one color if the wax was not inserted; often, sanding where there is no wax will take you down to the original wood. Note: I’ve also use vaseline as a resist on other pieces, and the wax provided a more subtle look for me. If you’re looking for more drama, or there’s a particular place you’d really like the base color to show, consider using a combo of wax and vaseline.
Step 6: Repeat steps 2-4, using light gray chalk paint.
You can use more wax this time. I actually rubbed the candle over most of the piece, giving my entire finish a slightly mottled look between the blue-green and the light gray. Remember to rub wax on the dark turquoise spots to ensure that they will reappear under the gray coat. Also, consider using the smoother sandpaper here for a softer look. Basically, play with it until you love it!
Step 7: Wax with a mixture of clear and dark waxes.
I used ASCP clear with a touch of dark Briwax. The dark wax antiqued the piece and brought out the texture of my various layers. Buff to your desired sheen when your wax is dry to the touch.
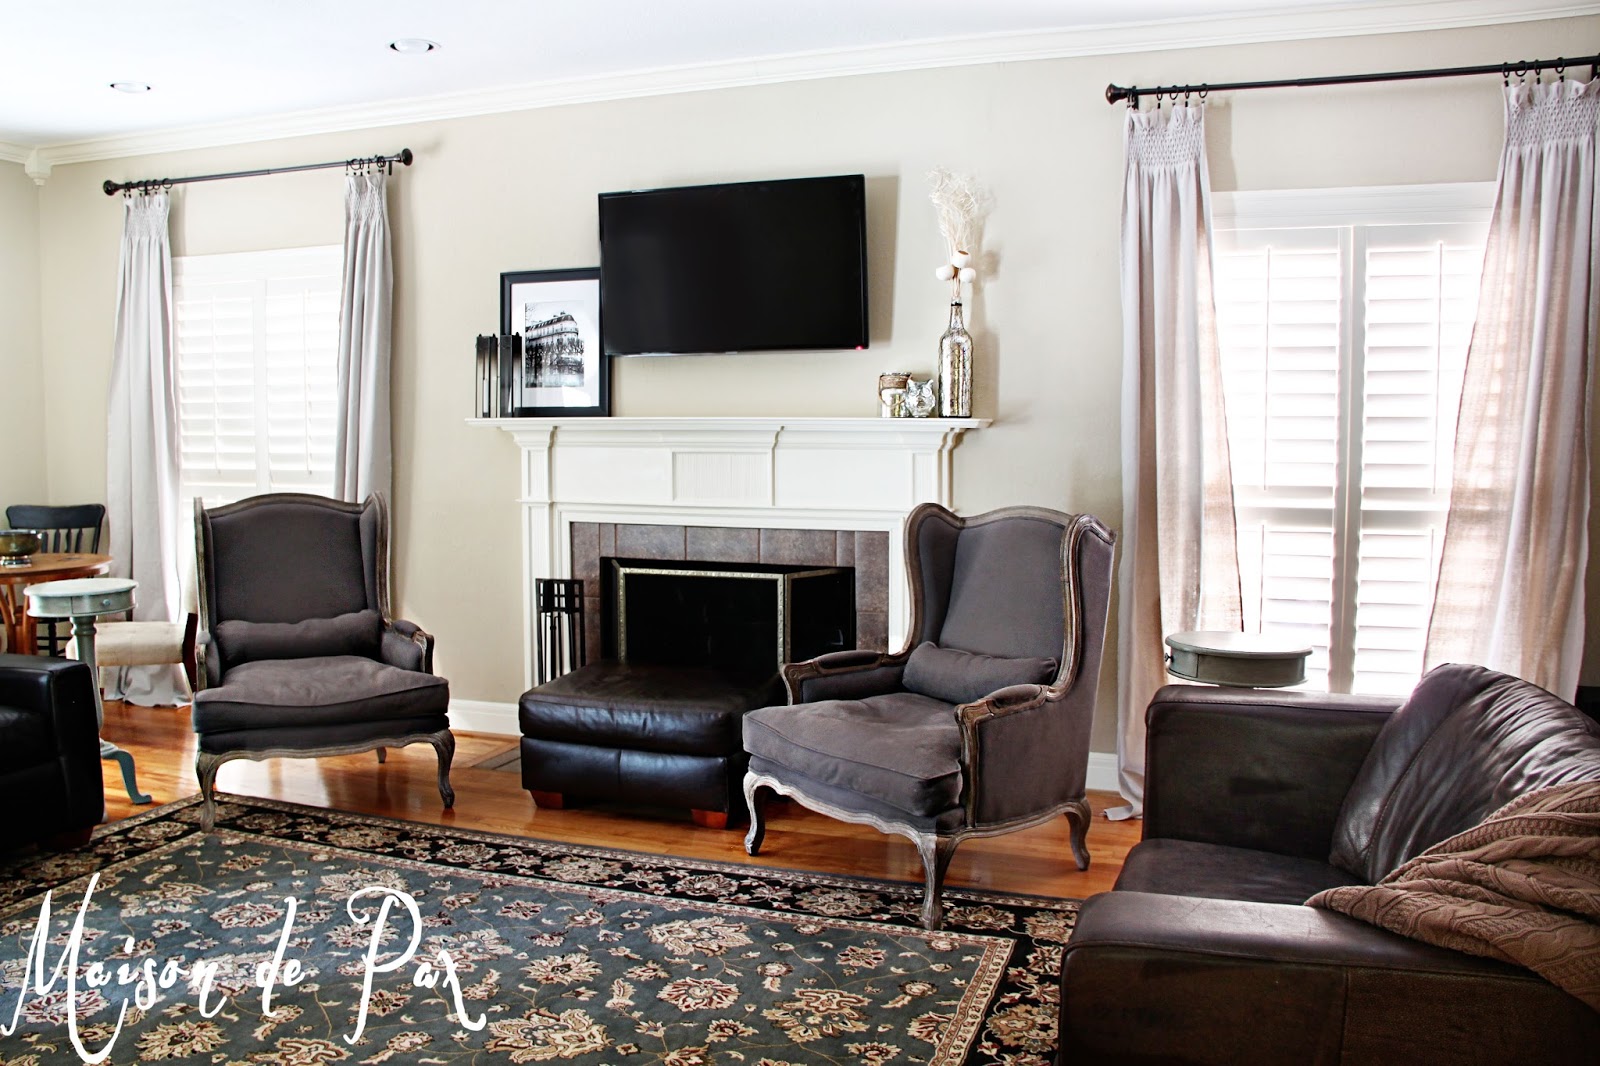
I love how the lines complement our armchairs and the hints of turquoise reflect the cabinet.
The two tables balance one another well, flanking our wing backs.
And at $26 each (I spent $6 on the two samples of paint from Home Depot in addition to the $23 per table), I’d say I’m pretty pleased. The three colors (four if you count the dark wax) give depth to the pieces but allow them to stay neutral. I love it.
What do you think? Have you tried wax resist techniques before? I’d love to hear about it!