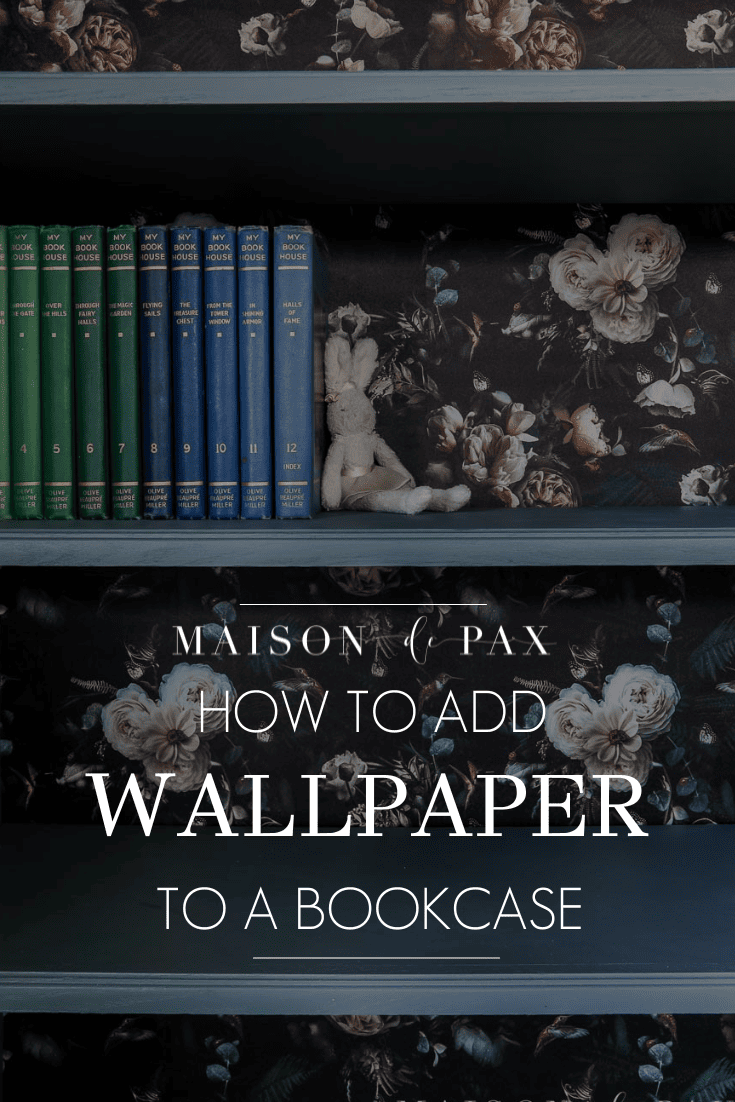
How to Wallpaper the Back of a Bookcase
Want a quick, dramatic bookshelf makeover? Find out how to wallpaper the back of a bookcase with this step by step tutorial!
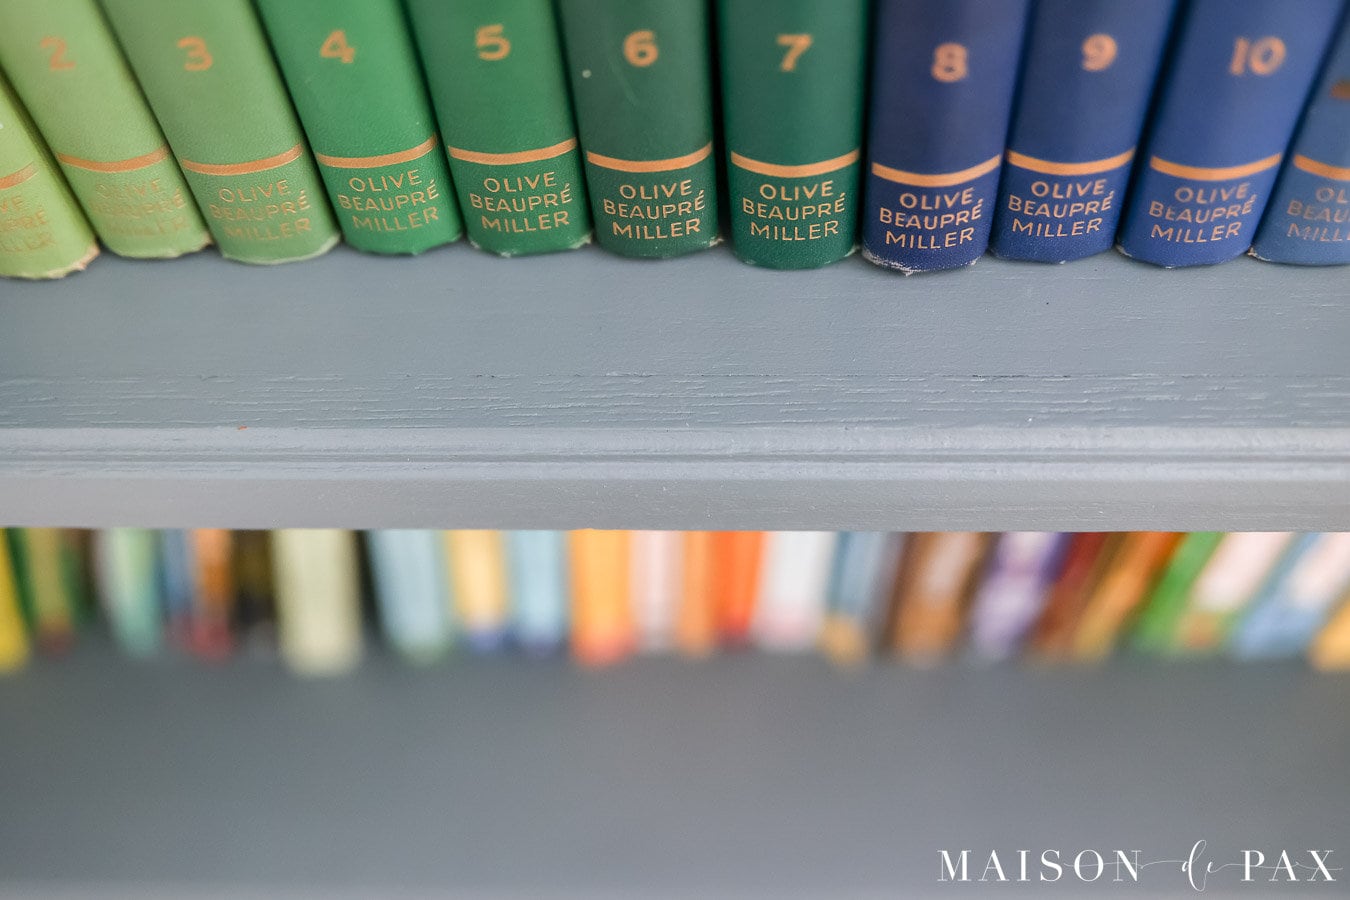
We are book lovers. As I strolled through our new house last summer, my mind immediately went to how many bookcases I needed to add. 😂 And I started in my daughters’ room with a simple painted bookshelf from FB Marketplace.
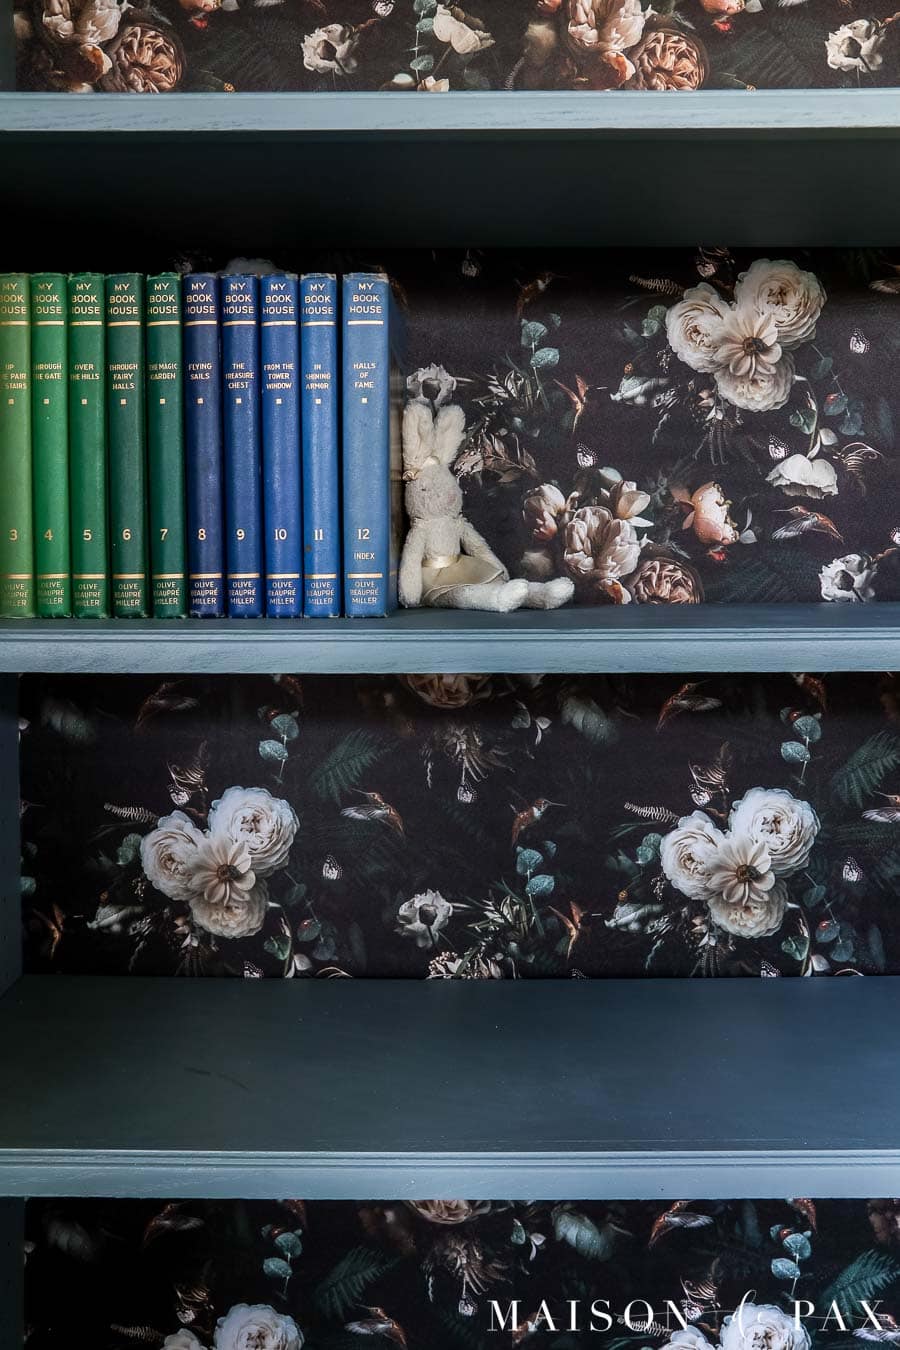
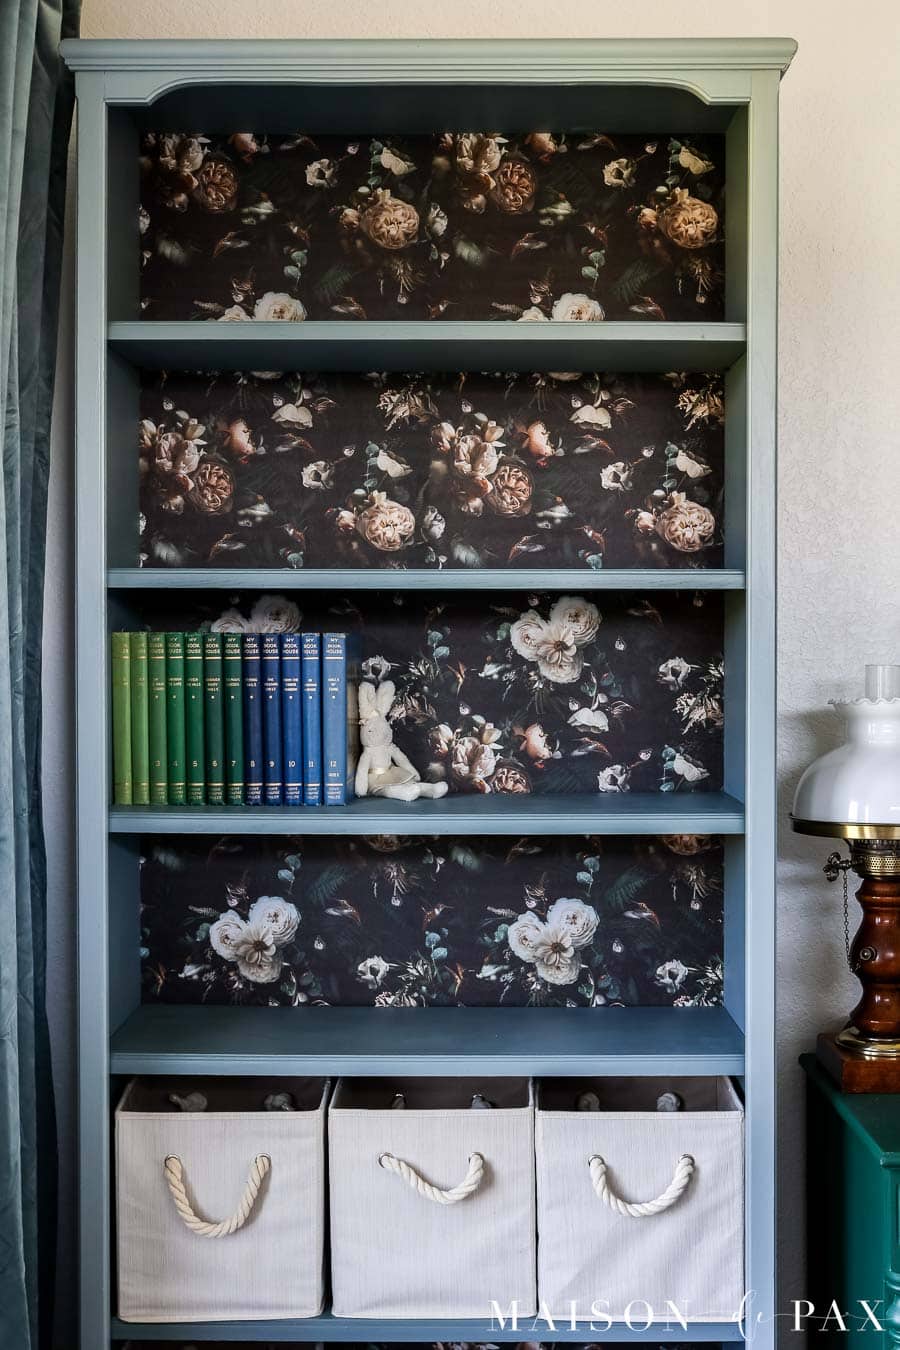
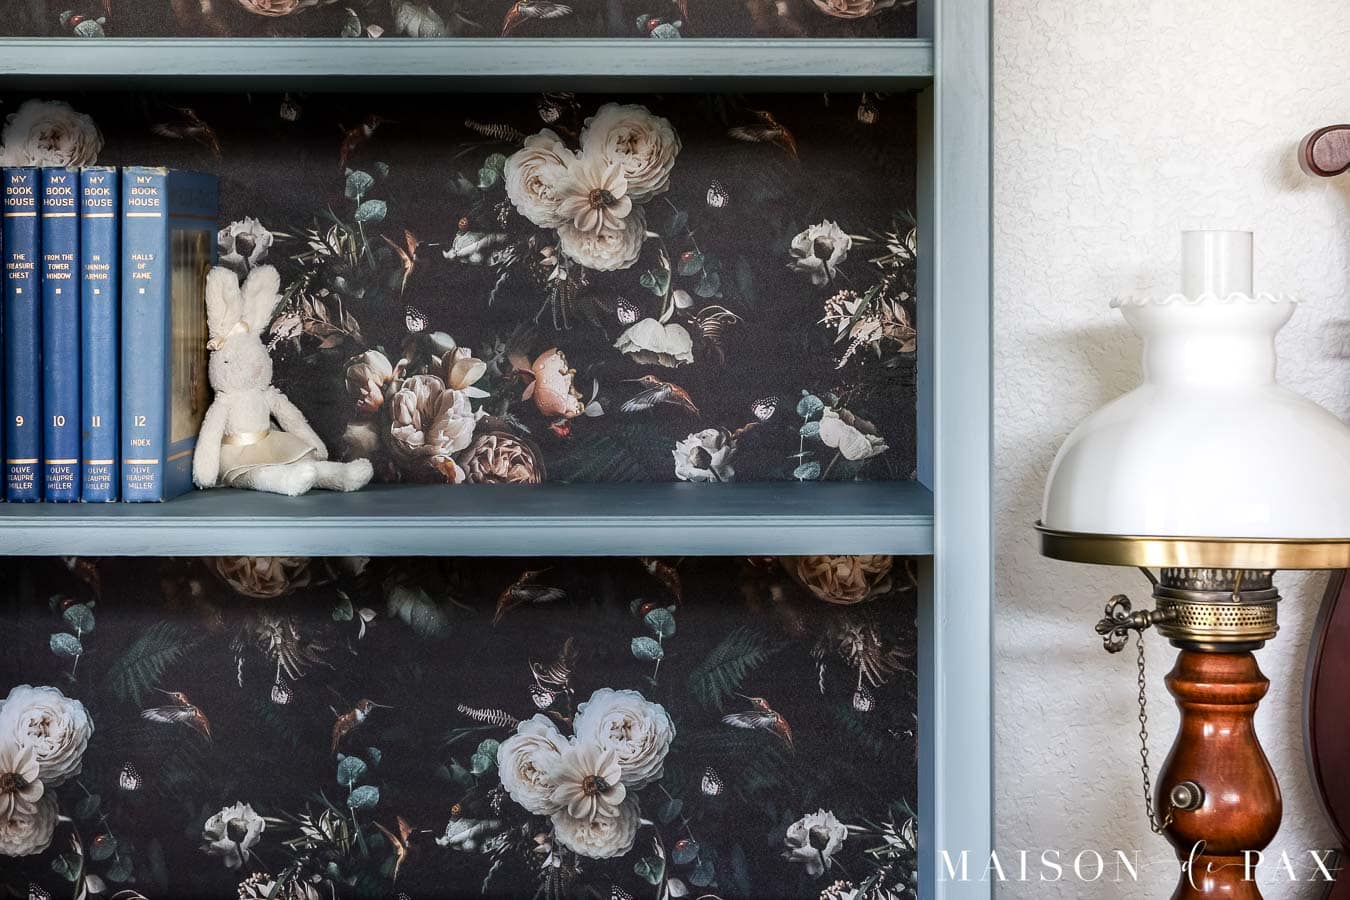
But I decided that my colorful girls needed a little pop of drama in their room, so I added simple peel and stick wallpaper to the back of the bookcase. It was so easy and they love it! Let me show you how and a trick or two to getting it right.
What Wallpaper to Use for the Back of Shelves
First of all, what kind of wallpaper should you use for a bookcase? I would recommend removable wallpaper with self-adhesive backing. Since it will be somewhat covered by shelves and books, there is no sense in messing with the expense and hassle of real wallpaper panels and wallpaper paste. You can even find adhesive wallpaper rolls with texture, like grasscloth wallpaper, these days.
I actually ordered all these adorable rolls of wall paper from Amazon and let my daughters choose their favorite:
How to Wallpaper the Back of a Bookcase
You will need the following supplies:
- bookcase (preferably with removable/adjustable shelves)
- peel and stick wallpaper
- tape measure, scissors, utility knife, and large putty knife or other straight edge
- Measure your bookcase
Remove all the shelves (if possible) and measure carefully across the back of the shelves. If the shelves are fixed, you’ll have to do the back of each section separately, which is doable but will be much slower.
- Cut the paper slightly larger than your space
Add at least 2-3 inches in each direction and cut your wallpaper to that size with scissors. This will be easier than working with the actual roll.
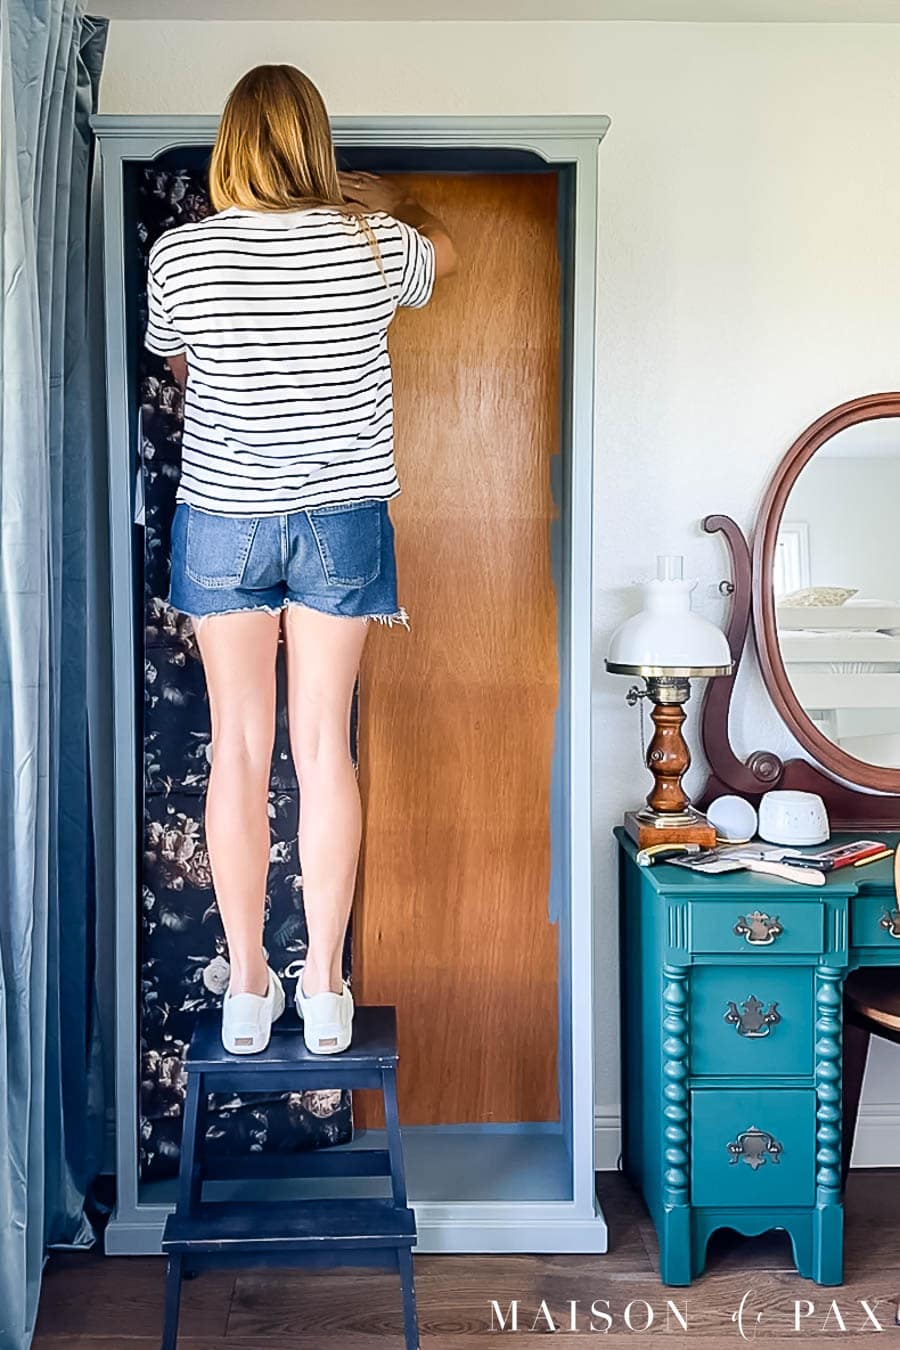
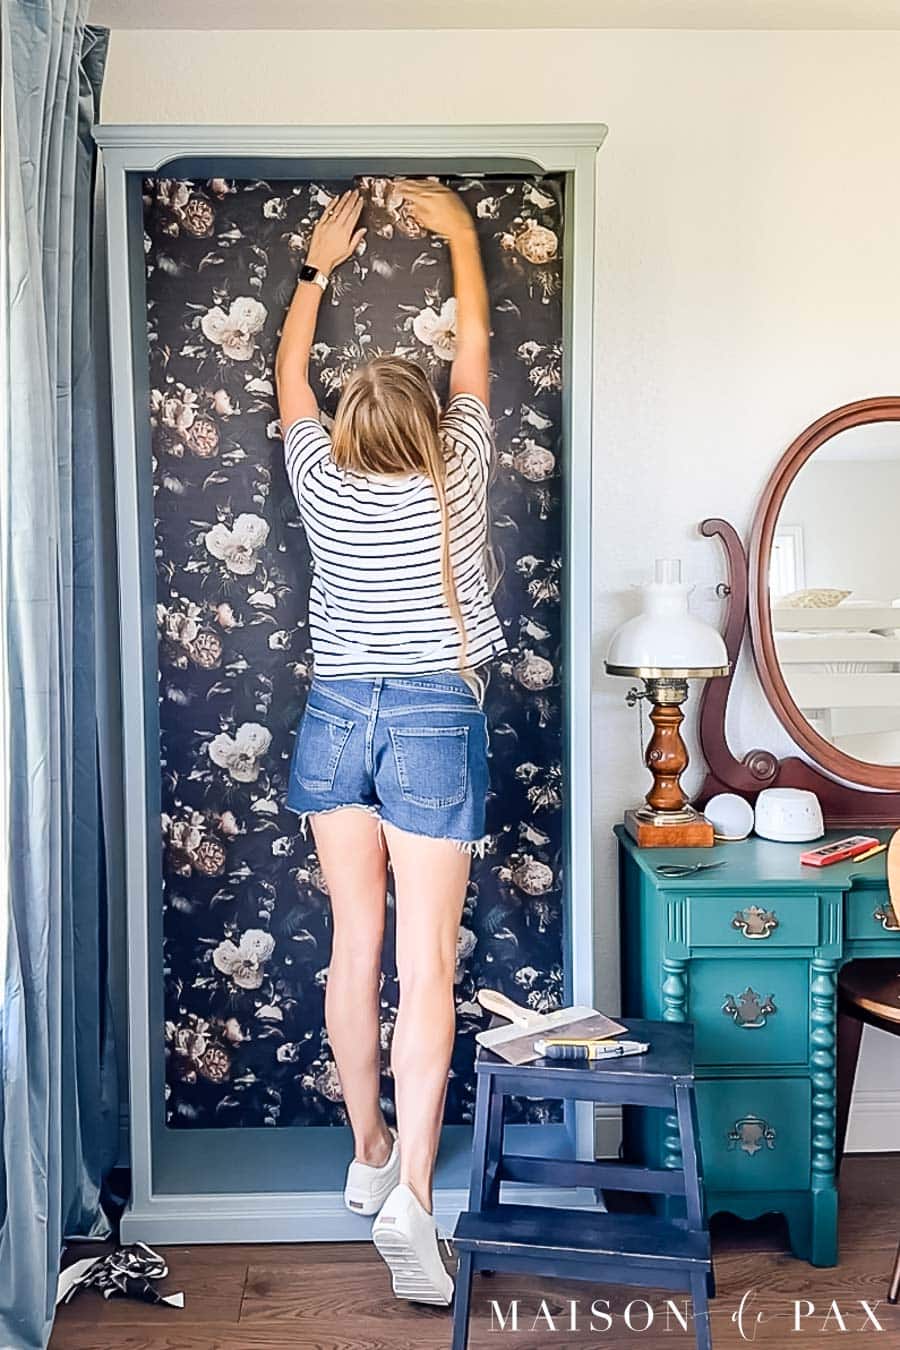
- Install the first panel
Peel off just the first 6 inches or so of backing. Begin one inch above the top edge but all the way to the left edge. This will allow for any error in the square of the bookcase (most aren’t perfectly square!). You will trim the excess off the top later. Keeping the left edge of the paper along the left edge of the bookcase, continue to peel off the backing as you go, smoothing it out by hand. This is harder than it sounds! Be patient and don’t press too firmly yet in case you have to peel it off and redo it.

- Remove air bubbles
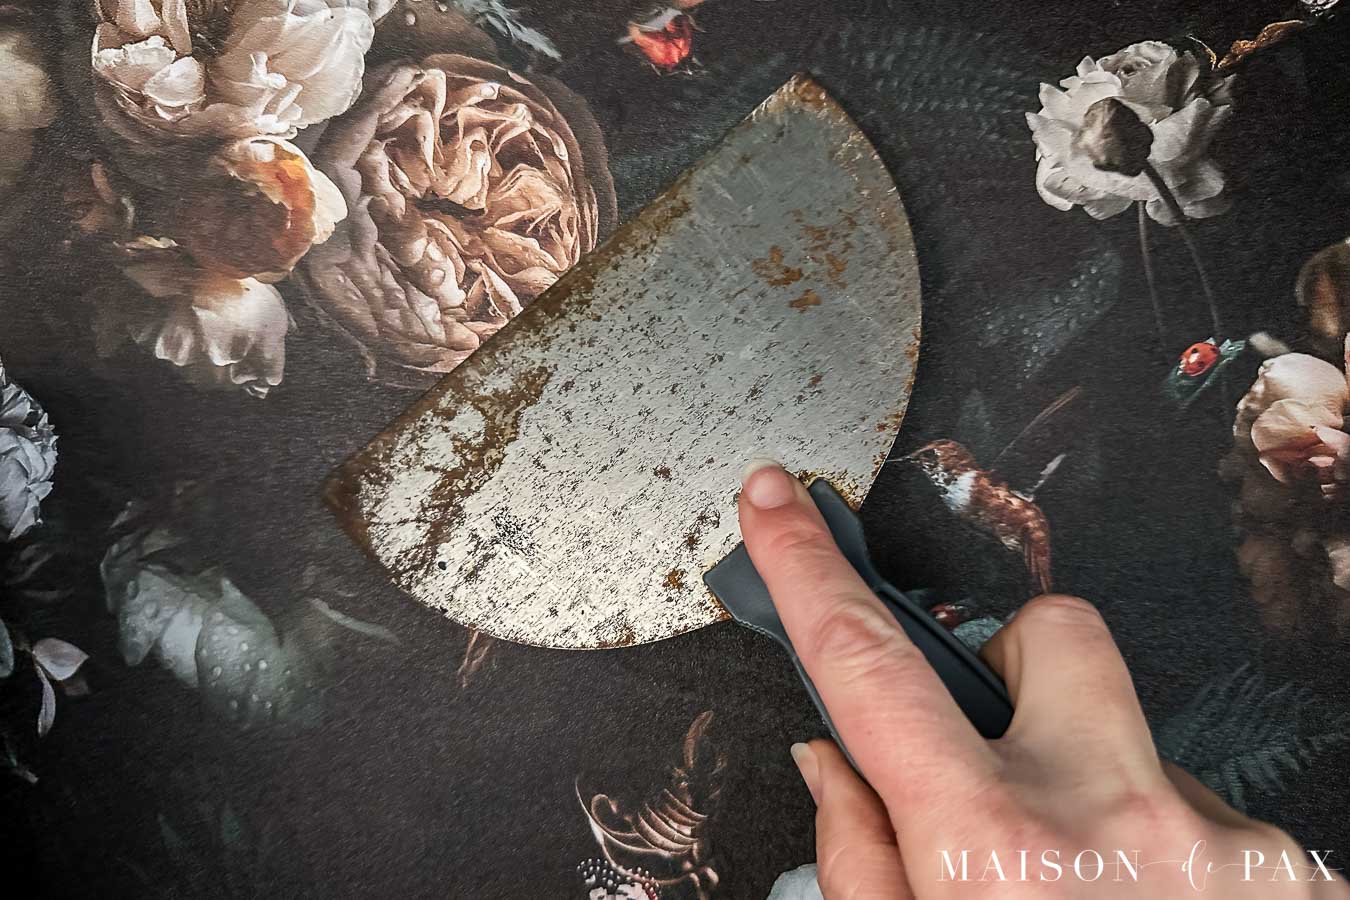
Once the paper is in the right place, use your putty knife (or a hard straight edge like a ruler if you don’t have a putty knife) to press carefully over the whole surface, removing any air bubbles or wrinkles and ensuring adhesion.

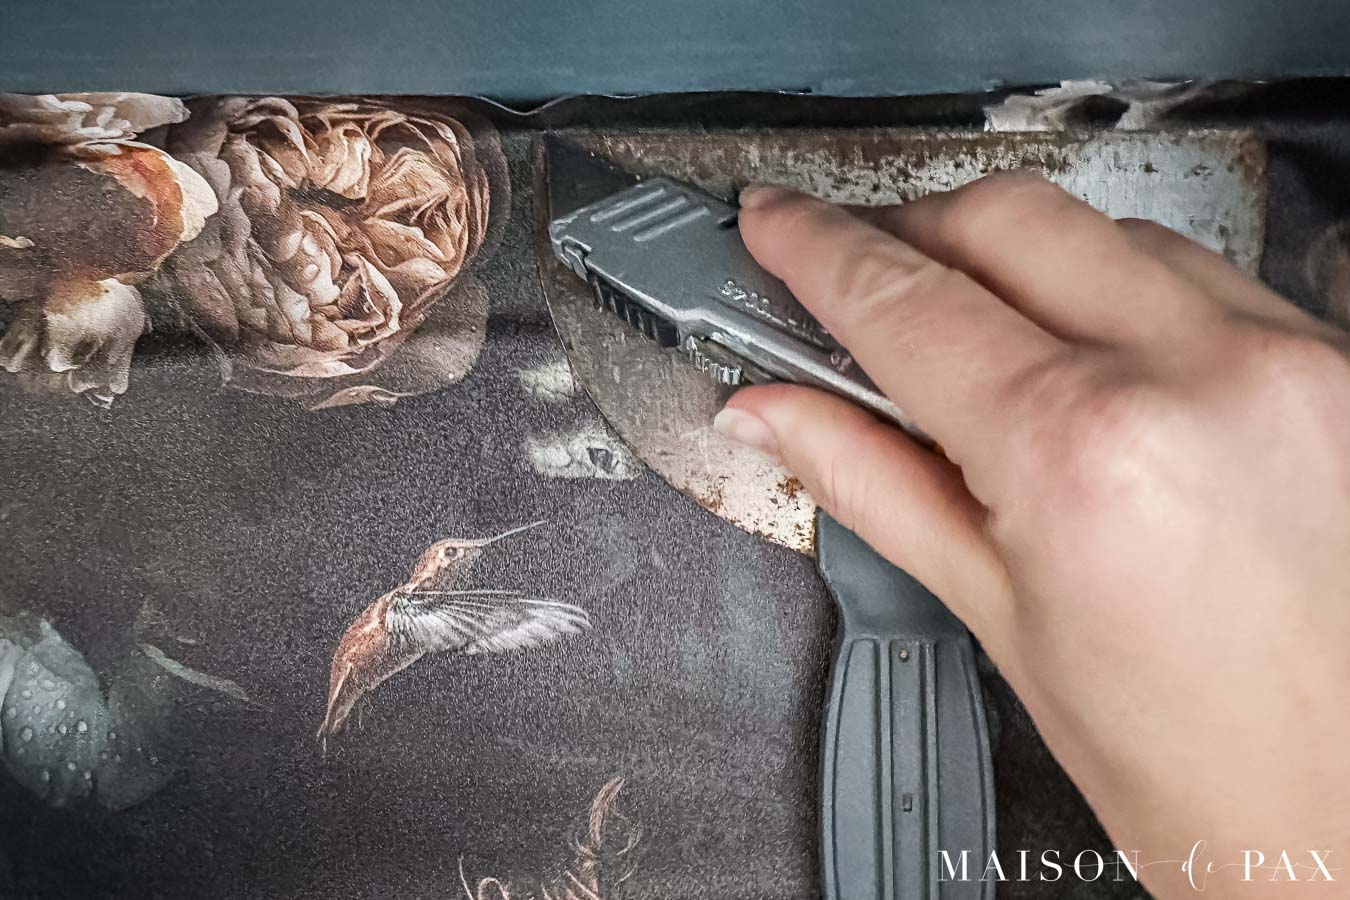
- Trim excess
When the paper is fully secured, trim the excess edges. The easiest way to do this is to press your putty knife along the seams of the top and bottom and sides of the bookcase (if it overlaps the right side) and run your utility knife along the edge to trim off the excess paper.
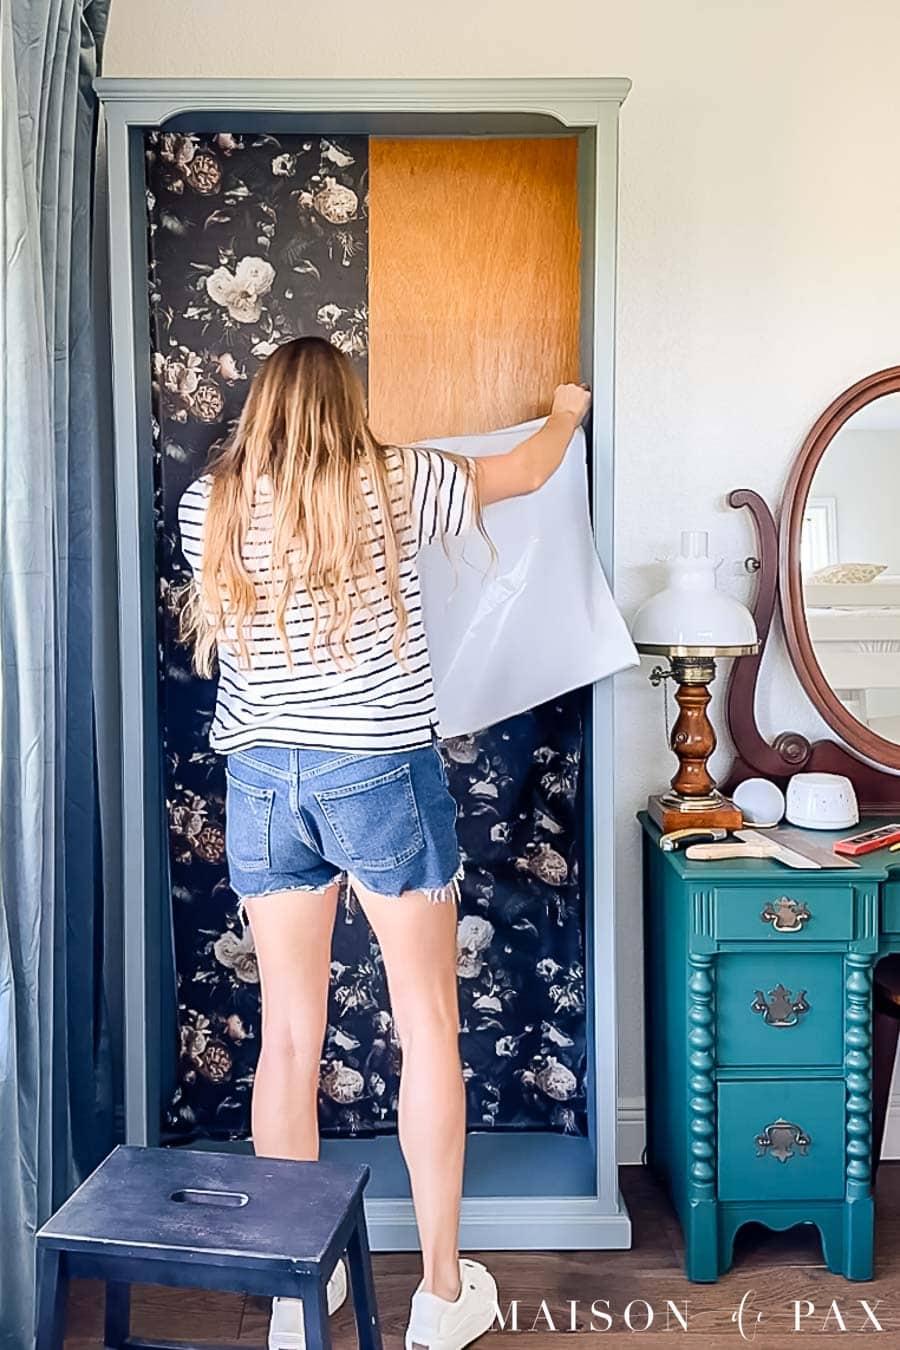
- Repeat for subsequent panels
If one run of wallpaper did not cover the entire bookcase, then repeat for subsequent runs. Again, line up the left side while leaving excess at the top, bottom, and right side (to trim at end).
Wallpapering Bookshelves
Wallpaper a bookcase doesn’t really take much skill, but the installation can be slow and tedious. So give yourself time, some good music, and be willing to laugh at yourself if you have to pull it off and try again!
It brings such life and fun to the back of your shelves, though, and makes the perfect backdrop for books, pictures, decorative items, and accessories.
Although I put this wallpaper project in my girls’ room, wallpapered bookcases make beautiful focal points anywhere in the house: the living room, an office, a hallway, and more. Or consider wallpapering the back of your china cabinet in the dining room or open shelving in your laundry room… the possibilities are basically endless!

![My OCD [and our master closet]](https://www.maisondepax.com/wp-content/uploads/2013/04/empty-painted-master-closet-window.jpg)

Love the wallpaper Your tutorial was good too
Thank you, Linda!