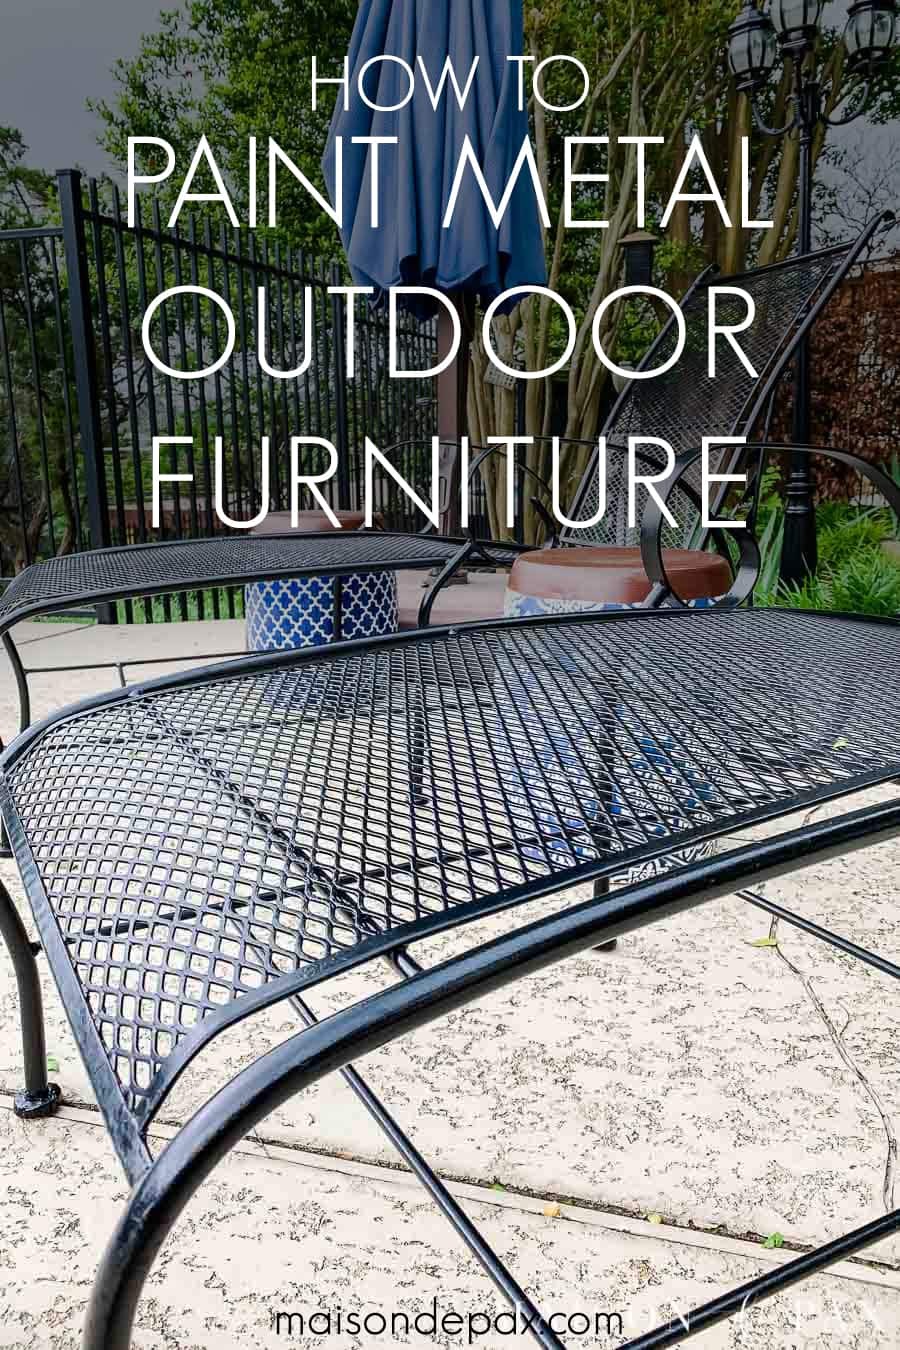
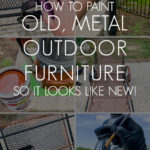
How to Paint Outdoor Metal Furniture
Looking to refresh your outdoor furniture? Find out how to paint outdoor metal furniture so it will last!
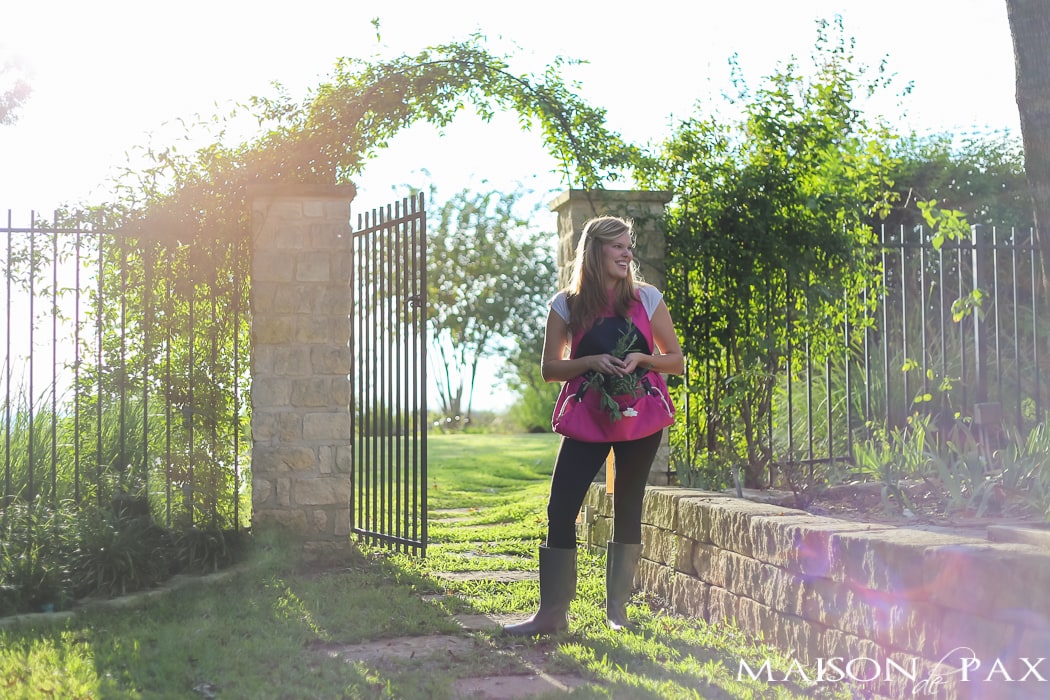
We recently let some friends of ours who work with local university students use our backyard for a leadership training day. I’m thrilled to say that not only did the event go swimmingly (see what I did there?! 😂), but the date of the event gave me a deadline to get our backyard spruced up.
And I, for one, apparently work best under pressure.
As a result, I restored a teak dining set, pressure washed the deck, laid sod, redesigned flower beds, and repainted all of our outdoor furniture and lighting. Fortunately, my Instagram community cheered me on through the whole process! And then they asked for the tutorials. 😉
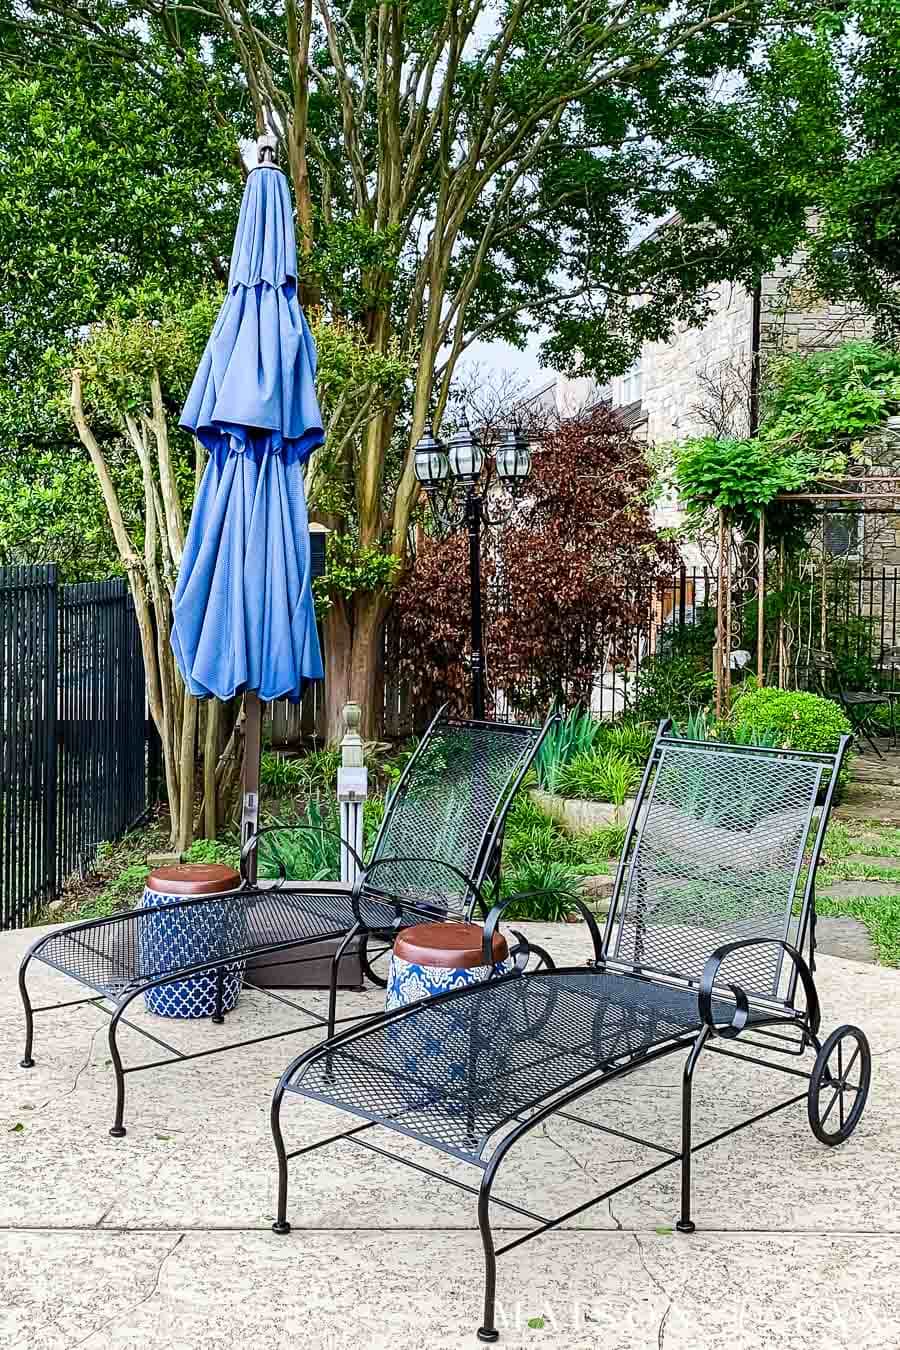
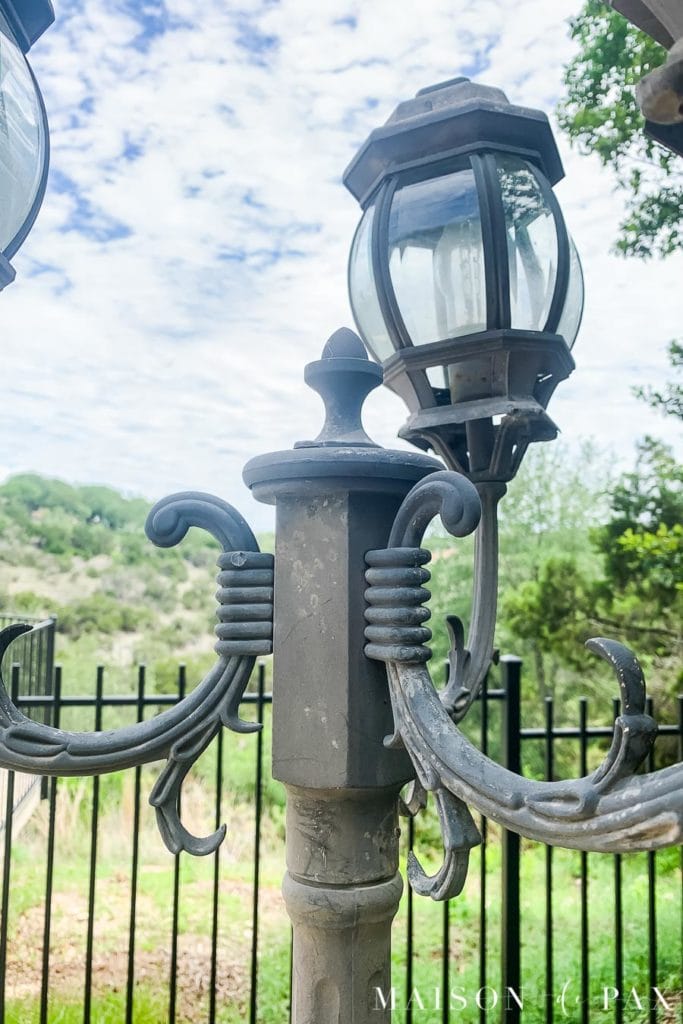
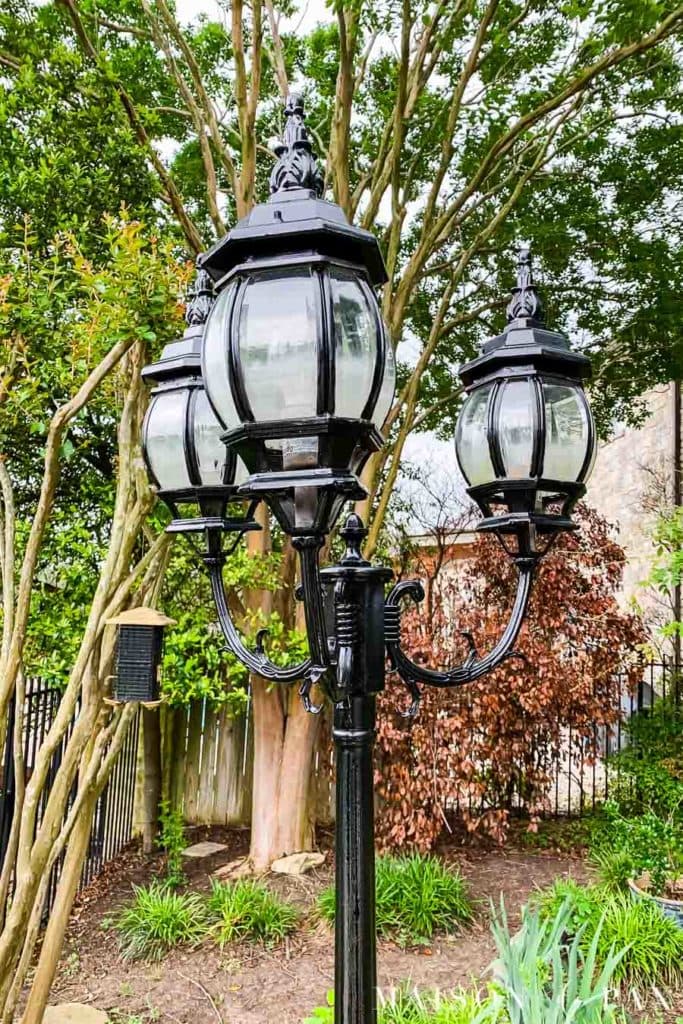
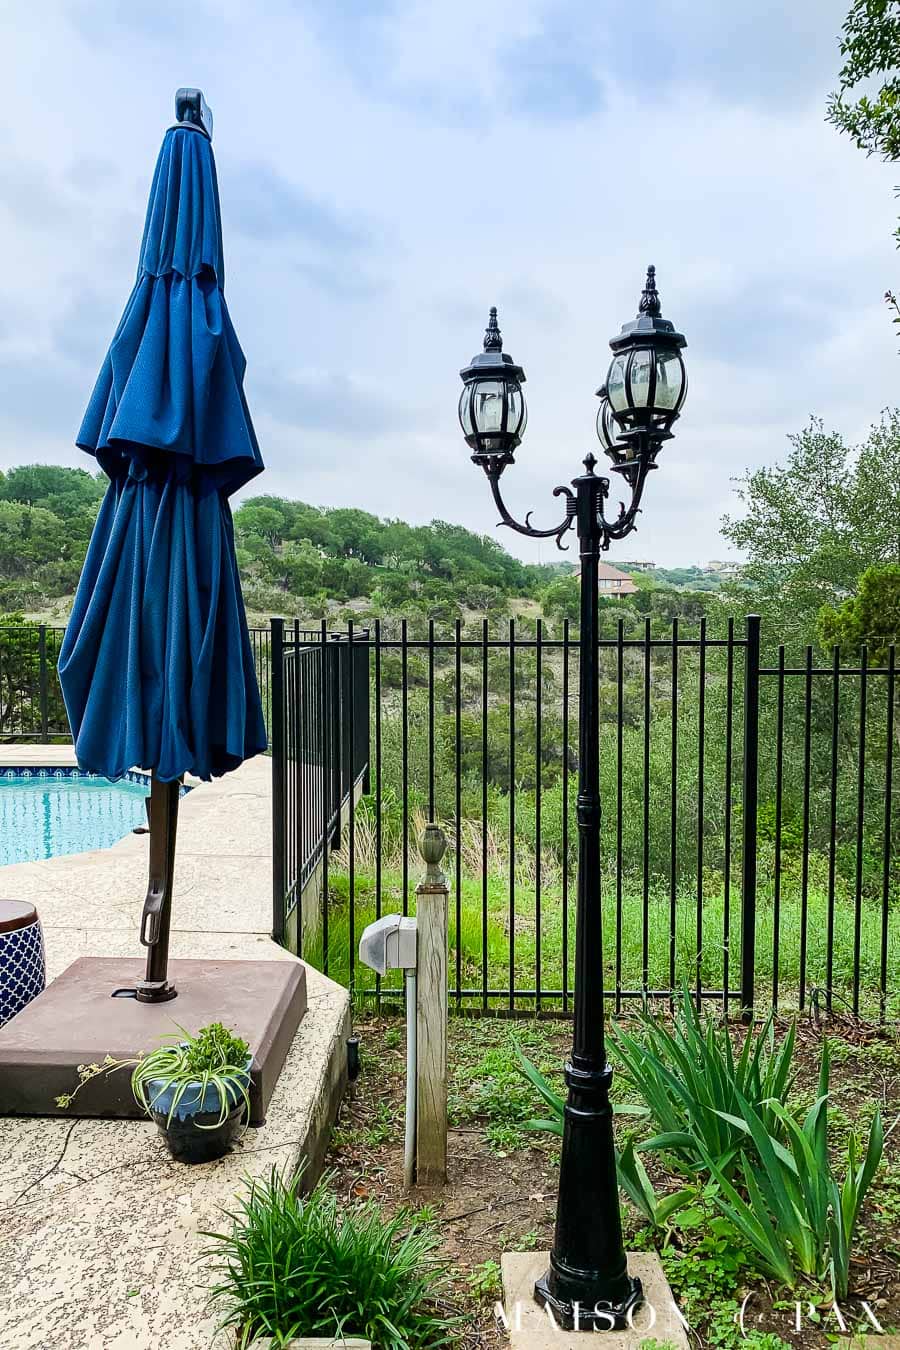
Just look at these makeovers!
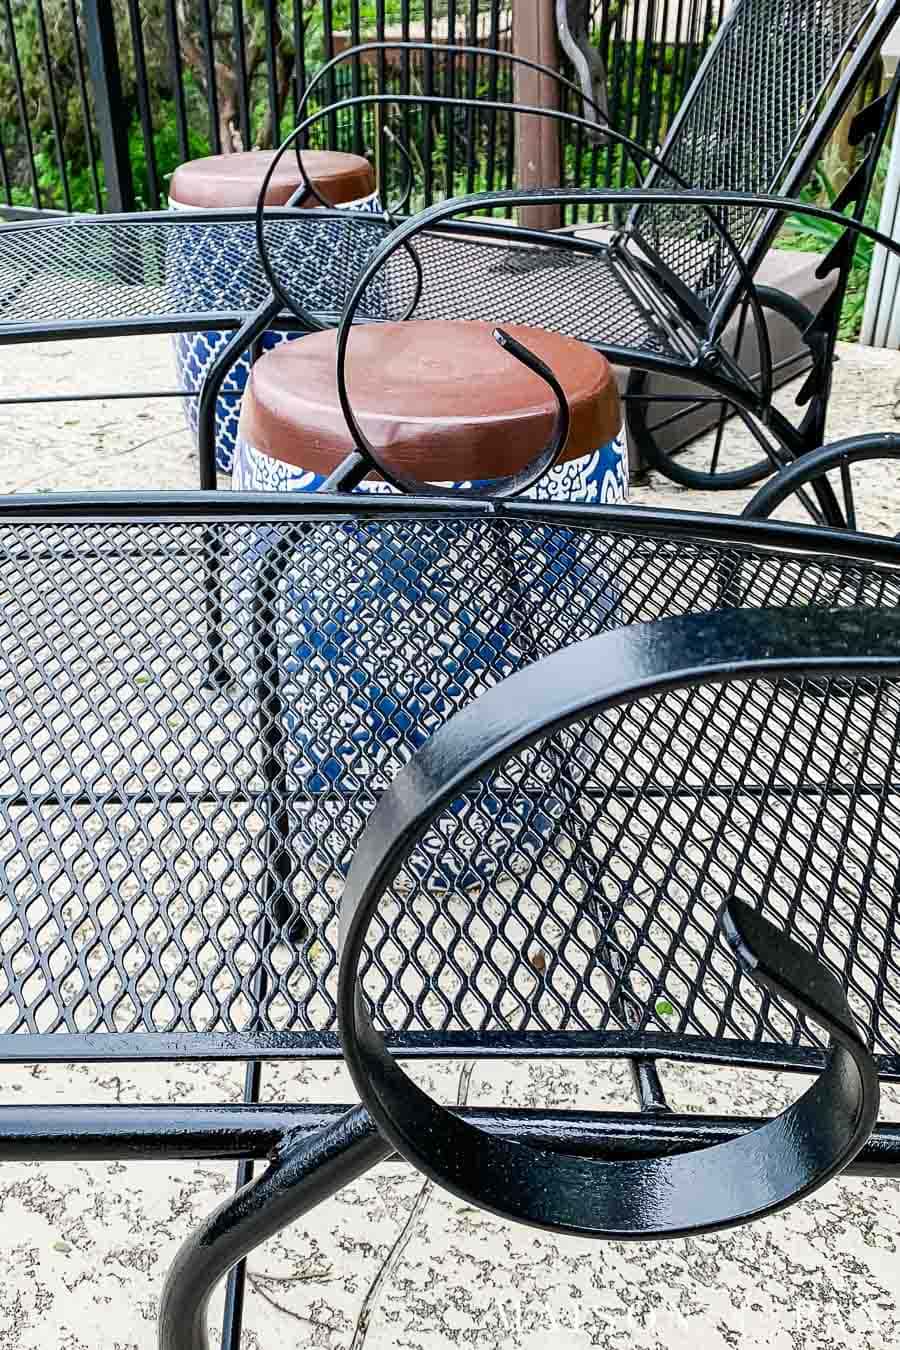
So without further ado, here’s how I gave the metal furniture a fresh new paint job.
This post contains affiliate links. Click here to read my full disclosure.
The Best Paint for Outdoor Metal Furniture
There are times when a quick can of spray paint that primes and paints is perfect (trust me, I love spray paint!). In fact, get a full step-by-step tutorial for spray painting outdoor furniture here.
But there are also times when a thicker, more substantial coat of paint is worth it. Either because the piece has a lot of rusty places to restore or because the construction of the piece (lots of holes or many many slats) means that the spray paint would be much wasted.
In those cases, I love to use this High Performance Protective Enamel. It’s an oil-based paint that comes in both gloss and flat black. I used the gloss for the outdoor chairs and lamppost, but our fence is done in the flat black for comparison. Although both are powerful, glossy finishes are almost always more forgiving than matte paints (think your trim vs your walls).
But the best paint is only as good as its primer and application… so read on for the other materials you’ll need to paint your metal outdoor furniture.
How to Paint Outdoor Metal Furniture
Materials needed:
- sanding block
- cleaning supplies
- rusty metal primer + brush
- drop cloths + painter’s tape
- high-performance enamel paint
- trim roller + tray
- small brush for detailed work
How to restore outdoor metal furniture with a fresh coat of paint that will last!
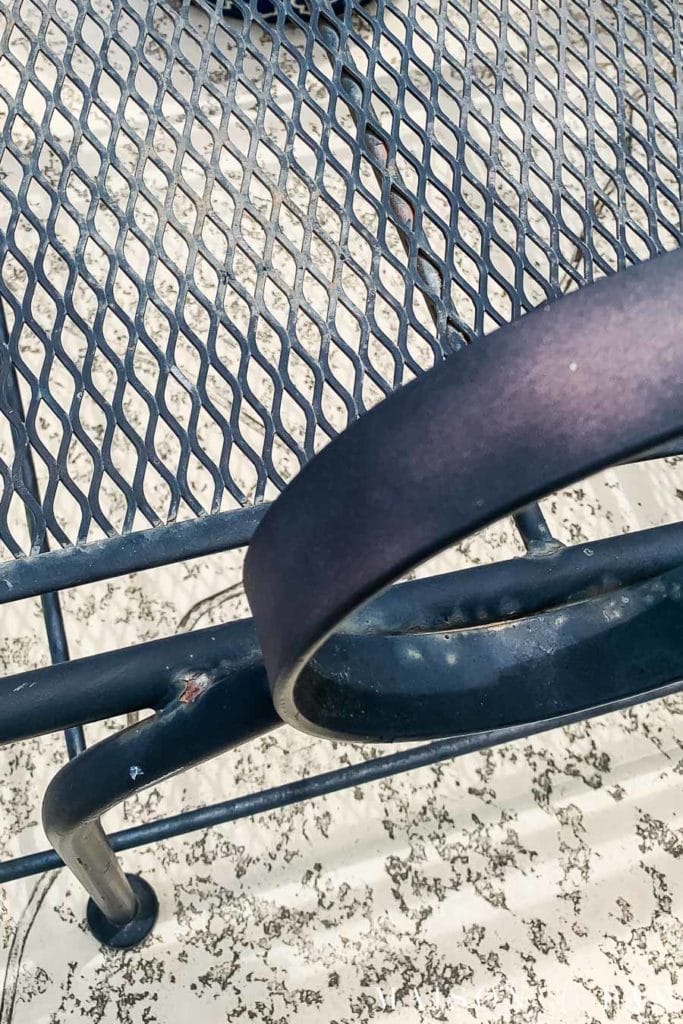
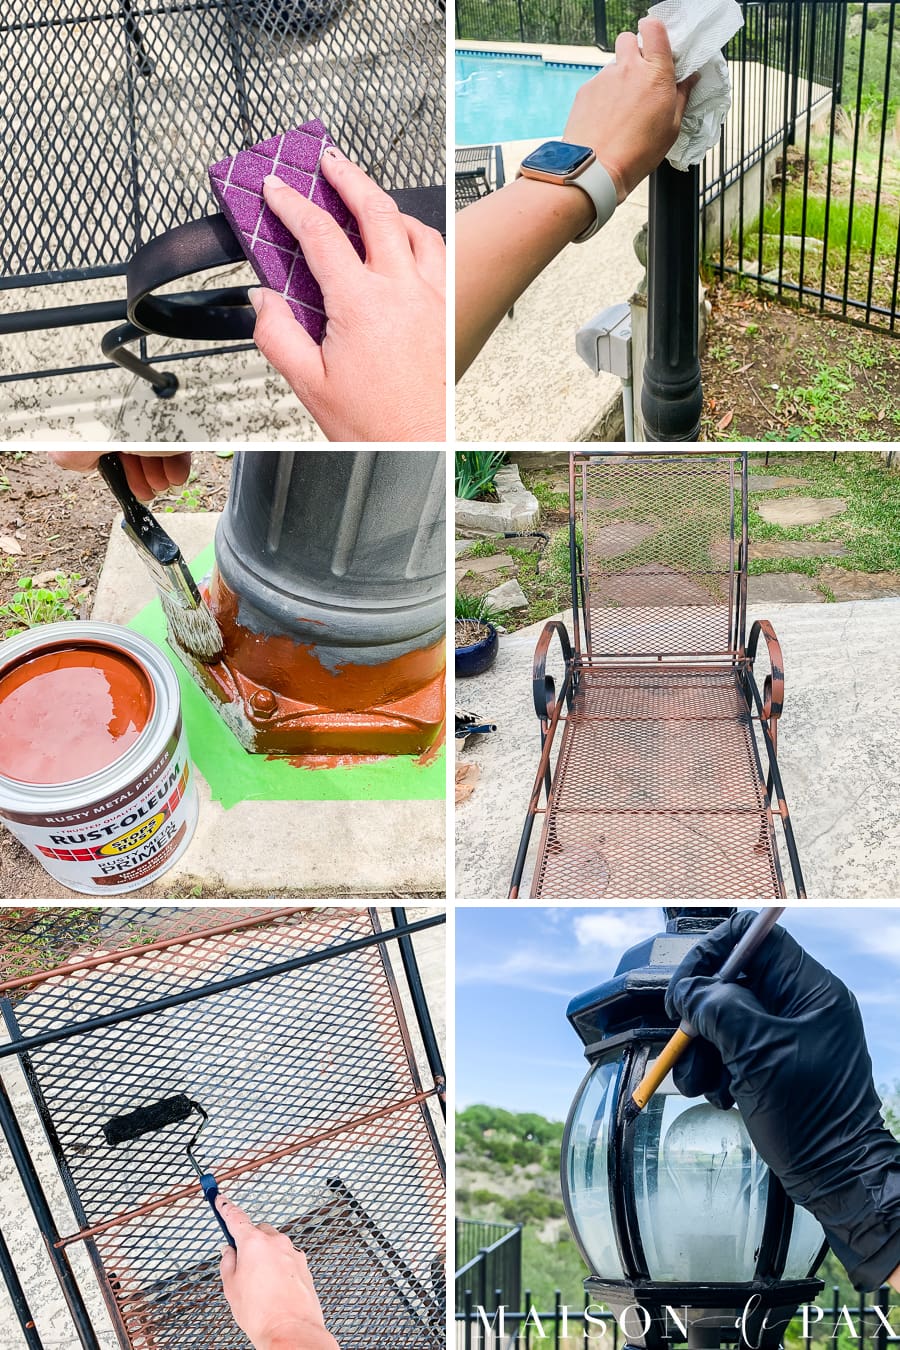
- Sand
Using a coarse sanding block (I recommend 60 or 80 grit), give the entire piece a light sanding. Focus on removing any chipping or loose paint or thick dirt.
- Clean
You can use a pressure washer, damp rag, paper towel, or any other cleaning agent. Just be sure that all dirt, mildew, and sanding dust is removed. Let the furniture dry completely.
- Protect
Be sure to protect your work area with drop cloths of some sort and tape off any areas where drop cloths are impractical. Remember, these are oil-based paint and primer, so you cannot clean them up with water; all clean up must be done with mineral spirits.
Tip: Use very inexpensive brushes, tray liners, and disposable cups so you can throw away materials after using oil-based paints. For rollers, just throw away the roller pad but keep the roller handle. You might even want plastic gloves to avoid skin clean up. - Prime (if needed)
Wherever you see rust (or even significant areas of exposed metal), apply the rusty metal primer with a brush or roller to protect the piece and stop the rust. Let the coat of primer dry for 24 hours (or according to directions on the primer can).
- Paint
After primer is dry, apply your oil-based outdoor paint with a small trim roller and brush. First, turn the piece upside down and paint the bottom. Remember, when painting outdoor furniture, you are working to protect the piece as well as make it look better. You want the entire piece painted to protect from water and uv rays. Next, turn the piece of furniture upright and paint the top. I find a trim roller to be best to quickly apply a nice thick coat without causing drips. Use a small brush for any detailed work. Let the paint dry and repeat, if needed.
Tip: If your paint is too thin and drippy, consider pouring paint into your roller tray and letting it sit out for an hour or so before you begin painting. This will allow it to thicken up a little so it won’t drip as much when you paint.
Tip 2: If you are painting something with holes (like the chairs I painted), be sure not to wait after painting the underside. Flip it over immediately to paint the top so that any drips from painting the bottom are caught before they dry.
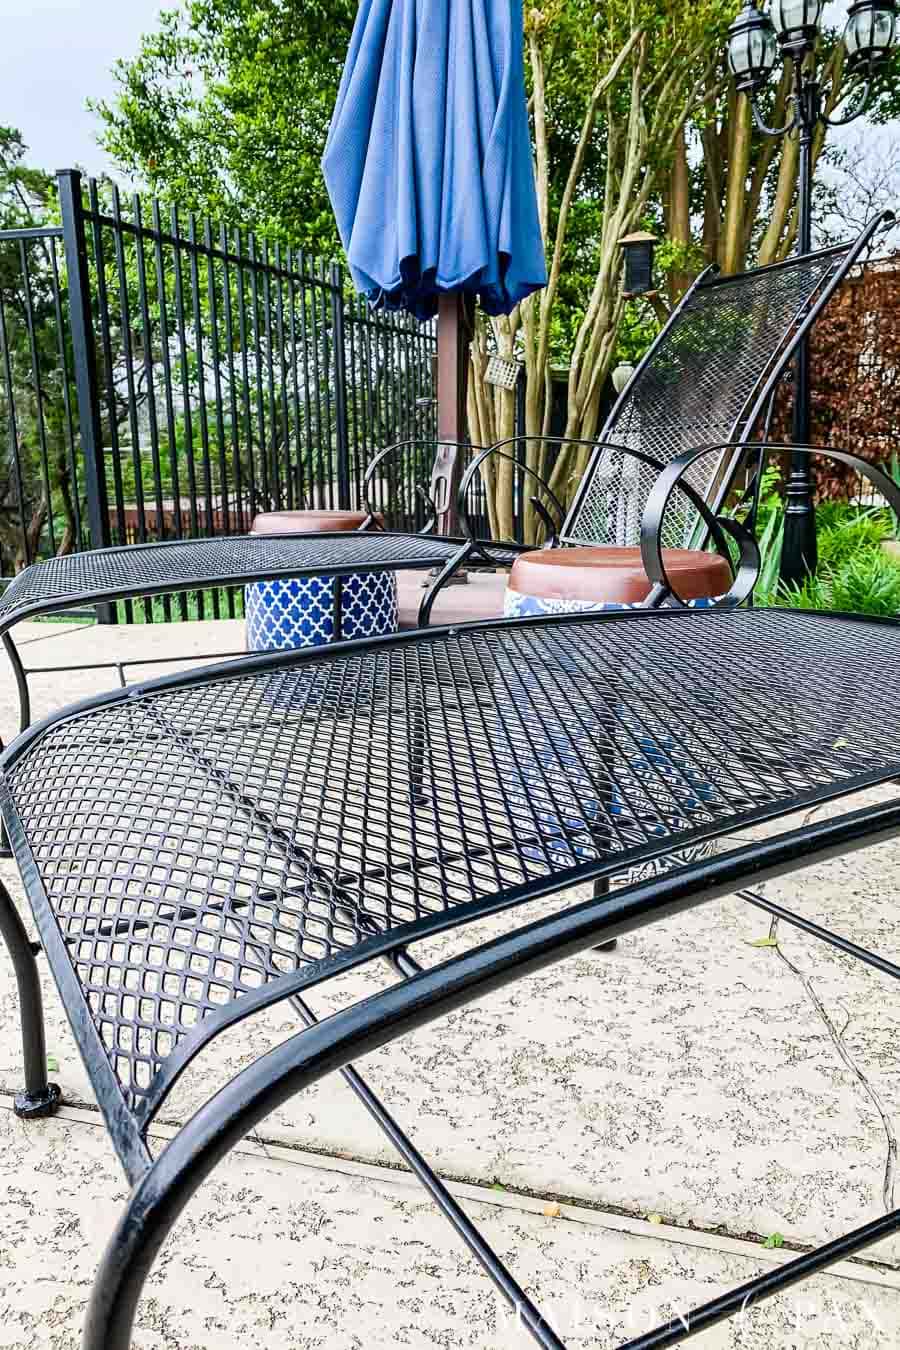
And that’s it!
These pictures truly don’t do it justice… A little paint and elbow grease, and I feel like I have brand new outdoor furniture and lighting.

This looks professional and brand new. I didn’t know about the enamel oil paint for outside, but I’ll try it on my old bench that needs work. Thank you for all the tips.
Thank you, Diane! I’m glad it was helpful.
Any tutorial on outdoor cushions?
I’m sorry I don’t have a tutorial on cushions. I do see people often using a pressure washer to clean existing ones with good results.
This came just in the knick of time! I thought I’d just hose it down and spray paint. Great post. Pinned.
So glad that was helpful!
Such great tips. Your furniture looks beautiful!
Thank you, Renae!
Your furniture and lamps look like new! I love our black outdoor lamps but they have been bleached by the sun. We were thinking of replacing them but after seeing how great yours turned out, I’m going to have a go at painting them first. Thanks for the inspiration!
Of course! So glad it was helpful.
is there a tutorial for painting indoor metal …. brass flower stand, rusty metal dish drainer …
can i use the same paint for the indoor items
can i use CLR to work on the rust, then the STIX primer and then paint
thanks
I believe there are some primer options that help stop rust, you might want to see if they have those at your local hardware store.
So exactly what paint do I need
This paint is what I used. It’s great for outdoor furniture!
I need your advice. I painted my outdoor chairs and even after a week the paint leaves stains on clothes. Looks like paint is not hard. Any advice?
Thank you.
Hi Martina! Sometimes it takes paint longer to cure, but you could attempt a clear coat to seal in the color.
Do you know where you can get replacement wheels for lounge chairs?
I don’t! I would try to check with the manufacturer.
Nice tutorial. I am wanting to paint new chicken wire for outdoors without spray painting. Do I need to remove the shine b4 using a primer? I don’t want any paint chipping off so I want to do this correctly.
Thanks!
I haven’t tried it for that application, but a primer is always advised, especially for harsh outdoor conditions.