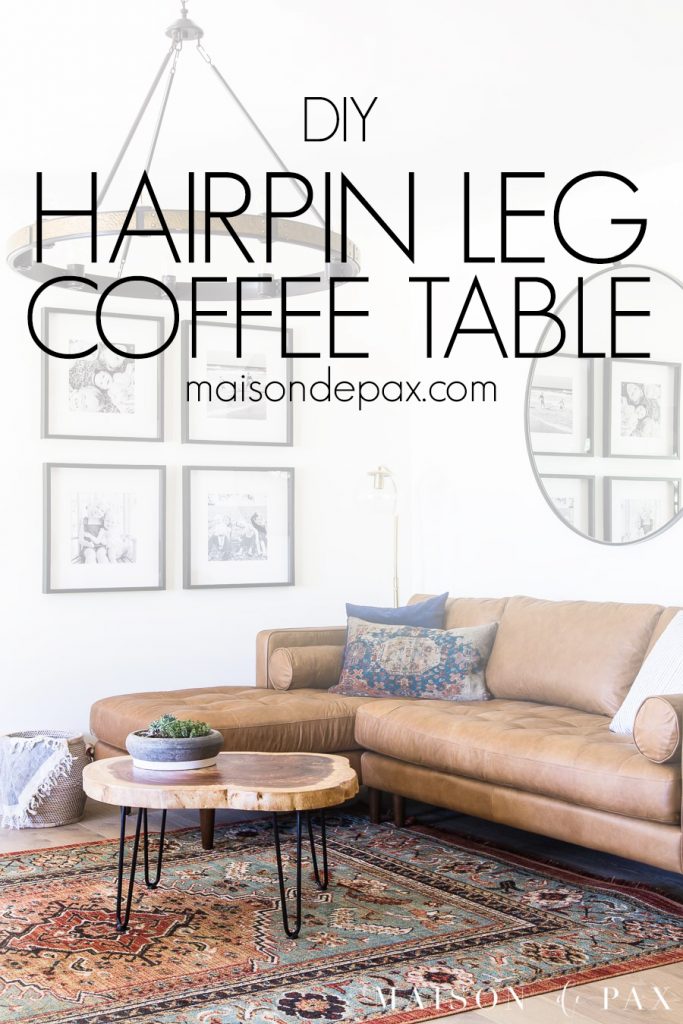
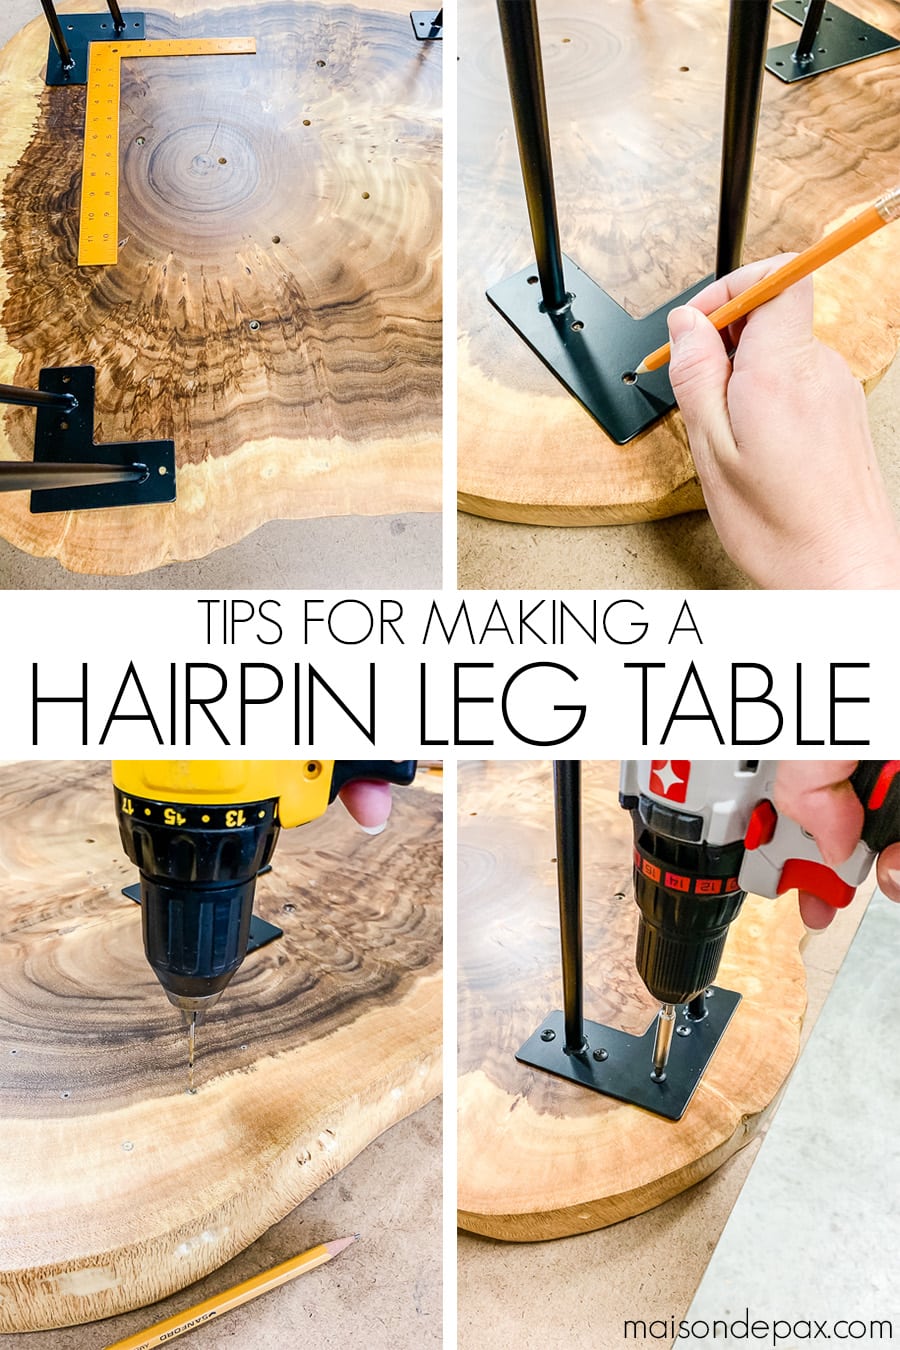
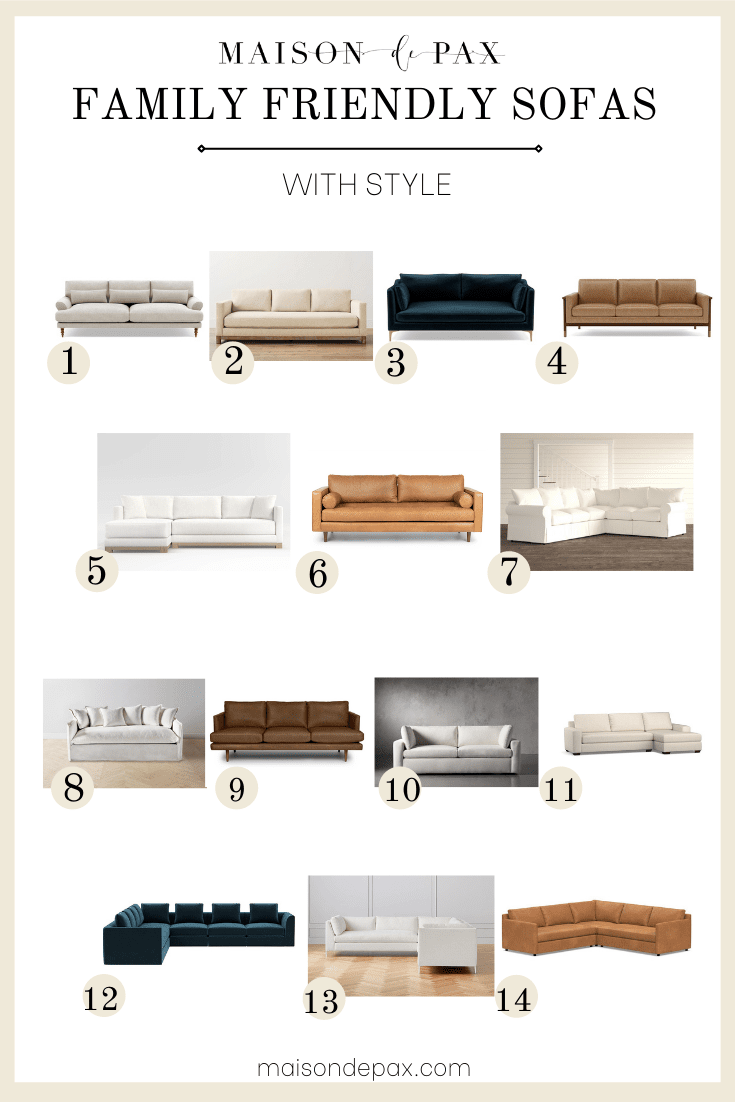
DIY Hairpin Leg Coffee Table
Learn how to add hairpin legs to furniture. Use this simple project to make a DIY coffee table, bench, stool, or side table.
Two years ago, I couldn’t even imagine trying to figure out the grocery order apps. I remember telling my friend one time that I’d never used grocery delivery because the app intimidated me. So she spent about 97 seconds and showed me how it worked… and now I can’t remember the last time I actually shopped for my own groceries – ha!
Sometimes, the easiest thing can feel intimidating until someone simply shows you how to do it. Am I the only one who has experienced that?
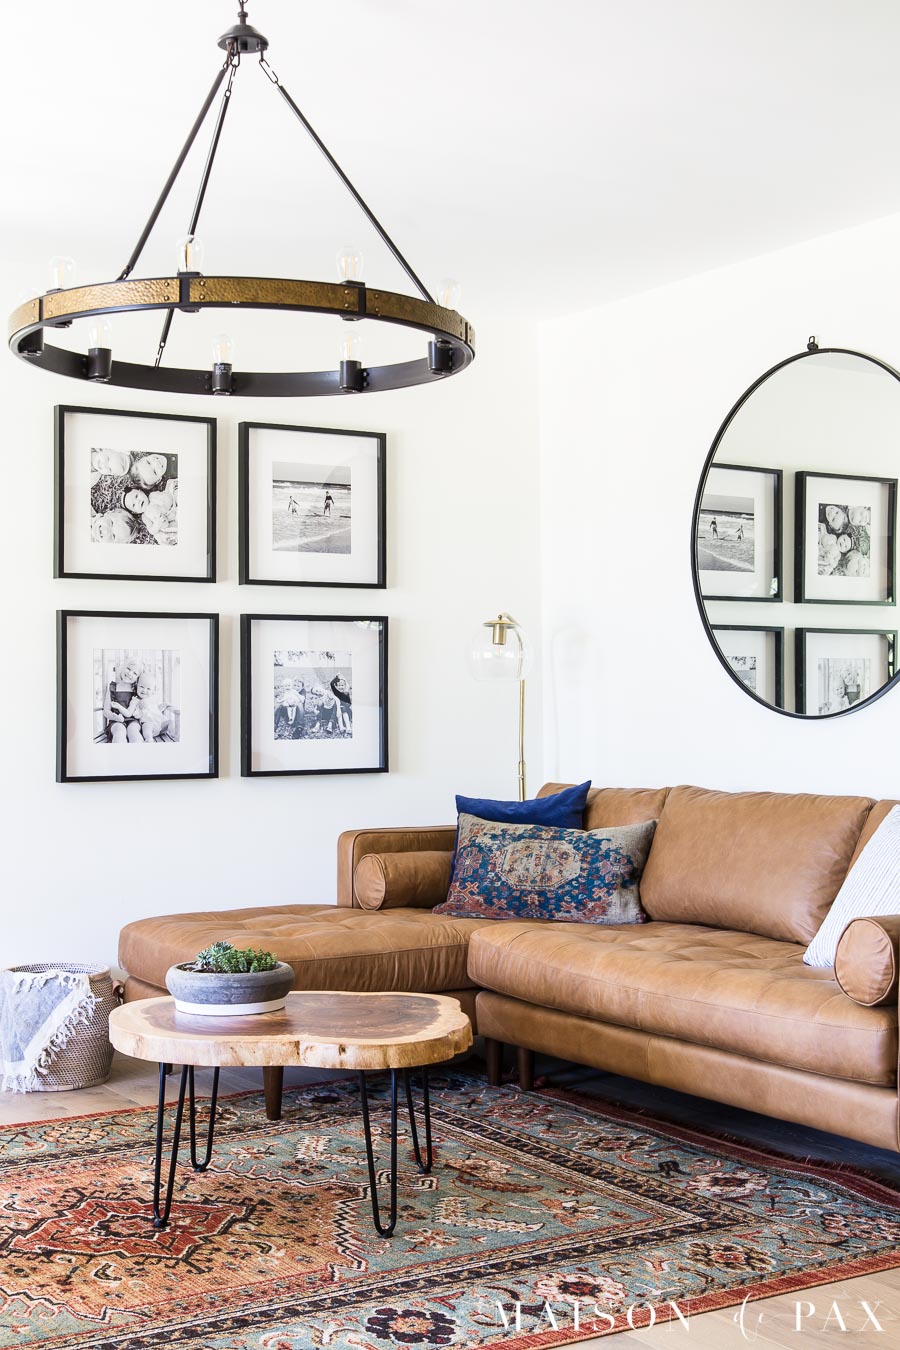
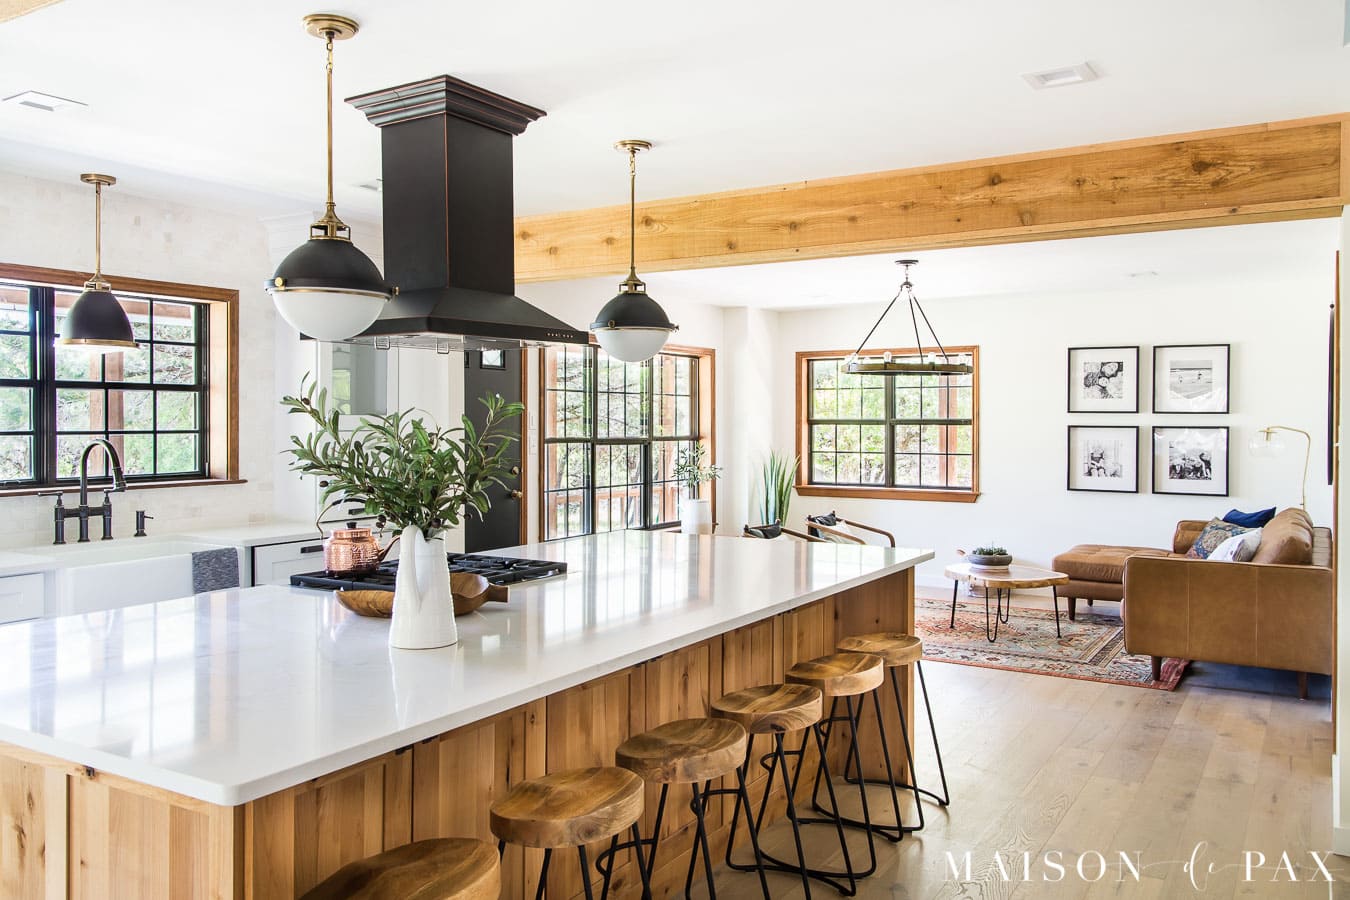
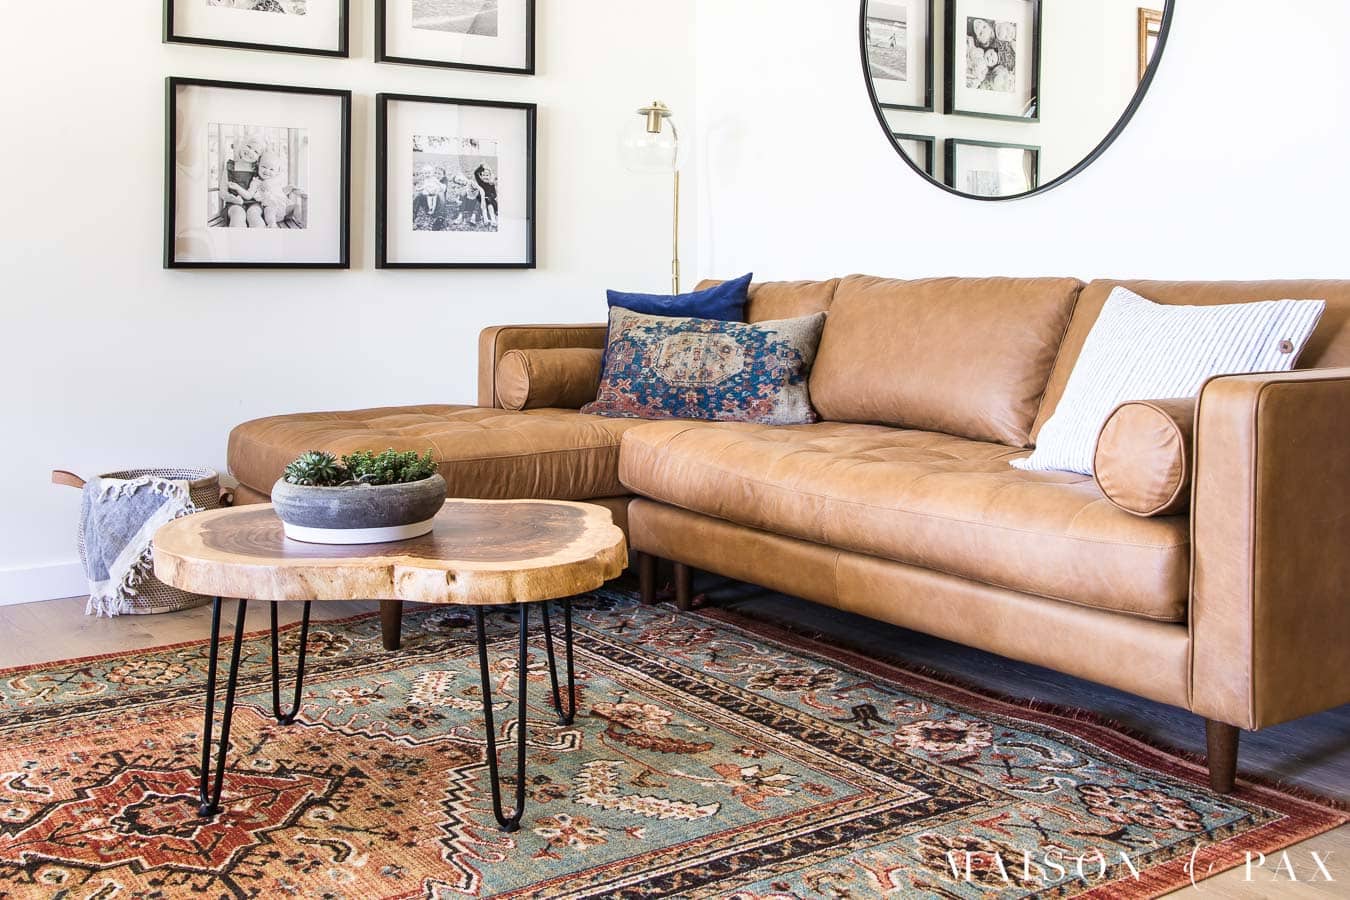
When I was designing the living room at the ranch house, I knew I wanted a mix of rustic and modern elements to complement the open kitchen. A log slice coffee table with mid century black metal hairpin legs seemed like the perfect solution.
But many of those tables are made with irregularly shaped tops, and I struggled to find one that was big enough and had enough table space for drinks and games and such. Then I came across a good-sized wood-top table on clearance, but I didn’t like the legs, so I decided to replace them with metal hairpin legs.
Making this little hairpin table was such an easy process that I almost didn’t write a post about it, but when several real-life friends asked for the tutorial, I thought maybe others might appreciate it, too.
This post contains affiliate links. Click here to read my full disclosure.
DIY hairpin leg coffee table:
*Note: this same tutorial would work for a side table, a bench, or even a stool. Simply choose your top size and leg height appropriately.
Materials needed for hairpin leg coffee table:
- Wooden table top (should probably be at least 1” thick)
- Hairpin leg kit (I chose 14” for a coffee table, but there are plenty of other sizes available)
- Drill with drill bit and screwdriver bit, pencil
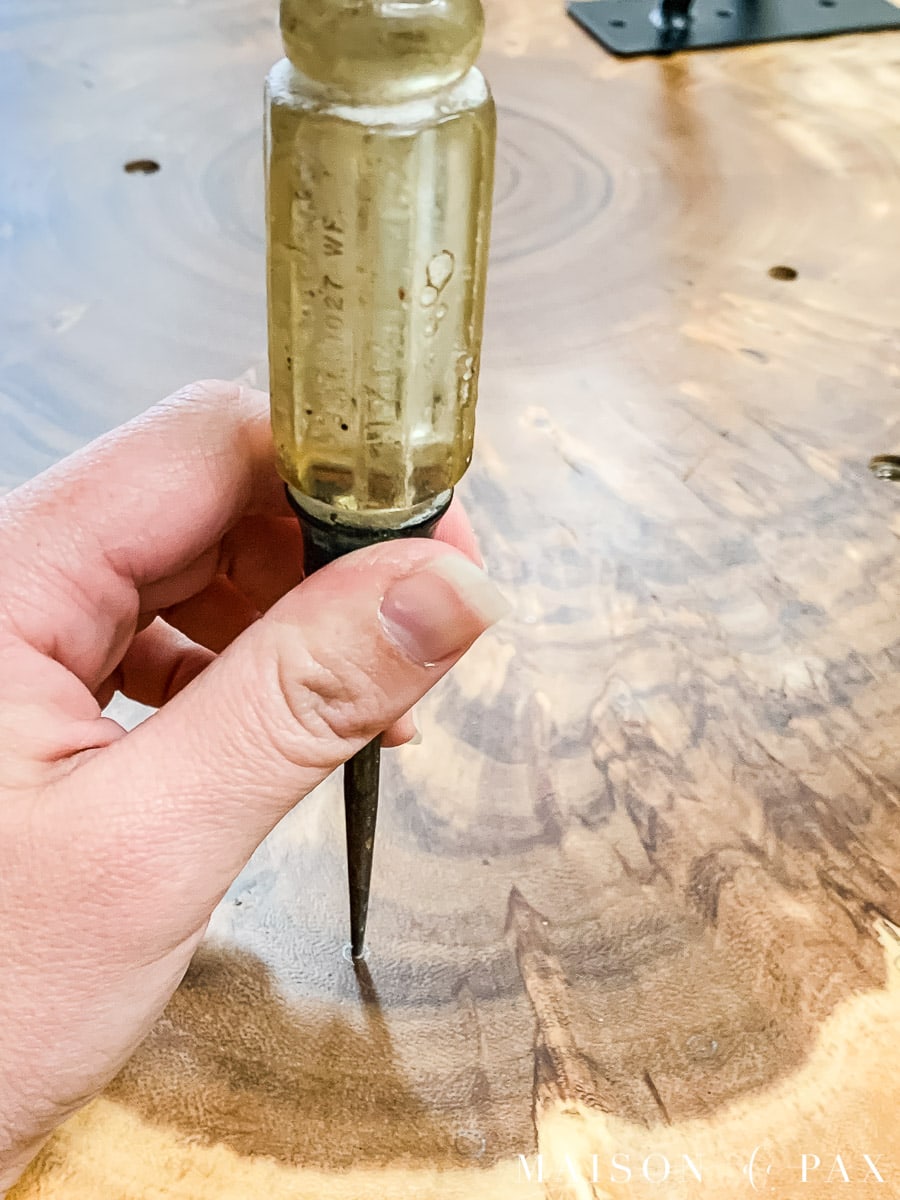
- Optional: square, hammer and awl or nail
How to add hairpin legs to a coffee table:
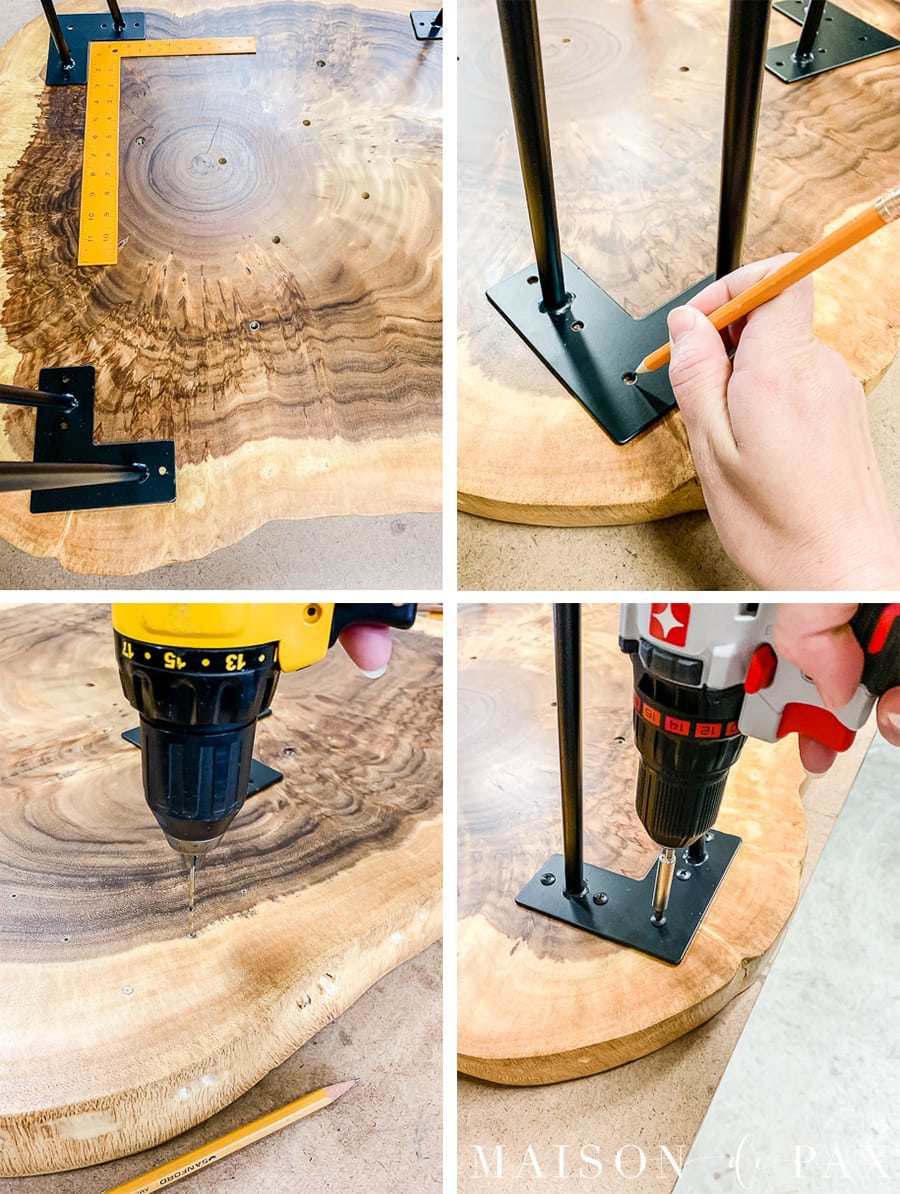
- Lay your table top face down
- Determine the layout for your table legs
- Mark the holes with a pencil
- Predrill the holes
- Attach the legs
Tips for adding hairpin legs
Though the basic steps are above, these tips will help you to add hairpin legs easily. First, make sure that your top is thick enough to receive the screws to hold the legs. The legs we used came with 3/4″ wood screws, so you would want the top to be at least 1″ thick.
Second, our top was an irregular shape, so we chose to put the legs where they seemed to provide the most stability rather than in a perfect square. If your top is similar, I recommend creating a rough square but still placing legs at any major protrusions of the top. You wouldn’t want someone to perch on a corner of the table and tip the whole thing over.
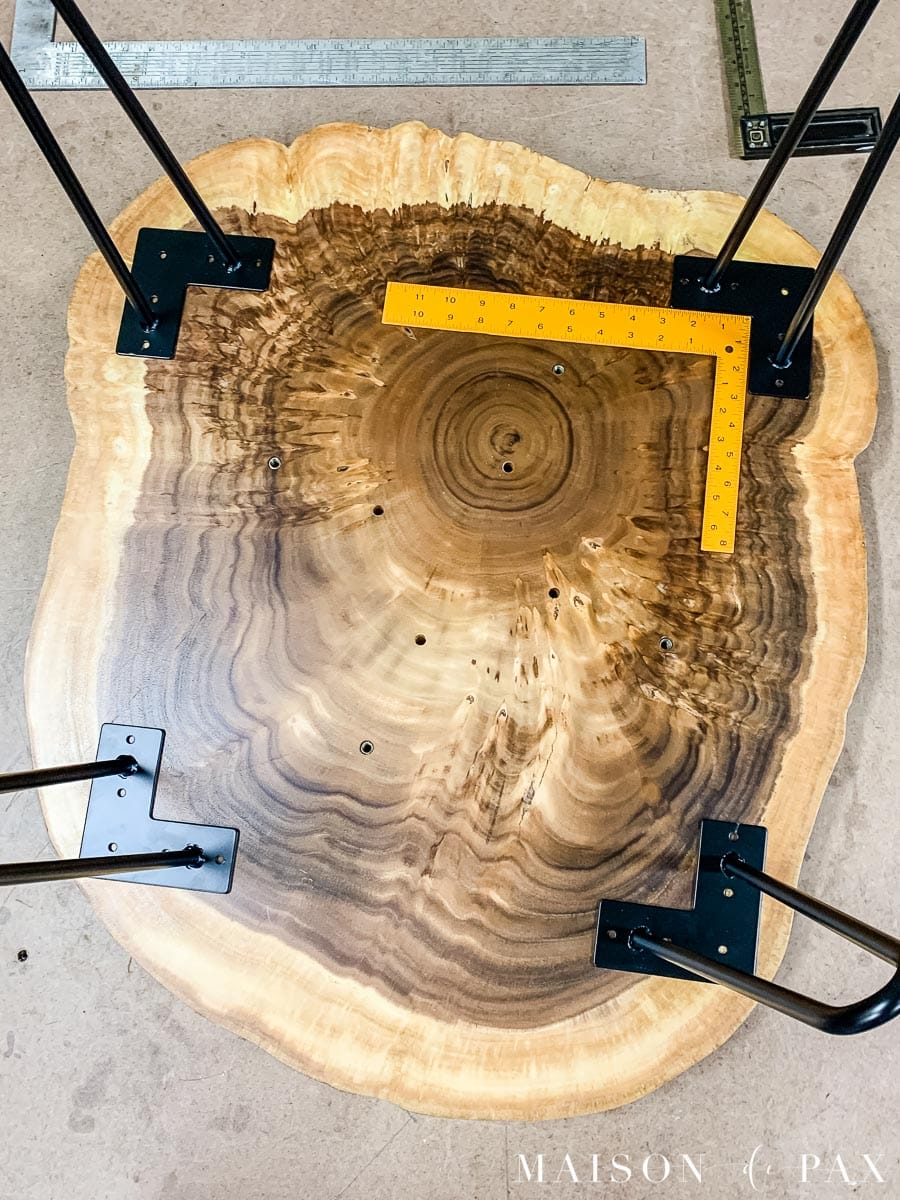
But, if your top is regularly shaped, you may want to use a square to place the legs so that they are at right angles from one another and evenly spaced.
Finally, when attaching something with multiple holes that need to line up (each leg has 5 screws!), you’ll save yourself a major headache if you drill the holes in exactly the right place. To do this, it’s best to mark the edge of each hole carefully with a pencil and then use an awl (or any sharp object – the tip of a nail would work perfectly well) to create a tiny indention where you want the hole to be. Just hold the awl or nail over the very center of your marked circle and tap it once lightly with a hammer, leaving a tiny indention at the center of the circle. This will secure the tip of your drill bit from slipping when you predrill the hole.
It really is such a quick and simple project, and now that I know how easy it is to do and how sturdy these legs are, I think a few mid century modern benches and stools might just be in order, too. 😉
So what do you think, doesn’t it seem easy now?! What are you going to make?
Don’t forget to pin it!
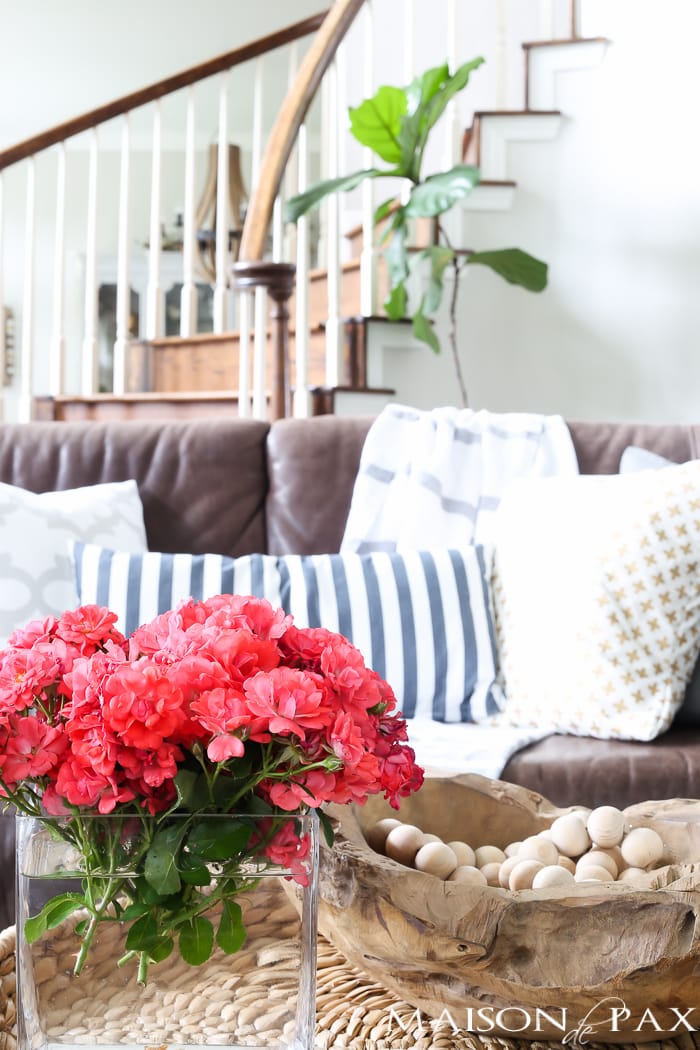
SOURCES FOR THE RANCH LIVING ROOM
chandelier | sofa | chairs | rug | picture frames | mirror | agave plant | side table – HomeGoods | navy pillow | striped pillow | patterned pillow | pale green pillows | basket | concrete planter – local nursery

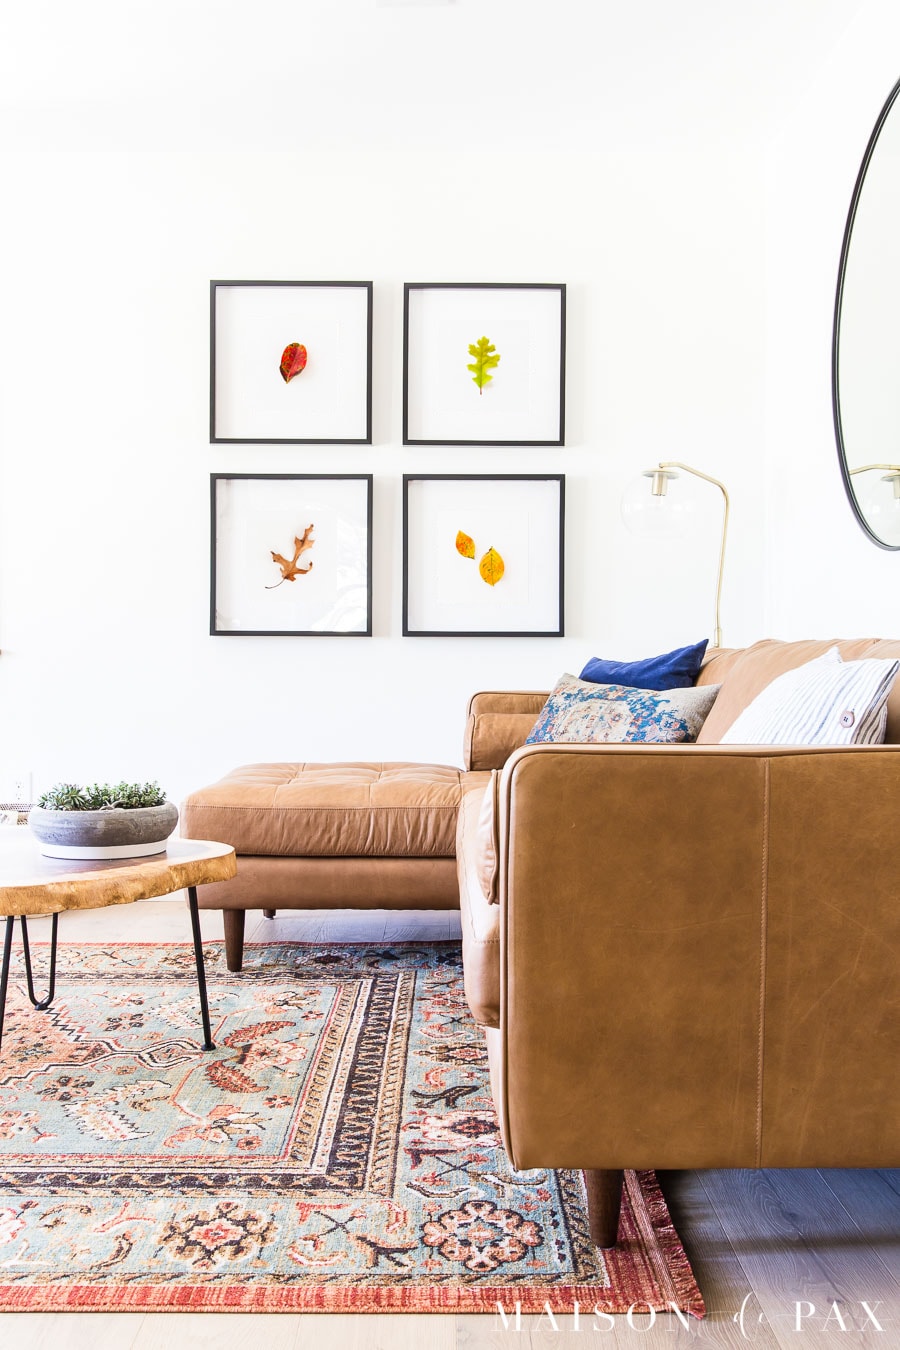

I love this coffee table. The hardest part for me will be finding a slice of tree trunk. Are these easy to find where you live? Also, how much did the project cost you?
I’m so glad you like it! And I completely understand. I actually found a scratched table on clearance at my local Pier One for $100. I didn’t like the legs, so I replaced them with the hairpin ones linked in the post. In the end, the table cost me ~$140. I have seen some log slices on Craigslist, though, and I’ve even just asked a tree crew on the side of the road for some (that’s how I got the trunks I use as side tables in my family room and daughter’s nursery). Hope this helps!
Hi! Really love this table! I’m making one myself, and I was wondering what you recommend to use as a finish on the wood? (oil/laquer++)
Thank you! There are so many great options for finishing wood. This table top was purchased finished, but I have used wax, oil, varnish, poly, wipe-on poly, and lacquer… All have their pros and cons. For a coffee table, I would probably recommend anything other than wax (wax is a little sensitive for something getting quite so much traffic). I hope this helps!
I need to find this couch!!
Hi Christian! This couch is from Article: https://www.article.com/product/11818/sven-charme-tan-left-sectional-sofa