Industrial Spool Clock
Learn how to convert and old industrial spool into a large wall clock.
Crystal chandeliers and vintage file cabinets…
Whitewashed walls and weathered wood...
I’ve always been drawn to interesting contrasts and textures. To a mix of highs and lows – with plenty of patina thrown in. And this project is no exception.

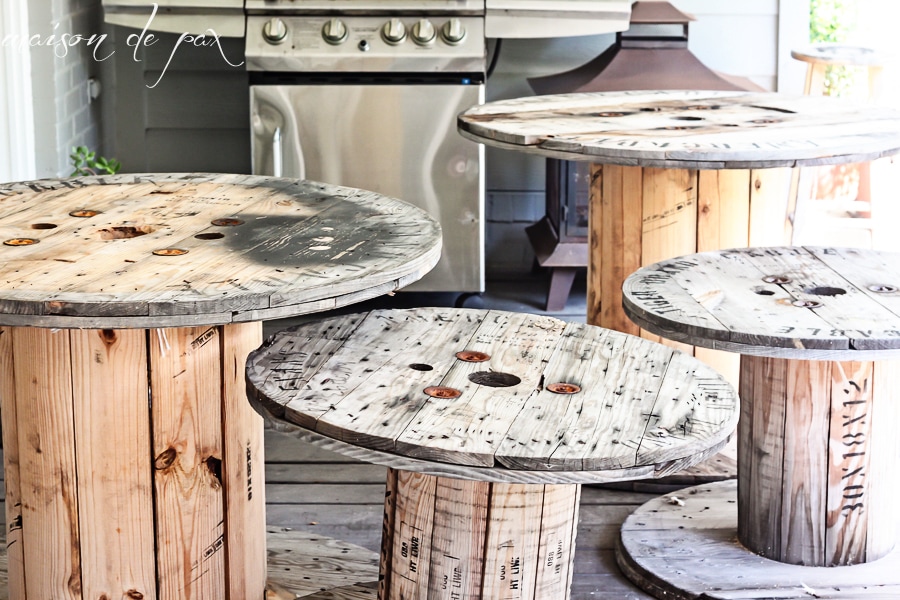
Remember those industrial spools I snagged?
Reclaimed Wood Clock
We made a table out of one (remember this?), and now here is number two: an industrial spool clock.
Fortunately, it’s easy to make a clock from an industrial spool. Simply remove the bolts (use oil to help loosen them) and take the spool apart, giving you your clock face (two, actually).
How to make an industrial spool clock:
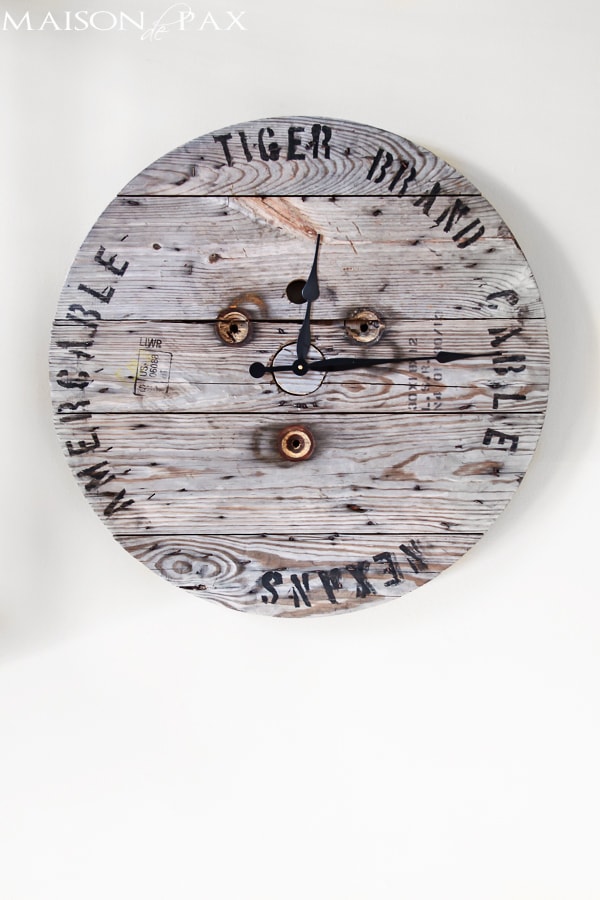
Next, cut a small circle (we used a jigsaw to do so, purposefully making it a very rough cut) to fill the hole in the center of the face. We used a scrap from the side of the dismantled spool so it would match.
Measure the thickness of that circle and purchase a high torque mechanism and hands (something like this*). Be sure to order the appropriate mechanism for the thickness of your centerpiece.
Drill a hole in the center of your circle, then hammer it into place in the center of the face (that’s why we made it a rough cut, so it would fit snugly into the hole).
Attach the hands and mechanism according to manufacturer’s instructions.

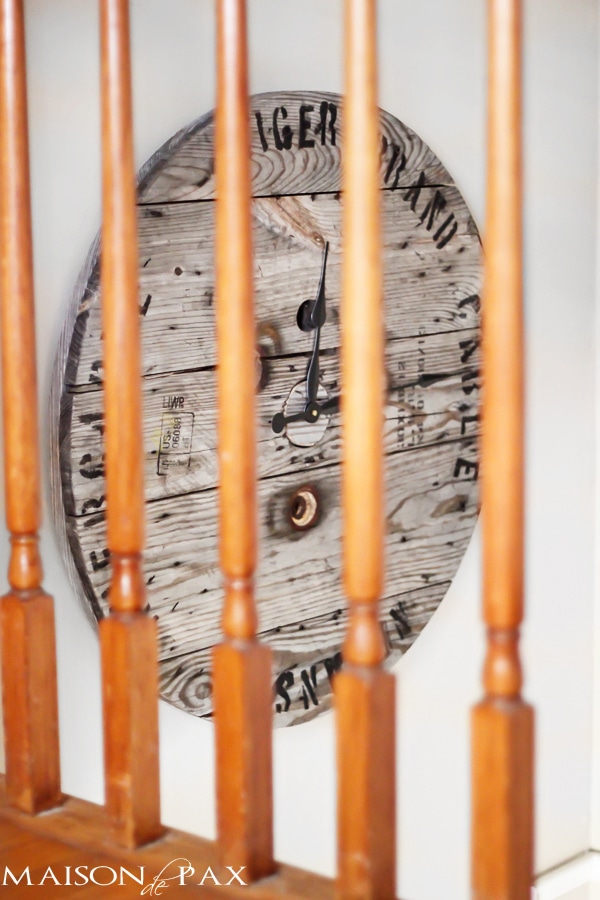
I love how the elegant, curvy clock hands contrast the rough, weathered wood. We hung it in our stairwell (a perfect big-impact piece!).
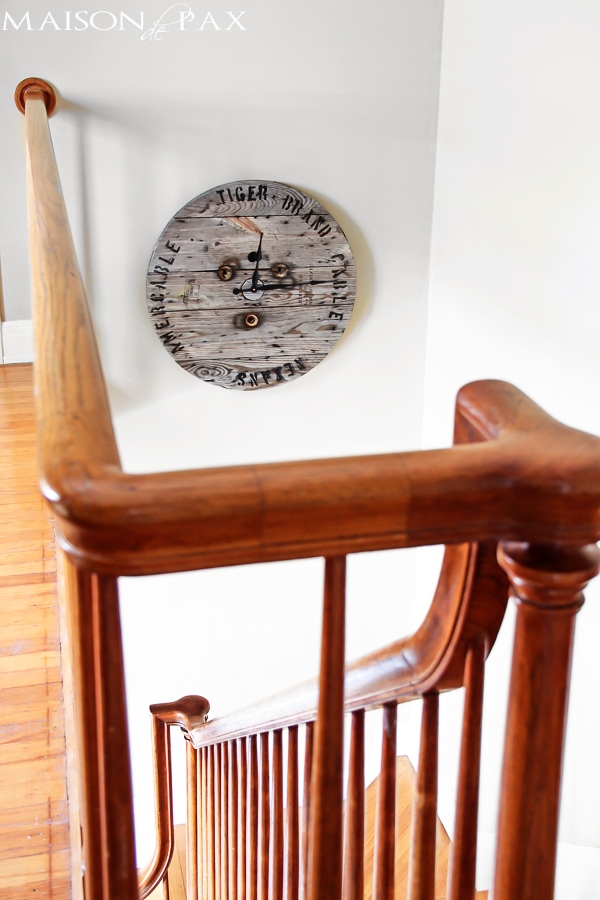
It’s mostly visible when coming down the stairs, but it can be seen from our entryway…
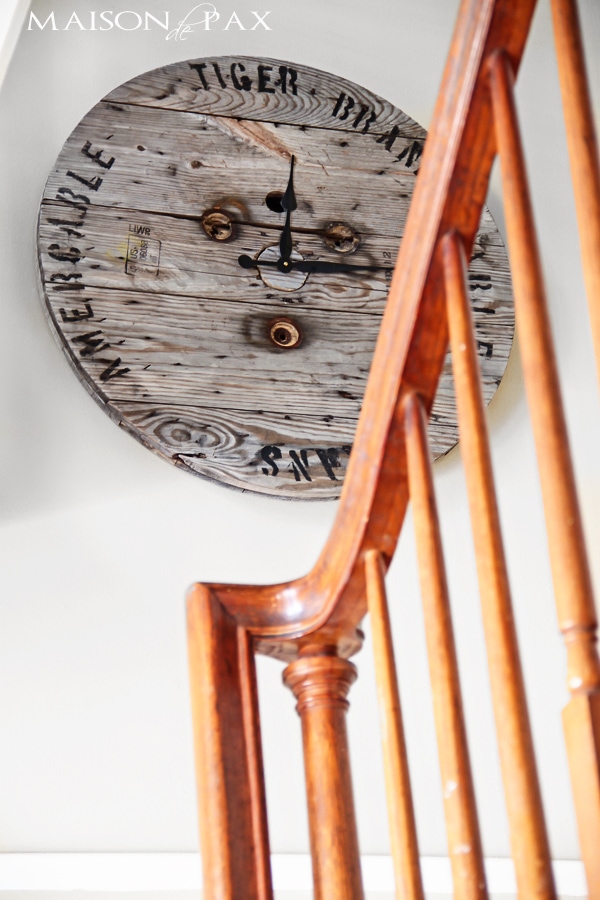
And I love the contrast with our chandelier. Again – that mix of highs and lows…

And that texture! So so scrumptious (can I say that about wood? 😉 )
What do you think? Do you like the contrast of tailored and rustic?
Don’t forget to pin it!

And, of course, I have to say it (you know my former English teacher self can’t resist!)… I just love juxtaposition. 😉
*denotes affiliate link
MORE CREATIVE MAKEOVERS:

How to Give Metal an Industrial, Brushed Steel Look
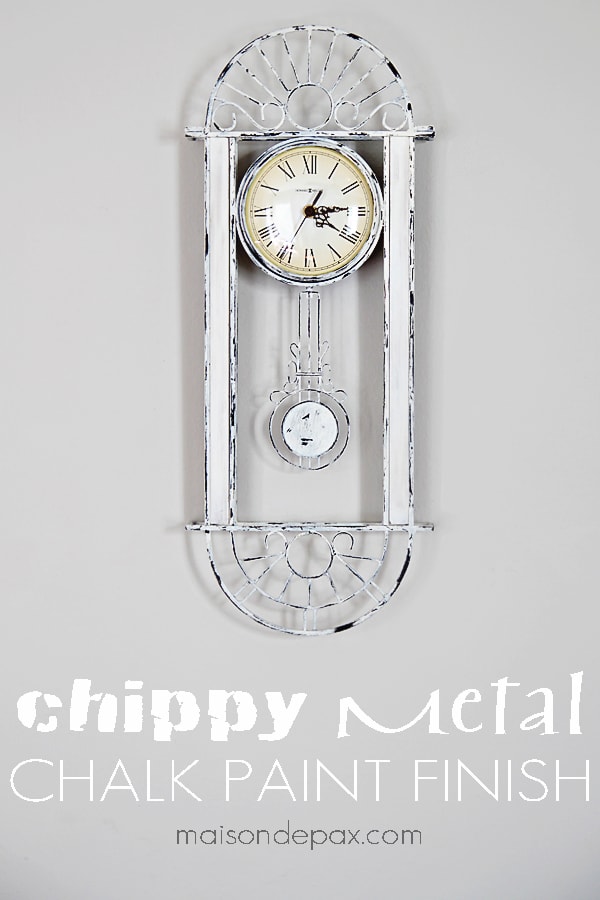
Chippy Metal Chalk Paint Finish


Rachel, I LOVE it! It’s perfect where you hung it.
Thanks, Kim!!
Love it!
Oh thank you, Nancy!
SO gorgeous Rachel!!! Between the wording, the planked wood and the weathered look, there’s just a ton of character in this piece! It’s absolutely perfect!!!
Thank you so much, Kristi!! I’m so glad you like it!
Oh,i love your clock it is wonderful. What a great idea,and thanks for sharing. Have a great day.
You’re so kind, Marlene. Thank you!
I just absolutely love this and would love to find my own industrial spool.
Thanks so much, Kim!
Love this, Rachel!! Sharing on my FB page today 😉 Now where did you get those spools??
Hugs, Jamie
Thanks Jamie!! I bummed them from the trash pile at a friend’s work. His engineering firm was throwing them out!! xoxo
I totally love this…want to try it. I just might have to add some color (surprise?) to my version but I think yours looks stunning in your home!!
Not surprised at all, my friend. 🙂
Well, it’s not the Mickey Mouse ears I sent you on Instagram, but this definitely works (ha)! I LOVE it!!! Wanna make me one? 🙂
Ha! It might be a bit tough to wear those Mickey ears, Michelle. 😉 But I’m so glad you like this alternative! xoxo
It’s amazing! I love the juxtaposition too. Mixing masculine and feminine is always fun. I had no idea you are a former English teacher! I taught 9th, 10th, and 11th grade English for 5 years before becoming a stay-at-home mom this year. I think it’s just further proof that you’re my soul sista. 😉
Ha! Amazing, Lauren!! I also taught 9-11 for five years before our first was born. Too funny!
This is such a cool idea, Rachel. I love it! I’ll be featuring your project at The Scoop this Monday night. Thank you for linking up!
Thank you so much, Suzy!! I’m honored. 🙂
This is absolutely gorgeous…Featuring you tomorrow at our Work It Wednesday Party..see you there:-)
Thanks so much, Aniko!! xoxo
Love your clock…where were you able to find a clock mechanism with hands that long?
Thanks, Beth! We actually ordered our from klockit.com because they had a mechanism shaft that happened to be the right length for the thickness of our face. Our are 12″ hands (measuring from the center of the dial to the end of the minute hand), but you can find up to 17.75″ hands on Amazon. Hope this helps!
How did you hang it? I have a large spool we just took apart and it is HEAVY!!!
It is! We drilled into the back with eye hooks and used extra heavy picture hanger wire. Then my husband used two large screws, directly into the studs. I hope this helps!
I am sooo hoping you can help me with some advise on spool clock. I have everything but the center hole is about 2 in deep which is where the clock mechanism would do If i cut a circle out and place in in there or even place a plate over it the mechanism part is not long enough to go thru the circle of wood since the hole is so deep even with the little extension thing. I hope I’m making sense. What does the mechanism look like on the back of the clock? Is there any way to get a pic and perhaps I have the wrong size mechanism I bought mine at Hobble Lobby. Any help would be appreciated. Thx
Hi Sharon, I’m sorry you’re having a tough time with it! You do have to get a mechanism with the right depth. My spool (and most are, I believe) is two boards deep. The scrap I used was just one board. My mechanism fit entirely into the circle, so I only had to worry about the depth of the piece I used to plug the cirlce. To determine the right size clock mechanism, I measured the depth of that scrap piece. I think (but it’s been a while!) it was 3/4″ deep. I hope this helps! Here is a picture, too.
did you put any finish on the spool? i have a large sppol and a small one and i am struggling what finish to put on it,or to seal at all.
I didn’t. I cleaned it up a bit and just left it as is. I hope this helps!