How to Give Metal a Rich Vintage Patina
I promised last week when I shared my vintage file cabinet makeover that I would share a tutorial…
A bit of background for you (since I believe everything should have a story behind it!): my church is renovating an old office building which had lots of really solid, old-school file cabinets. Rather than throw them out, we decided to refinish them to go with the industrial-chic, utilitarian sort of style that the new building will have. As there were 20 cabinets to update, I am SO glad to say that I had some help from other women in the church, but I did want to have a process in place before we all got together… So I brought one of the extras home (yay for free furniture!) to experiment on.
Note: My cabinet started black. If you cabinet starts another color, your process may differ… (If starting gunmetal gray, for example, try this technique for a vintage, industrial, brushed-steel look instead.)
Here are the necessary supplies:
This post contains affiliate links for your convenience. Click here to view my full disclosure policy.
- 220 grit sandpaper
- palm sander (optional)
- damp rag
- Annie Sloan chalk paint in Graphite
- lint-free rag (like an old t-shirt)
- paste wax
- Briwax dark wax
- silver craft paint
- buffing rag (like an old t-shirt)
Here is the process I developed:
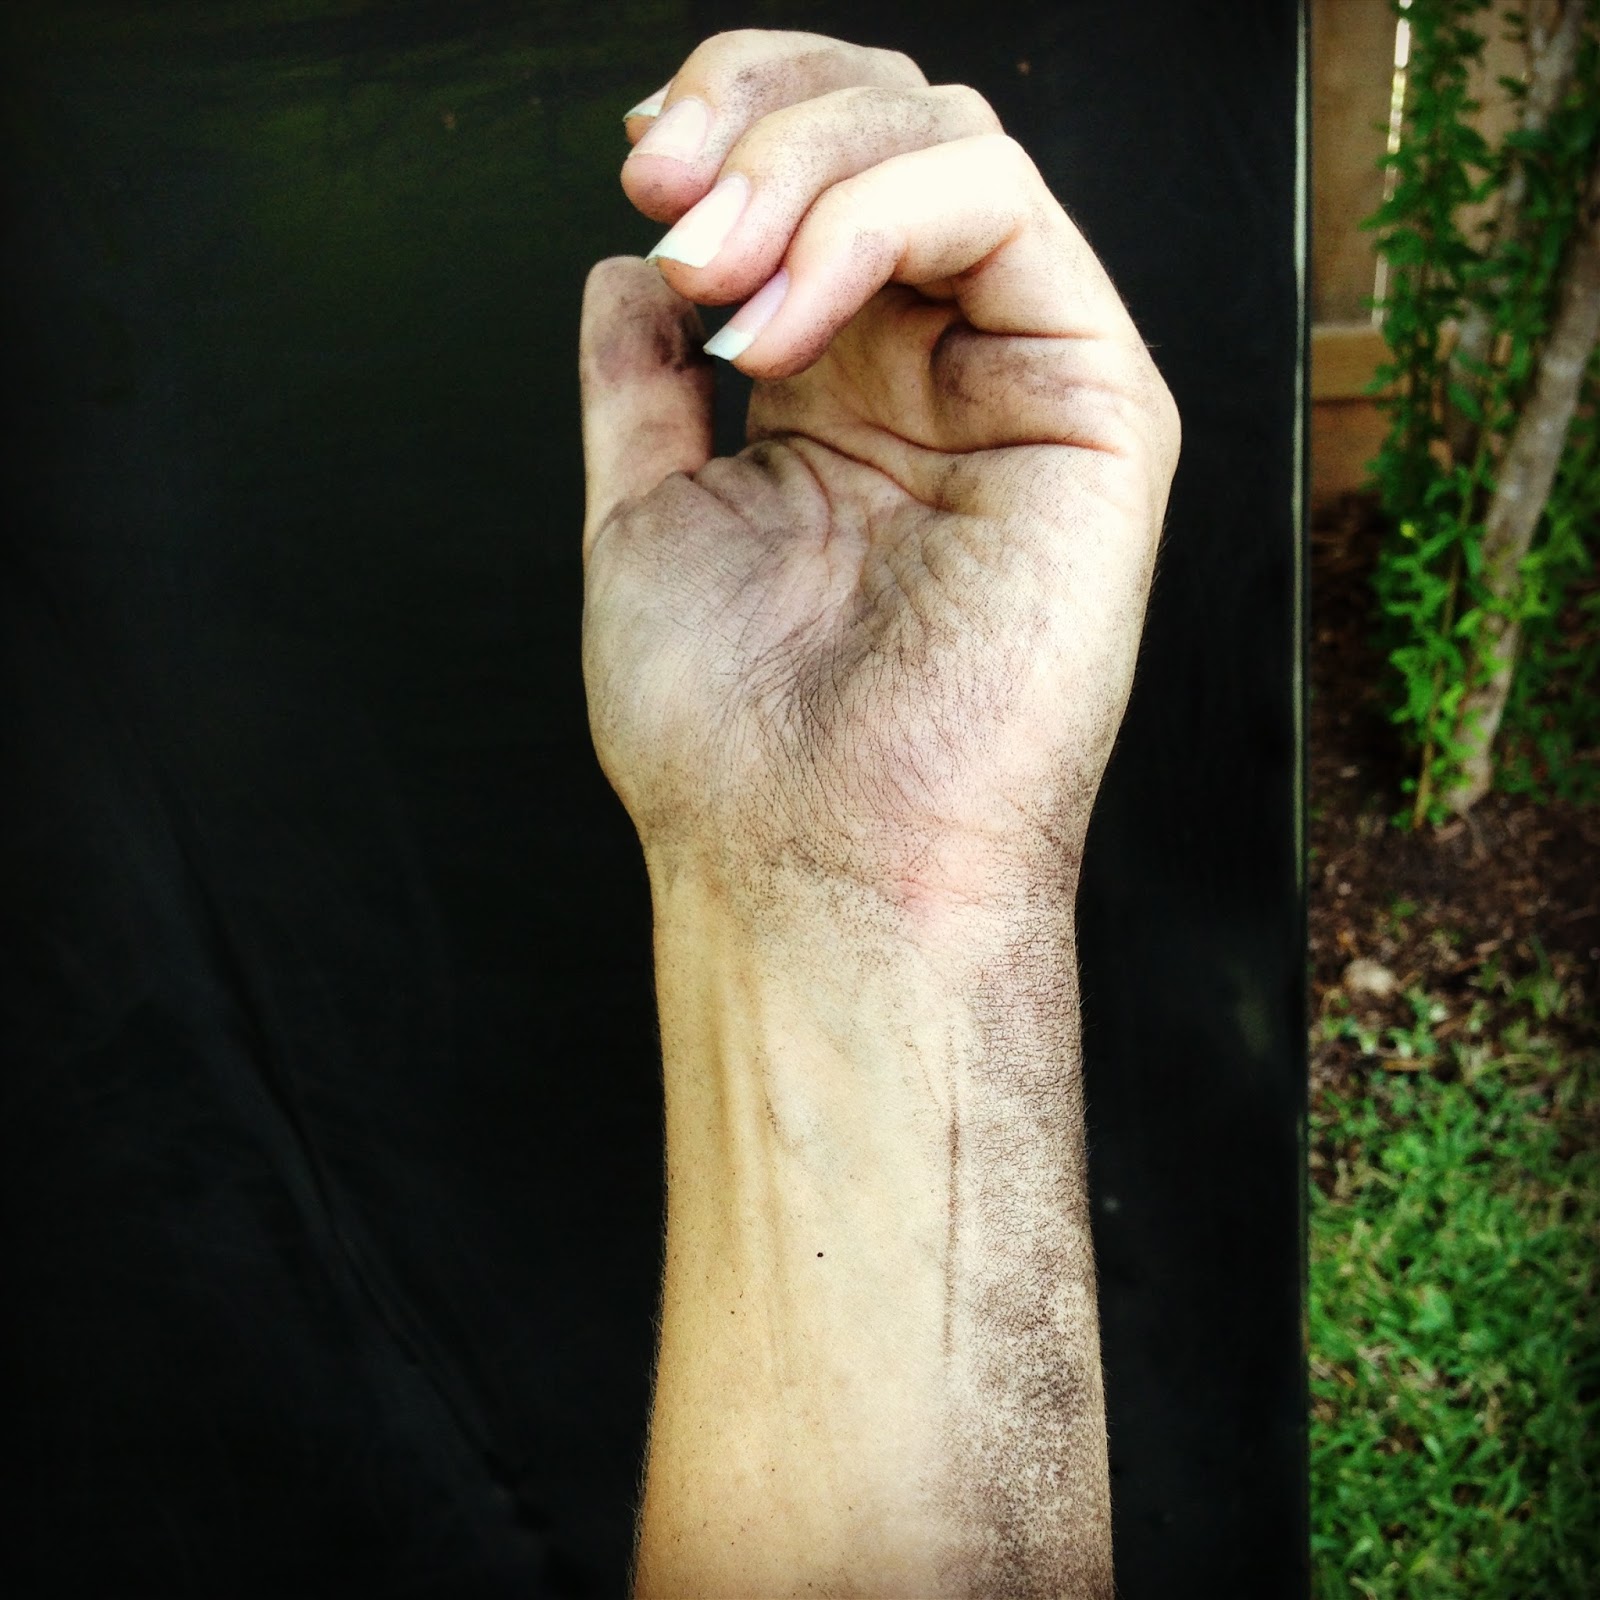
Step 1: Sand down entire piece lightly with 220 grit sandpaper.
I used a sanding block and did it by hand, but a palm sander would have been quicker. Do not use a circular sander (which is all I had on hand at the time) because it will leave circles in your paint. The point here is to simply remove the sheen, not the color.

If you follow me on instagram (and if you don’t, you can do so here), you saw my disease-ridden dust-covered arm from the process… Moral of the story: DO IT OUTSIDE.
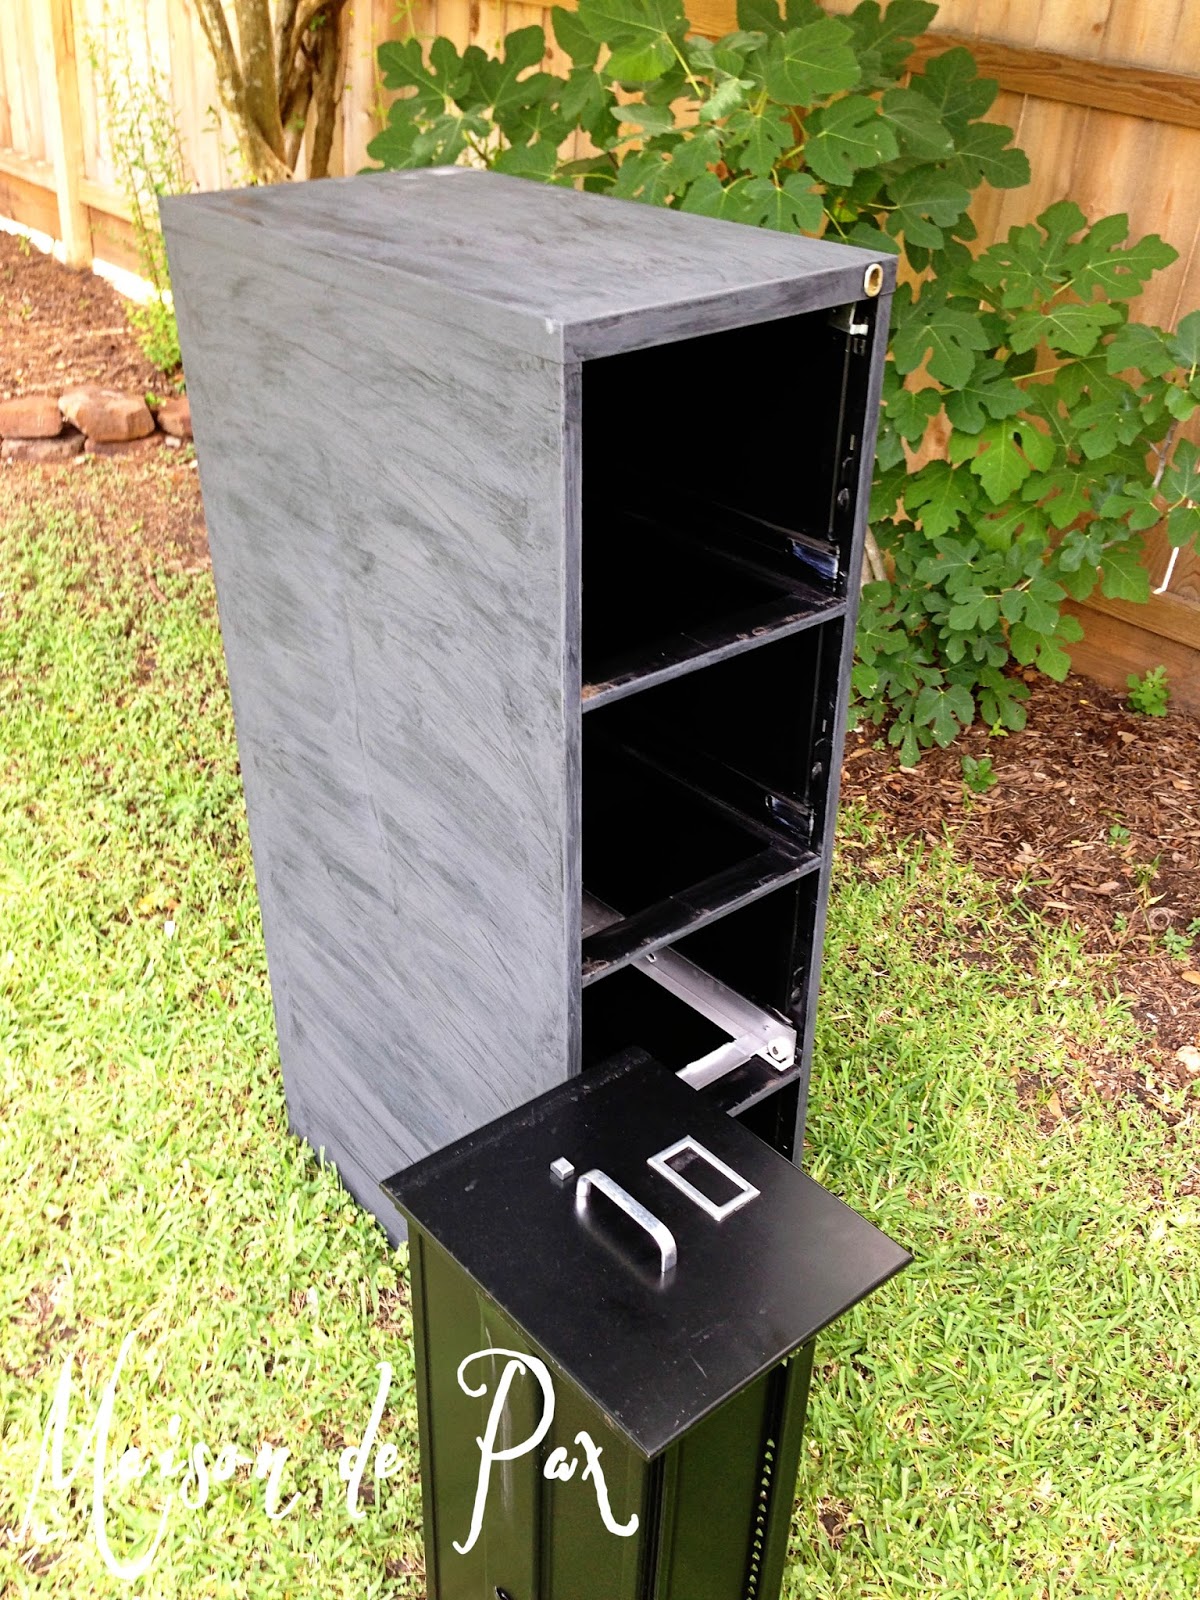
Step 2: Lightly paint with ASCP graphite.
I know that ASCP doesn’t officially require sanding, but I wanted to be sure the paint would really adhere. If you don’t have ASCP on hand (or it’s not in the budget), I would imagine that homemade chalk paint in a dark dark gray would do the trick, as well.
Step 3: Using your old t-shirt, lightly wipe the paint just as it begins to dry.
This step will provide the most different results depending on the person… I wanted to sort of rub the paint into the sanded metal, and I wanted the black underneath to show through in some places. I found that a random swiping of the paint in various directions gave me just enough variation. Here you can see the body painted and wiped (in contrast to the drawer which had been neither sanded nor painted).
Step 4: Mix paste wax with Briwax dark wax (1:1 ratio) and add a squirt of silver craft paint.
Because we had 20 cabinets to redo for church and saving money was a major goal, we decided to cut cost by mixing paste wax (a much cheaper wax than AS or other boutique brands of soft wax) with Briwax. Briwax runs $15-20/can and is a VERY soft wax (liquid above 65 degrees), so the combination of Briwax and paste wax create a nice, soft, paintable dark wax. The squirt of silver craft paint is to give it that slight sparkle. I probably only used a dime size of craft paint for every 1/2 cup of wax – just a little touch.
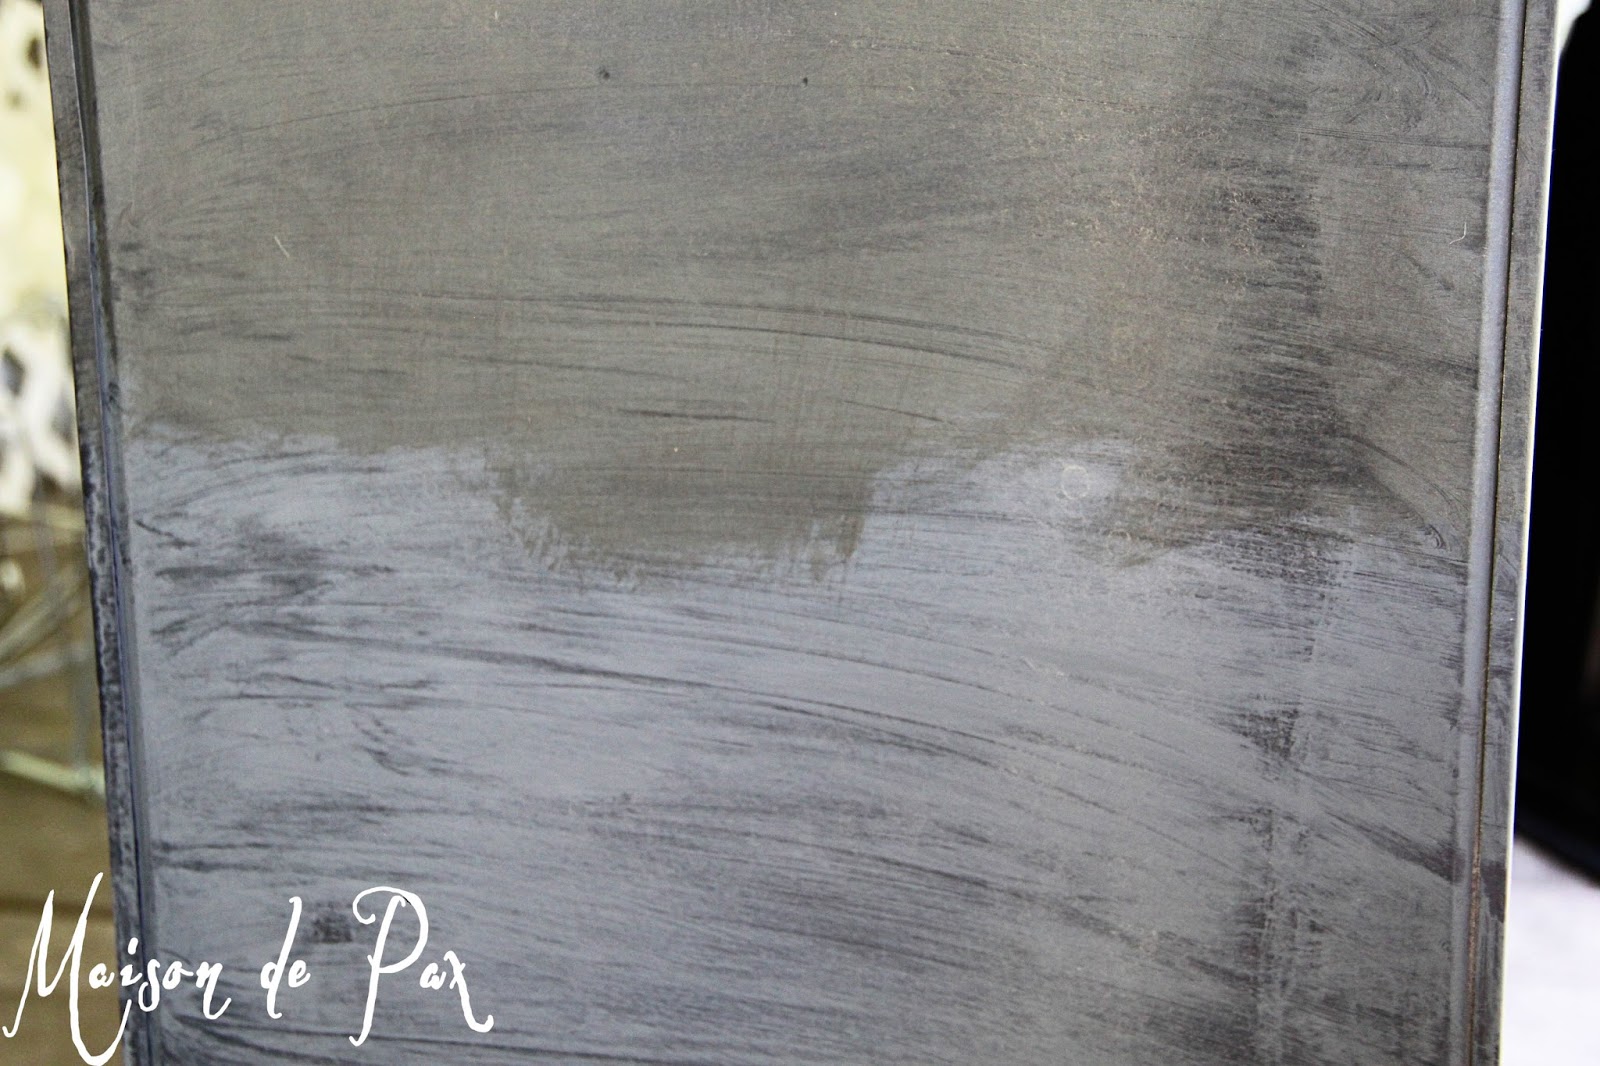
Step 5: Wax the entire piece, using your brush to smudge the paint where desired.
I know that sounds horribly vague, but wax can actually lift paint, so I purposefully worked my wax into the piece with significant pressure in some places to further add to the dimension and contrast of the black and gray portions. That effect can be taken even further if you follow your brush with a rag in some places. Here you can see the difference the wax makes (top half waxed, bottom half not).
Step 6: Buff and repeat wax if desired.
I also added new hardware to my cabinet. Unfortunately, I found it enormously difficult to find cup pulls with 4″ spacing at a reasonable price (I finally ordered these if you’re curious). And then when they arrived, the finish didn’t match the label holders or lock mechanism perfectly (I had assumed they probably wouldn’t), so I touched up all of them with a little silver rub ‘n buff just to even out the finishes.
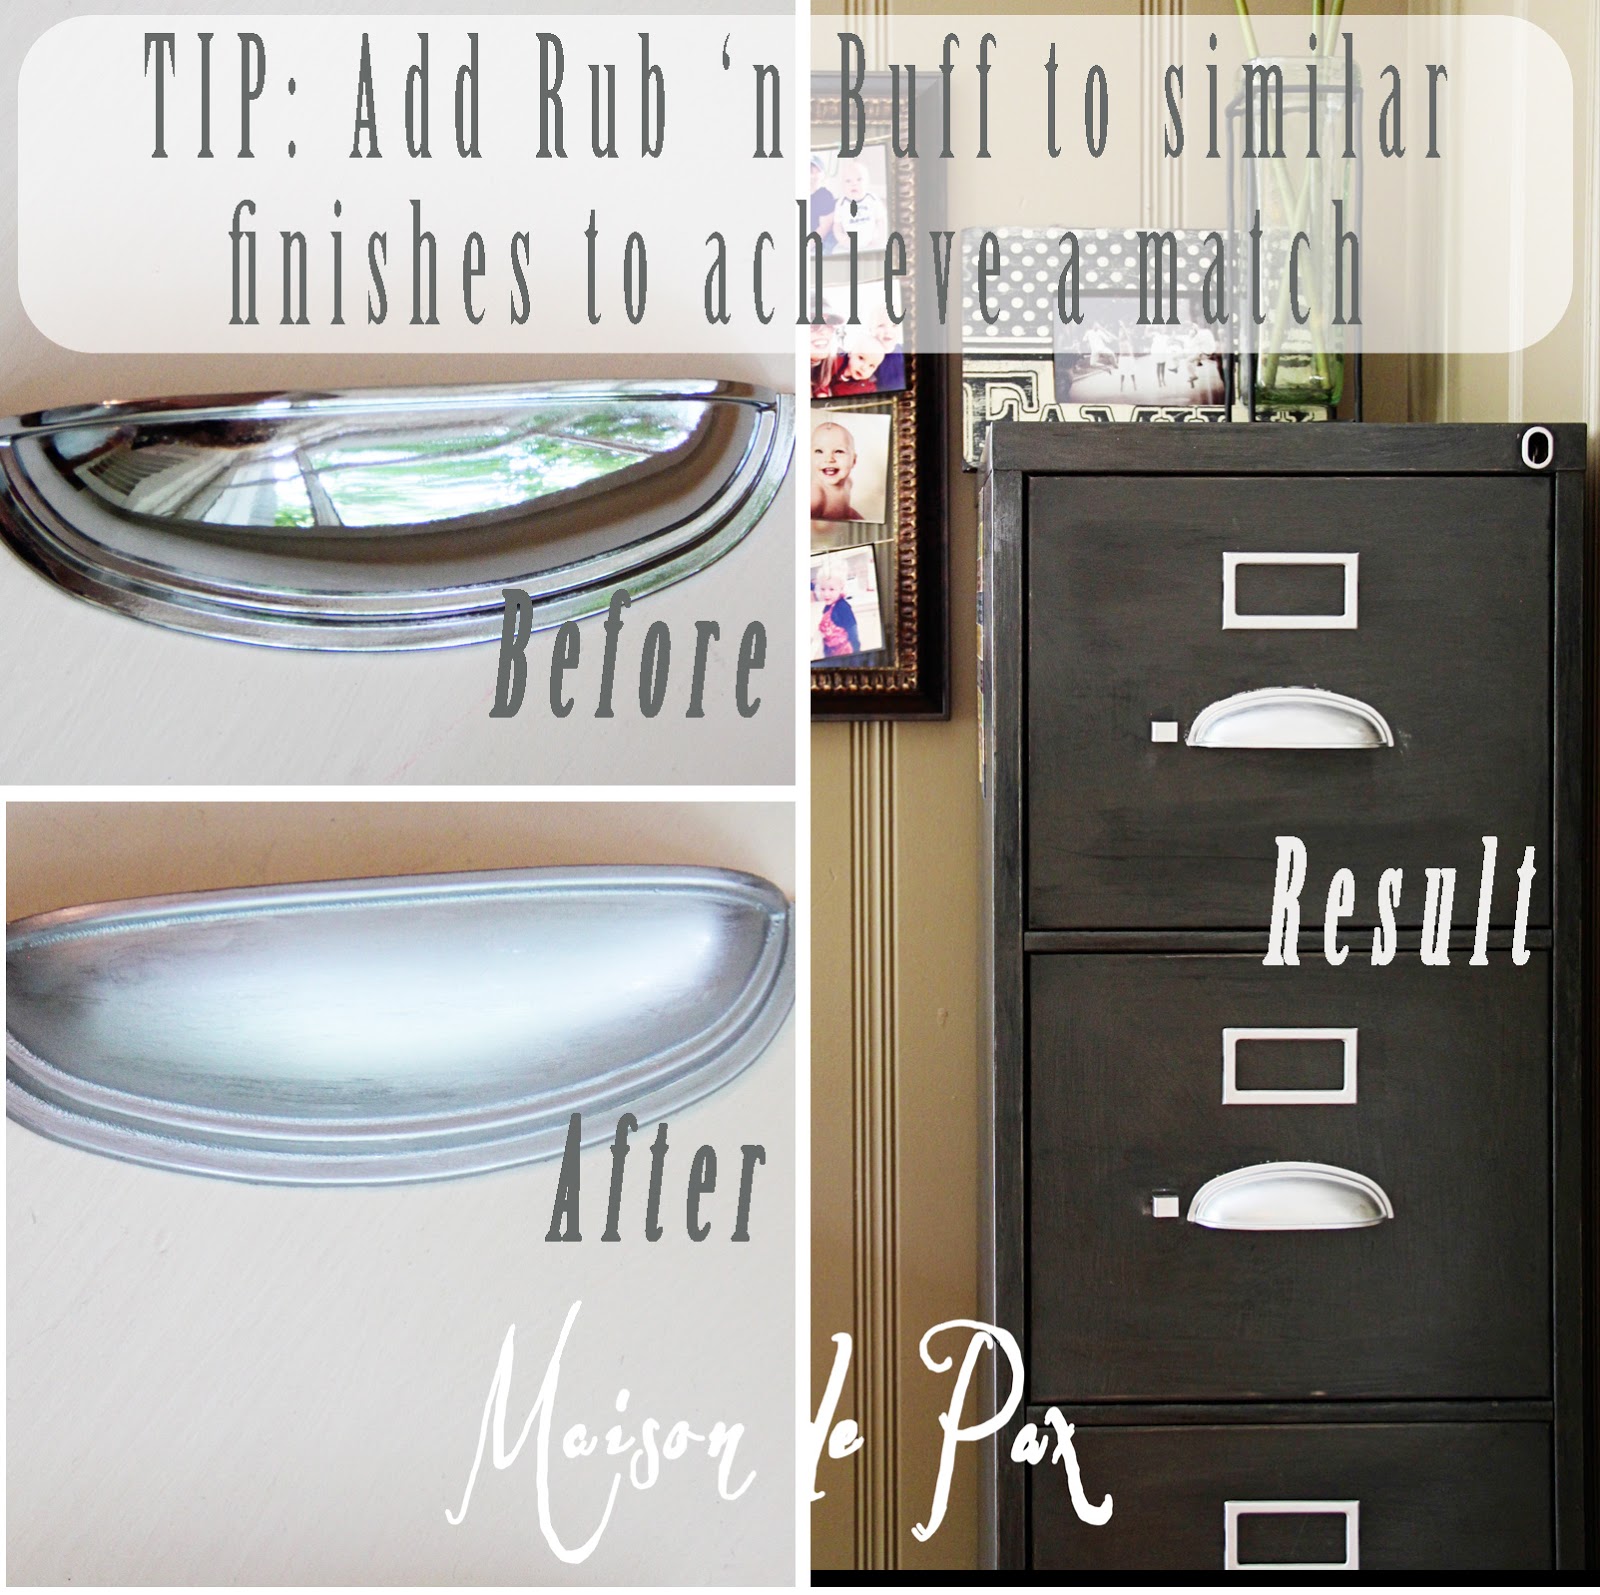
In the end, though the cabinet was free, I spent ~$30 on the hardware. And if I hadn’t already had the other supplies for the church project, they could have added up quickly… But I LOVE the result. Don’t you?

I think it would be beautiful on any old metal cabinet. The options are endless!

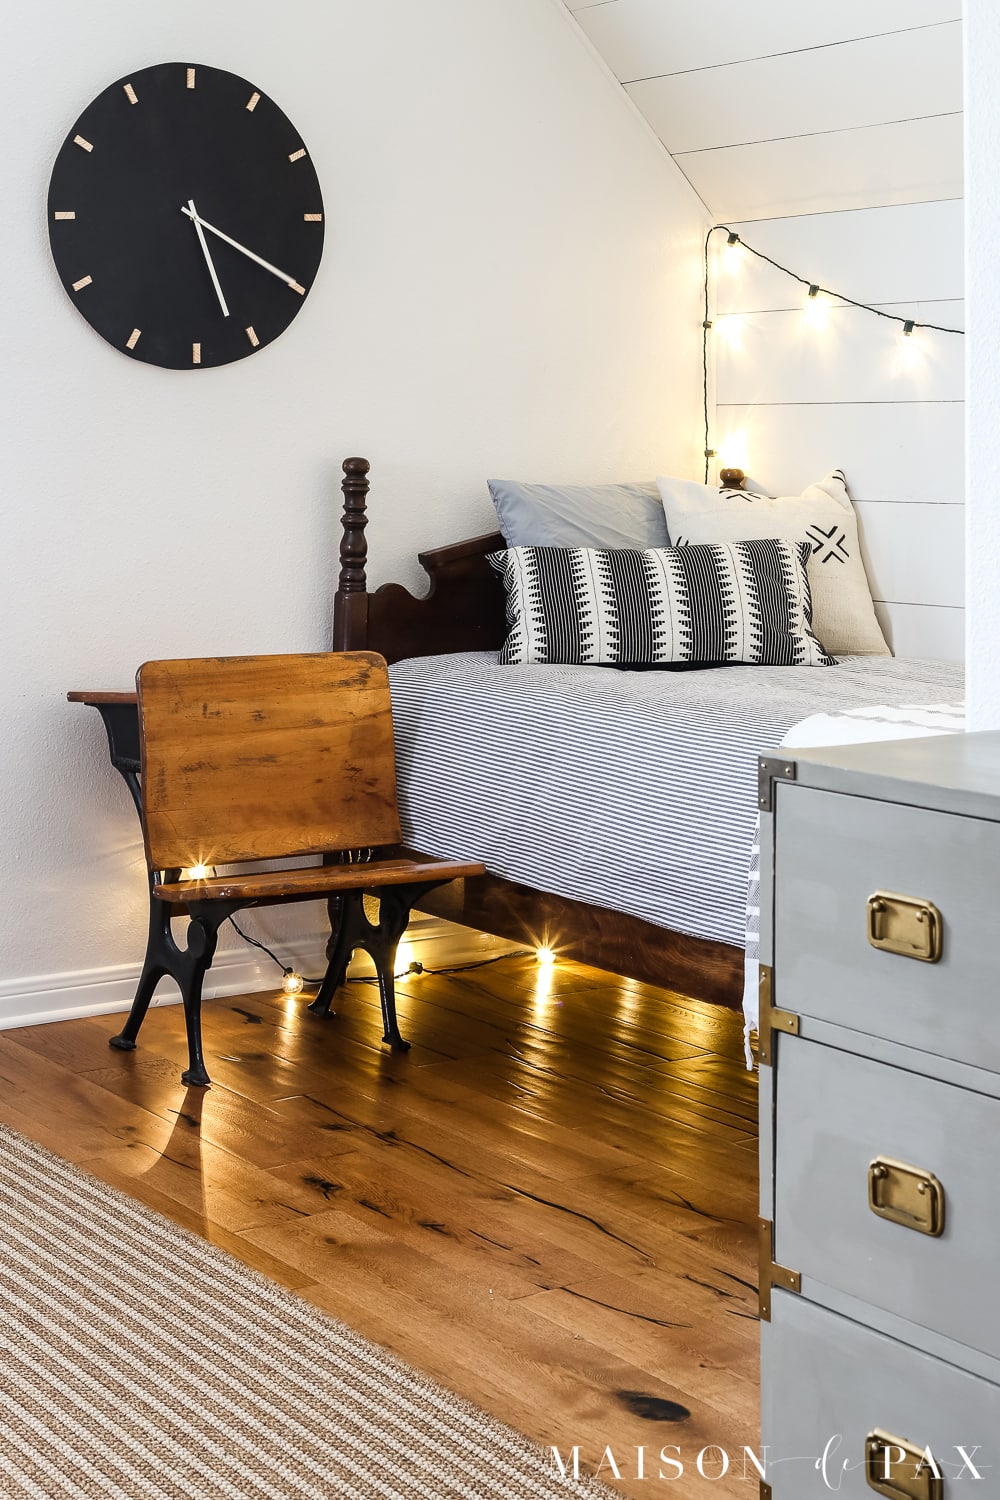
I like the pulls and the color is great! Your desk is amazing…what a nice work space!
Thank you so much, Abby! Isn’t the desk gorgeous? My husband has great taste. 🙂
What an inspirational space! Thanks for the great tips!
Thank you, Erika. So glad you like it!
I LOVE this idea! Your technique turned out great!
Thank you so much, Amanda! 🙂
This is just what I’ve been looking for! When you say Briwax dark wax, do you mean the dark brown or the ebony? Can’t wait to get started on my project 🙂
It was the dark brown, Katie. I’m so glad you like the makeover, and I hope you love the piece you’re working on!! 🙂
Can AS wax create the same effect? and if my cabinet is beige color should I stick to your tutorial of the gunmetal gray? Thanks
Hi! I think AS wax would probably produce a similar effect, but I’m pretty sure a beige base would change the color considerably. You might want to consider painting the cabinet fully, rather than just giving it a wash. The beige showing through would probably take away from the metal look. But try a small area on the back first and see… You never know! 🙂
Hi Rachel, love the finish on your cabinet. I have never worked with the Briwax products before ( I know, shame on me ( : ) but i do have one of those old oak file cabinets that are so heavy but still it’s a file cabinet that we need. So i planned on painting it a lighter shade of grey but love the effect of the wax with the silver paint in it. Is it possible to get that effect with a painted wood surface and in the lighter shade of grey ? Not super light mind you, more like warm medium shade of grey. Thanks for sharing, love the back stories too. Sincerely, Diena
Hi Diena! I’m so glad you like the cabinet. And don’t be ashamed – I feel like there are new products I find every day! I would definitely try it out – maybe one a test piece first. It won’t have as much of a metal look, obviously, but the sheen could still be really pretty. Did you see the other cabinets I did (link here)? They were also metal, but they started a much lighter gray. We gave them a brushed look, which you don’t have to do, but it might give you a better idea of the color. Hope this helps! I’d love to see how it turns out when you’re finished. 🙂
Great project! I have an old one that I’ve been thinking of revamping. It is the old ugly “putty” color that many cabinets came in. I do have a questions for you. Did you have to remove the hardware to refinish the drawers? Mine are the type that have the little thumb release button that I’m afraid may be difficult to remove. I’m wondering if I can work around it by taping it off. Thoughts? Thanks!
Thanks, Deanna! I have really enjoyed the cabinet since its makeover. 🙂 I did remove the hardware, though, and it wasn’t hard (I can’t remember exactly what it was like before). Since I was planning to replace mine with cup pulls anyway, I decided it would be easier to do with the hardware gone. I’m sure you could tape around, but it might make sanding tricky? Good luck!!
Stumbled across you when I spotted your neat blackboard letters on pinterest. Now I’ve just been inside your entire house – thanks for the tour – and LOVE every bit of it. I have an old filing cabinet which I wanted to chalk up and this post has inspired me. Thank you. You have done a mammoth job keeping the integrity of your home, just gorgeous!
You are SO welcome, Jac! So glad you enjoyed it. 🙂 I can’t tell you how much I appreciate your kindness… I hope you’ll follow along with the next house; we’re moving at the end of the month! And good luck with that cabinet. 🙂
I have a black lateral filing cabinet that I would like to turn into a grayish-brown-ivory layered look. What is your suggestion using Annie Sloan products?
I have not used every color from Annie Sloan, but my gut says try French Linen with Old White on top (you can see how I layered Old White over Paris Gray here… French Linen is a bit darker and browner than Paris Gray). You can always darken using more dark wax. Hope this helps!
Great post!! This is exactly what I’ve been searching for! I’m actually trying to come close to the RH 1940s gunmetal colored desk. My filing cabinets are putty colored…do you think we can do almost the same as you here with a black spray paint as primer?
I definitely think it would be worth a try, but you might want to test it first. The advantage of the chalk paint is that it adheres very well and it is porous to soak up the wax. There’s a chance you’ll have trouble getting the wax to really soak into the spray paint. I do think the idea of a black base over putty colored cabinets is great, though. Good luck!
Hi there! I am trying to give a black file cabinet a makeover and this might be the ticket!
My question is since my cabinet is already black do you really need to paint it with the graphite paint?
Sorry if it’s a silly question, I’m pretty new to all of this.
thanks
As you can see, my cabinet was also black to start with. While you certainly could experiment with just the wax, I’m afraid there might be two potential problems: first, I don’t think you’ll have as much variation to the patina. Second, the chalk paint actually absorbs the wax and acts as a connection between the metal and the wax. I’m afraid that if you don’t use the paint, the wax will not have anything to absorb into and may take forever to dry. I hope this helps!
Great post!! One question…how long did you let the AS Graphite dry before applying the wax? Did you just use one coat of the paint and wax, respectively? Thanks!!
I’m sorry, I confess I don’t remember! But I do know I let it dry to the touch for sure. I would think 30 min to an hour would be enough. And yes, I just used one coat of each, but you can certainly play with it and follow with subsequent coats until you’re happy with the look. I hope this helps!
I have a question? I have a light brown cabinet that I would like to do a finish like this on? Do you have any recommendations on paint to make it graphite looking over the brown? It is not dark at all almost a rust brown.
We started with some light tan ones when we did ours. The ones that turned out best are the ones that were dark gray to begin with, but the light tan ones turned out pretty good, as well. The only thing we did differently was to paint a couple of thick coats of the graphite (rather than just a wash) before we started the wax process. Be careful to sand well before you begin, though, as it is always a challenge for paint to stick to metal. I hope this helps!