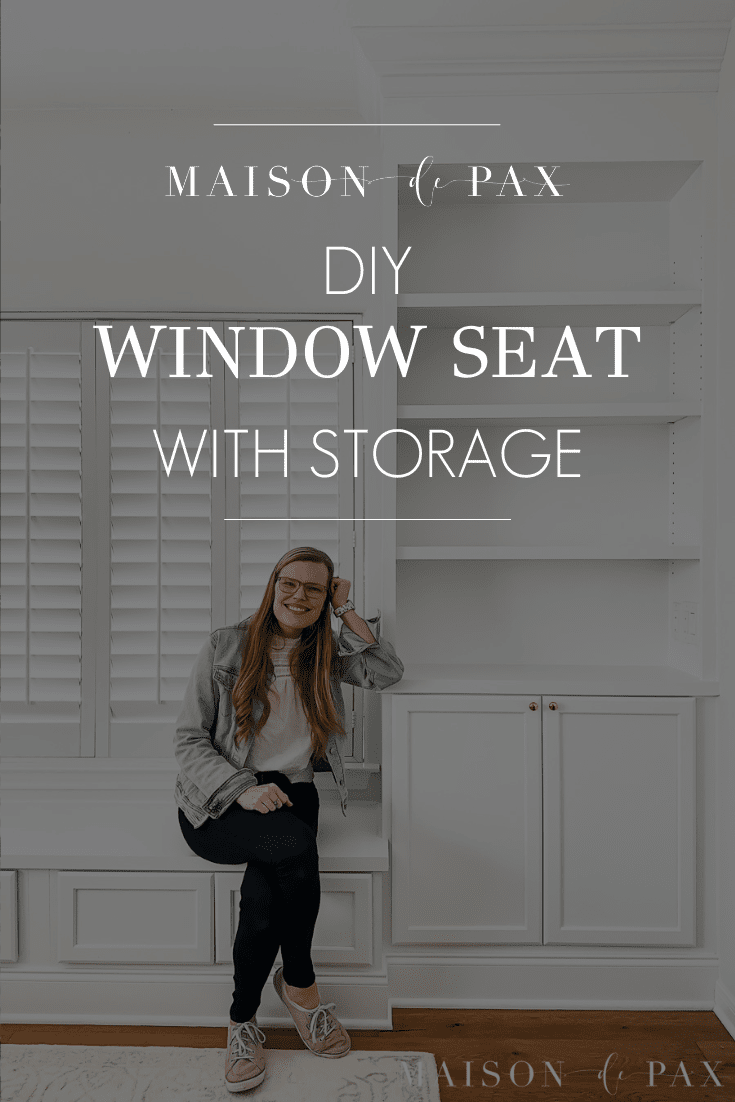
DIY Window Seat Between Bookcases
Looking for extra storage and charm? Find out how to build a window seat between two bookcases with this DIY window seat tutorial.
I’m all about efficiency, including when it comes to home improvement. If I can add charm, function, storage, and value to my home in one fell swoop… You better believe I’m interested! And a DIY window seat with built-in bookcases checked all those boxes.
Where to Build a Window Seat
A window seat is best installed as a nook of sorts. In order to do this, you need sides to your window bench seat. If you have a bay window or recessed window, then that’s a great spot to build a bench seat with storage. If you don’t, then cabinets and bookcases are a great alternative.
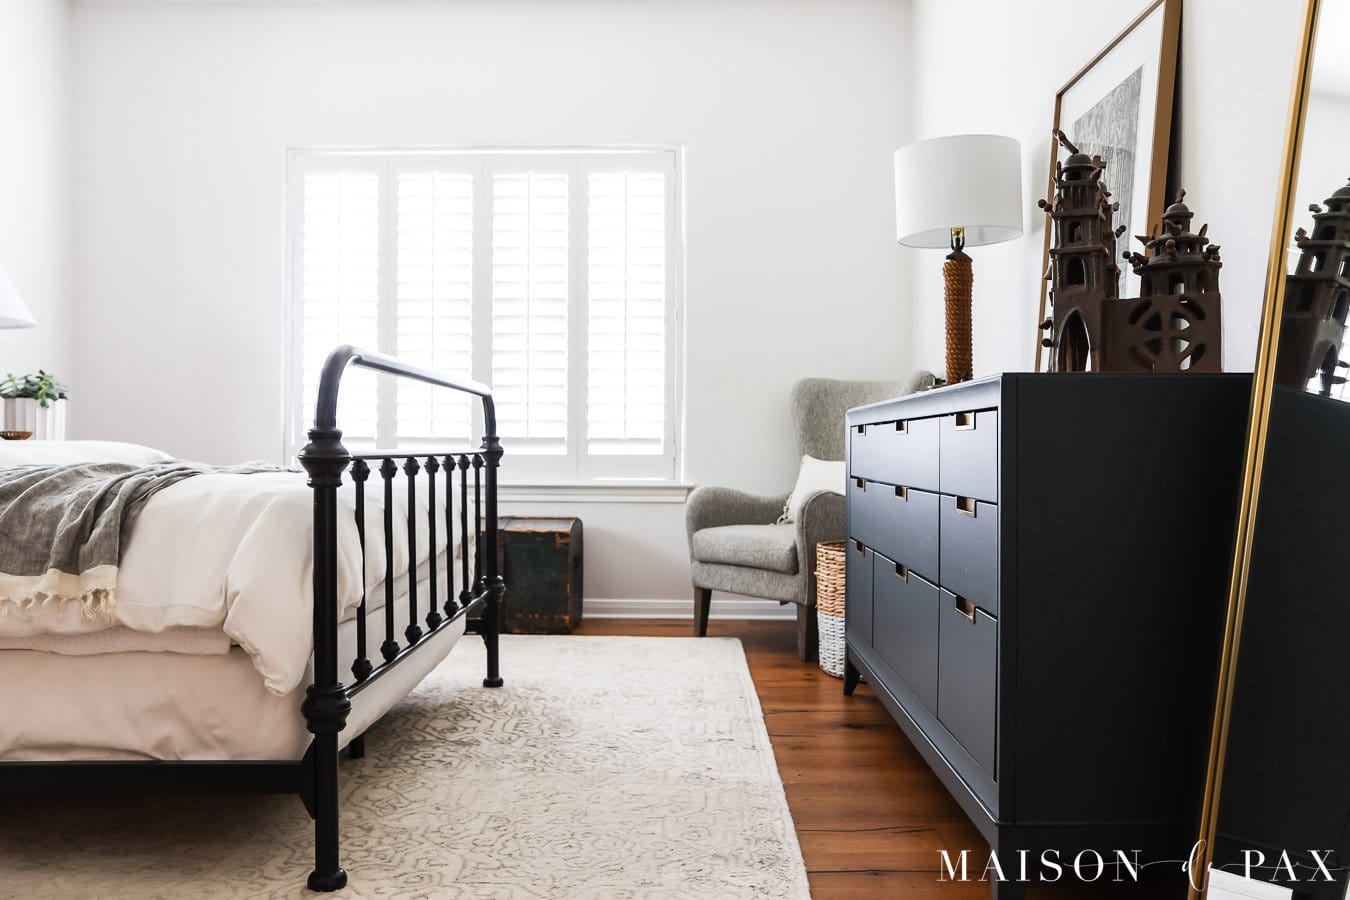
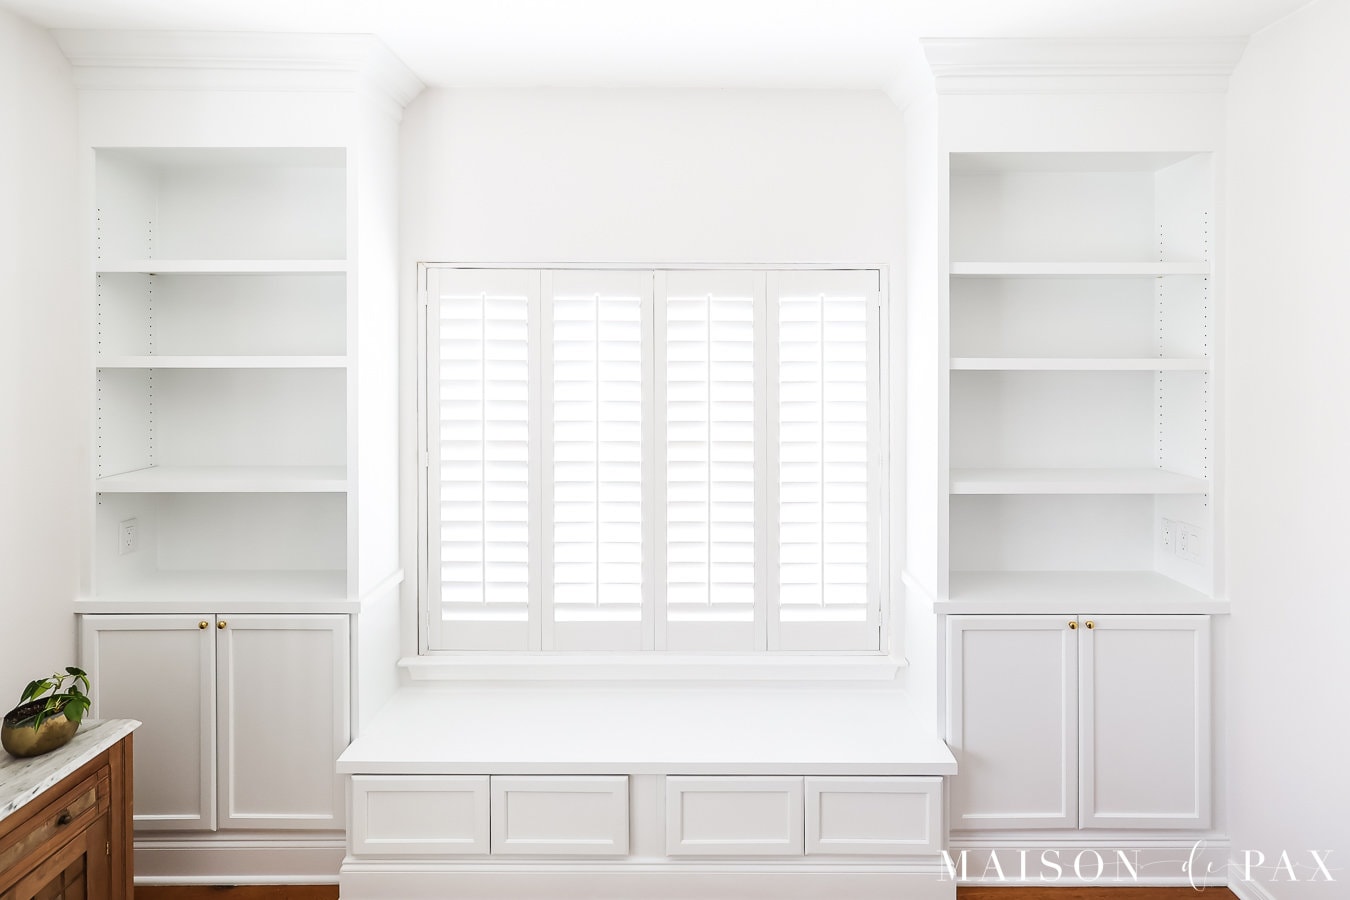
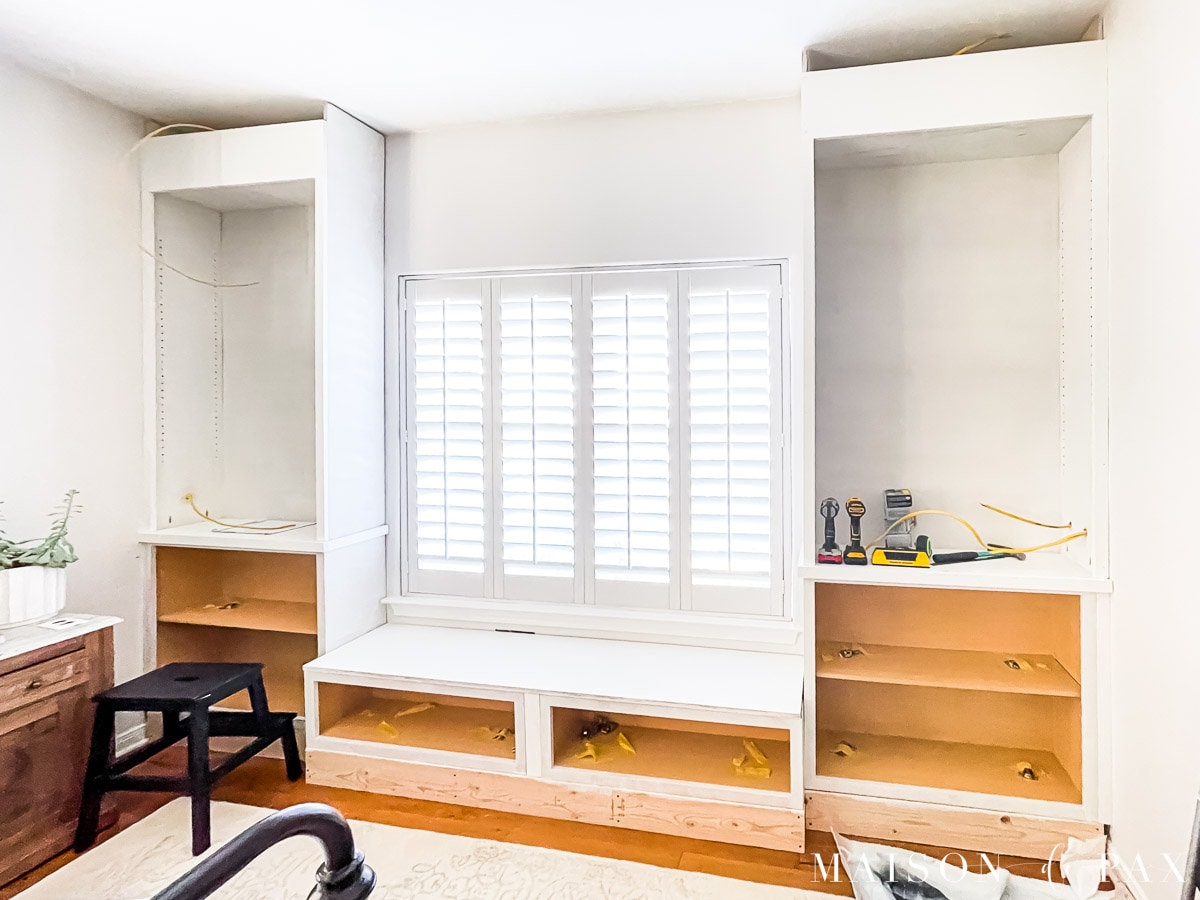
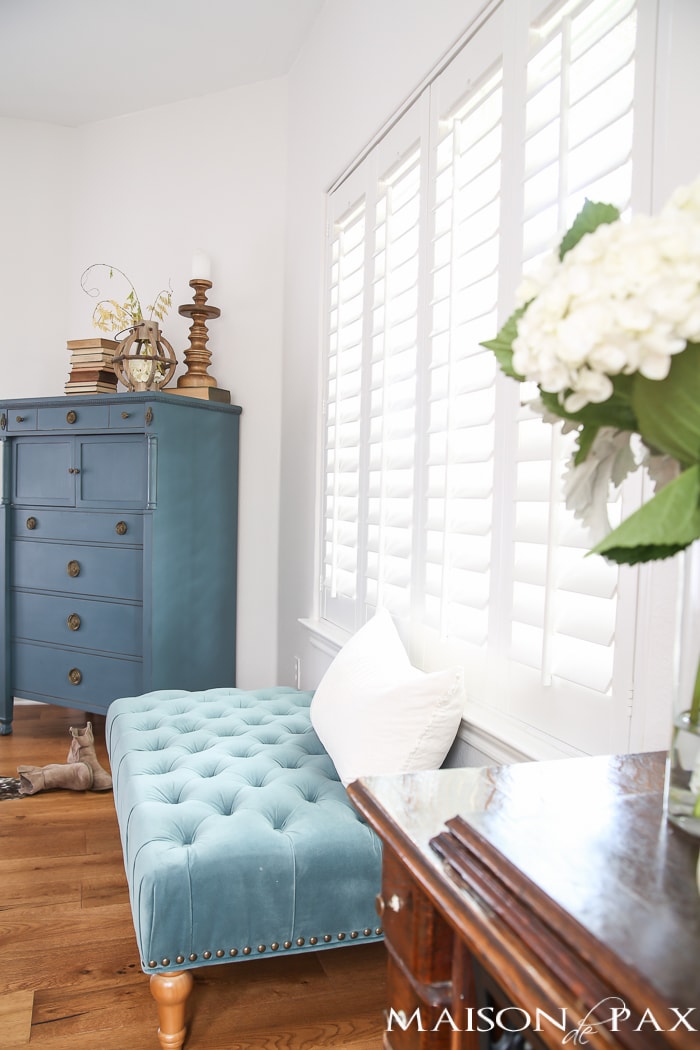
We chose to build ours at one end of our primary bedroom. It’s not a very big room, but it is wider than it is deep, so it feels comfortable to add some built-in cabinetry on one end. The wall began completely blank except for the window.
It is approximately 12 feet wide with a 70″ window in the middle. Let me show you how we built it, then I’ll answer a few FAQs at the bottom of the post.
Materials needed for building a window seat
We built ours using the following materials, but you will need sizes and amounts to match your space.
- 2x6s for base frames
- (2) wall cabinets: 36W x 12D x 12H (though drawers would be a great alternative here!)
- (2) wall cabinets: 36W x 12D x 30H
- 1/4″ plywood for the exposed sides of the cabinets and back of bookcase (optional)
- 3/4″ plywood for bookcase body and bench top
- 1x2s for edging face frames
- 1×10 for top face frame (where crown molding goes)
- baseboard, quarter round, and crown molding
- tools: miter saw, table saw, kreg jig, stud finder, tape measure, level, drill, brad nailer (you can manage without some of these, but we used them since we have them)
How to Build a Window Seat
I want to show you the general process, rather than exact dimensions and instructions, so that you can adapt the project to your own space. *Note: I painted some of this before installation and some after…
Also, we had an electrician come before we began installation to wire for plugs and lights. This is optional, but a good option!
1. Layout your pre-made cabinetry
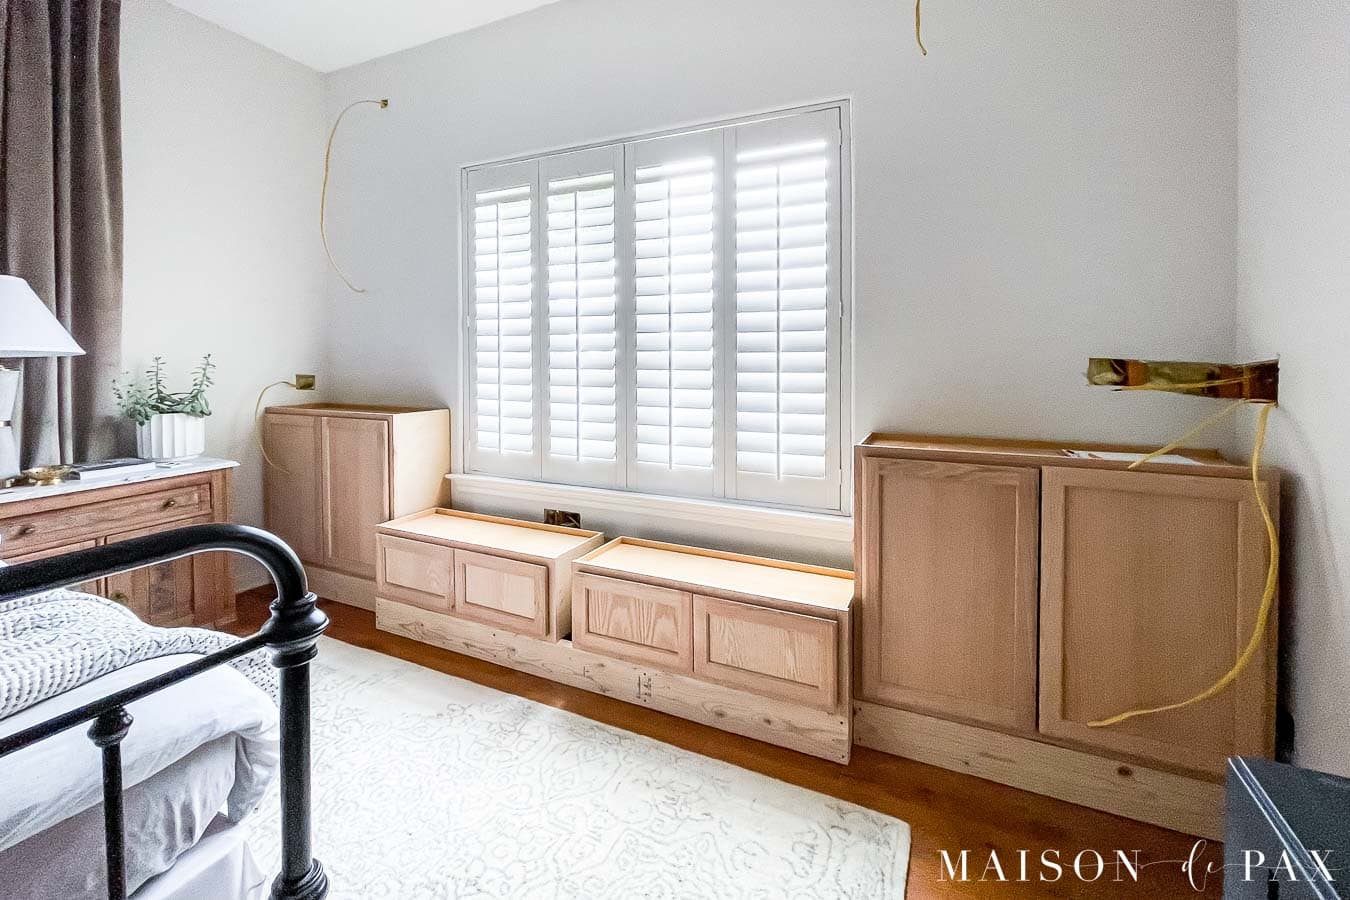
Measure the width of your window. The seat will need to be at least the width of the window so that it can die into the sides of the cabinets and bookcases on either side of the window. Find pre-made cabinets (these are the ones we bought) to fit your space. You can rip down 1x__ boards, as needed to fill gaps between cabinets.
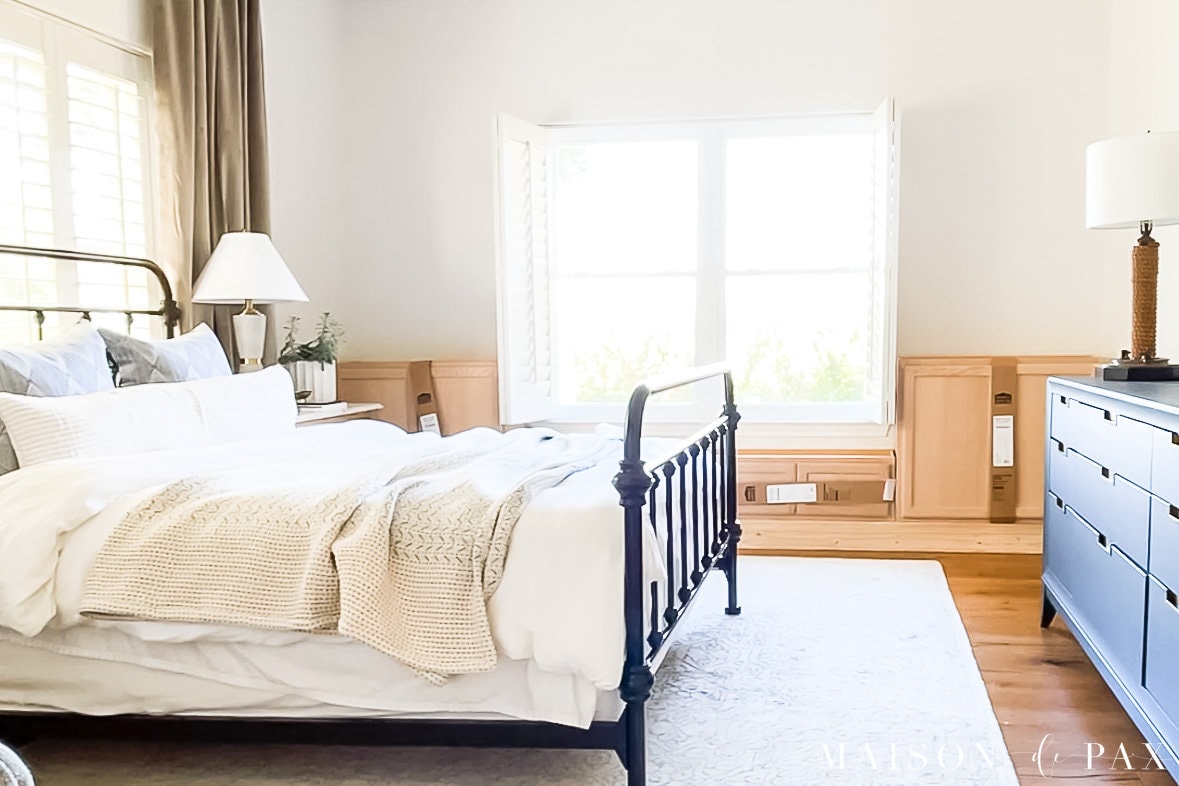
We used these unfinished wood cabinets for the bench portion. 12″ is a little low for a window seat, but once we added the base frame and the bench top, it’s perfect at ~18″H. It is also a little shallow for a seat, but see FAQs to see how we solved that. Determine the desired width of your bookcases and get 30H x 12D wall cabinets of that width.
2. Build base frames from 2×6’s
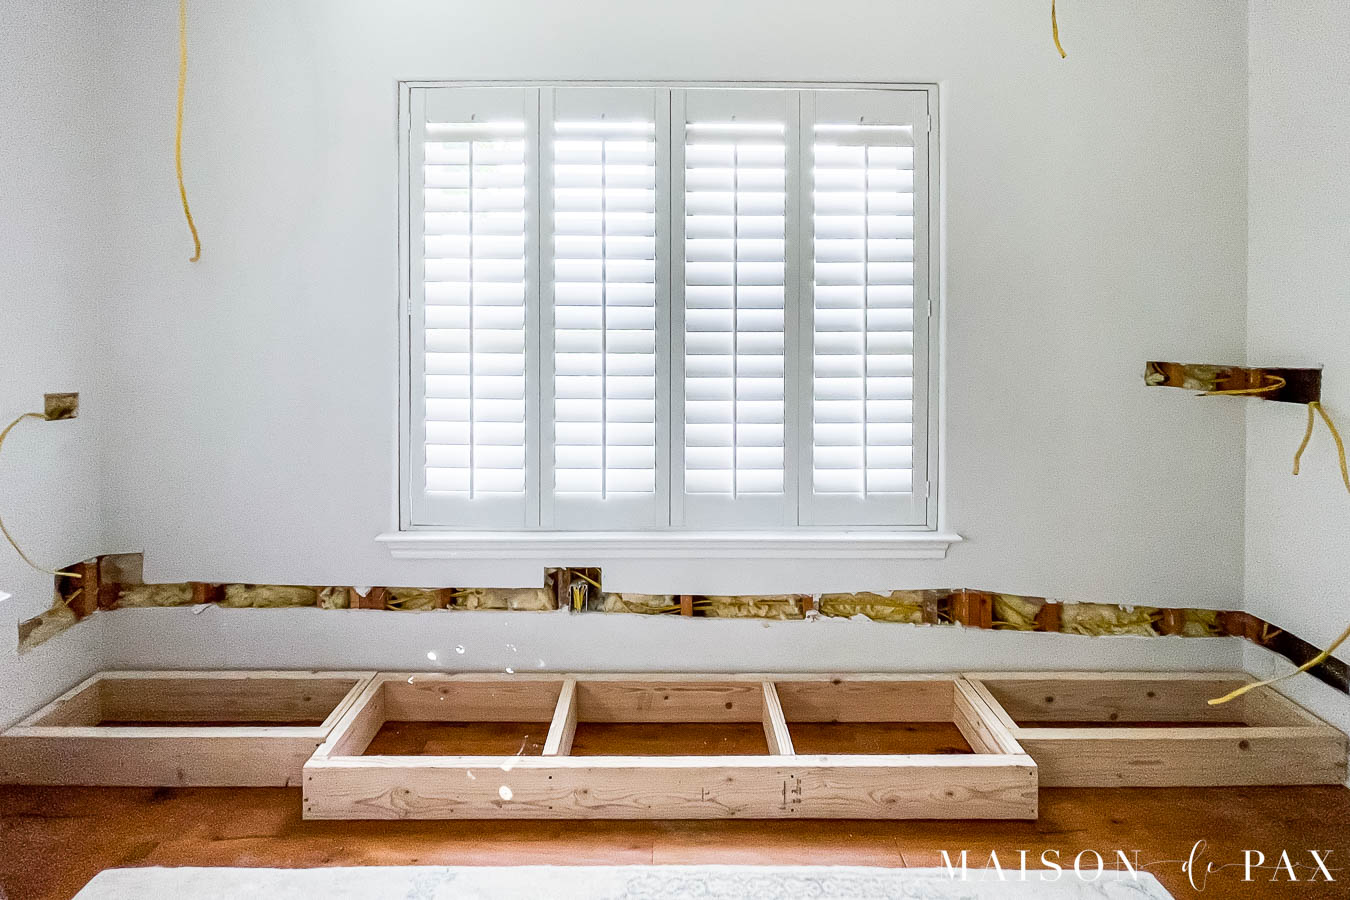
Turn 2×6’s (or you can use 2×4’s, but we chose 2×6 because we wanted the extra height so the bench top would be a comfortable sitting height) on their sides and create boxes the same size as the cabinets.
Attach these to wall or floor studs.
(3. Add 1/4″ plywood to exposed sides of cabinets, if necessary)
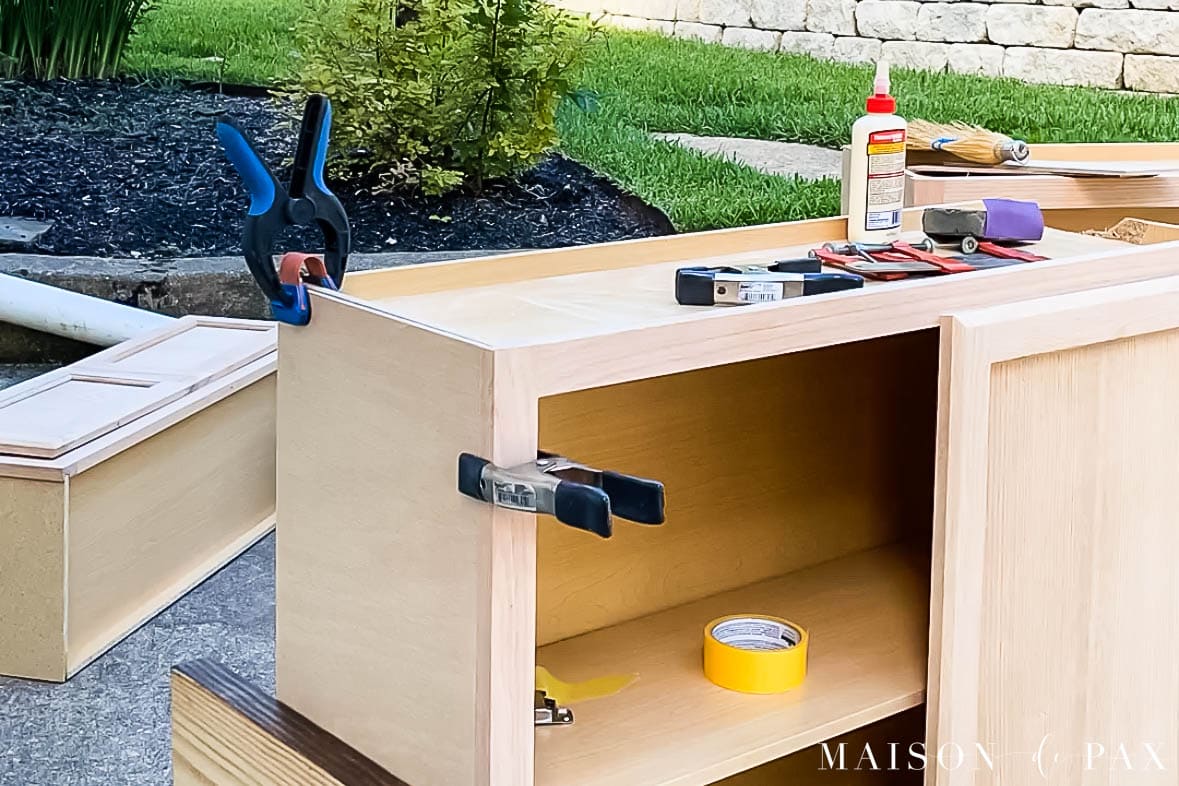
If your pre-made cabinets have unfinished sides, be sure to glue and clamp 1/4″ plywood or some other finishing material to the exposed sides so you can prime and paint them later. Wood glue or construction adhesive will work.
4. Install cabinets on top of base frame
Fit your cabinets onto the base frames and secure into wall studs or directly into the base frames.
5. Cut bench and cabinet tops
Use 3/4″ plywood sheet to create tops for all your cabinets. Be sure to use a single plywood piece for the window bench seat, if possible. You could also use piano hinges to make this more of a lid if you prefer.
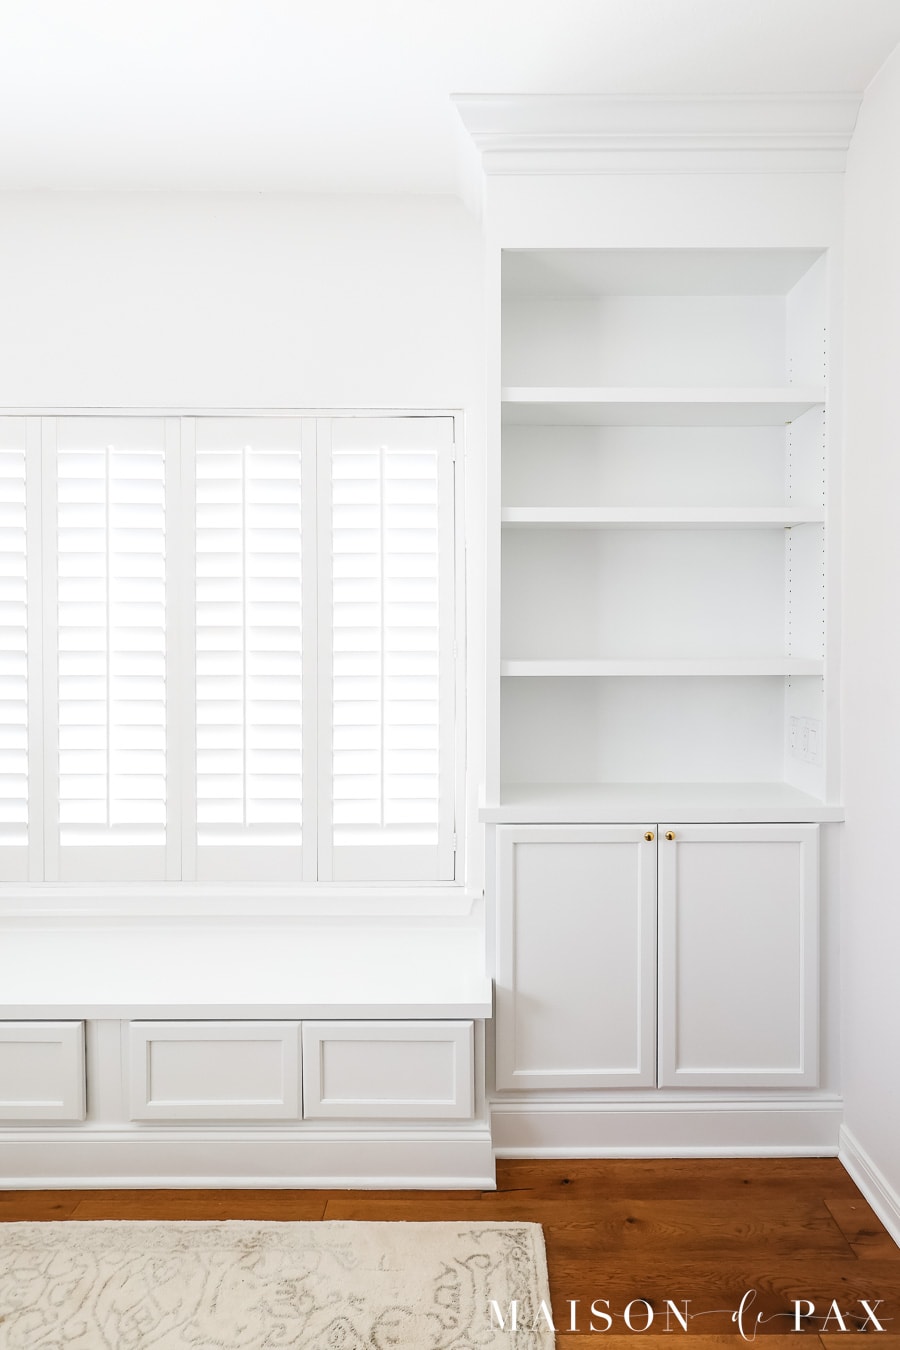
6. Build bookcases
Use 3/4″ plywood to build simple bookcases (we did sides and tops; we did not bother to do a bottom since they would be sitting directly on the cabinet tops we made). Backs are optional. We used 1/4″ plywood so it would have a smooth back, but if you don’t mind having your wall texture show, then backs are not required.
If you are lucky enough to find a pre-made bookcase that fits the size of your space, no need to start from scratch! Just slide them in on top of your taller cabinets and use trim pieces and caulk to cover the seams later.
7. Install bench top, cabinet tops, and bookcases
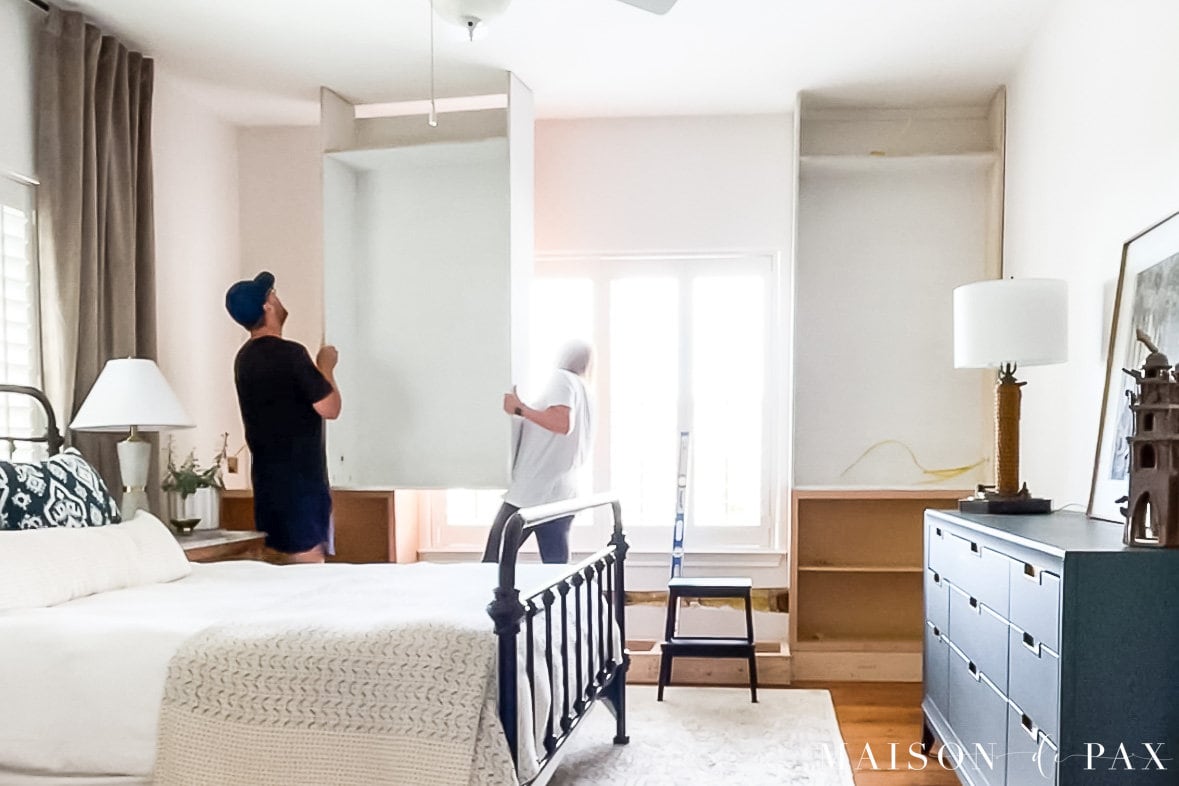
Use wood screws (drilling up from underneath) if possible or finishing nails to attach the tops you made to the cabinets. Place the bookcases on top of the taller cabinets and secure into the wall and cabinet tops using pocket holes.
8. Trim out the exposed plywood edges
Use your 1×10 and 1×2’s to cover the exposed plywood edges on the cabinet tops and bookcase. We used 1×10 across the top and 1×2 on all the other edges.
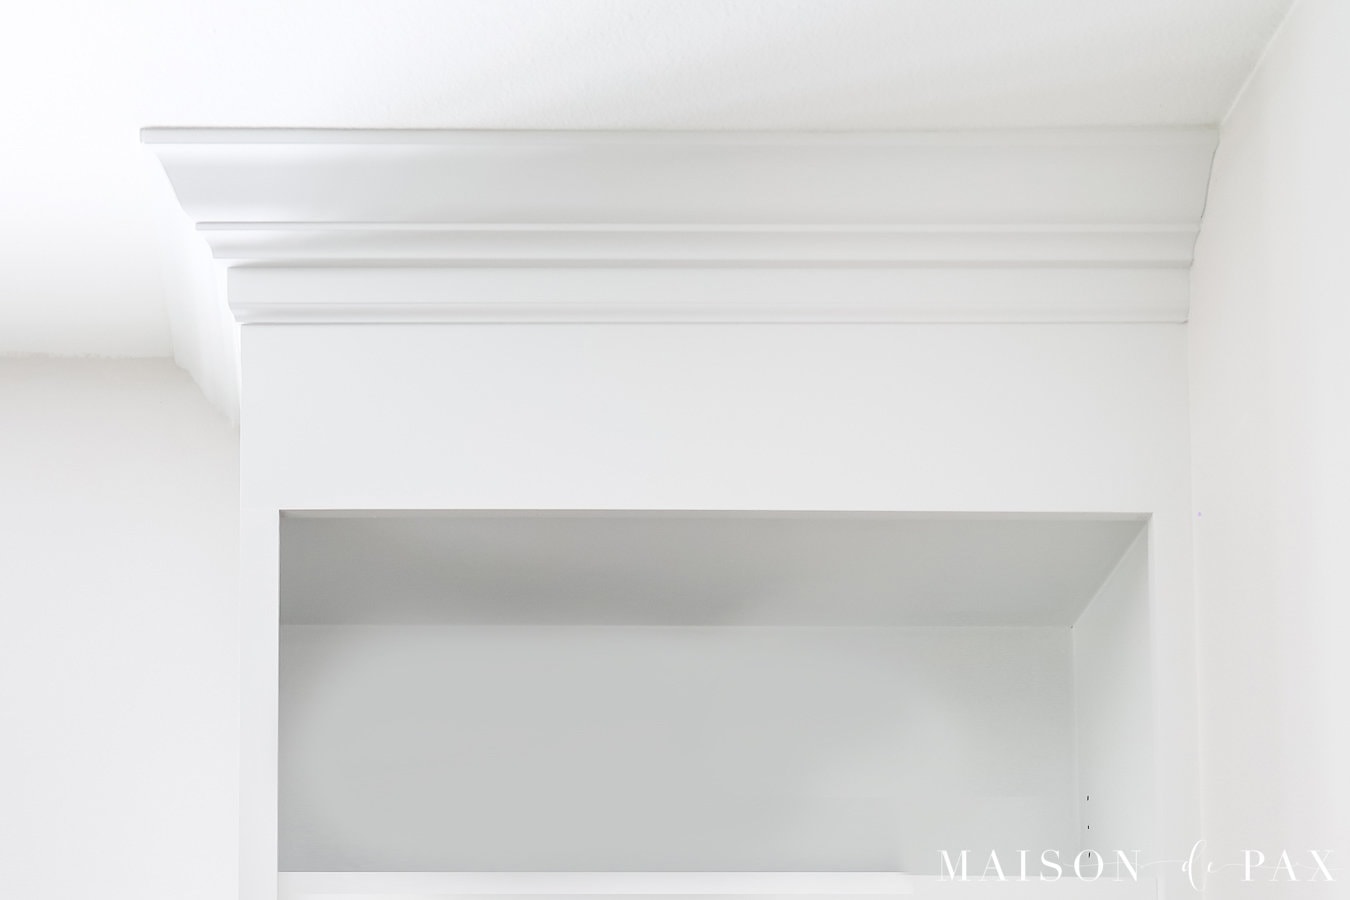
9. Add baseboards and crown molding
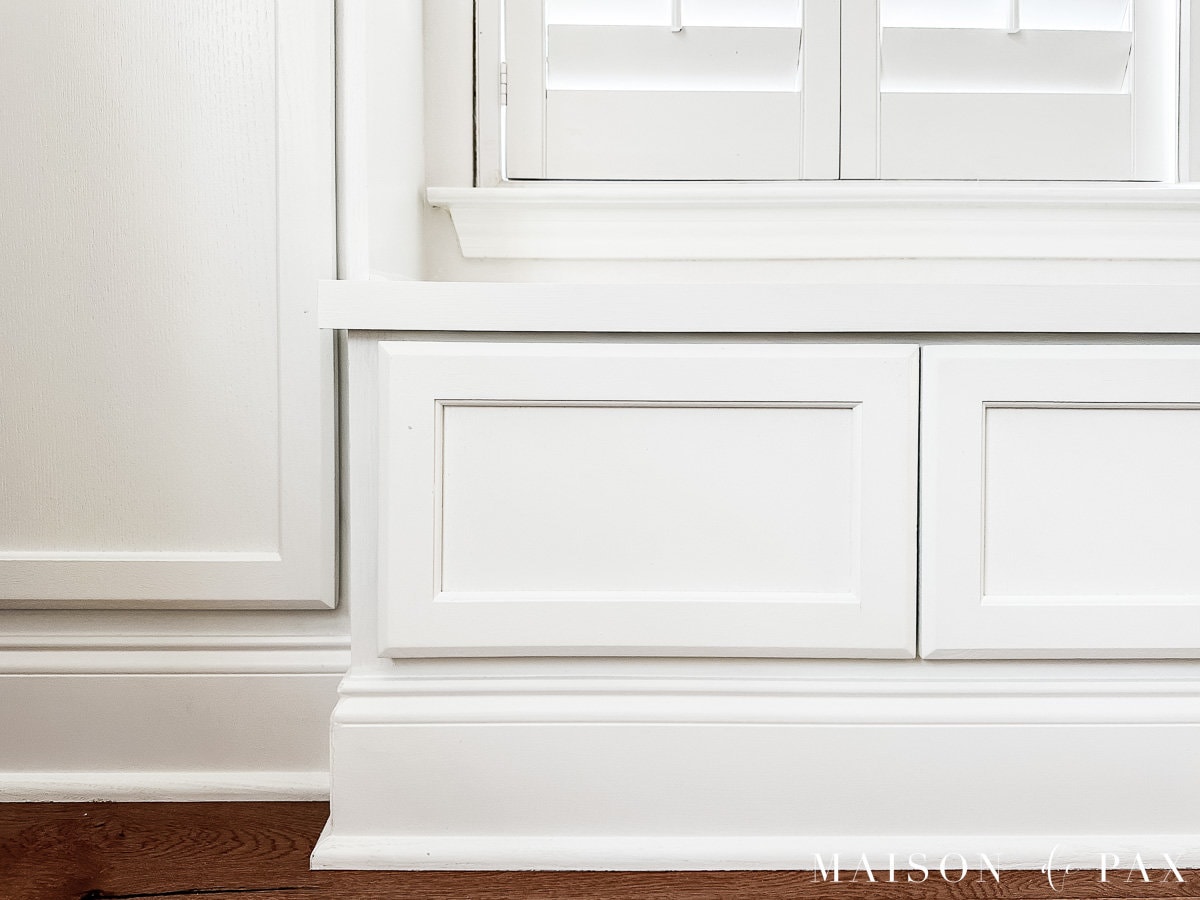
Finish out the unit with baseboards, quarter round, and crown molding. We used quarter round around the top of the bench seat to cover the gap, and we used a double layer of crown molding to add interest.
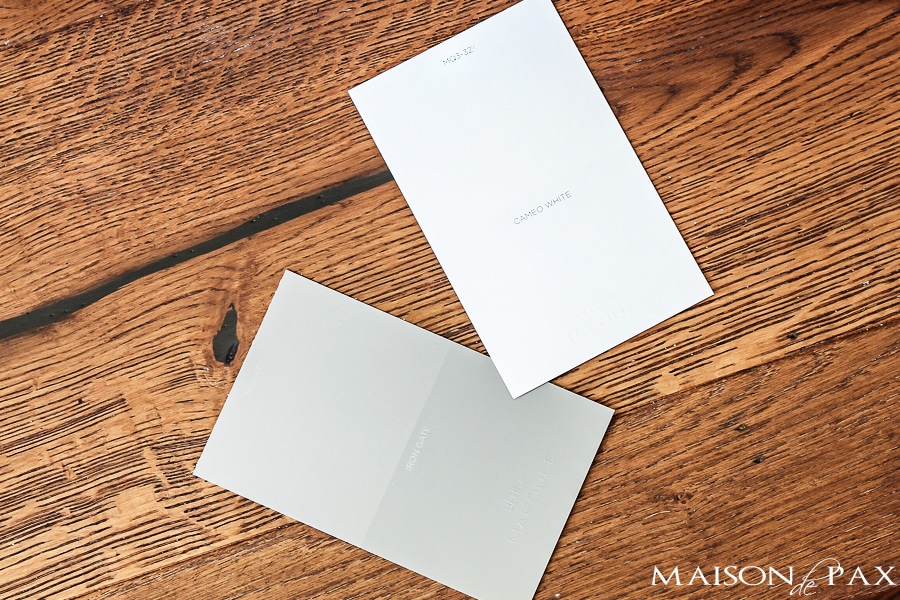
10. Prime, caulk, and paint
Fill all nail holes, caulk all seams, prime all wood, and paint it with trim paint.
DIY WINDOW SEAT FAQs
How do you make a basic window seat?
The simplest way is to use pre-made cabinet boxes and trim them out in your space. IKEA, Home Depot, Lowes, and even online retailers are good places to start.
For the actual window seat (not the bookcases on either side), you want to make sure you have a comfortable depth for sitting. 12″ cabinets were the most affordable option, but we found 16″ was needed for a comfortable seat, so we just installed the cabinets 4″ away from the wall and added supports at the back for the bench top.

How tall should a window seat be?
Normal chair height is 17-20″, so the target would be somewhere near that while coming close to the bottom of the window.
How wide should a window seat be?
At least as wide as the window.
What is the best material for a window seat?
I always try to use real wood when possible. The cabinets we chose had particle board sides, but the cabinet doors and frames were oak. 3/4″ plywood for the window bench is sturdy enough not to bow under a person’s weight. Mdf is a reasonable material, as well.
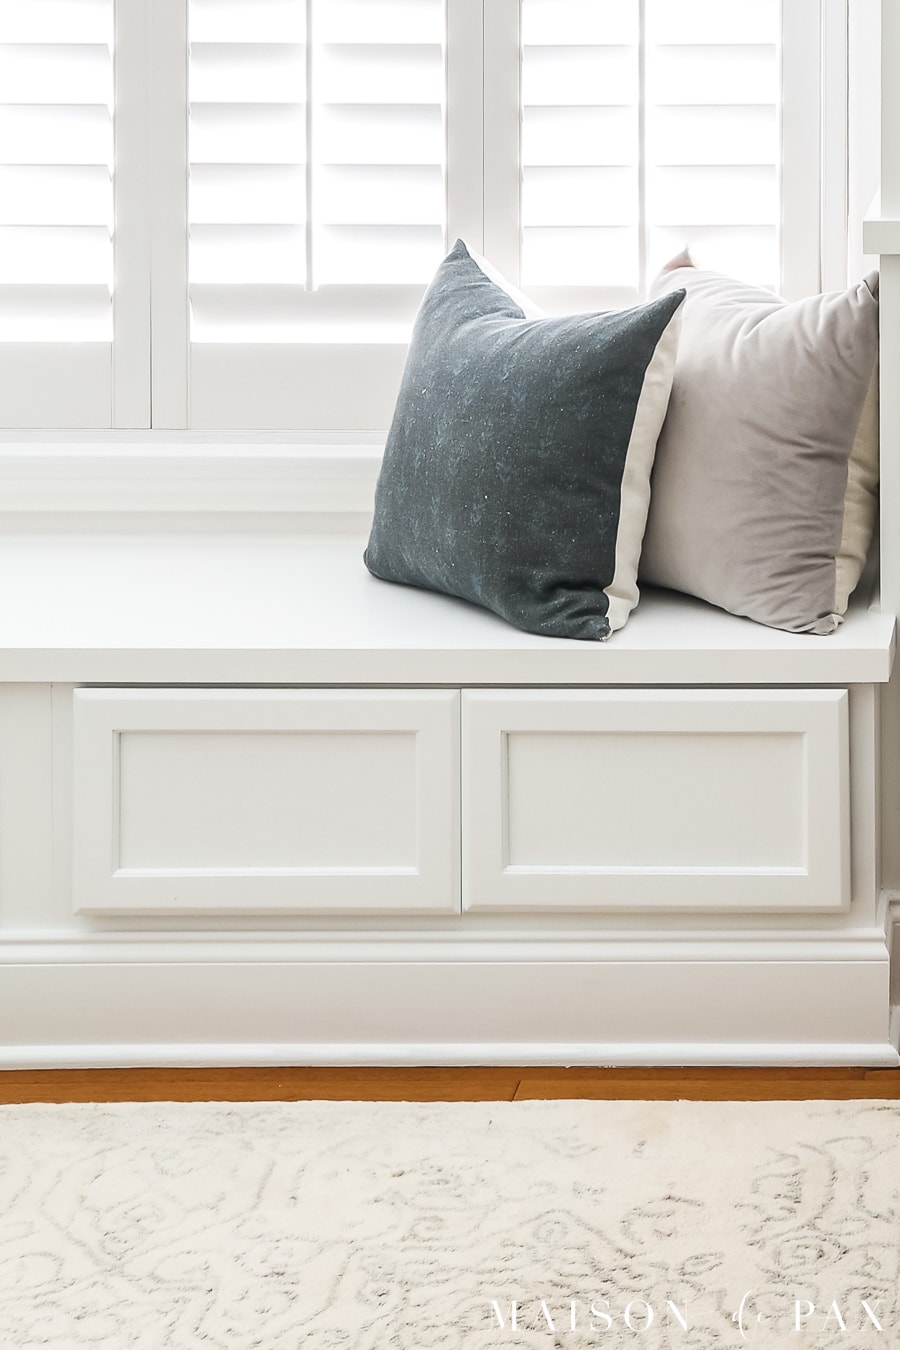
How do you make a padded window seat?
I actually haven’t done this yet (we just have throw pillows at the moment), but you could easily add a window seat cushion. If you have a tricky size, then purchasing foam and covering it in fabric is a great diy project.
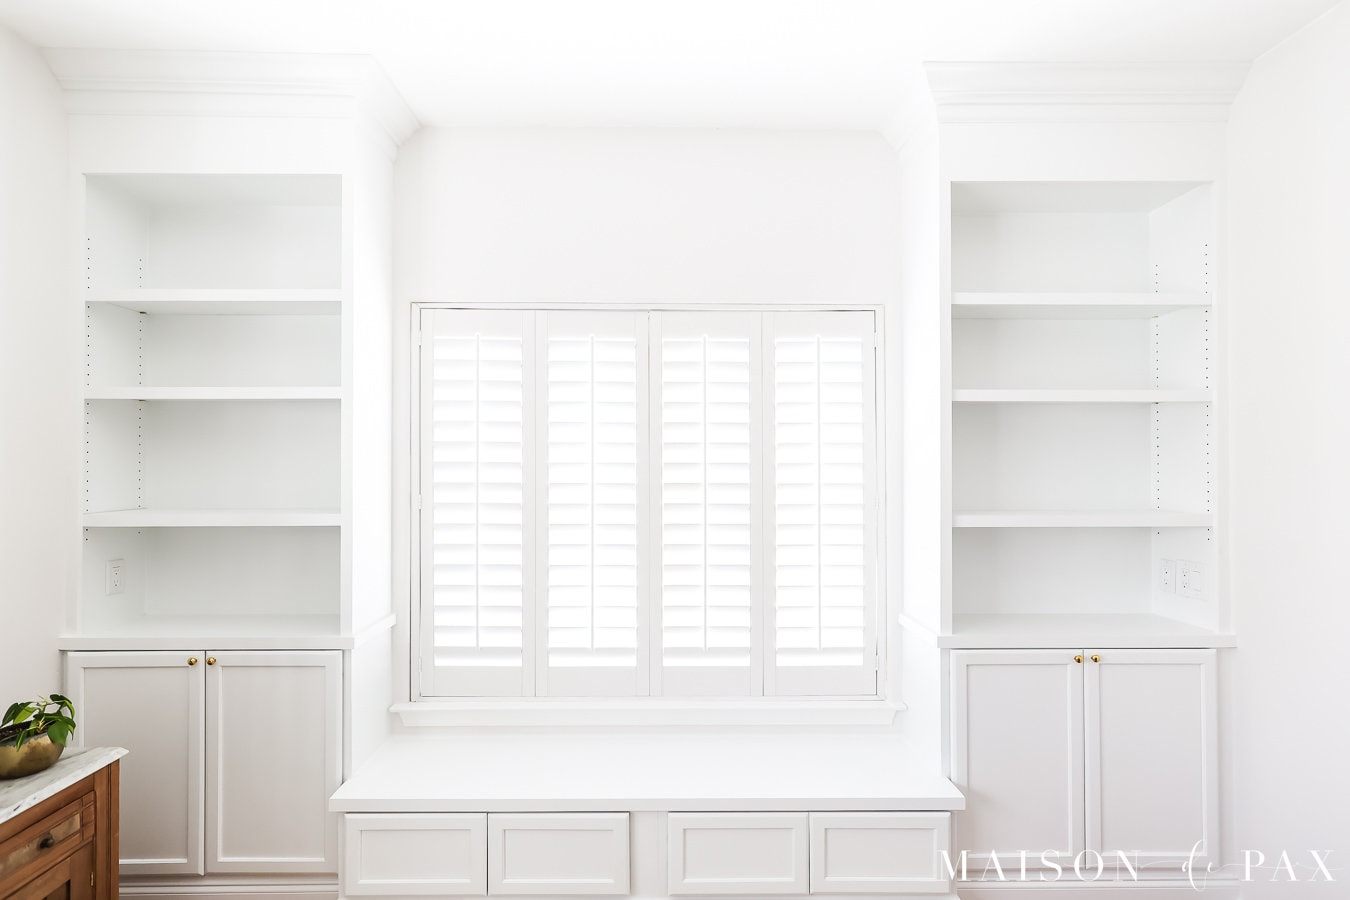
I’ll be sharing the final, styled version soon… Stay tuned!


This is very helpful! I’m looking to build something very similar in my family room. What’s the reason for using upper cabinets and building a 2×6 base instead of using lower cabinets that already include a base? Is it a height thing?
Great questions! It was a depth thing. Most base cabinets (especially inexpensive box ones) come in 18 or 24″ deep. I wanted 12″ deep, so the upper cabinets were a better fit for our space. If you have enough room for a deeper base, though, then base cabinets are a great option. Hope this helps!
What a fantastic idea for utilizing space! I love how the window seat between the bookcases creates a cozy reading nook. The detailed steps you provided make it seem doable, and I can’t wait to try this out in my own home. Thanks for the inspiration!
I absolutely love this DIY window seat idea! It adds so much character and functionality to the space, especially with the bookcases on either side. The styling tips you shared are also really helpful. I can’t wait to try this project in my own home!