Painted Burlap and Craft Paper Gifts
Yes, my friends, I have yet another gift wrap post for you today…
I hope you aren’t getting tired of them yet. We’ve just been having way too much fun wrapping gifts at my house this year. I’ll spare you the ones my children painted… Let’s just say red and green together make brown. Smeared all over craft paper. But a happy 2 and 4 year old working hard to make things for other people makes one happy and proud mama. But I digress…
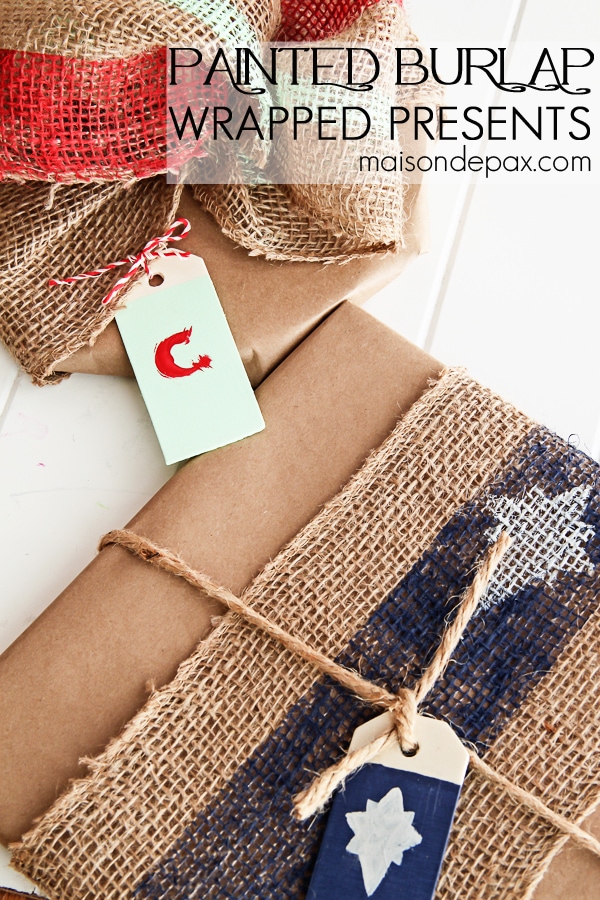
Today I’m sharing two beautiful looks I created using Country Chic Paint, burlap ribbon, and brown craft paper. I shared this on the Country Chic Paint blog last week, but I thought you all might want a look here, as well. And Country Chic Paint goes beautifully onto burlap and wood, allowing you to personalize and coordinate your gift wrapping this year.
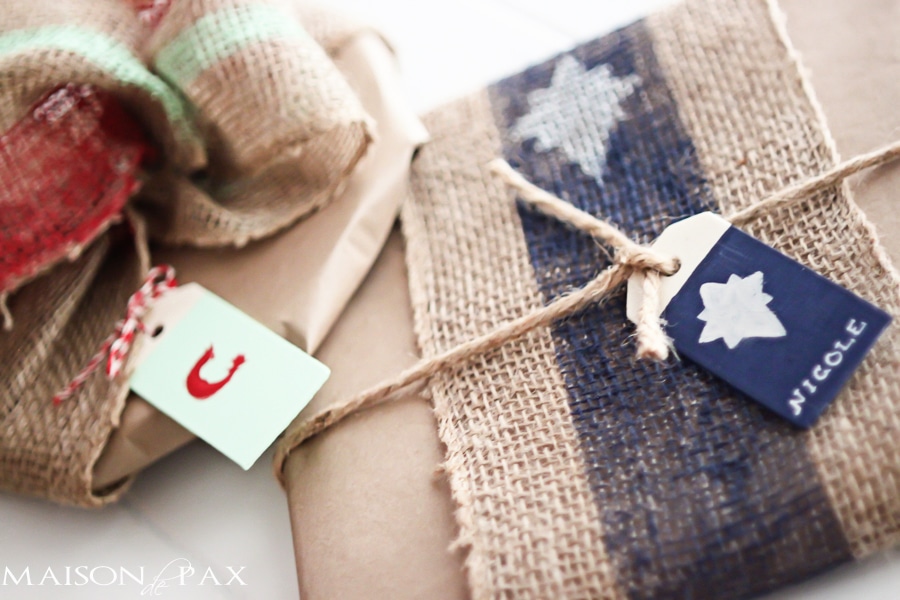
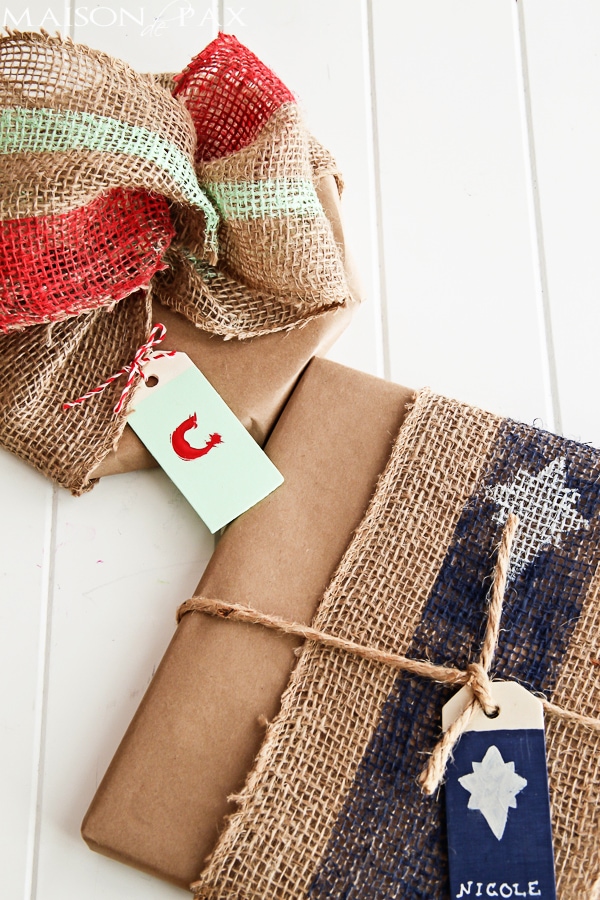
The first look was inspired by the name of this gorgeous navy blue paint: Midnight Sky. At this time of year, I couldn’t help but think of the dark sky in which the star of Bethlehem shone.
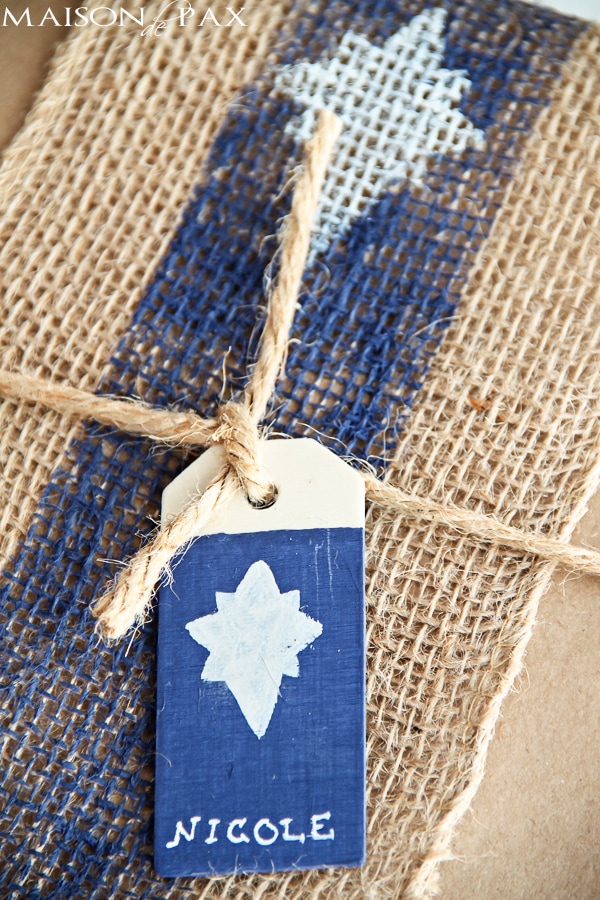
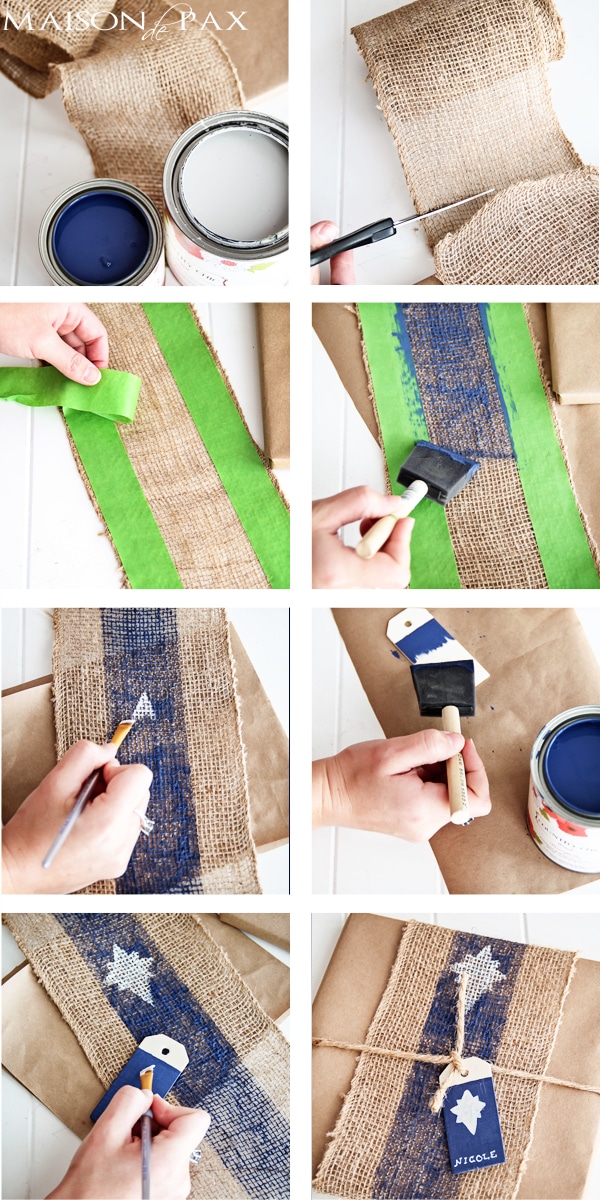
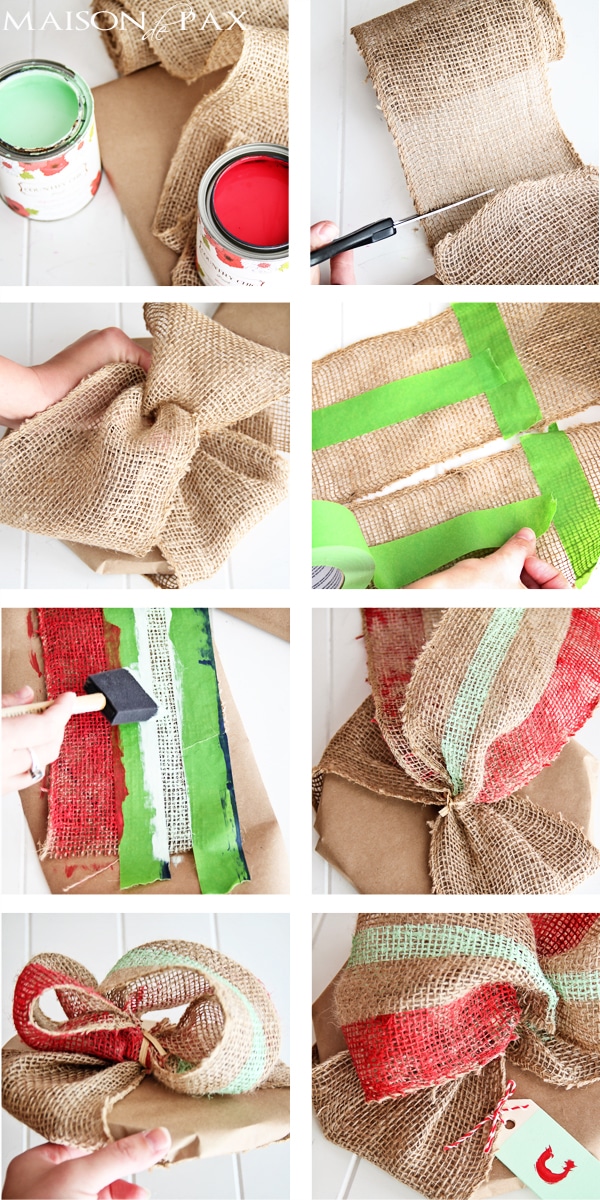
I painted my burlap ribbon (find similar ribbon here) using painter’s tape and Midnight Sky. Then I freehand painted the star with Lazy Linen and even created a coordinating wooden tag (you can find similar tags here).
The second look I created is a bit more whimsical and festive, with Devotion – a bold, cherry red perfect for Christmas – and Refreshed. The mint green puts a slight twist on traditional holiday colors, lending a bit of fun to the look. With a big, fluffy burlap bow (which was SO easy to make!) and a coordinating tag, this gift turned out simply stunning.
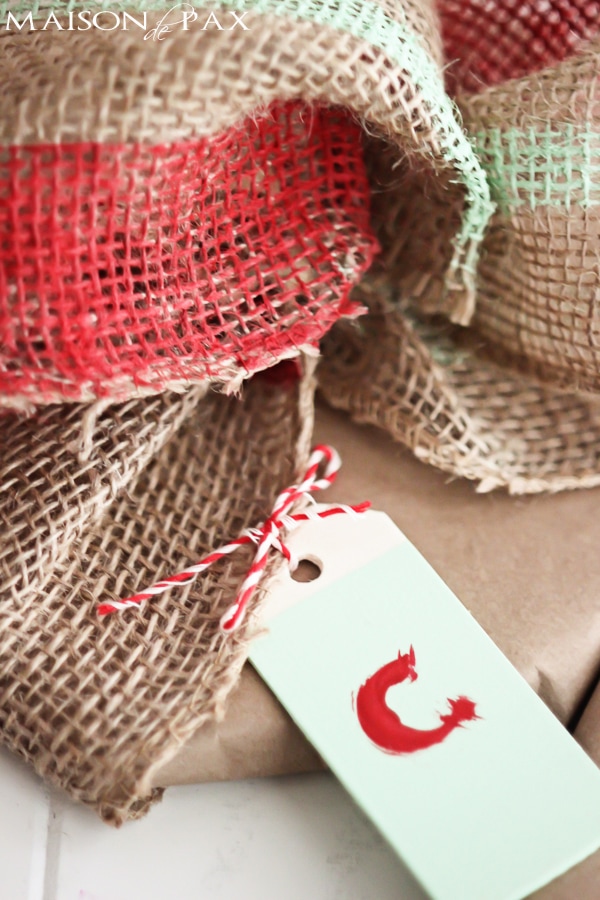
This gift is also incredibly simple to assemble, but I want to be sure you can tell from the pictures what I’m doing with the bow. It was the easiest bow ever, really. I simply wrapped the burlap around the gift and attached it with one of those little twisty wires that comes with your trash bags. Seriously, I’m that person. Trash ties on Christmas gifts! But it’s the perfect size and color against the burlap. I then looped the ends of the painted burlap ribbon outward and crisscrossed them underneath (making one side a bit fuller than the other for an asymmetrical look that I love), affixing the ends with another trash tie. That’s it! Just make sure that the parts you painted are facing up and not down.
Obviously, the possibilities are endless! You can create individual packages like I did or simply paint a long roll of burlap ribbon and use it as you would any other ribbon. Mix, match, and enjoy all the beautiful, festive Country Chic colors! And have a very happy holiday!!
Disclaimer: As a part of the Country Chic Paint blogger squad, I do receive compensation in the form of goods and products from Country Chic Paint, but, as always, all opinions are 100% my own!
MORE DIY HOLIDAY PROJECTS:
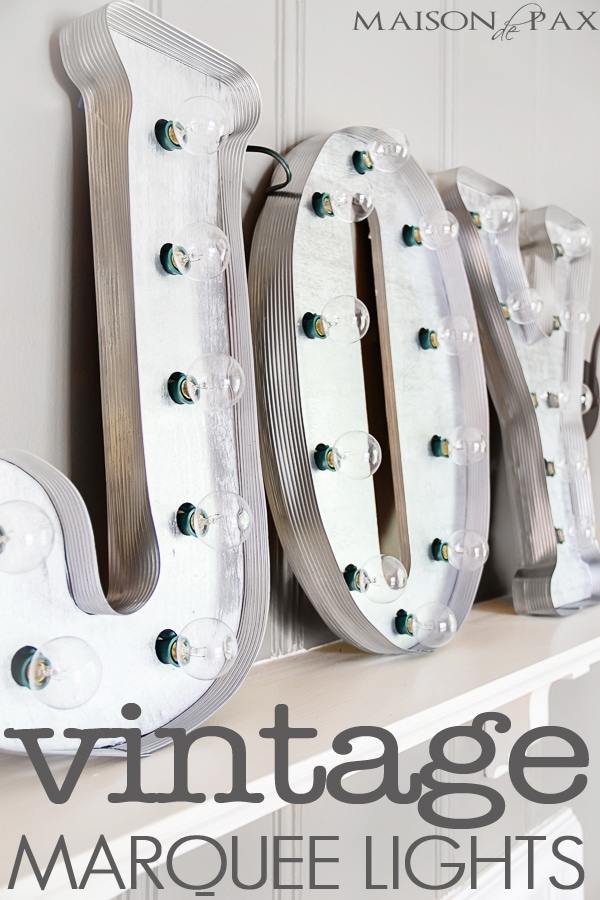
DIY Vintage Marquee Light Sign

I ran some Christmas pictures off ,wrapped my packages in brown paper and glued the pictures on the top,they are really cute. Thanks for all the ideas this year and have a Merry Christmas.
Sounds perfect, Marlene! I hope you have a wonderful Christmas. 🙂
Merriest of Christmases to you and your family Rachel. I wish you nothing but the greatest crafts, diy’s and decorating tricks for 2015. Because you have us all hooked now, we’ll be watching ((**)) Much happiness, Sincerely, Diena
You are just way too sweet, Diena. Thank you! Hope you have a wonderful Christmas, as well. 🙂