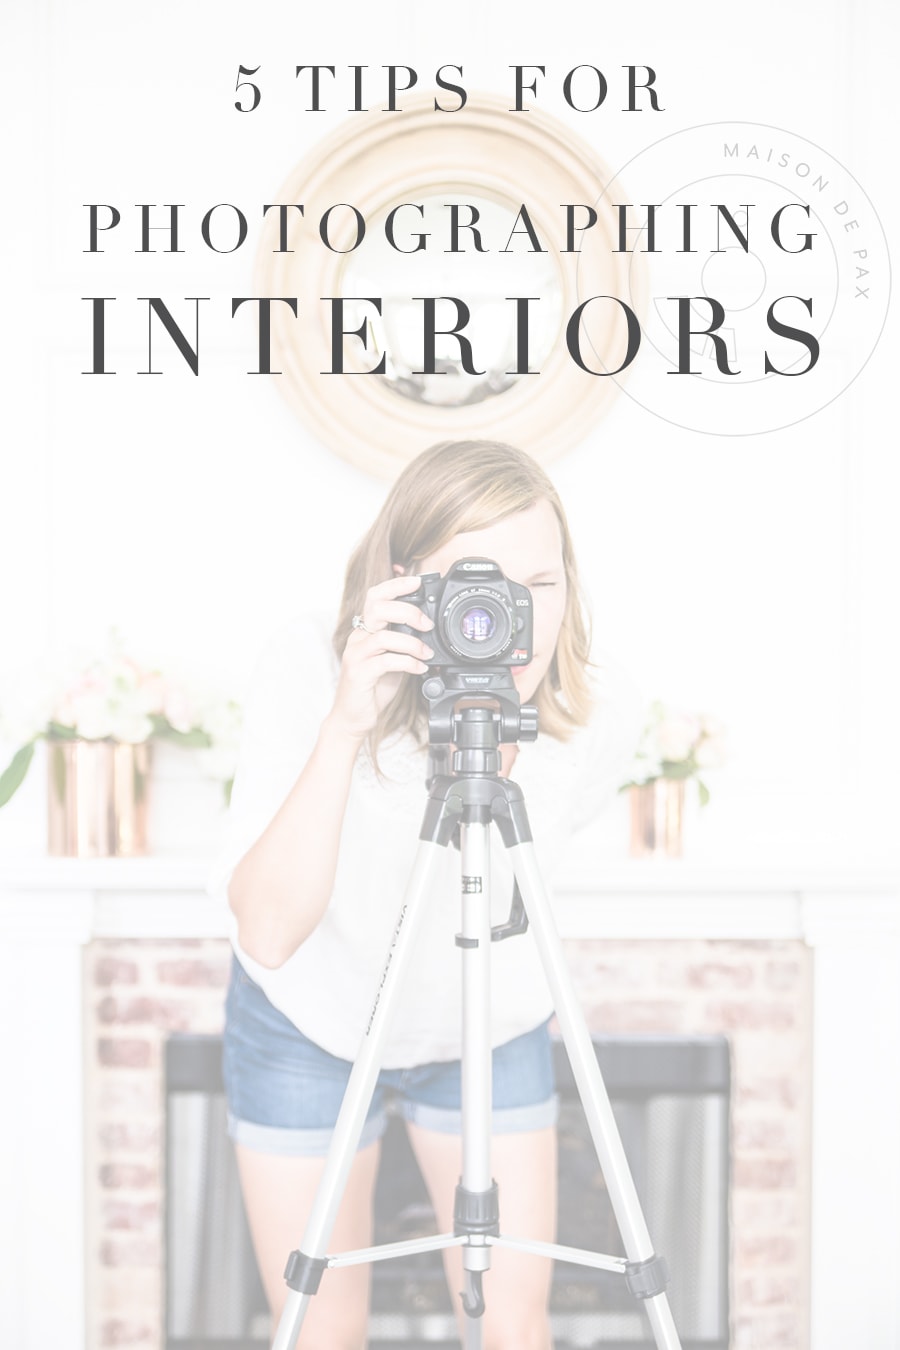
5 Tips for Photographing Interiors
Trying to photograph the interior of your home or small business? Learn how to take pictures of your house for magazines, blogs, Instagram, and more with these five tips for photographing interiors.
From the time I was 10 (and redecorating my room for the 924th time), I’ve loved DIY and design… but over the past 5 years, my love for capturing those spaces and projects has grown to the point that I might enjoy photographing interiors as much as I enjoy creating them.
I get questions all the time from readers: What settings should I use for indoor photography? Do you use a DSLR or phone camera for Instagram? How do you take light, bright photos of your home? So today I wanted to give you five simple tips for photographing interiors. Whether you’re shooting interiors for a blog, real estate, Instagram, or simply your own camera roll, these tips will help you achieve beautiful interior photographs.
5 Tips for Photographing Interiors:
This post contains affiliate links. Click here to read my full disclosure.
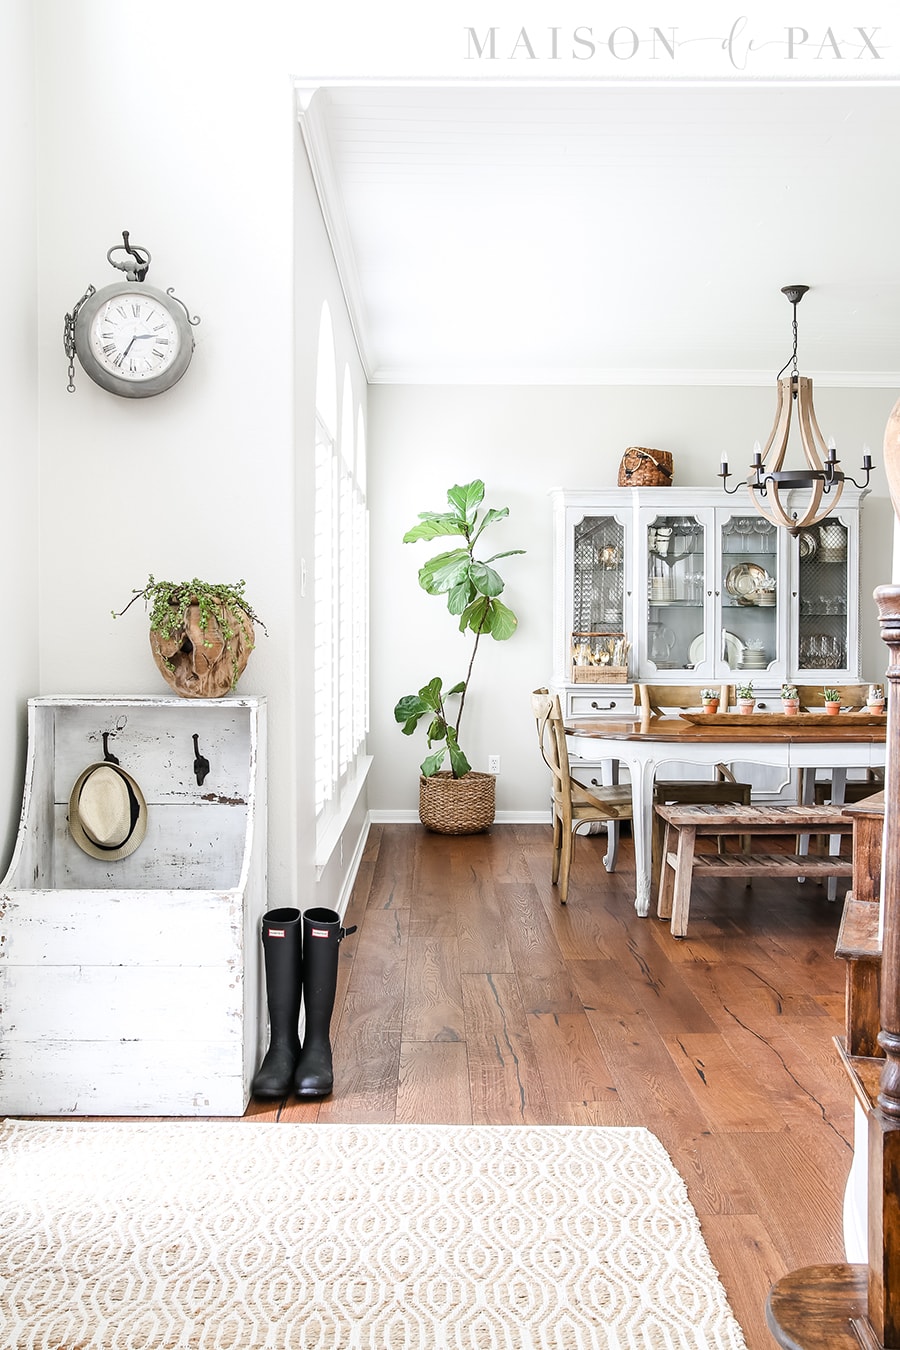
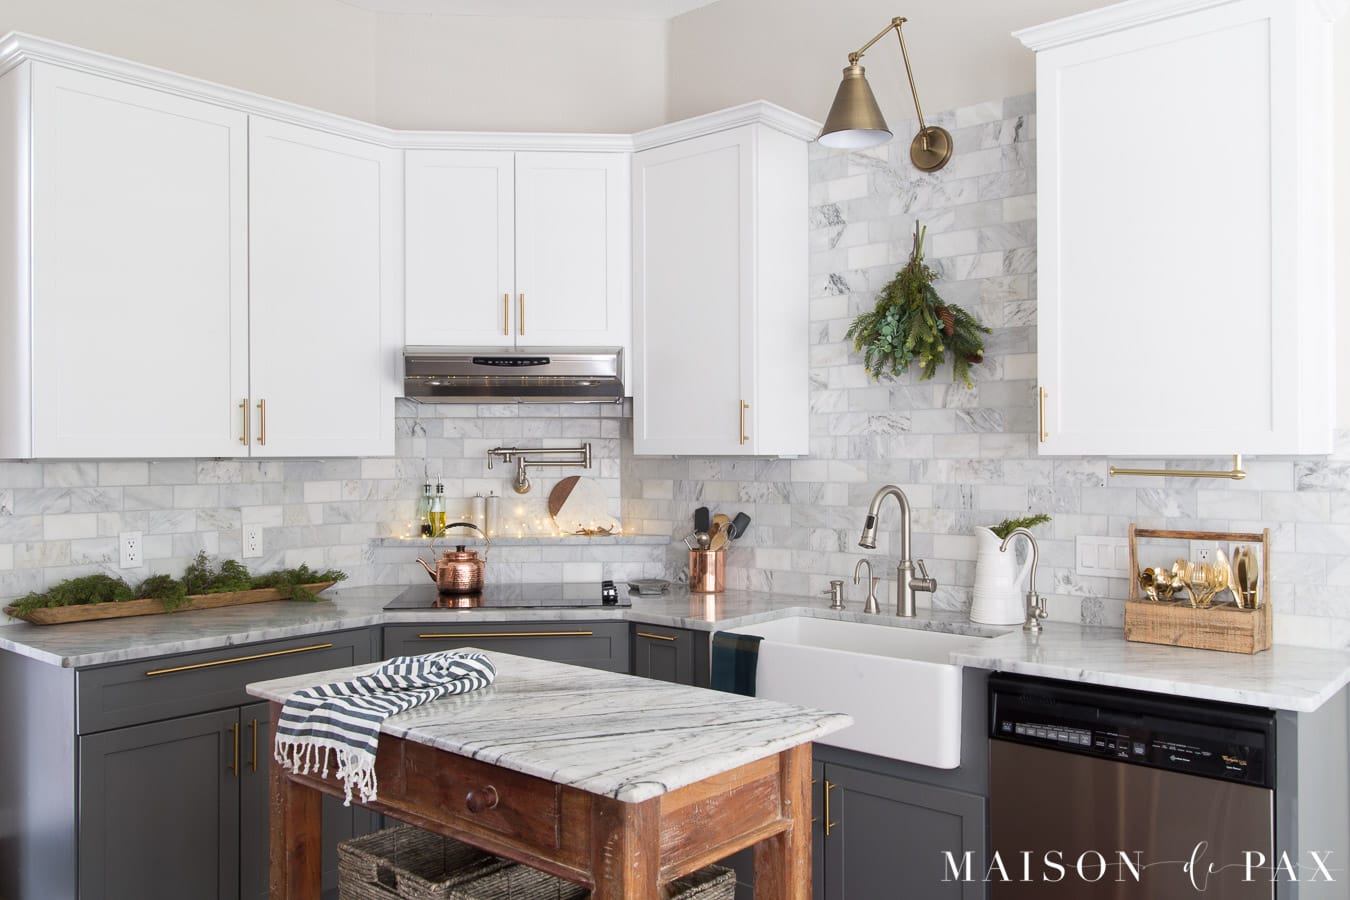
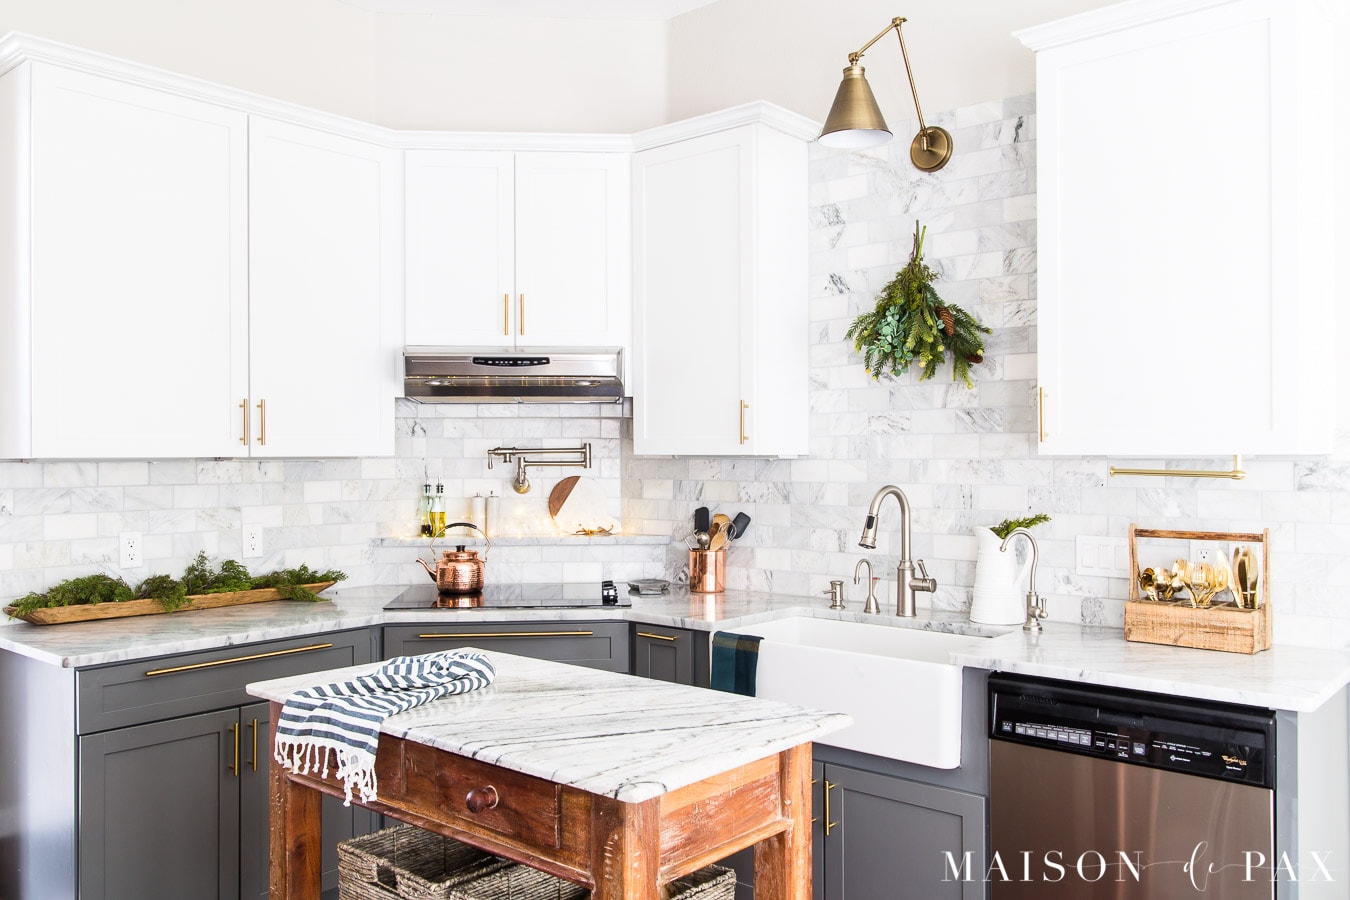
#1. Use natural light
If you want that magazine look, natural light is definitely the way to go, so keep those overhead lights off. It puts the focus on the full interior and – as an added bonus – as long as the sun keeps shining, it’s free. 😉
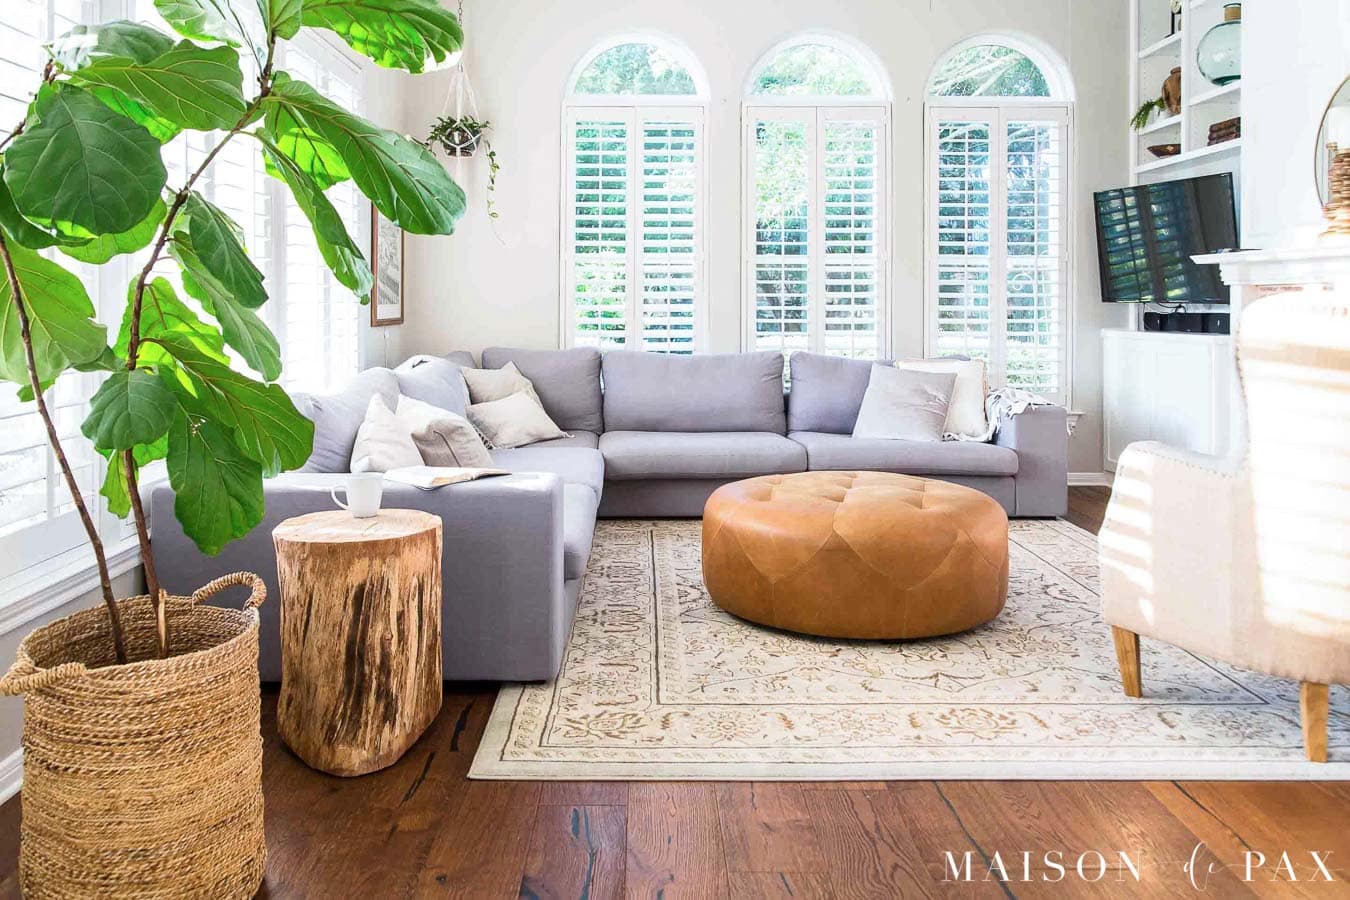
#2. Avoid shadows
Often when trying to use natural light, people think they need a bright, sunny day to get enough light… But the best images are taken when the lighting is soft and even. Bright, sunny days produce shadows, which are often distracting from the interior. Instead, look for cloudy days or times of day when the sun is not streaming directly through the windows.
#3. Use a tripod
But if you’re only using natural light and you don’t want bright, sunny days, how do you get enough light into the camera to create those light, bright images? That’s where a tripod becomes the key. If you’re shooting in manual (which I highly recommend), you can lengthen your shutter speed to get more light in but still create crisp, clear images.
Intimidated by trying to shoot in manual? My course teaches you everything you need to know for shooting interiors in manual mode. Obviously the long shutter speeds are only possible if shooting with a DSLR, but the tripod trick can still help even when shooting in low light with phones. Using a little phone tripod or even a phone attachment for a large tripod can still help your images be more crisp and clear than they would be if shot handheld.

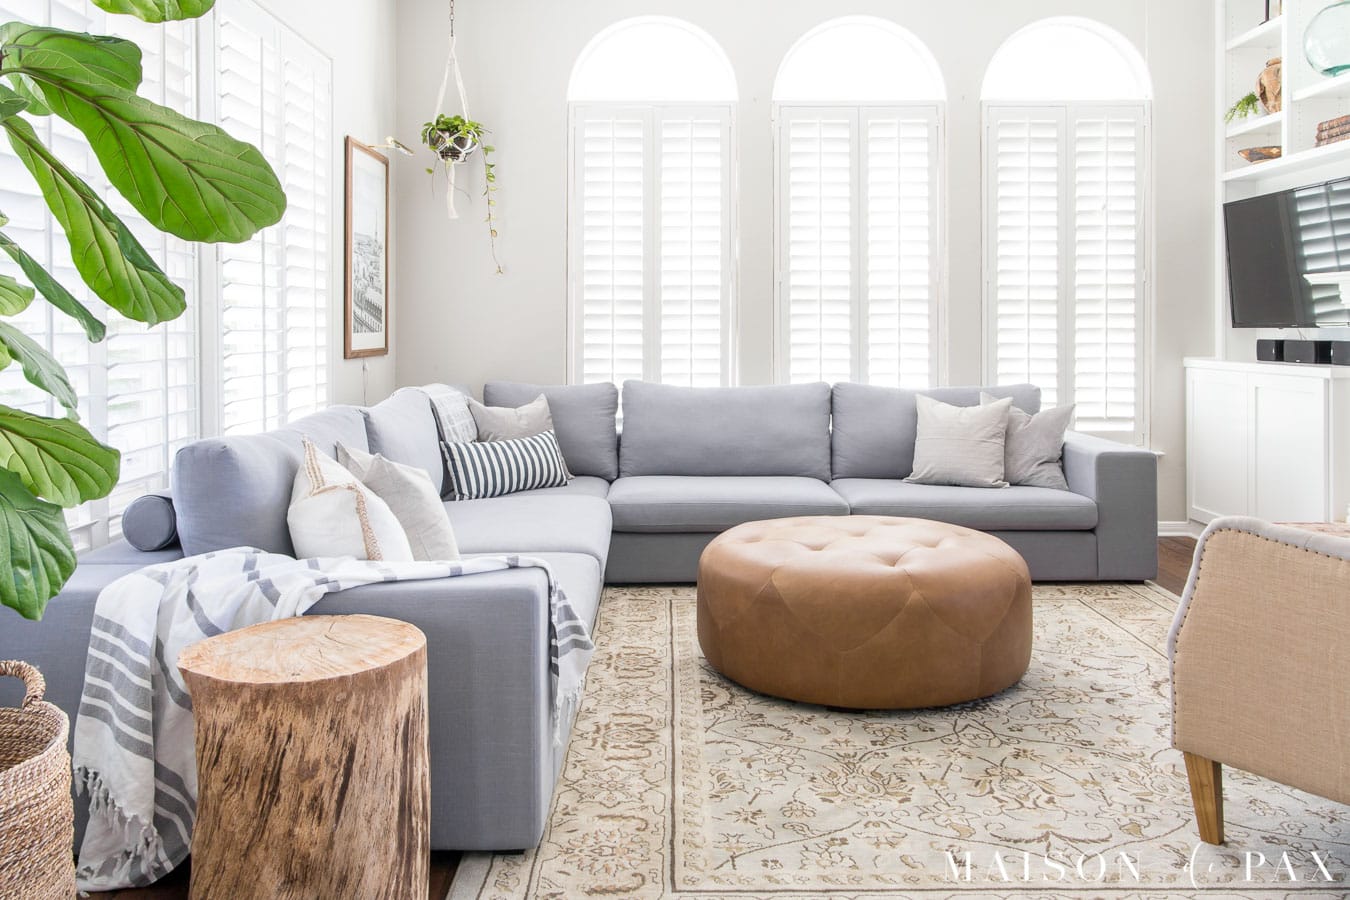
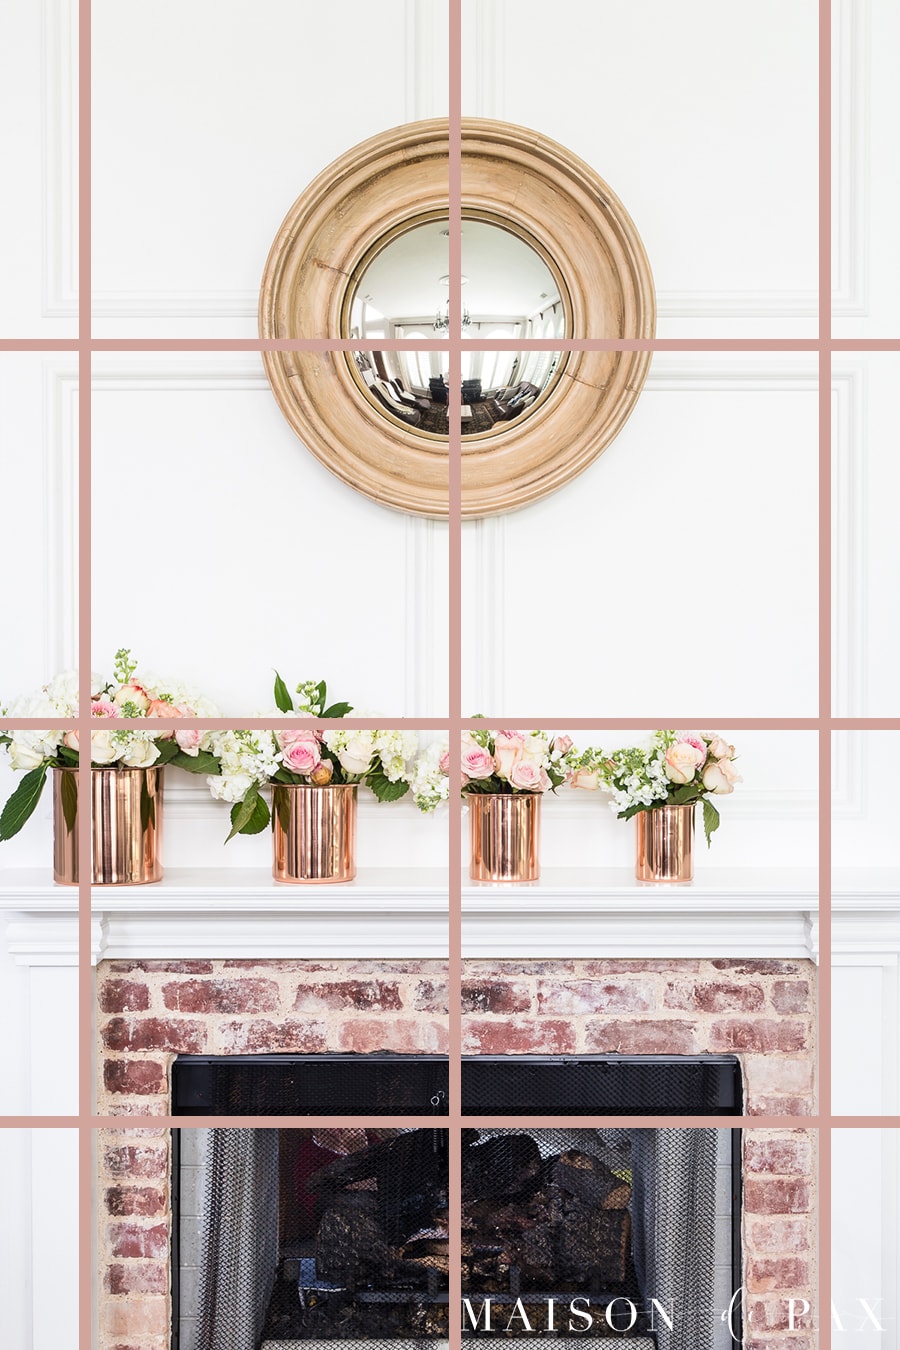
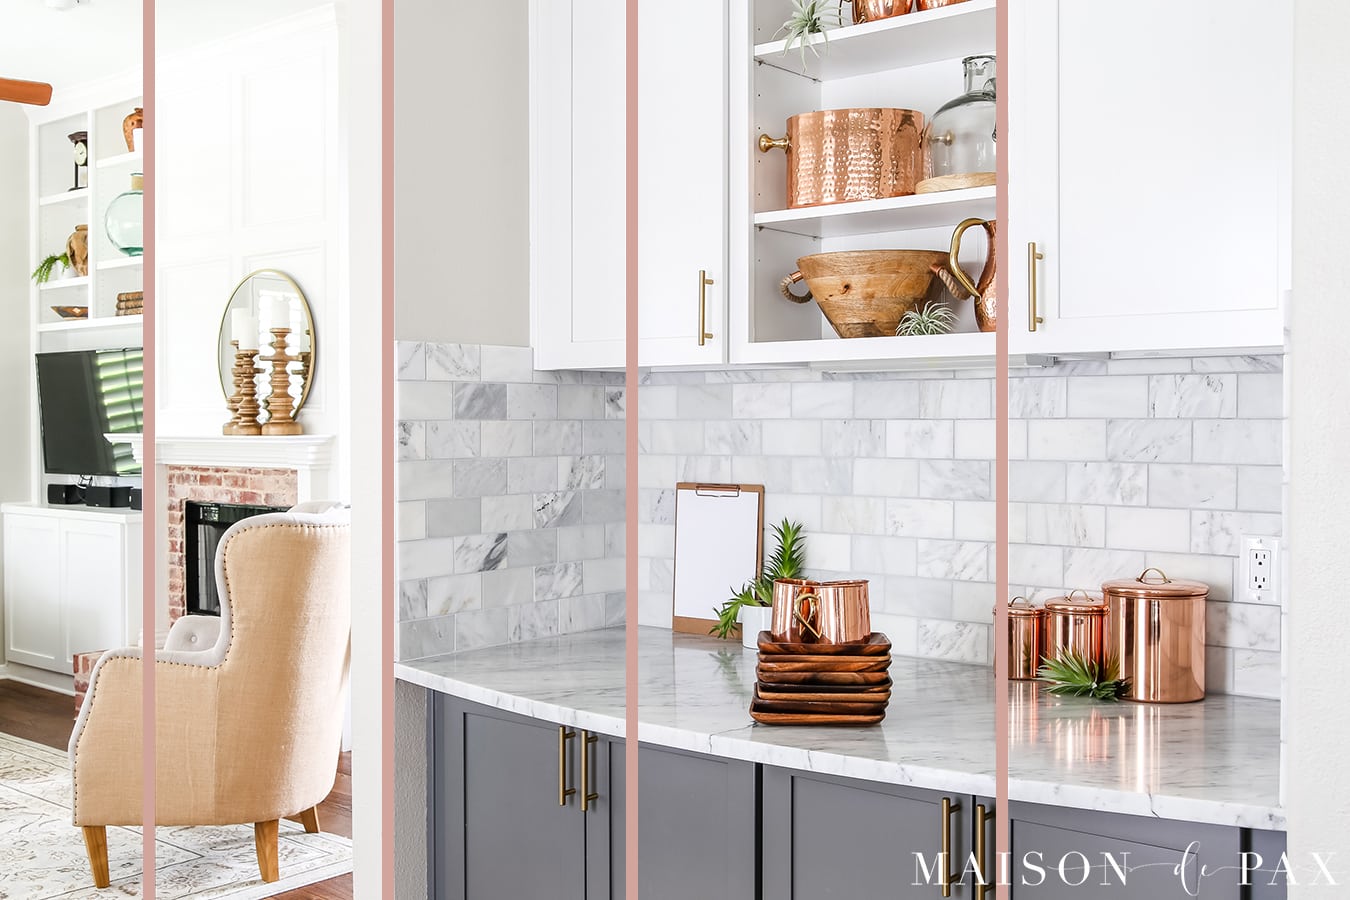
#4. Shoot straight
Creative angles are fun and all, but generally speaking interiors are best shot straight on. Even if have to shoot towards a corner to get the full space in the frame (which is common, especially when photographing small spaces), you always want to keep your vertical lines vertical for the proper sense of reality.
Shooting with a tripod where you can intentionally and carefully line up your frame can help this goal, and Lightroom (my favorite editing software) has some excellent alignment tools as well.
#5. Edit your photos
Great photos straight-out-of-camera are always the goal… but with today’s incredible editing softwares, you’re missing out on a wow factor if you aren’t post processing your images.
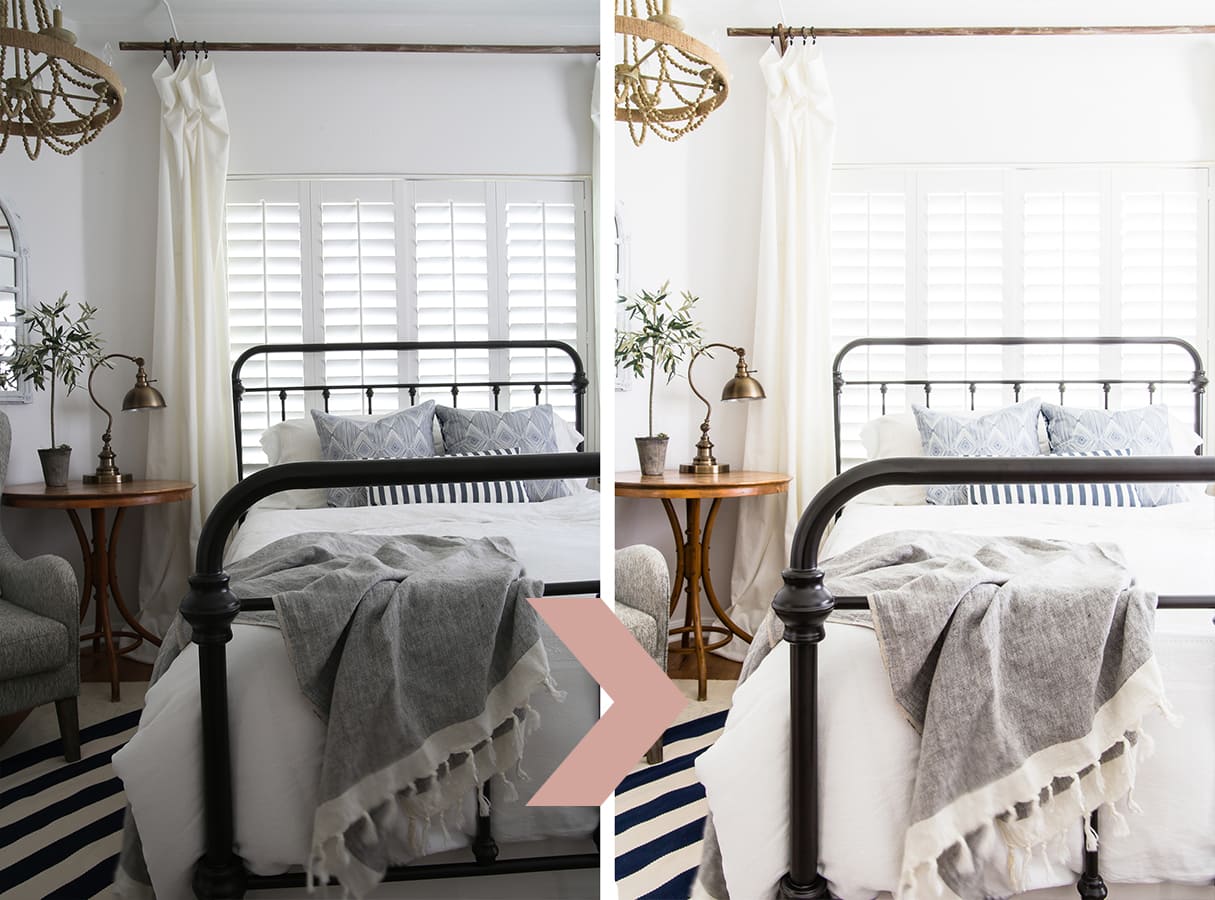
My favorite editing software is Lightroom (I use both the desktop and the mobile version), but there are many more out there, including some great free versions. Speaking of free, I offer my two favorite Lightroom presets for interiors for FREE to my email subscribers. They are formulated specifically to give your images that light, bright feel without sacrificing depth and detail. Try the slider to see the instant difference… and sign up below to get yours!
For more info on my favorite equipment and photography resources, visit my photography resources page and sign up to receive free photography tips and resources in your inbox! And be sure to pin this resource for later.


Thanks for this post, Rachel. I’m just getting back into the blogging world after a sabbatical, and these tips are timely. I especially appreciate the tip on avoiding harsh sunlight, since I thought I always had to wait for a bright sunny day to get the best photos. I recently got a DSLR camera and am playing with it in manual mode. Your photos and blog are such an inspiration! And I figure if you can do all this while homeschooling young ones, I can do it, too! Thank you!
Susan, I am so glad it was encouraging and helpful for you! I get asked these questions a lot, so I decided to make a course too if you are interested: https://www.maisondepax.com/photographing-interiors-course/
Thanks Rachel, and the Valentines pencil printables are great for my teen to use, and funny! Thankyou. Cath
So glad you found it helpful, Cath!
What about settings? ISO, f, s?
That’s dependent on a lot of factors, but I do touch on some of them in the post on lighting that I wrote several years back. I also go much deeper in detail in my course. I hope this helps!
What lens do you use for shooting interiors? Do you prefer fixed? I have a 35 mm and its great for portraits but not interior photos. Would you recommend going to a 50mm or larger? Thanks!
I go back and forth between two lenses: a 50 and a 28-70 (get exact links and more details here). Do you feel like your 35 is too zoomed in for interiors? If so, you’ll actually want to go lower (lower numbers are more zoomed out). I use the 50 just for close ups; it’s too zoomed in for full-room shots. I hope this helps!
Thank you very much Rachel.
Hope it was helpful!
Thanks for the info, it is very useful!
You’re welcome!