How to Make Mini Pumpkin and Apple Candles
Looking for creative fall decor? Learn how to make mini pumpkin or apple candles with this simple step-by-step and video tutorial!
I’ve been wanting to make some of these for several years now. I love decorating with real gourds, pumpkins, and apples for the fall, and there’s nothing quite like candlelight to bring ambiance to a space.
I absolutely did not invent this idea, but it was fun to try my hand at it and come up with several great ways to make these little candles and set them up to last as long as possible. And I thought this fun and SUPER easy project would be perfect to share for the “Why I love to bHome” fall tour. Be sure to check out the giveaway opportunity and the other links at the end of the post for more great fall ideas!
Since I made the candles, I’ve used them all over the house, including as part of a gorgeous outdoor fall tablescape that I’ll be sharing next week….
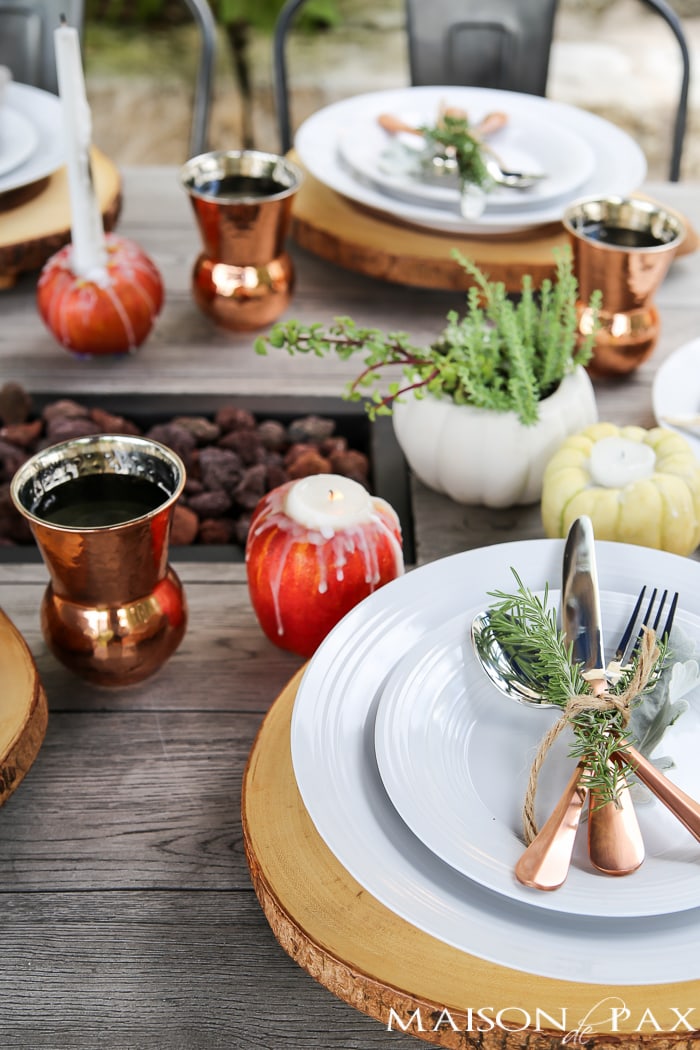
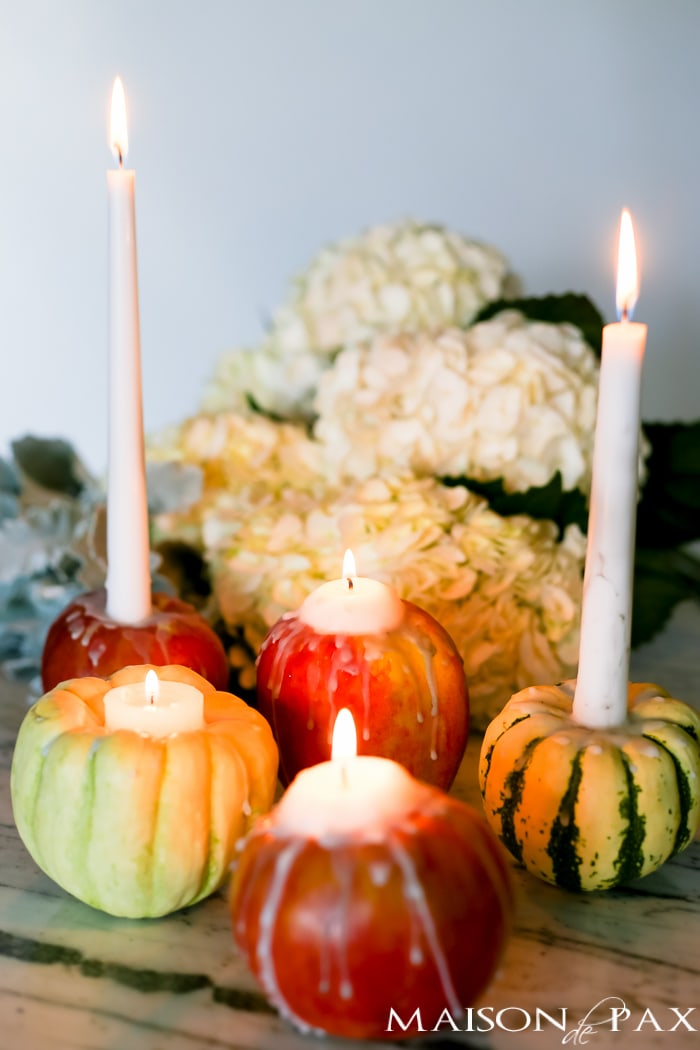
I love the charming effect they have! So without further ado…
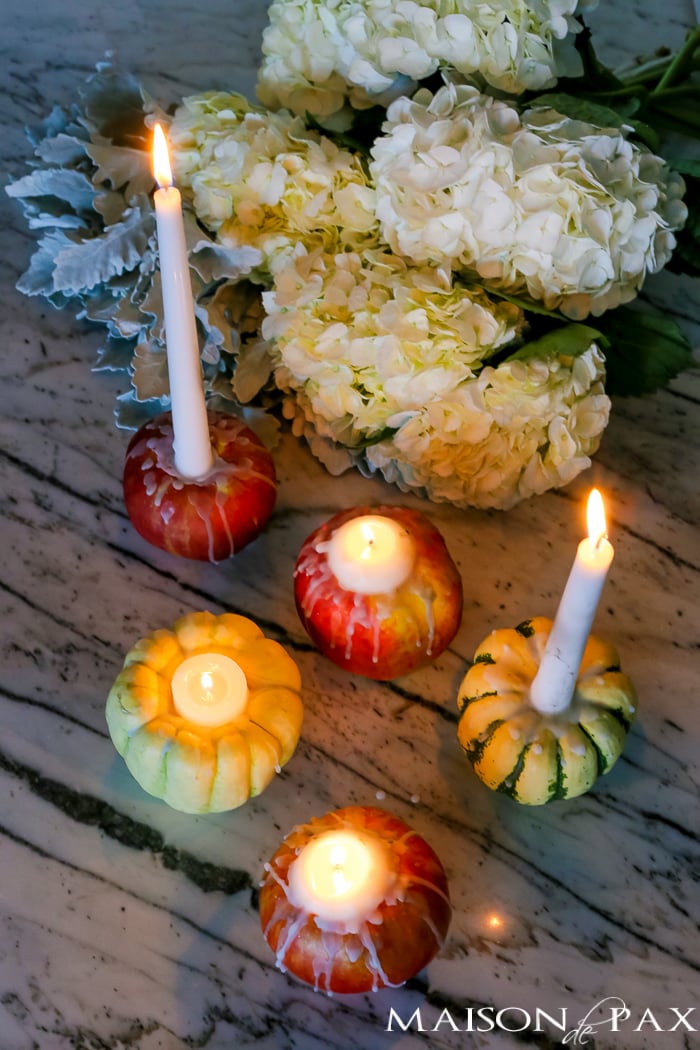
How to make gourd or mini pumpkin candles:
If you can find one with a deep depression in the top, use it! Making a candle without cutting into the gourd will allow it to last longer.
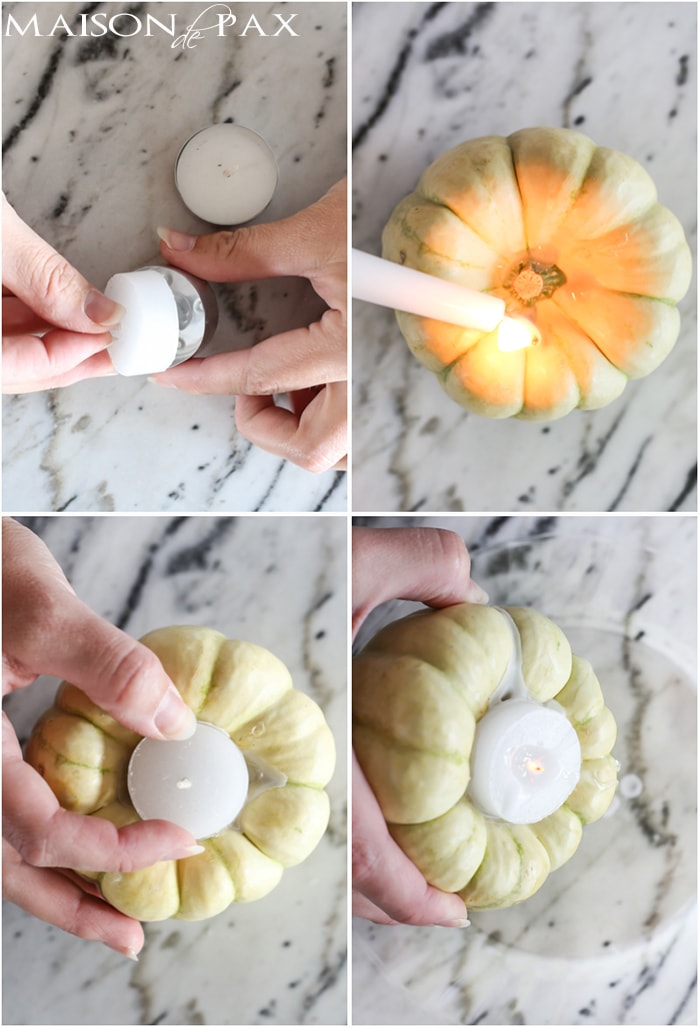
- Simply take a little tea light out of its metal casing.
- Fill the depression with wax from another candle.
- Press the tea light into the wax.
- Place a plate under your candle to protect your surface!!! Light the tea light and allow wax to drip down the sides of the gourd.
If you cannot find one with a deep enough impression or you’d like to make one with a taper candle, follow the instructions below.
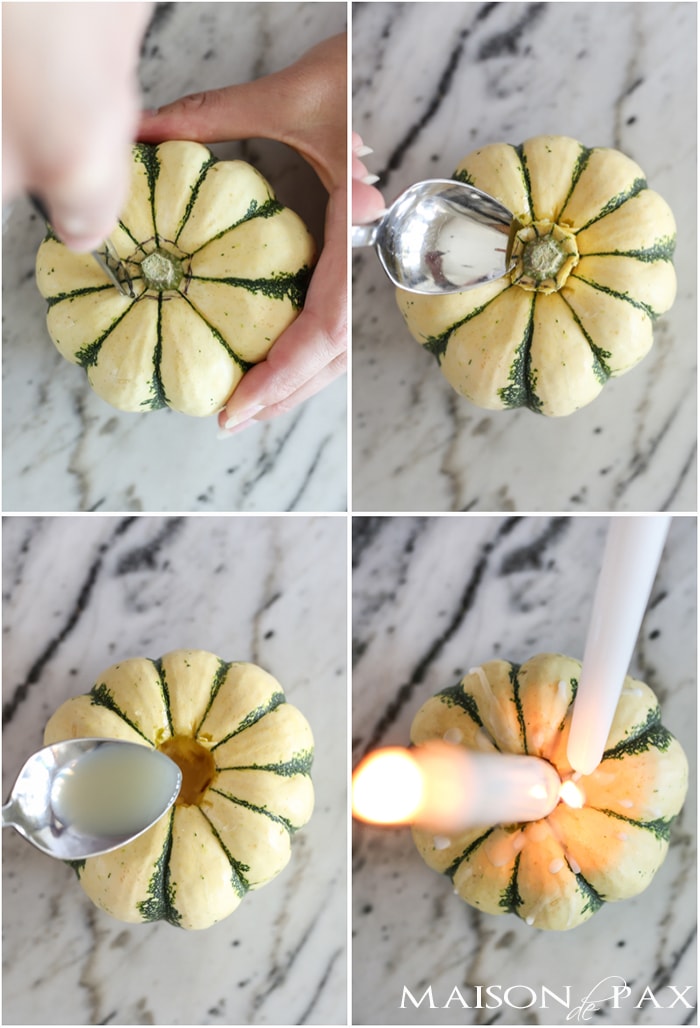
- Using a small, sharp knife, cut a circle the size of the candle you wish to insert.
- Using a spoon, dig out a piece of the gourd.
- Pour lemon juice into the hole to help preserve the gourd.
- Insert your candle and use wax drippings from another candle to seal the taper in place.
Now comes the fun part: a full video tutorial!
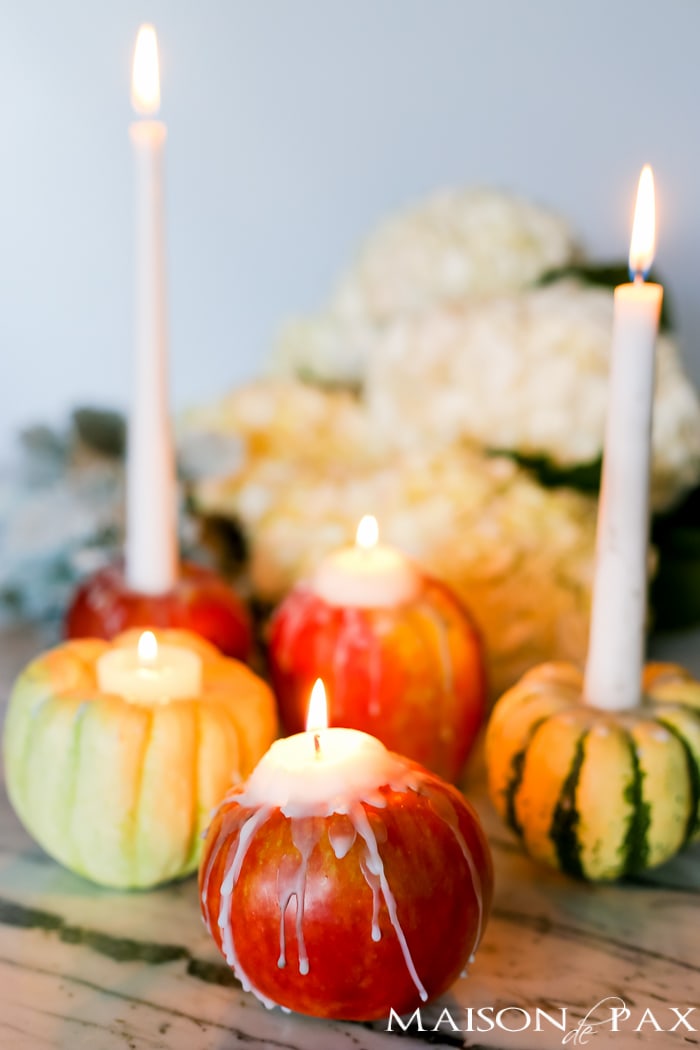
How to make apple candles:
music credits: For Mimi by Twin Musicom is licensed under a Creative Commons Attribution license
artist: www.twinmusicom.org
Just a quick note: the apple ones will probably only last about a week (perhaps longer if you store them in the fridge for part of it). I made the gourd ones two weeks ago, and they are still going strong. The gourd ones that aren’t cut will last as long as any gourd… So the options are practically endless!
These little candles have my heart. What do you think? Which kind would you like to make?
I’m so loving this project Rachel. Your candles look amazing and I’m pinning this idea for later on… I definitely need some of these!!
Thank you, Kerryanne. They’re pretty fun, aren’t they?
So beautiful Rachel..I never knew about putting lemon juice in the crevice before placing the candle in….Great tip…Love your gorgeous vignette of pumpkin and apple candles!
Thank you so much, Shirley!
Rachel, these are so clever and just adorable! I love the way they look on your outdoor table, so I’ll be sure to look for that post!! Pinning… 🙂
Thanks so much, Lory!
Super cute, Rachel.
Thanks, Kim! xx
These are so charming, I will certainly make these for a fall dinner, and beyond.I’ve made the apple ones before, but never thought to make them with the little Boo pumpkins. That they last longer is an added bonus. Thank you for this beautiful idea! Happy Fall!
Thank you, Lidy! Happy fall to you, too. 🙂
Pined to win!
I loves these they are wonderful,what a great idea, thanks and have a great day.
These are so cute, Rachel! I bet they look great on your Fall tablescape! XO
What a great idea Rachel! So cozy! Love touring with you!
Such a fun idea!
I LOVE your blog, and your home is so beautiful! The mini pumpkin candle holder idea is super-cute too. I feel so blessed to have been included in such an amazing group of talented bloggers this week! Wishing you a wonderful weekend…
Thank you so much, Kristy!
a very nice idea, love candles
pin https://www.pinterest.com/pin/277675133255094893/
thanks for the chance
jslbrown2009 at aol dot com
pinned
https://www.pinterest.com/pin/38280665563505827/
I love these! I am going to make these. I pinned the image at Debra Cheuvront on the diy board.
I feel like an idiot! I just saw this was 2016! Sorry!!
No worries! 🙂
I am so glad!
I so love all your good ideas, and your sense of style! I subscribe to a few blogs, but I look forward to yours the most!
Pinning to win!
Cynthia, I really appreciate your feedback! I am so glad you enjoy the blog.