How to Restain a Deck Without Stripping the Old Stain
Wondering if you can restain a deck without stripping off all the old stain? See how I cleaned, lightly sanded, and refinished our previously stained wood deck with solid stain… and how it has held up more than a year later.
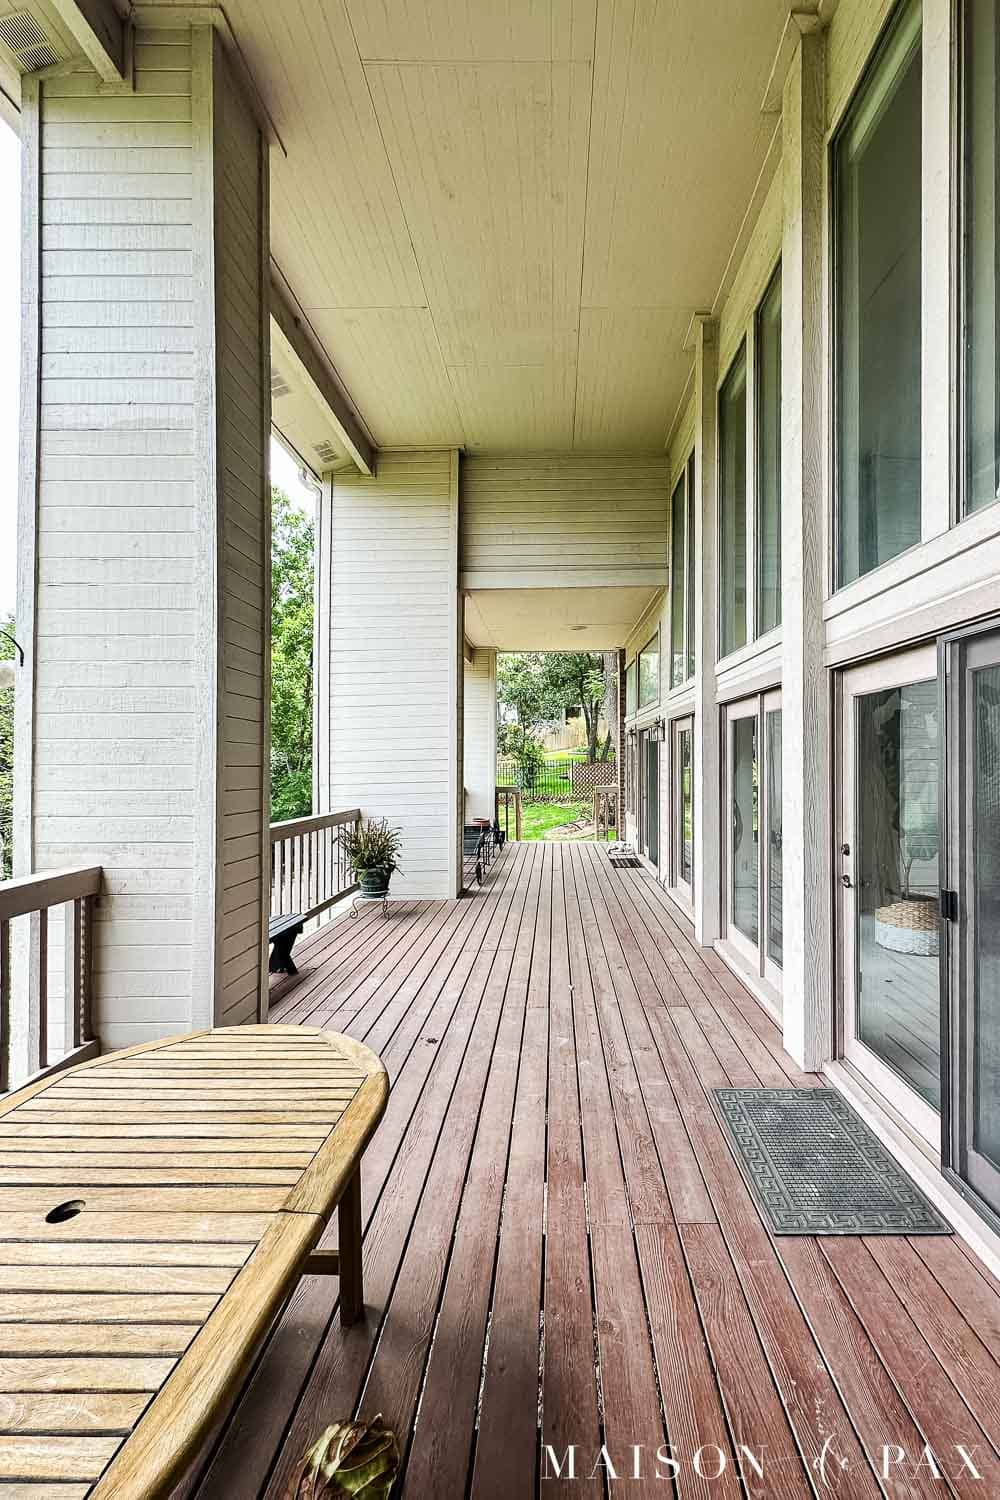
Our porch had an older reddish stain that had faded and worn unevenly over the years, and honestly, I knew the red had to go from the moment we bought the house. But the entire exterior was an awkward combination of beigey-mauve paint, red brick, and brownish-red wood, so I didn’t want to choose a new deck color until we’d settled on the exterior palette.
Once we painted the house white and added black accents, I finally knew what I wanted for the porch floor: something lighter and warmer that would complement the new exterior without competing with it. By then, we also had a few rotten boards that needed to be replaced, leaving us with a patchwork of old stained boards and brand-new wood.
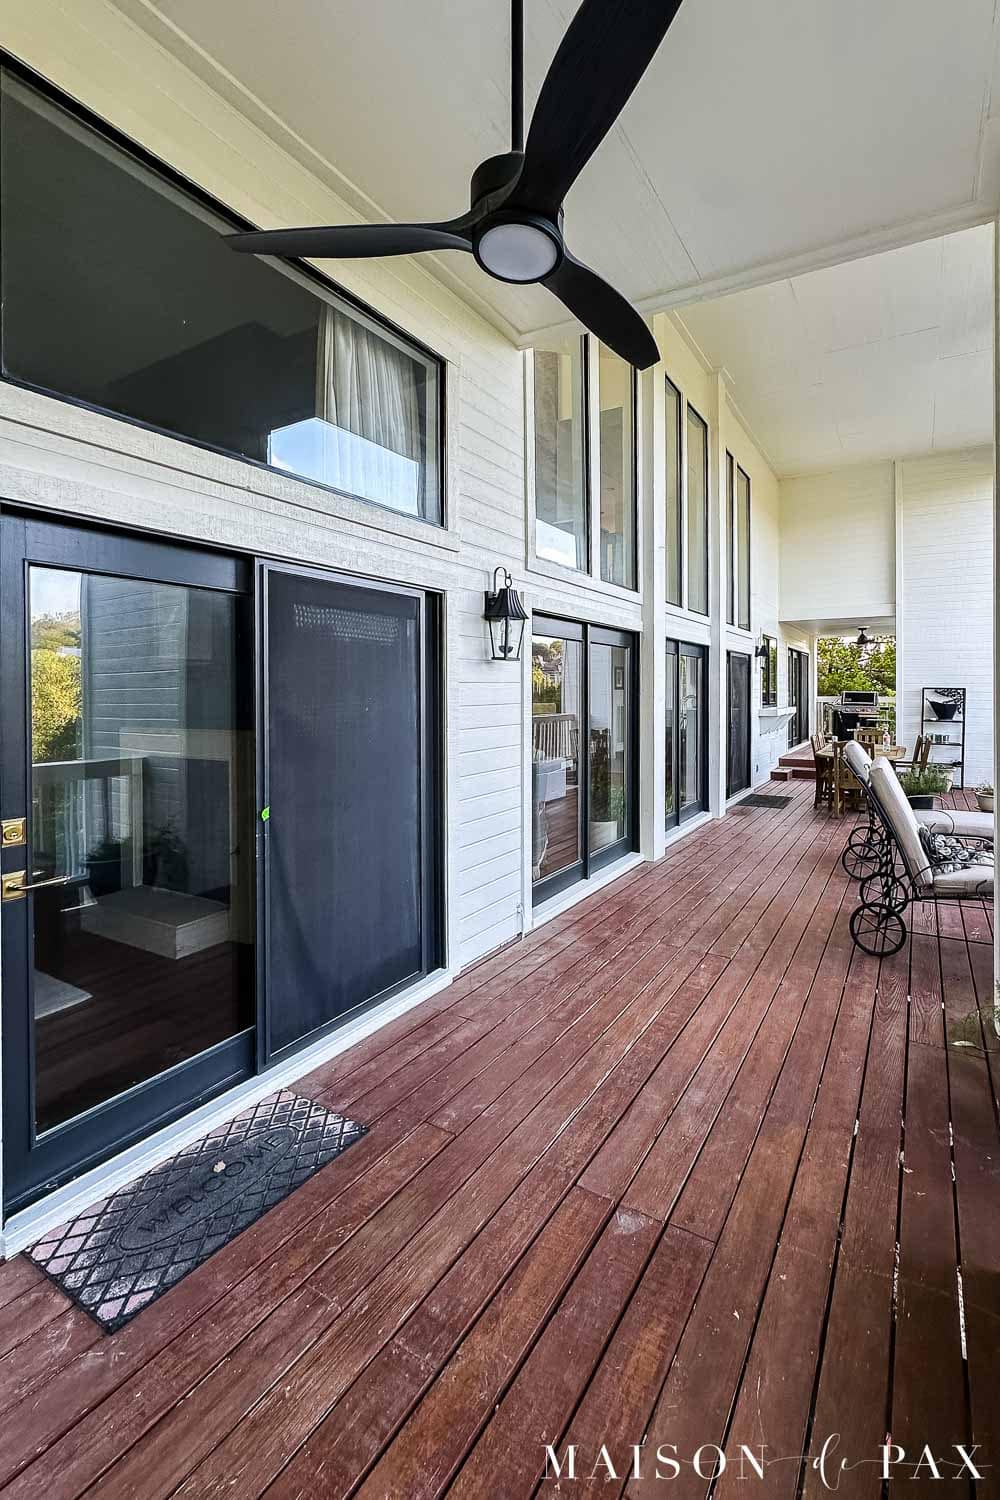
Instead of completely stripping the deck, we cleaned it thoroughly, lightly sanded the existing finish, replaced the damaged boards, and used a solid-color stain to give everything a more uniform finish. It was still a fair amount of work (this is a very large porch!), but considerably less painful than stripping the entire thing down to bare wood.
This post contains affiliate links. Click here to read my full disclosure.
Can you Restain a Deck Without Stripping It?
Sometimes, yes—but it depends on the condition of your existing finish and the stain you plan to use. If your old stain is peeling or failing, you’ll need to remove the loose finish before applying anything new. Depending on the type of coating already on your deck and the new product you’re using, more extensive stripping may also be necessary.
In our case, the existing stain was worn and faded but wasn’t peeling. We weren’t trying to return the deck to a natural wood finish, either. I wanted to cover the reddish color completely, so I chose a solid stain.
We used Cabot Solid Color Acrylic Stain + Sealer in Acorn, an opaque finish designed to cover old stain and mismatched boards—exactly the problem we had. Cabot does recommend removing loose coatings and using a stripper when necessary, so be sure to follow the preparation instructions for your specific stain and the condition of your deck.
Why I Chose Solid Stain for Our Old Deck
I love the look of natural wood, so under different circumstances I might have chosen a more transparent finish. But this deck wasn’t exactly a blank canvas. Some boards still had quite a bit of the old reddish stain, while others were significantly faded. After replacing several rotten boards, we also had completely new wood mixed in with the old.
A transparent or semi-transparent stain would have allowed all those differences to show through. Solid stain gave me the ability to make the old and new boards look much more cohesive while still retaining the texture of the wood.
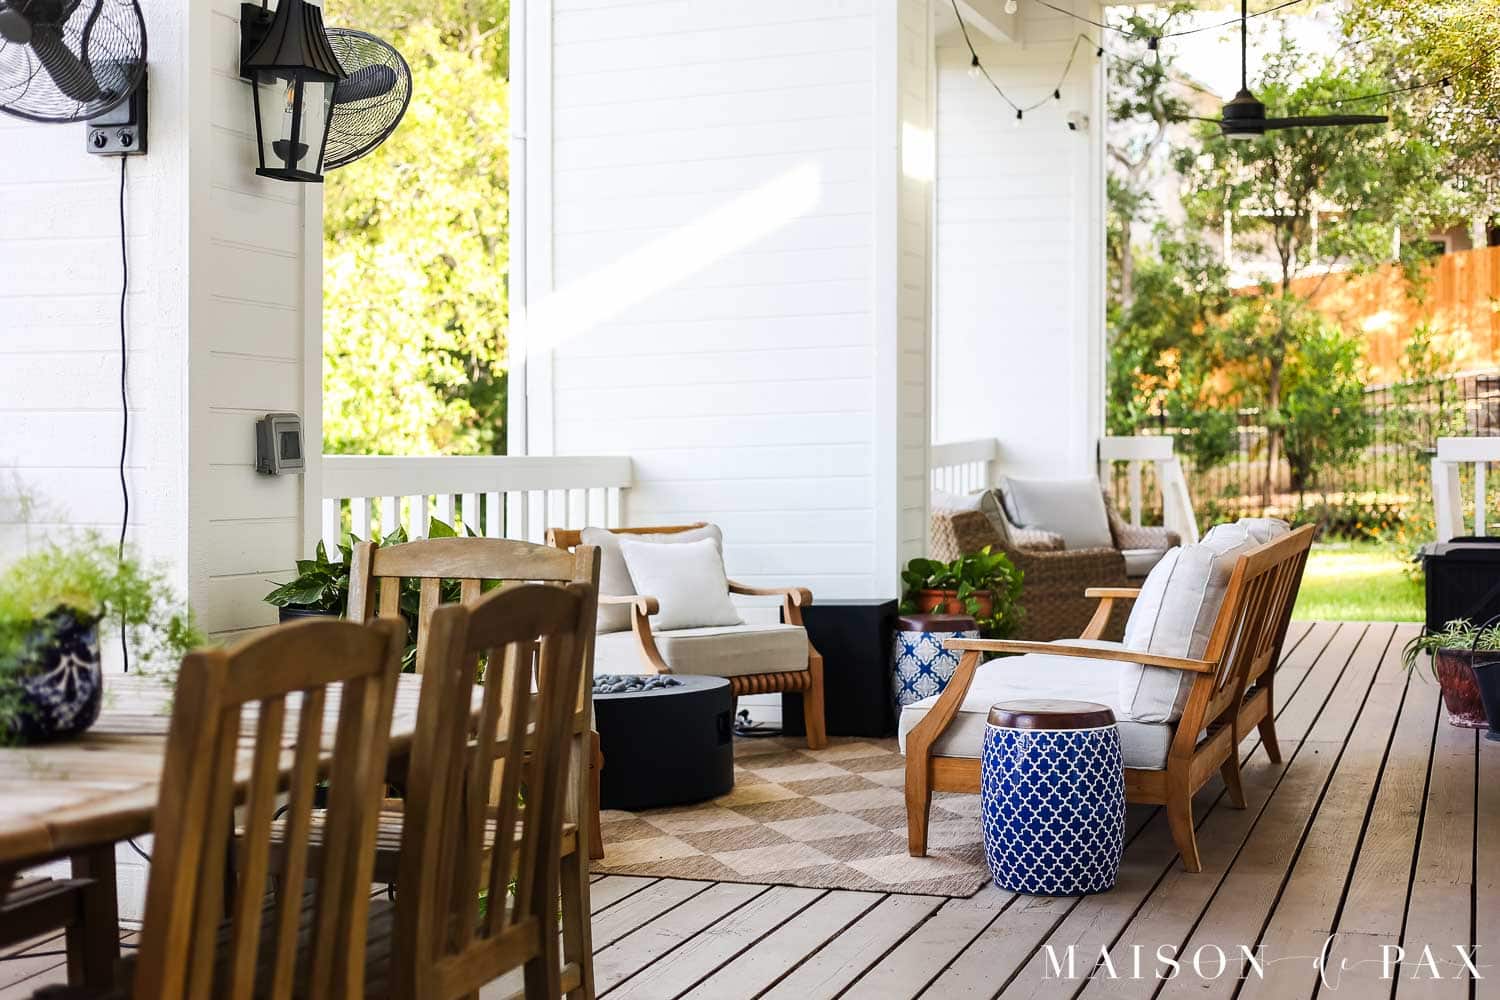
From a design standpoint, I wanted the deck to feel warm without returning to the reddish tones we’d just eliminated from the exterior. Acorn is a soft, warm beige/taupe that works beautifully with the white house, black doors and windows, and natural wood furniture on the porch. Instead of introducing another strong color, the floor now acts as a quiet backdrop for the whole outdoor space.
Supplies for Restaining a Previously Stained Deck
- Cabot Wood Cleaner
- Paint roller and extension pole, for applying the cleaner
- Garden hose
- Palm sander and/or sanding block + sandpaper
- Broom
- Leaf blower, optional but very helpful for removing sanding dust
- Cabot Solid Color Acrylic Stain + Sealer in Acorn
- Cabot stain pad applicator
- Extension pole for the stain pad
- Paint tray
- Paintbrush for edges, corners, and other areas the stain pad couldn’t reach
How to Restain a Previously Stained Deck
Here’s the process we used to refresh our old stained porch without completely stripping the previous finish.
1. Replace Any Rotten or Damaged Boards
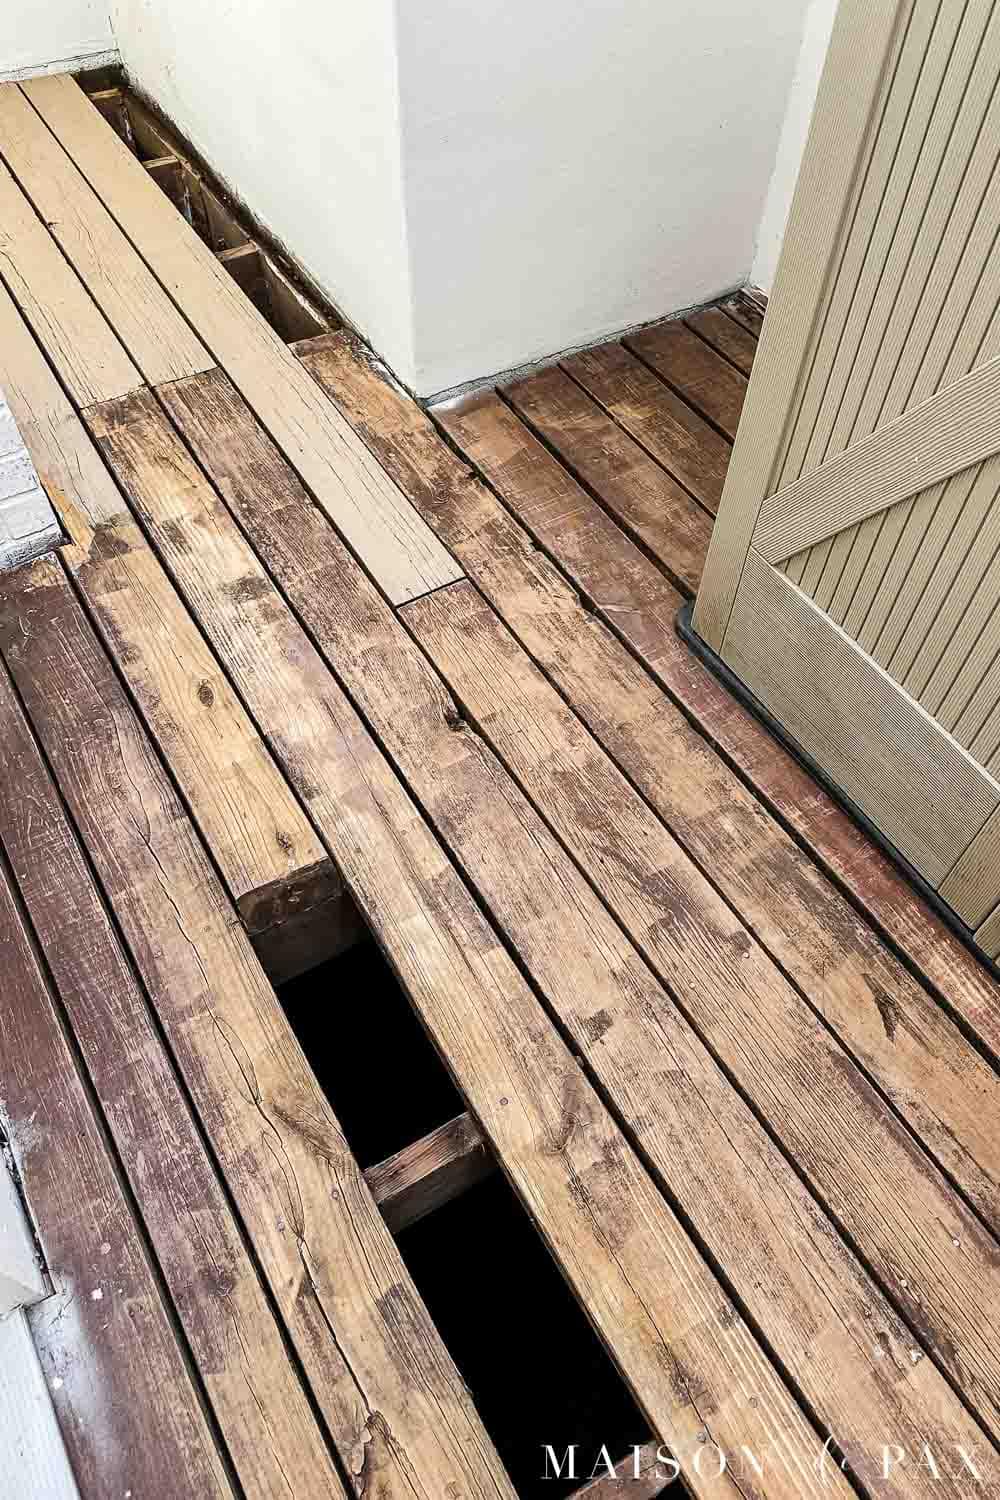
Before worrying about the finish, inspect the deck itself. We had a handful of boards that had rotted and needed to be replaced, but otherwise the deck was in decent condition.
We removed those damaged boards and replaced them with new ones. Of course, the new lumber made the color variation on our deck even more noticeable—which was another reason solid stain made sense.
2. Clean the Deck Thoroughly
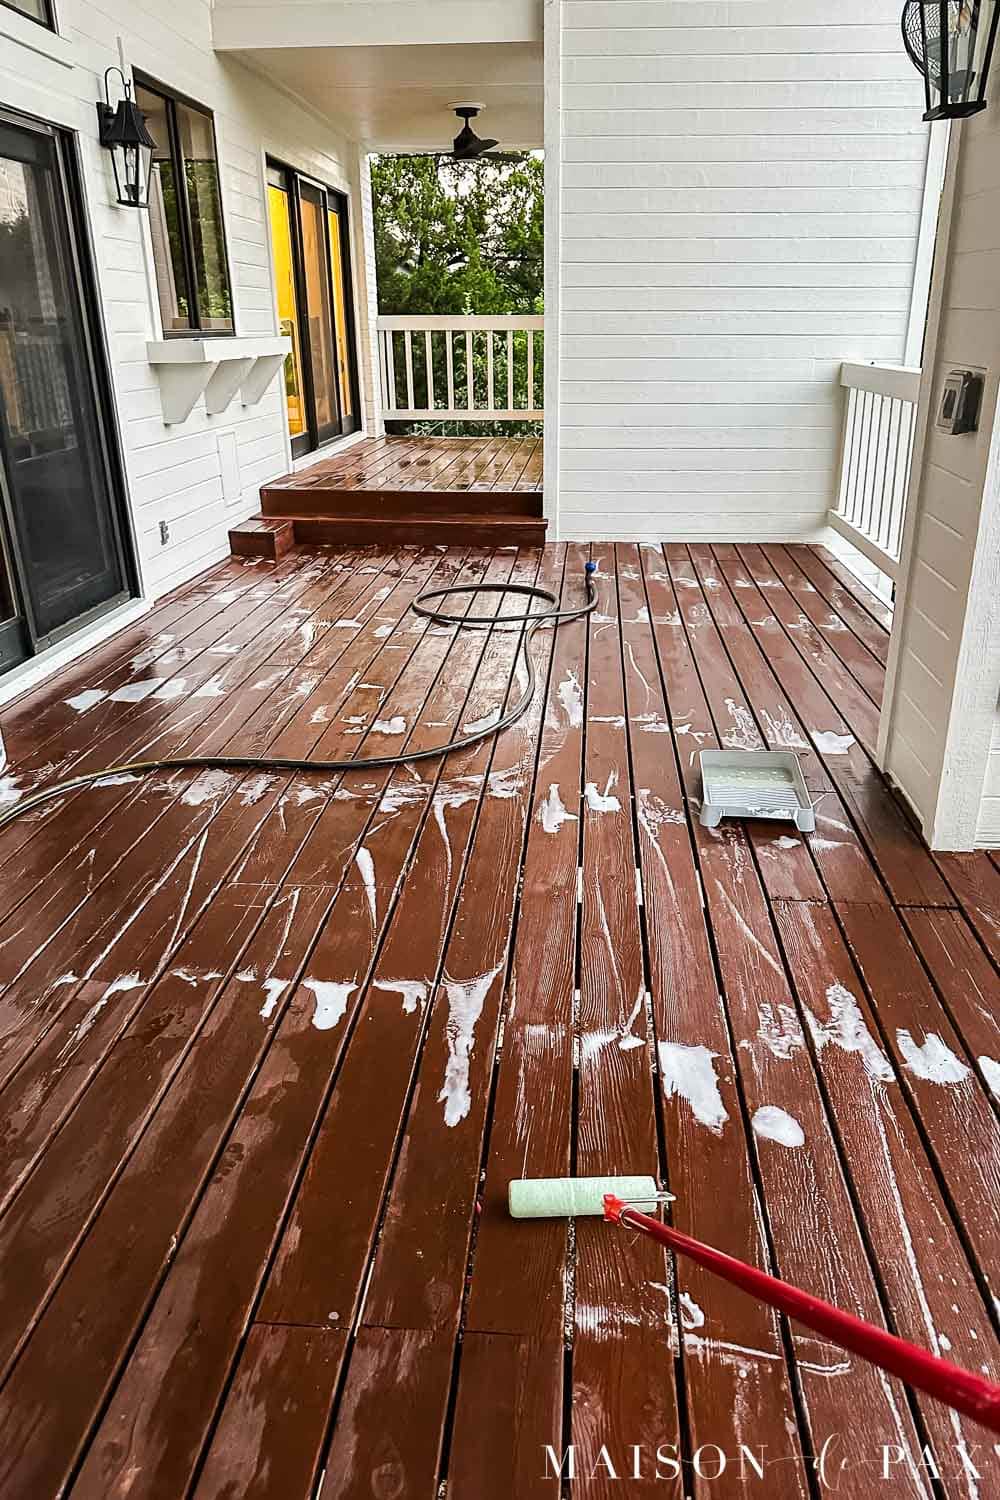
Our porch was dirty, so before we started sanding, I washed the entire deck with Cabot Wood Cleaner. It’s made to remove dirt and grime and prepare exterior wood for staining, so it worked well for this project.
I used a roller to distribute the cleaner across our large porch, rinsed everything thoroughly, and then let the wood dry completely before moving on to sanding. Follow the application and time instructions for whatever cleaner you use rather than simply copying my method, since product directions can vary.
3. Lightly Sand the Existing Deck Stain
Once the deck was completely dry, we sanded it. But (and this is important!) we weren’t trying to sand every last trace of reddish stain from every board. The goal was to prepare and smooth the existing surface, not to strip the entire deck back to raw wood.
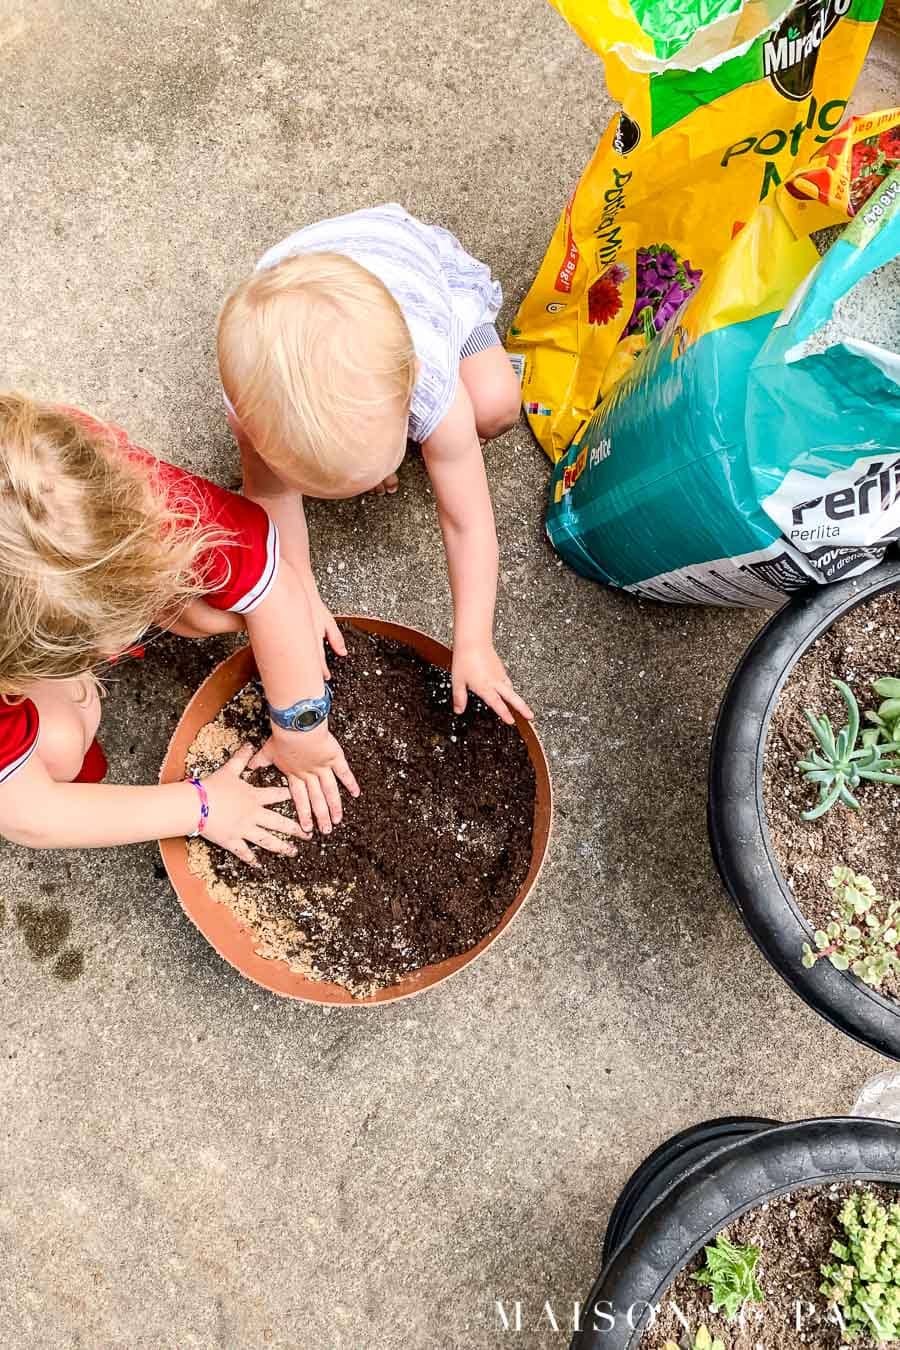
And because this porch is enormous, I recruited help. Each of my kids was assigned a section of the porch and could choose whether to sand it by hand or use the palm sander. Sometimes motherhood is about teaching valuable DIY skills. Sometimes it’s about not sanding an enormous porch by yourself. 😉
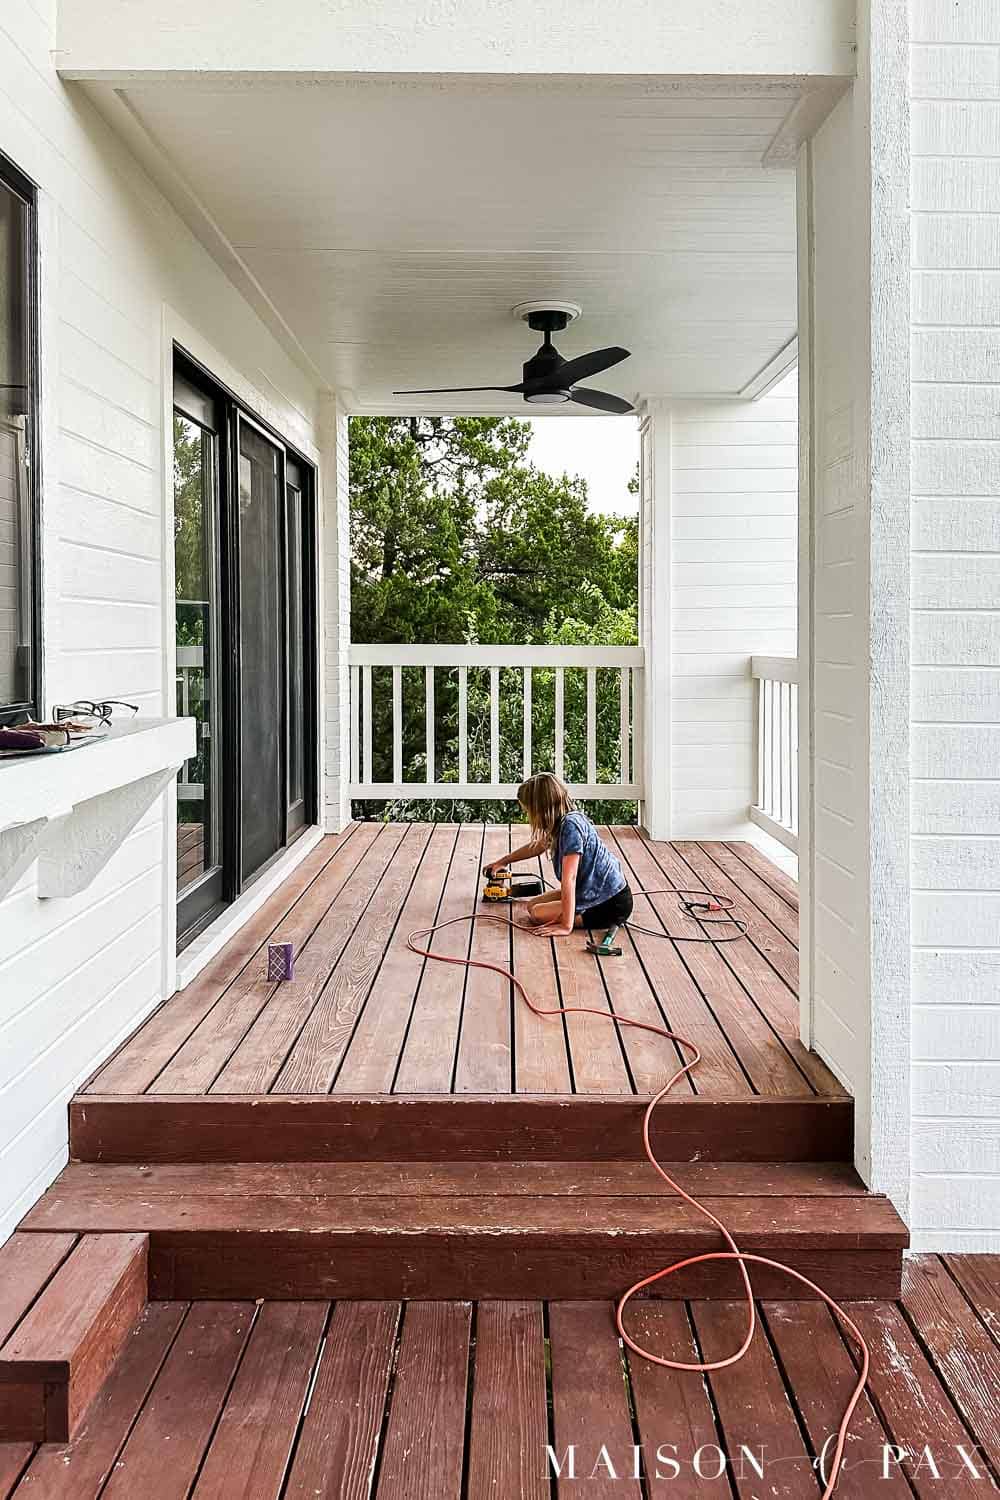
Pay particular attention to any areas where the old finish is loose or failing rather than simply sanding over them. If your existing coating is peeling significantly, your deck may need more extensive stripping than ours did.
4. Remove All the Sanding Dust
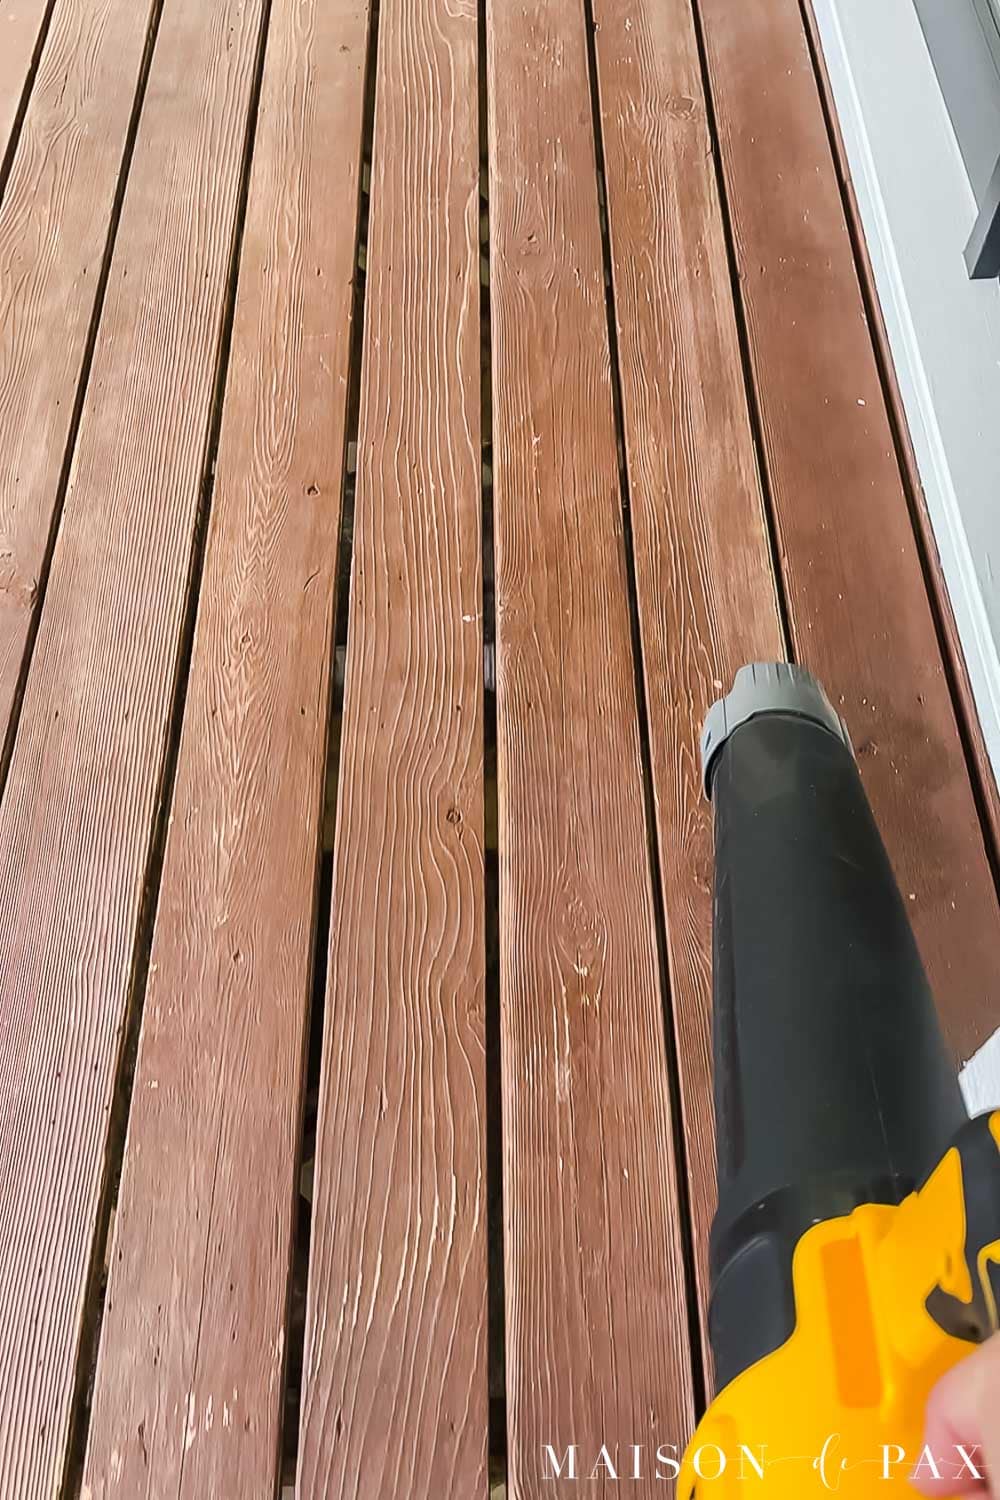
Once we’d finished sanding, I swept the porch thoroughly and then used our leaf blower to remove the remaining dust. It’s a very simple step, but the leaf blower made quick work of getting dust out of the gaps between the boards and all those little places a broom doesn’t quite reach.
You don’t want to go through all the work of cleaning and sanding only to trap a layer of sanding dust underneath your new finish.
5. Apply the Solid Deck Stain
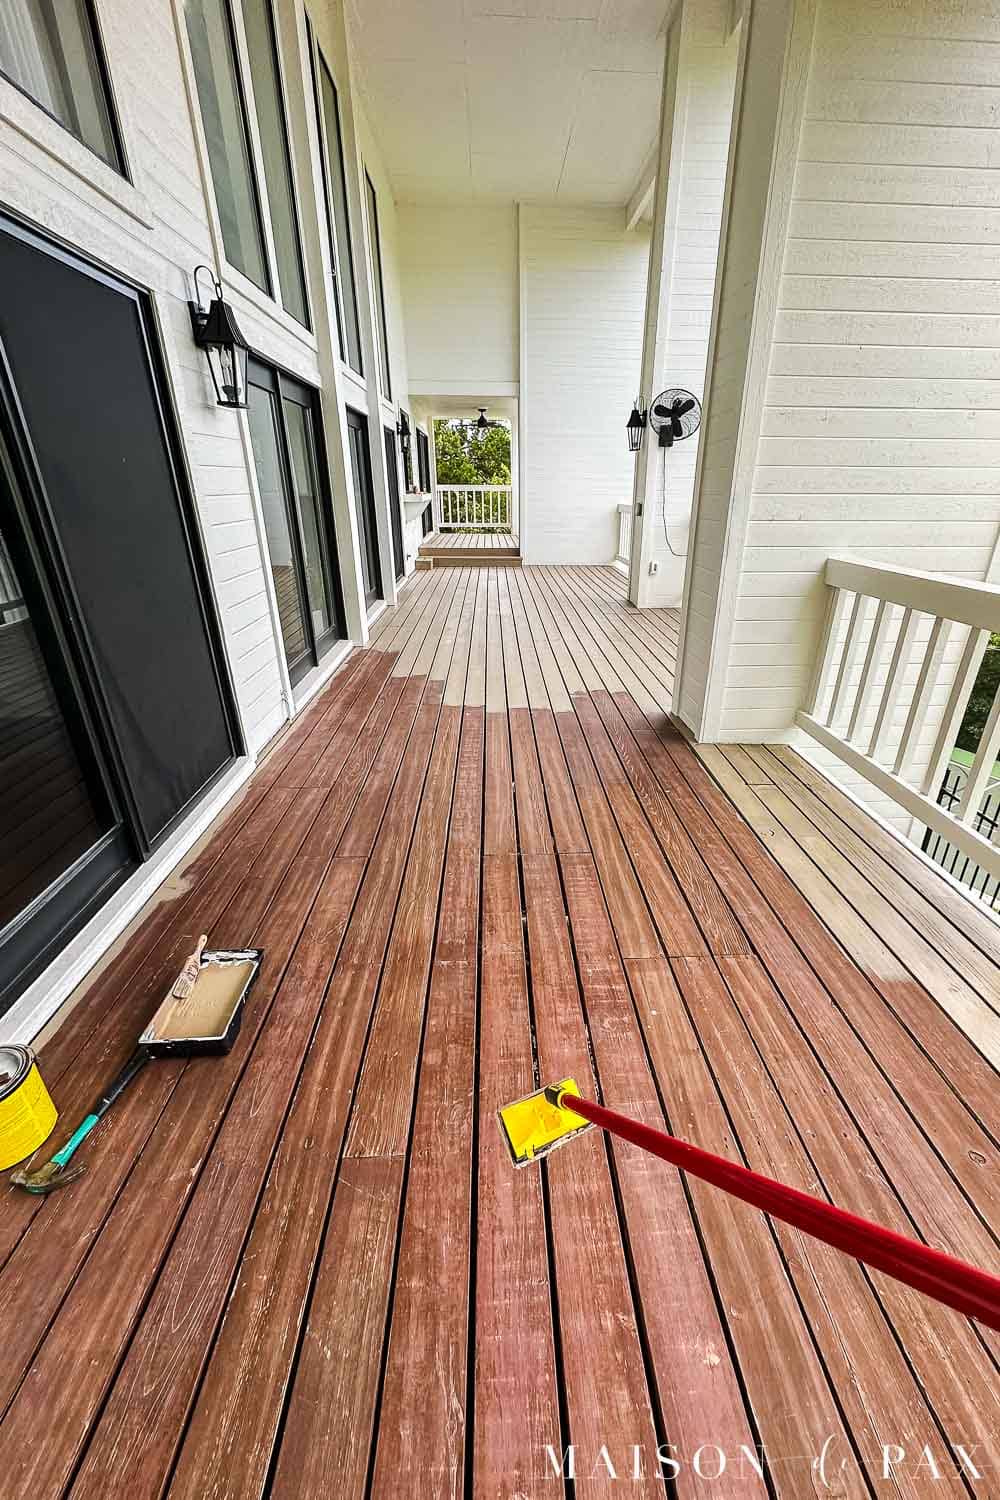
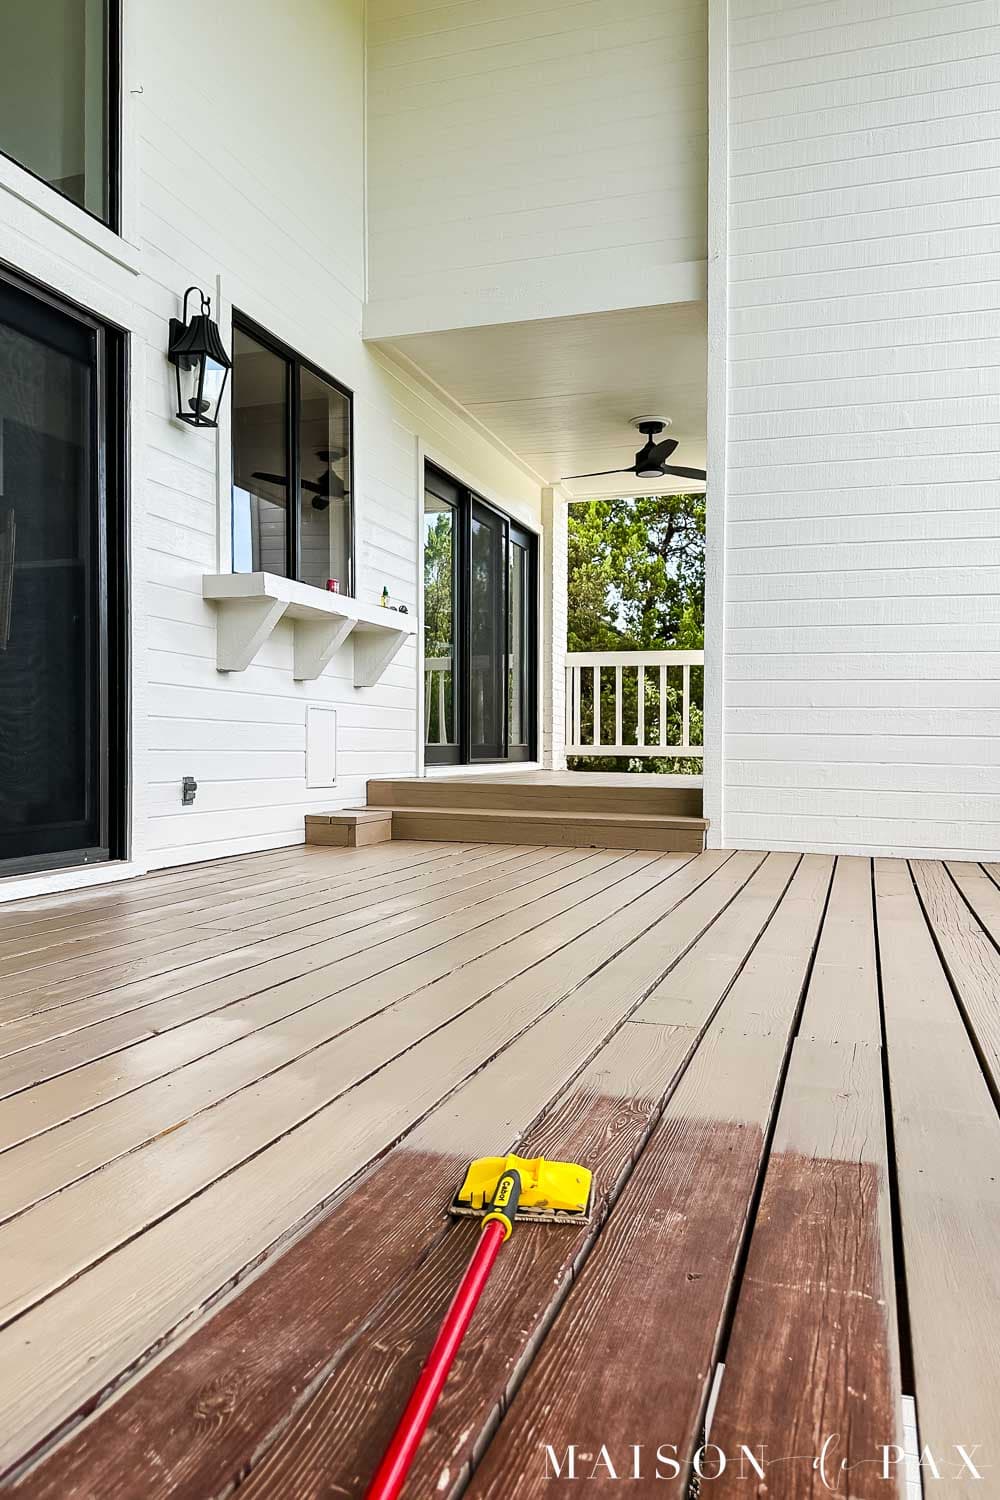
Then came the satisfying part. I applied Cabot Solid Color Acrylic Stain + Sealer in Acorn using a Cabot stain pad, working along the length of the deck boards.
The transformation was pretty dramatic. As soon as the Acorn went down, all those different surfaces—the faded reddish boards, more heavily stained areas, and replacement boards—finally began to look like one cohesive deck.
A note about coats: I did this project more than a year ago, and I can’t say with complete certainty whether I applied a full second coat. Rather than pretend I remember something I don’t, I’ll simply tell you to follow the current instructions for the particular stain you’re using. Cabot currently recommends two coats on worn or weathered surfaces for optimum performance.
The Finished Porch
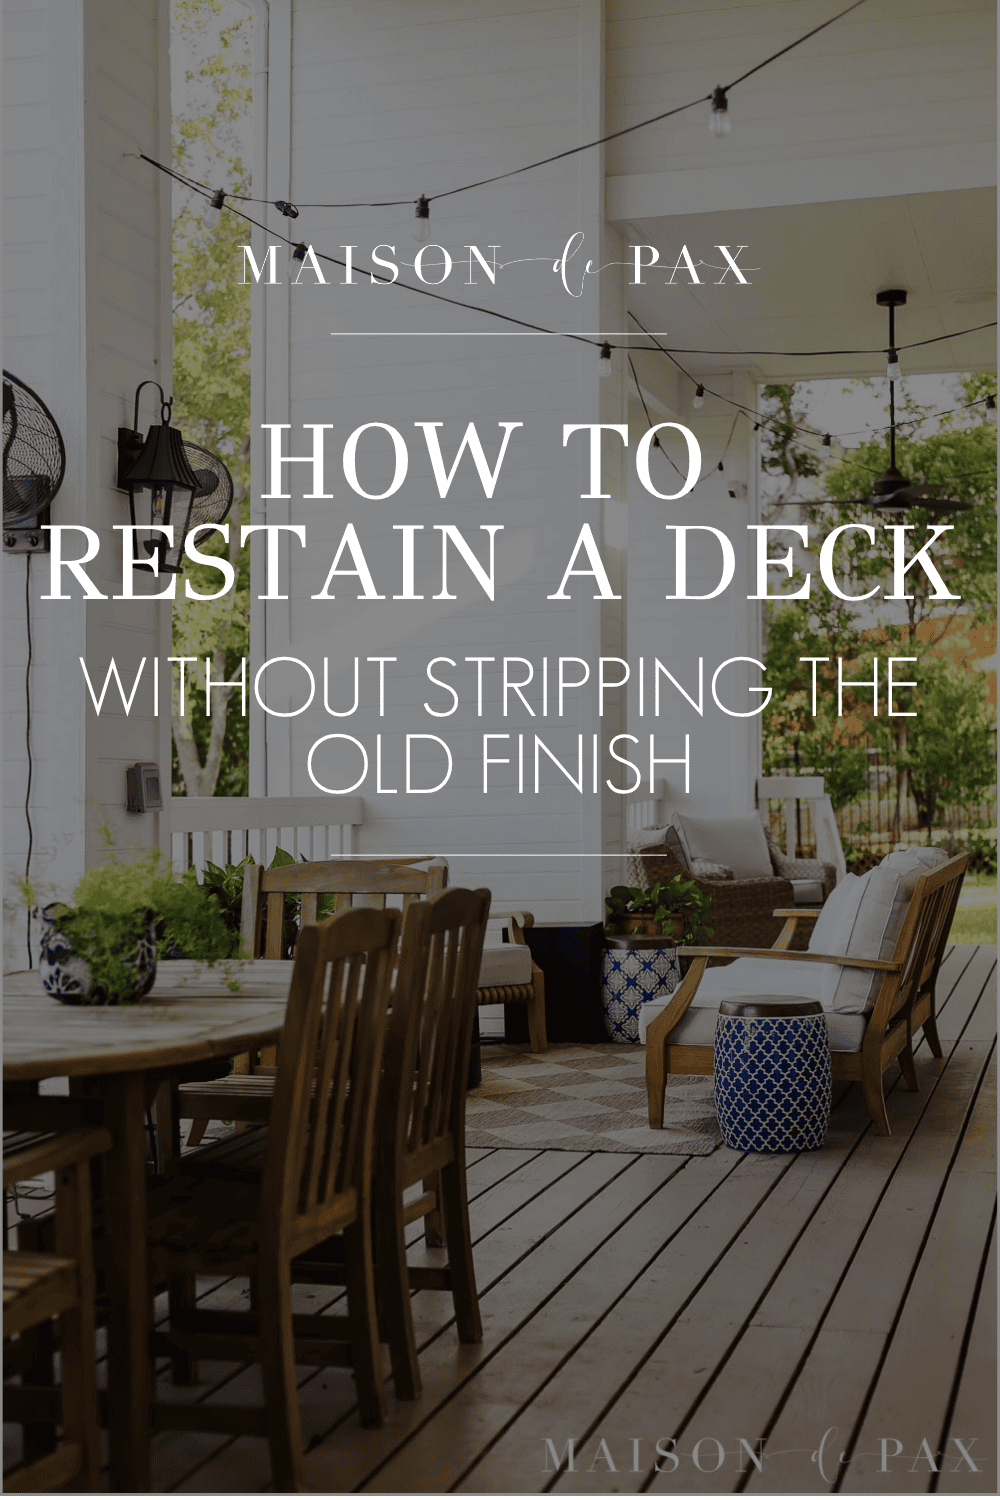
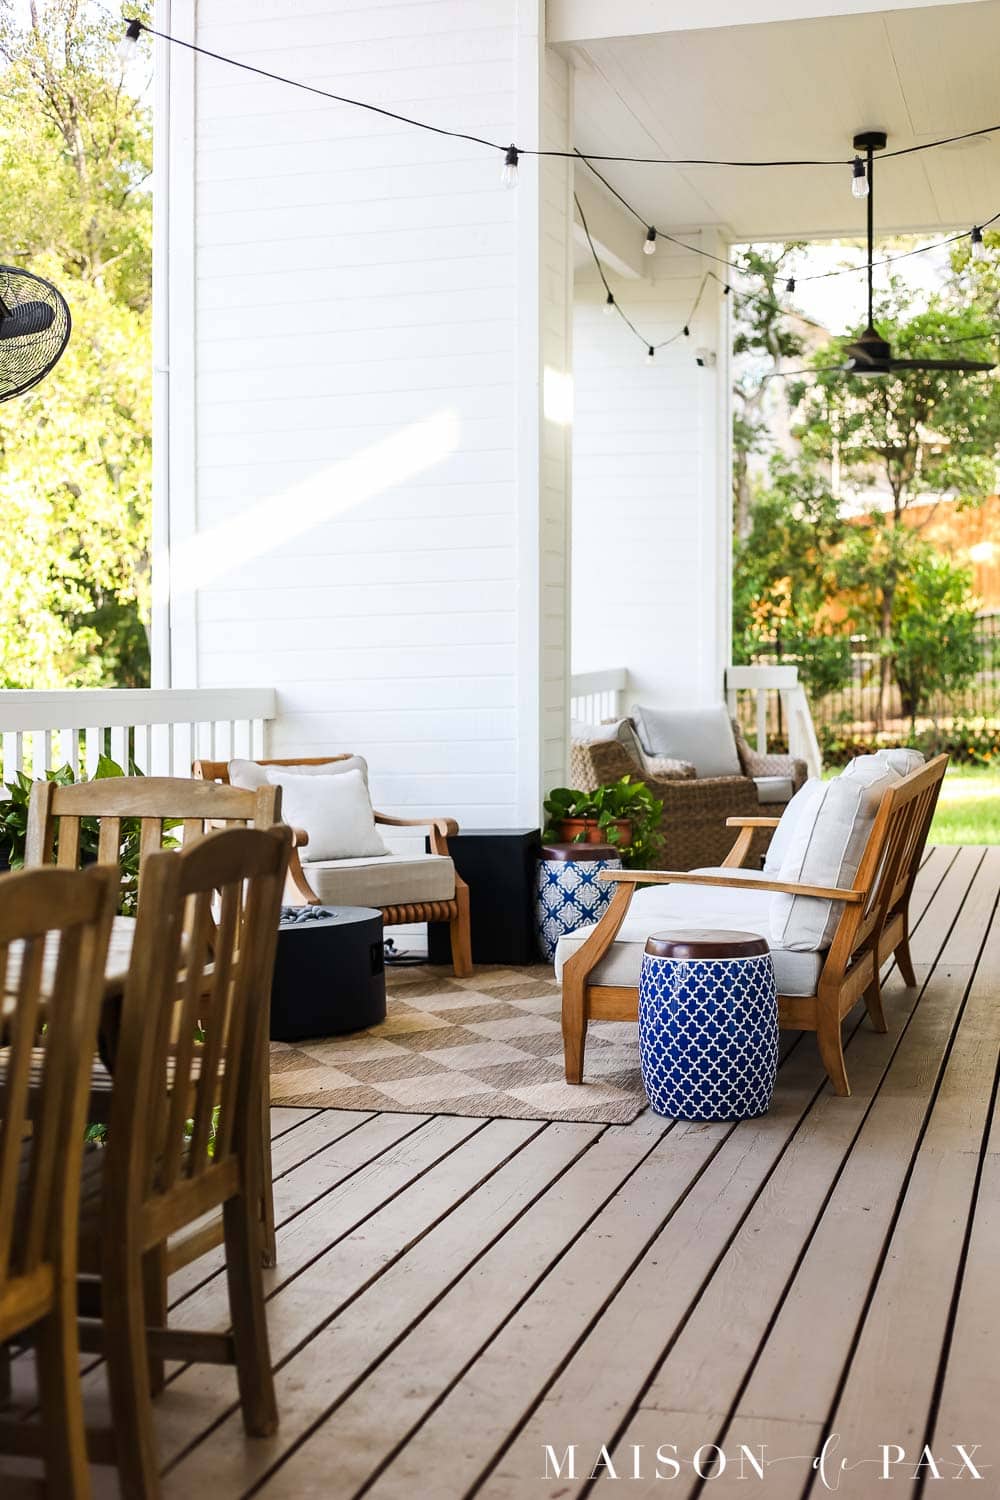
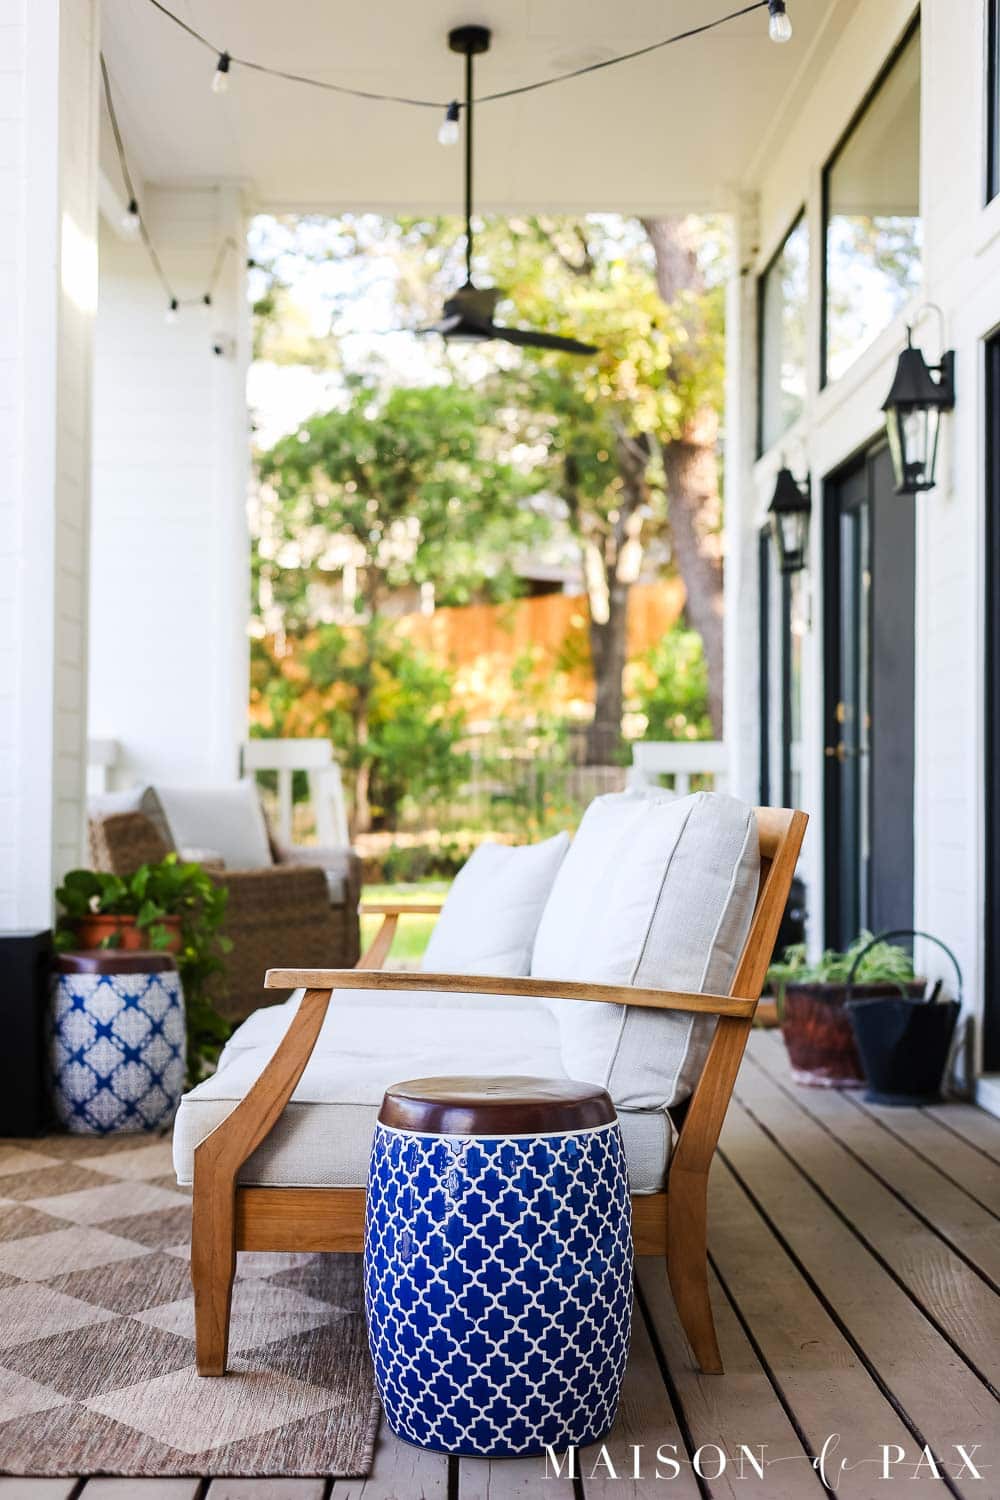
I couldn’t believe how much changing the deck color affected the entire porch. Acorn still has plenty of warmth, but its quieter, more neutral color lets the white-and-black architecture and natural wood furniture stand out instead of introducing another competing color.

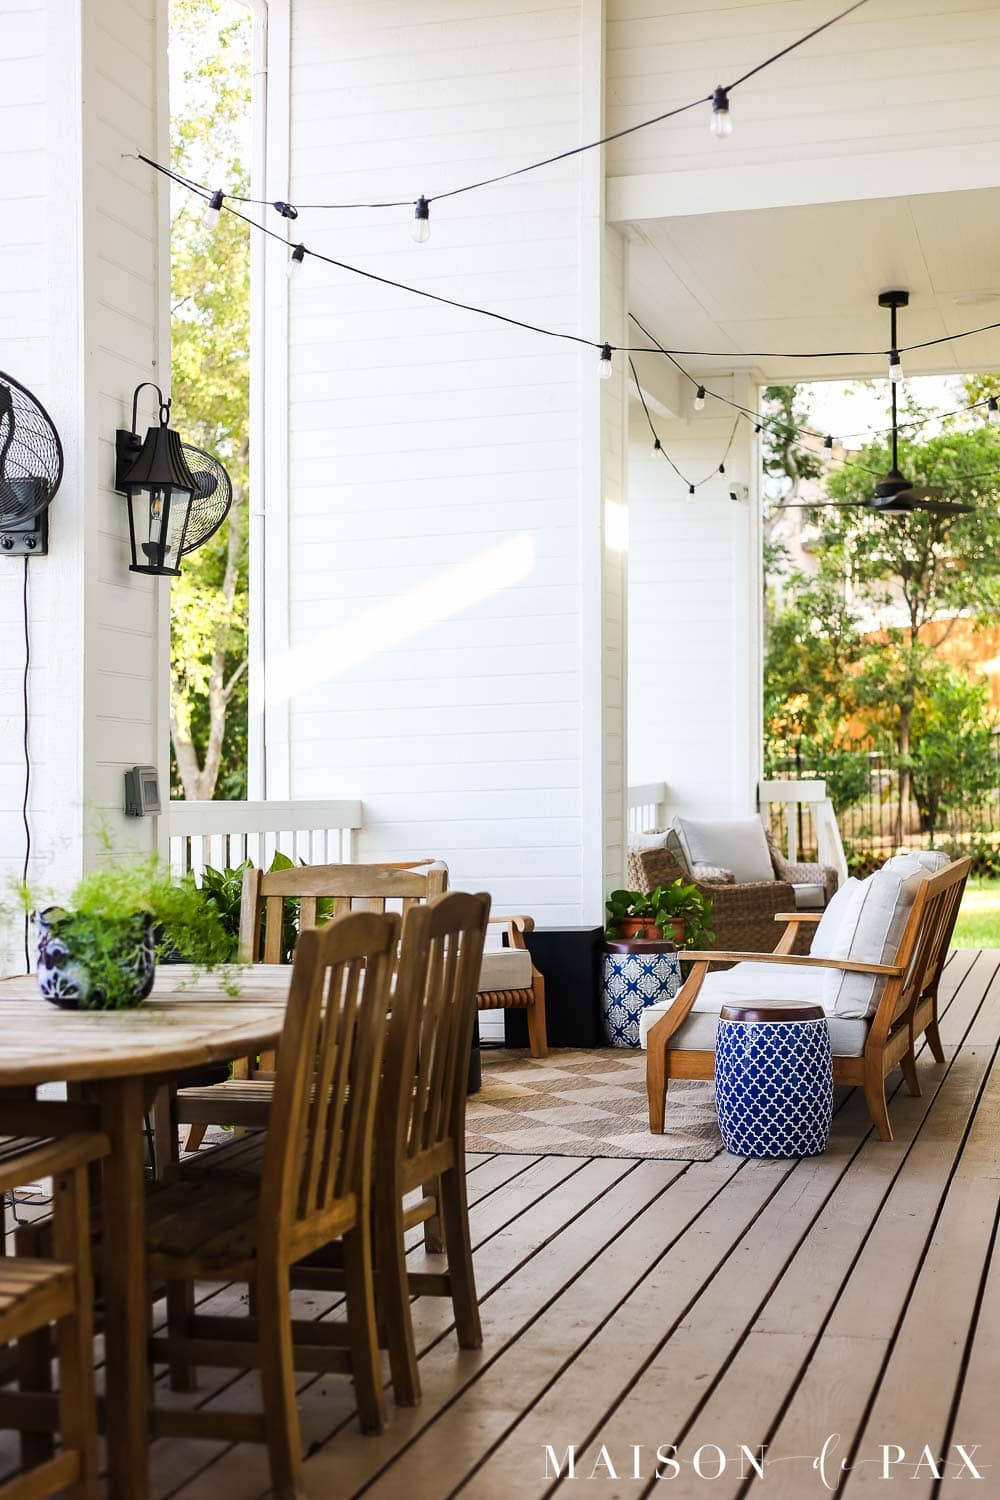
More importantly, the solid finish made a deck composed of old and new boards feel intentional again. Once I added our teak furniture, neutral outdoor cushions, a rug, and a few blue accents, the porch felt much more connected to the rest of our home.
How Has the Solid Deck Stain Held Up After a Year?
This is the part I wish more DIY posts included. It’s now been about 14 months since I restained the porch, so I went outside and took some decidedly unstyled photos of what the deck actually looks like today.
The porch is a little dirty from the high school boys who visited this weekend, but overall, I’m really pleased. There is no peeling anywhere that I can see, and from a normal standing distance, I think the deck still looks pretty dang good.
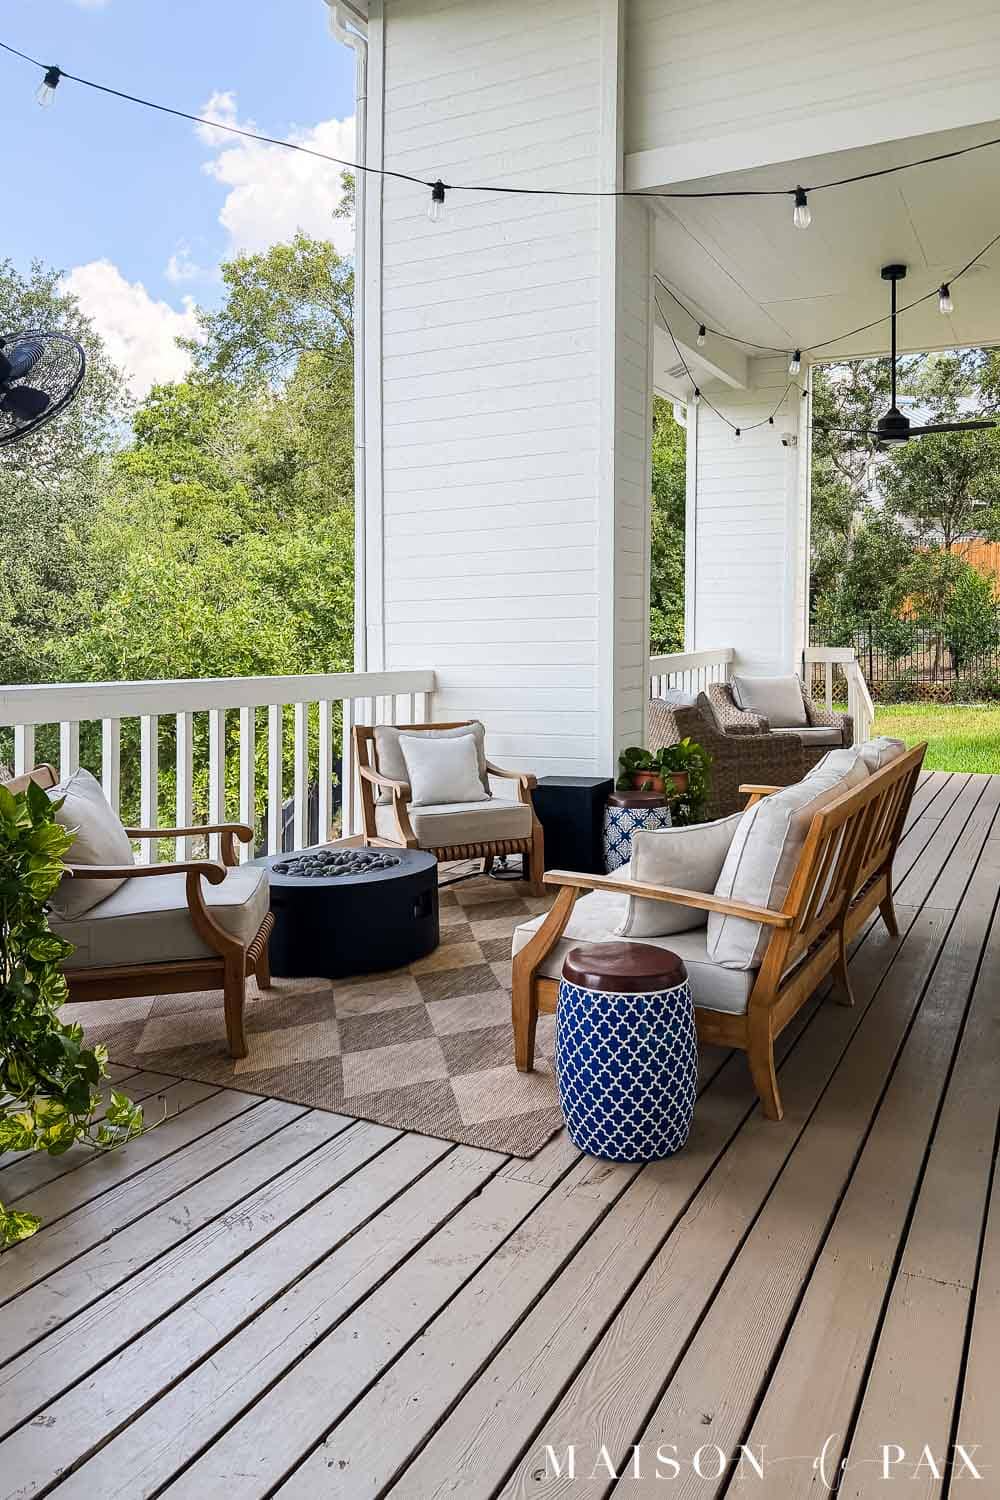
It isn’t perfect, though. Our very heavy teak furniture has scratched the finish in a few places, and because the old deck stain underneath was reddish, those deeper scratches are more noticeable against the much lighter Acorn finish. There’s also one mysterious circular scratch that appeared a few months ago after we hosted a slew of high school boys, so I’ll let you draw your own conclusions about that one. 😉
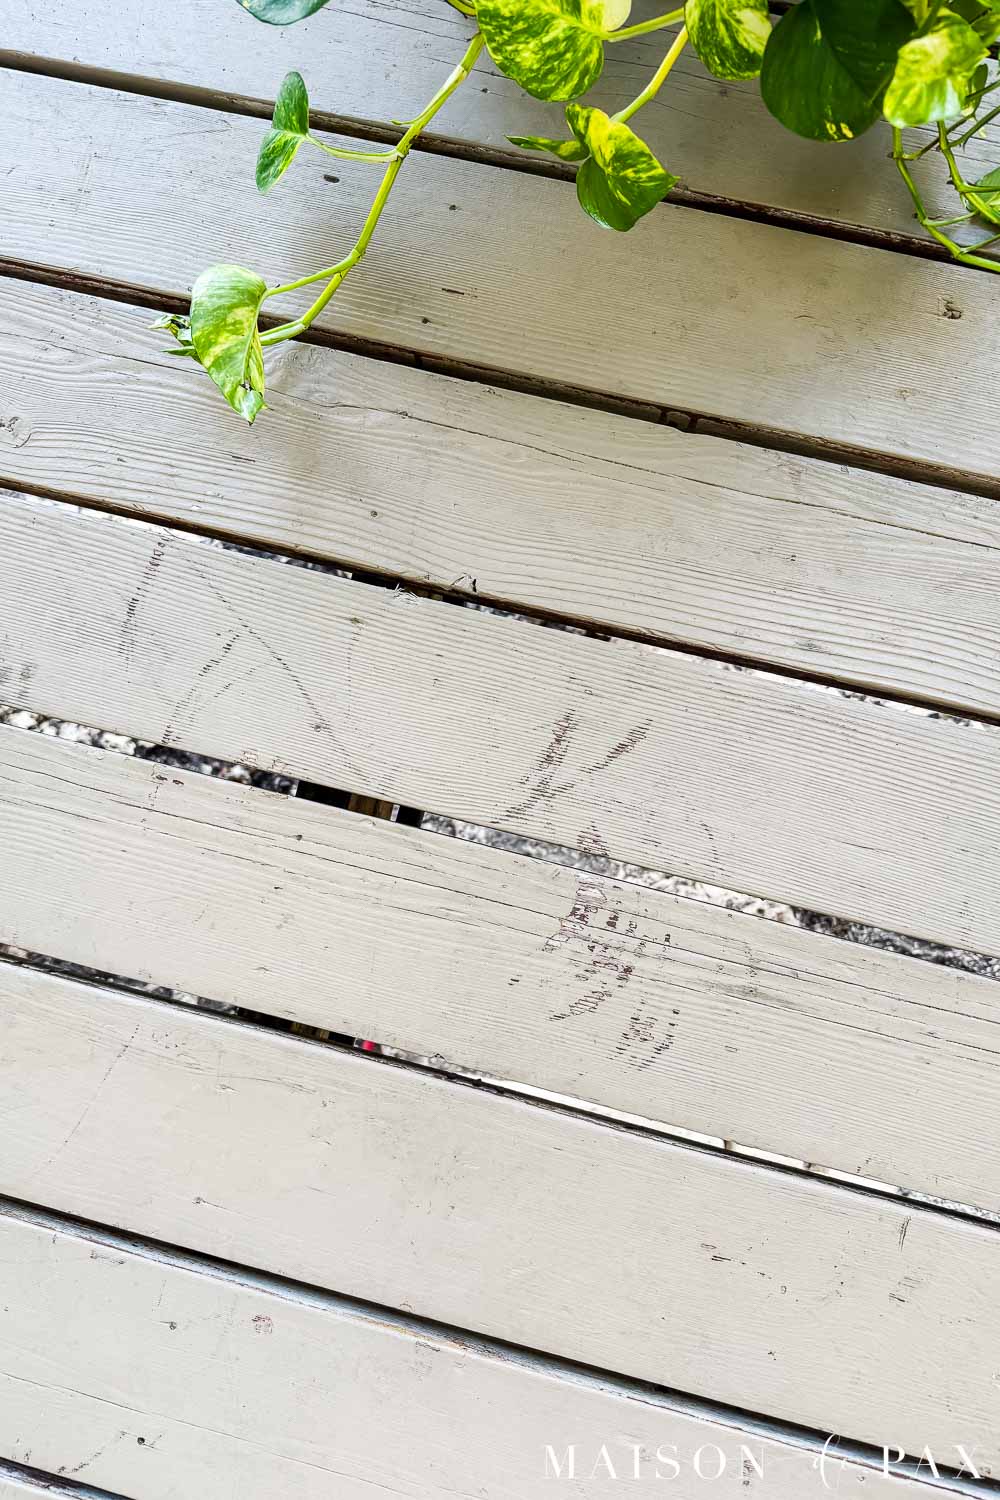
To me, those areas look like normal wear rather than failure of the finish. The stain itself isn’t lifting or peeling, and considering how much we use this outdoor space, I’ve been very happy with how it has held up.
The scratches do highlight one tradeoff worth considering if you’re putting a light solid stain over a much darker existing finish: deep scratches can reveal that contrasting color underneath. For me, that’s been a worthwhile tradeoff for avoiding the enormous job of completely stripping the deck and getting the lighter, more cohesive look I wanted.
Would I Use Solid Stain Over an Old Deck Again?
For this deck, absolutely. If I had beautiful new wood and wanted to showcase its natural variation, I might choose something more transparent. But that wasn’t what I was working with here.
We had an older deck with faded stain, mismatched replacement boards, and a color I no longer liked. Solid stain solved all three problems at once. More than a year later, I also feel much better recommending this approach because I’ve actually seen how it performs. Aside from scratches caused by moving heavy furniture and normal life, the finish has held up very well without peeling.
If your deck is in similar condition, restaining without completely stripping the old finish may be an option worth considering. Just remember that surface preparation matters, and whether you can stain over an existing finish depends on its condition and the products involved.
Frequently Asked Questions About Restaining a Deck
Do you have to strip old stain before restaining a deck?
Not always. If the existing finish is sound and compatible with the new stain, you may be able to clean, sand, and prepare it without stripping the entire deck to bare wood. Loose, peeling, or otherwise failing coatings need to be removed, however, and some finishes may require stripping. Always follow the instructions for the new stain you’re using.
Can you put solid stain over old deck stain?
Depending on the condition of the existing finish and the product you’re using, yes. The Cabot Solid Color Acrylic Stain + Sealer I used is designed to cover old stain and mismatched boards, but proper surface preparation is still essential.
Do you have to sand a deck before restaining it?
It depends on the condition of the wood and existing coating. In our case, we lightly sanded the deck after cleaning and drying it rather than sanding all the old stain away. If the existing coating is loose or peeling, however, you’ll need to remove the failing finish rather than simply covering it.
Can solid stain make new and old deck boards match?
This was one of the biggest reasons I chose it. Because solid stain is opaque, it can disguise much more of the color variation between new lumber and previously stained boards than a transparent or semi-transparent finish can. You can still see the texture and grain of the wood, but the color becomes much more uniform.
What is the difference between solid deck stain and paint?
Solid stain can look a lot like paint because both create an opaque, uniform color, but they aren’t quite the same thing. Solid stain is formulated as a wood finish and allows the texture and character of the boards to remain visible, while paint generally creates a thicker coating over the surface.
That’s one reason solid stain made sense for our older deck: I wanted to disguise the mismatched boards and old reddish color without making the porch floor feel like painted wood. Acrylic solid stains can still form a film on the surface, though, so I wouldn’t oversimplify the difference by saying that all stain soaks into the wood while all paint sits on top.
How has Cabot solid deck stain held up?
On our covered porch, the Cabot Solid Color Acrylic Stain + Sealer has held up very well for about 14 months. We have some scratches from heavy furniture and everyday use, but I haven’t seen any peeling. Of course, longevity will vary depending on climate, exposure, traffic, surface preparation, and the condition of the wood.
Restaining this deck was definitely a project, but I’m so glad we didn’t assume we had to strip every board back to bare wood before we could change the color. The lighter solid stain gave us the warm, neutral look I wanted, helped disguise the mix of old and new boards, and—more than a year later—has held up remarkably well.
If you’re working with an older stained deck like ours, I hope seeing the process (and the honest 14-month update!) helps you decide whether solid stain might be a good solution for yours, too.