Guest Post: Easy Fall Pillows from The Happy Housie
Hi friends! I’m off to DC to visit my sweet cousin (who is expecting her first in February!!)… We’ll be working on the nursery while I’m there. 🙂 But I didn’t forget about you; you’re in for a real treat today. Krista is a creative and talented gal with such a knack for beautiful projects. Please make her feel welcome!
____________________________________________________________________________
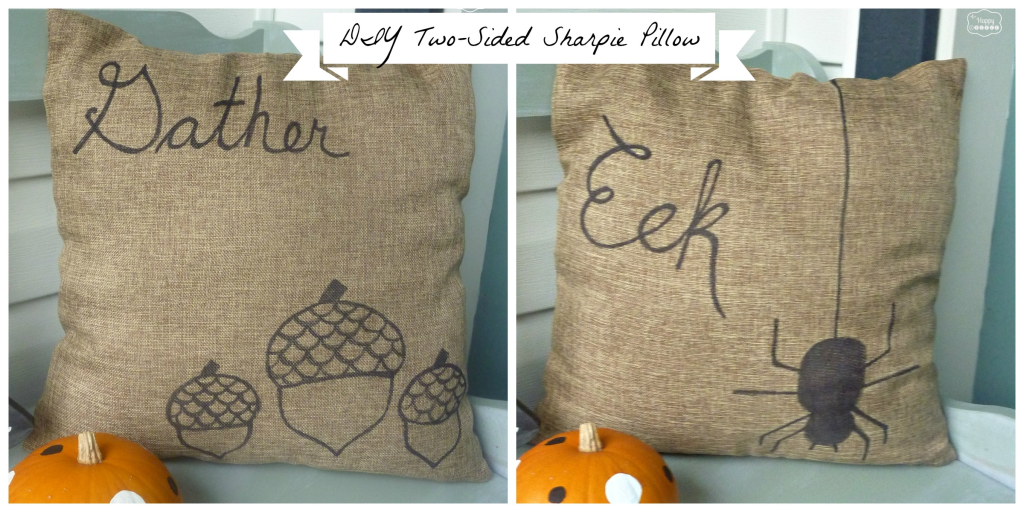
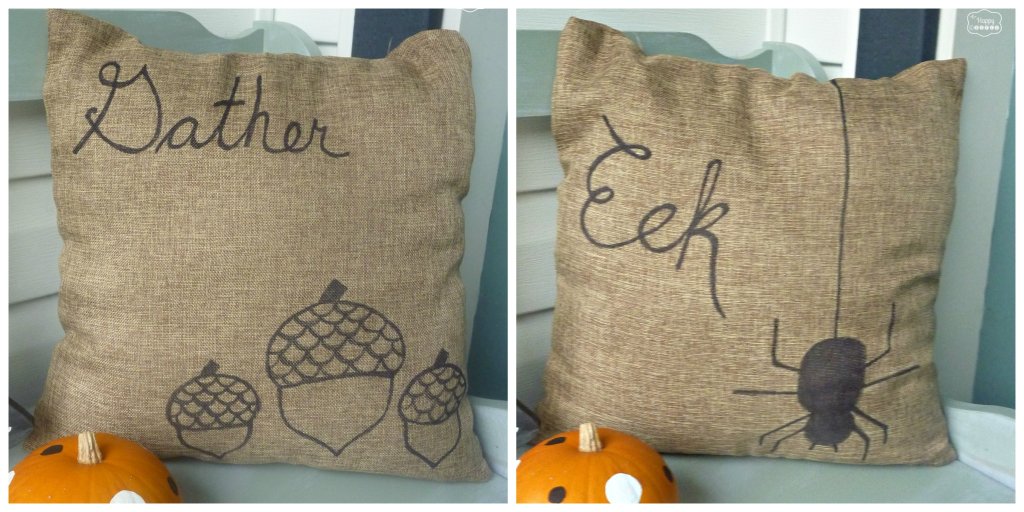
Hello readers of Maison de Pax! I’m Krista from The Happy Housie and I am so excited to be here today sharing a super quick and easy project for creating two-sided fall pillows with a Sharpie! These pillows will last you the whole fall season- from early autumn to Halloween and right through Thanksgiving.
Thank you so much to Rachel for having me here today! As I said, I spend most of my bloggy time over at The Happy Housie . I called my blog this because I think of myself as a “housie”; someone whose hobby is all kinds of house related stuff like decorating, crafting, organizing, and DIY projects. And it is one of those projects that I am here to share with you today!
To make these pillows you will need:
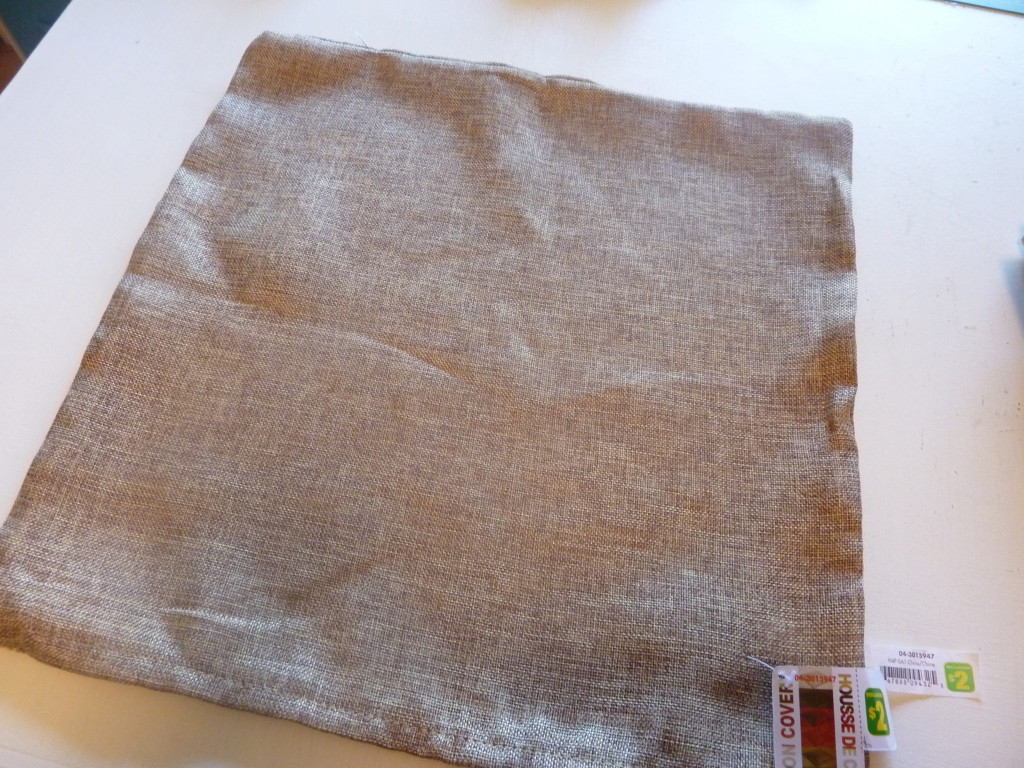
- a pillow cover…you want a zipper style pillow cover so that both sides can be used for different fall images
- I started out by using an Oil Based Sharpie Paint pen but then switched over to a regular sharpie pen on the back – so I think either type of pen will work for this
- printed images or shapes to trace or copy
- construction paper or card stock to put between the layers of the pillow while drawing
- a piece of chalk to outline your designs first if you want
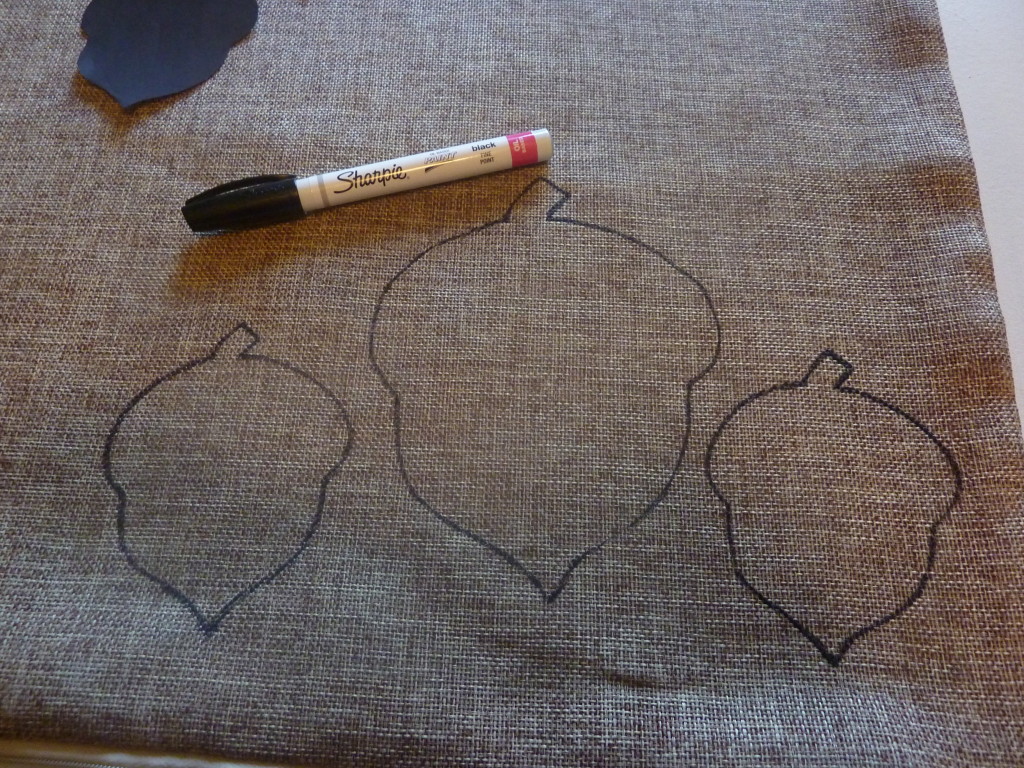
Here is the pillow cover that I started out with. I picked mine up at my local Dollorama for $2 – what a steal! Solid colours work best for this technique so that the images you are drawing stand out.
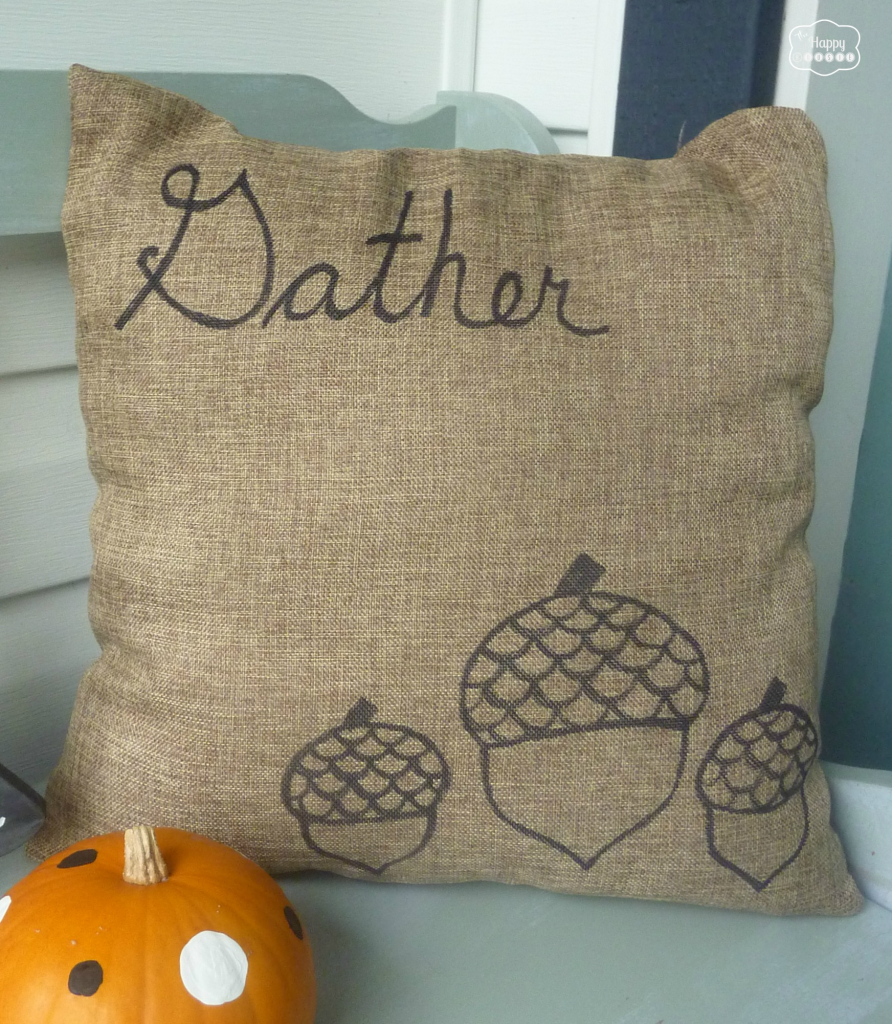
I printed and cut out some acorn images and grabbed my Sharpie oil-based paint pen.
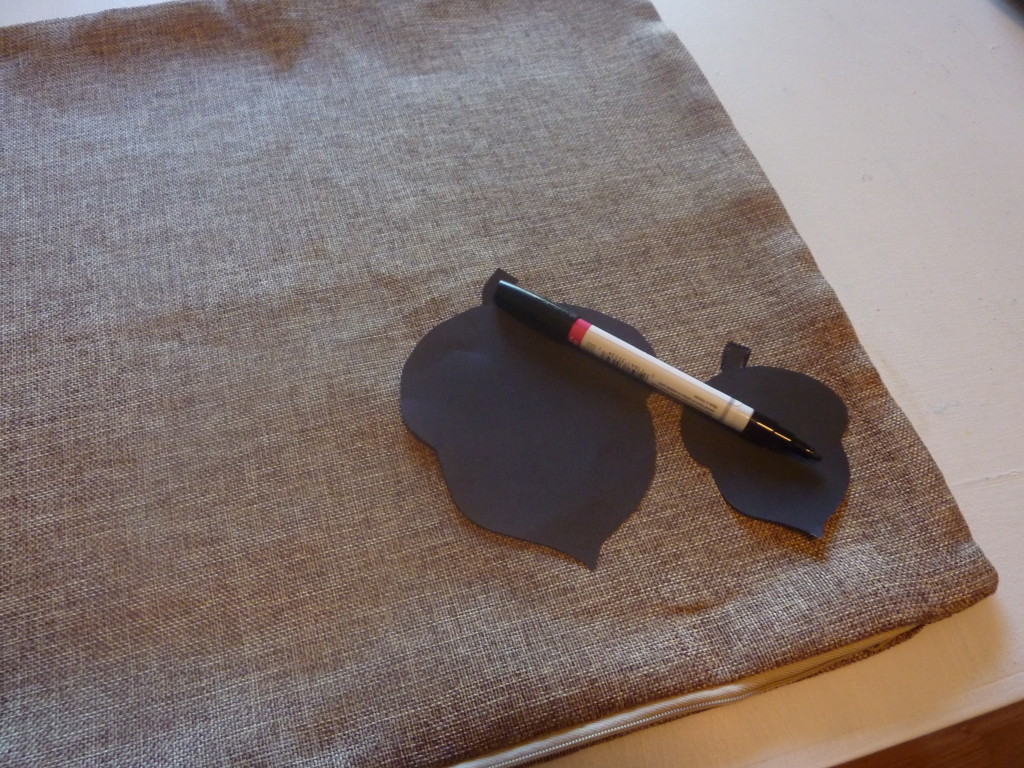
Important Tip: before using pen put construction paper or cardstock inside the pillow between the two layers to ensure that the ink doesn’t bleed through to the other side.

After choosing a placement that I liked, I traced and then filled in the acorn design with my pen.
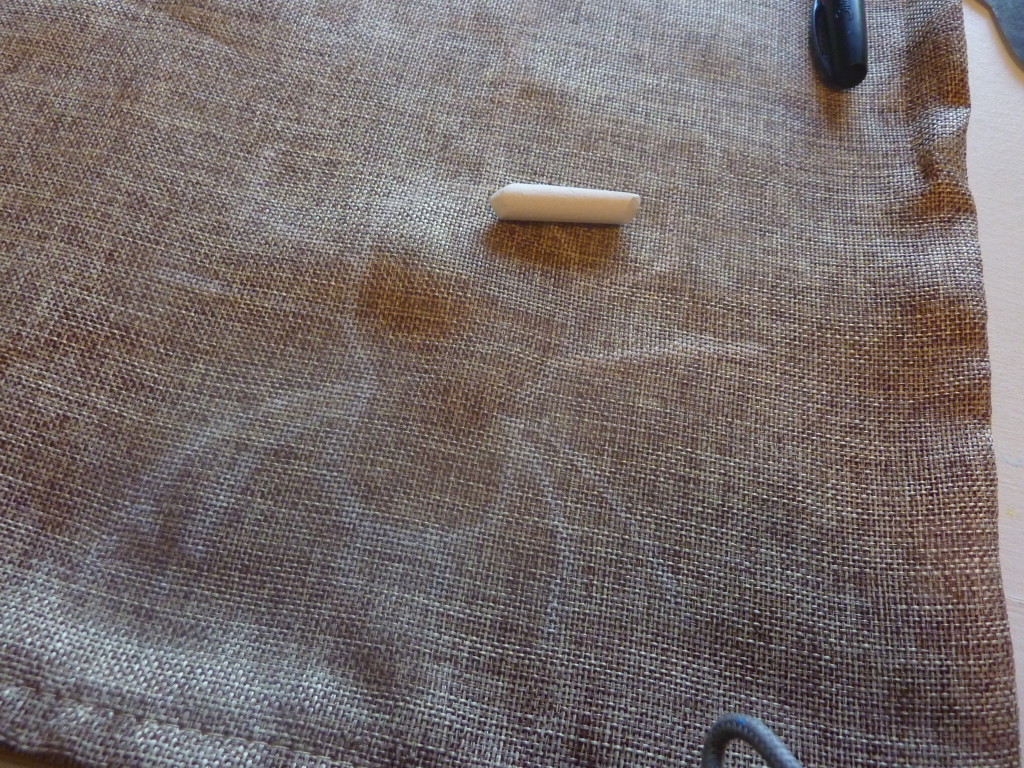
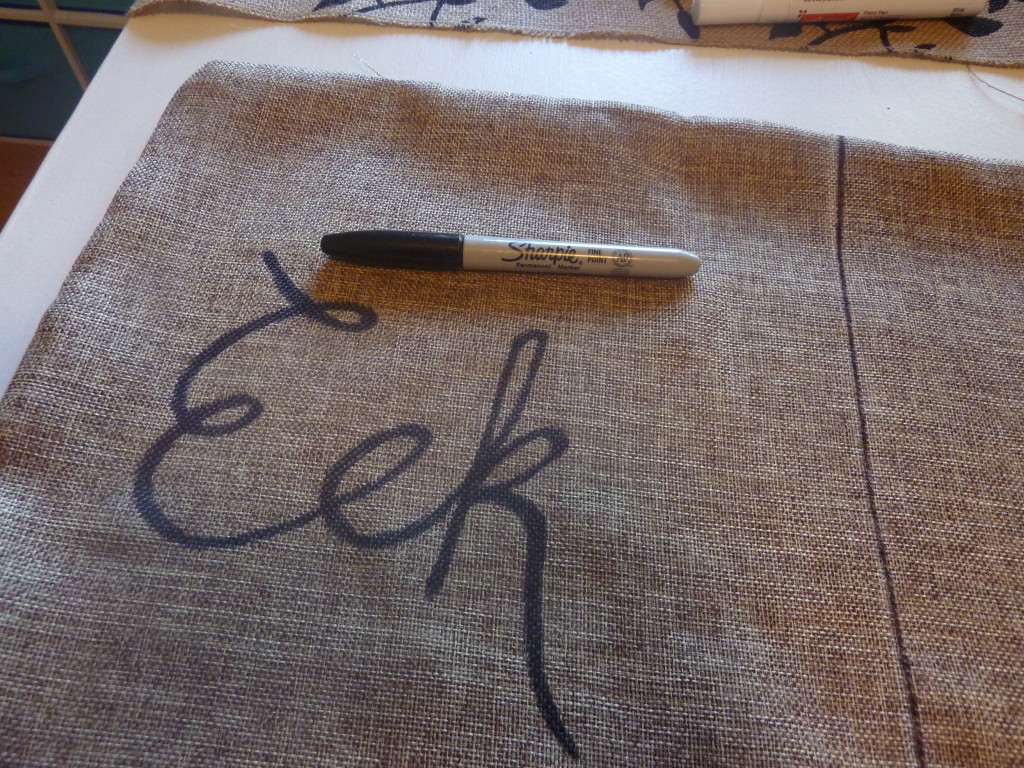
To do the opposite side with the spider I just looked at spider images online and practiced sketching them and then chalked an outline of a spider…
I then traced the chalked image with my oil based sharpie paint pen:
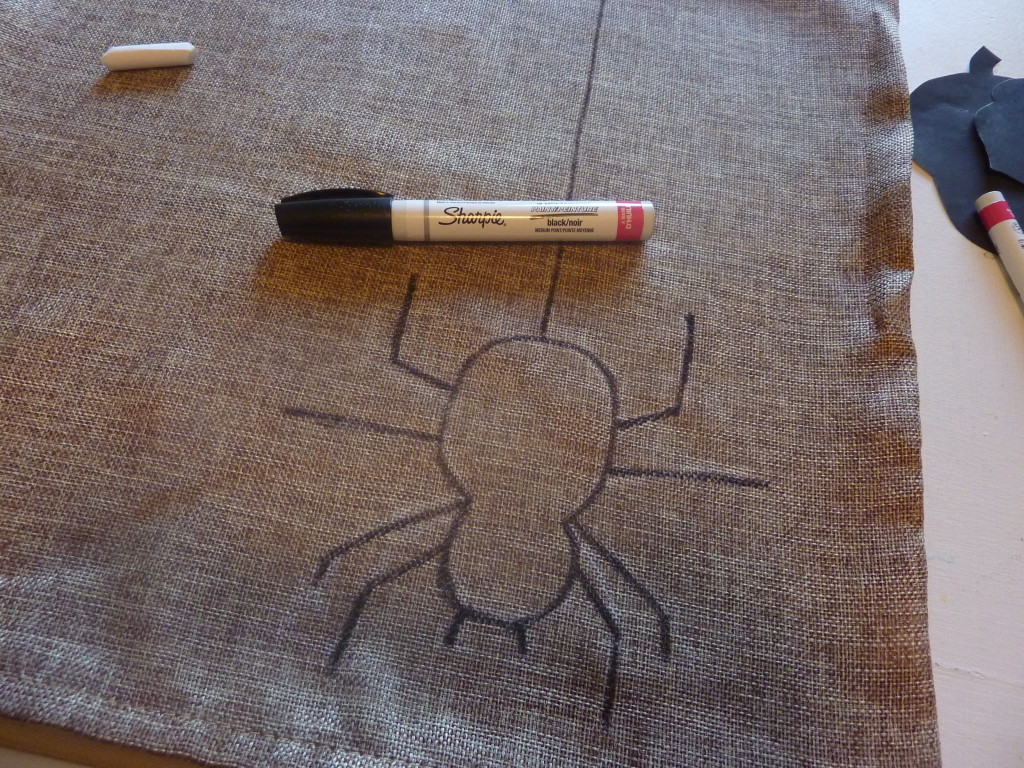
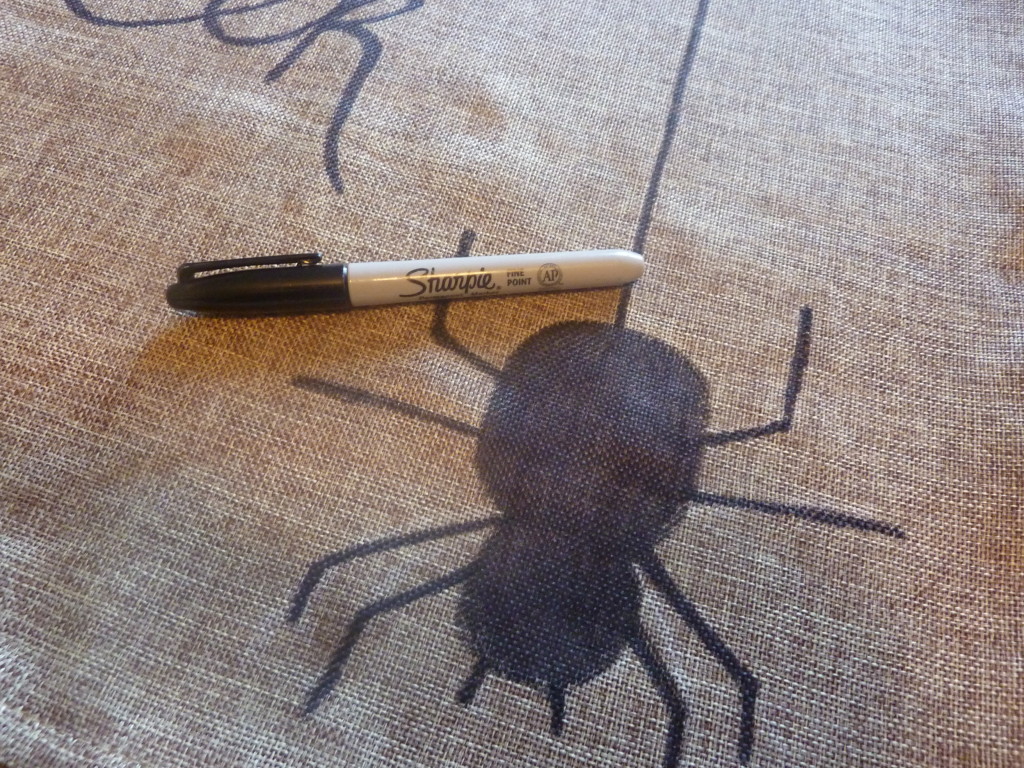
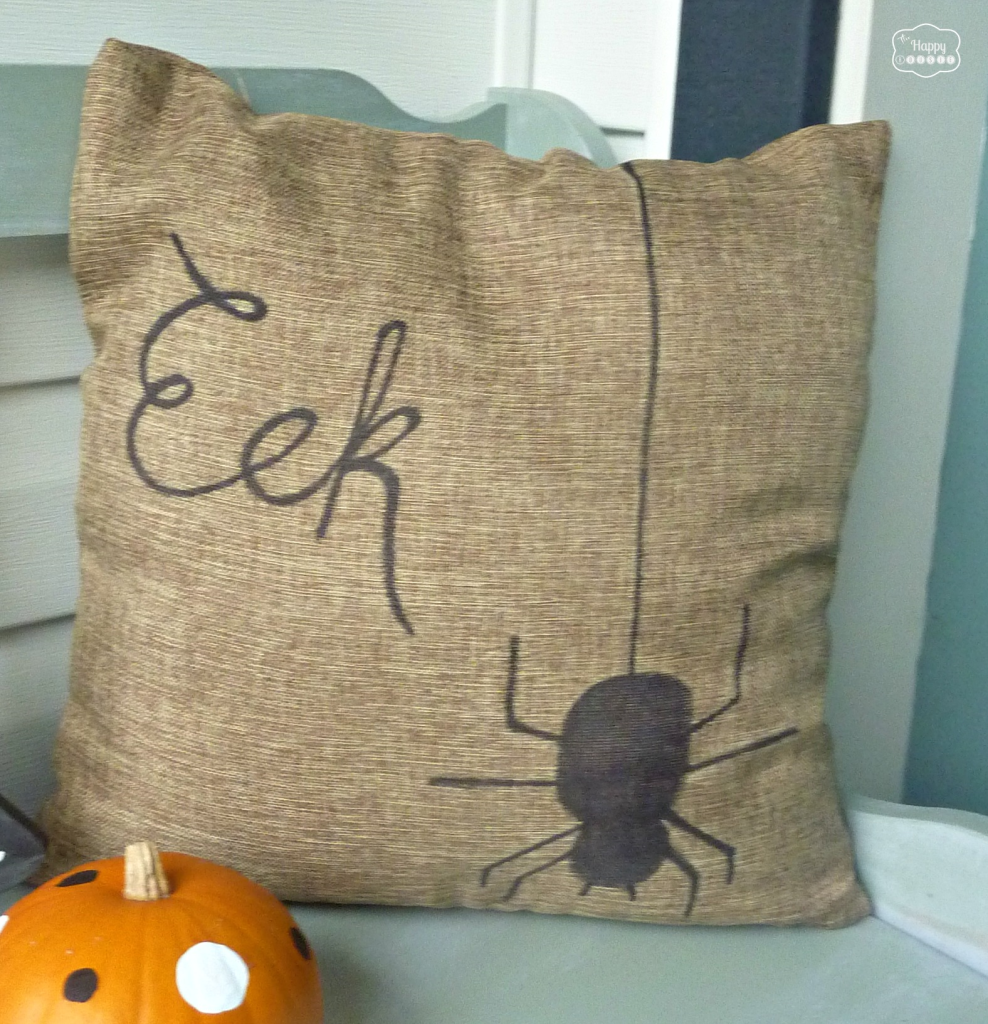
Here is where I decided to see if a regular sharpie would work as well… and guess what?! It did!! So I filled in the rest of my spider using a regular sharpie pen. It was actually smellier then the oil based Sharpie paint pen was!
Next I added some fun lettering – I just free handed the lettering for both sides. If you are unsure, use a piece of chalk to chalk the letters out first until you are happy and then trace over it. Also, look online at some different fonts if you need some inspiration. I’m a little more impatient then that and just went with it free-hand style.
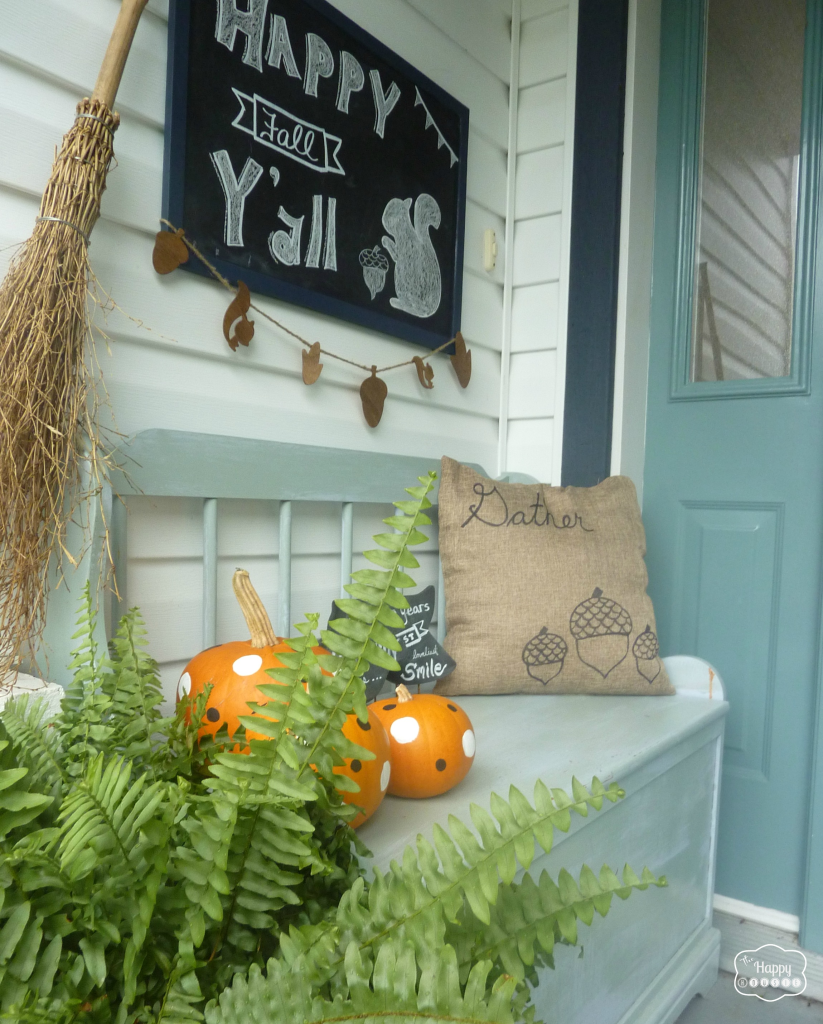
There you go…now you have a two sided sharpie pillow that you can use for Halloween décor and regular fall décor as well! One pillow, two mini-seasons:)
Today I am sharing the rest of our Fall Front Porch, including the little chalkboard projects you see there…
I would love to have you drop by The Happy Housie for a visit! I’m on Facebook too…
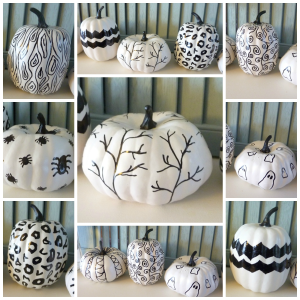
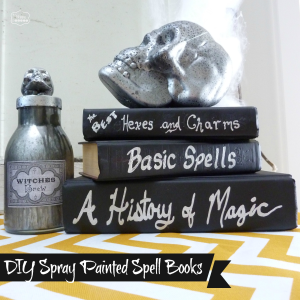
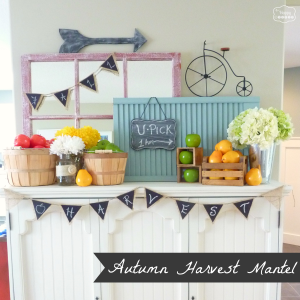
Some of my most recent fall projects include:
And if you want to know what the next fall project might be… check out my boards A Fall Chill on and All Hallow’s Eve on Pinterest – or follow along with me there!
Thank you so much to Rachel for having me here today!
Thanks for reading! And remember my housie friends, HOME isn’t built in a day. Enjoy the journey.