Tarte Tatin: Rustic Apple Pie
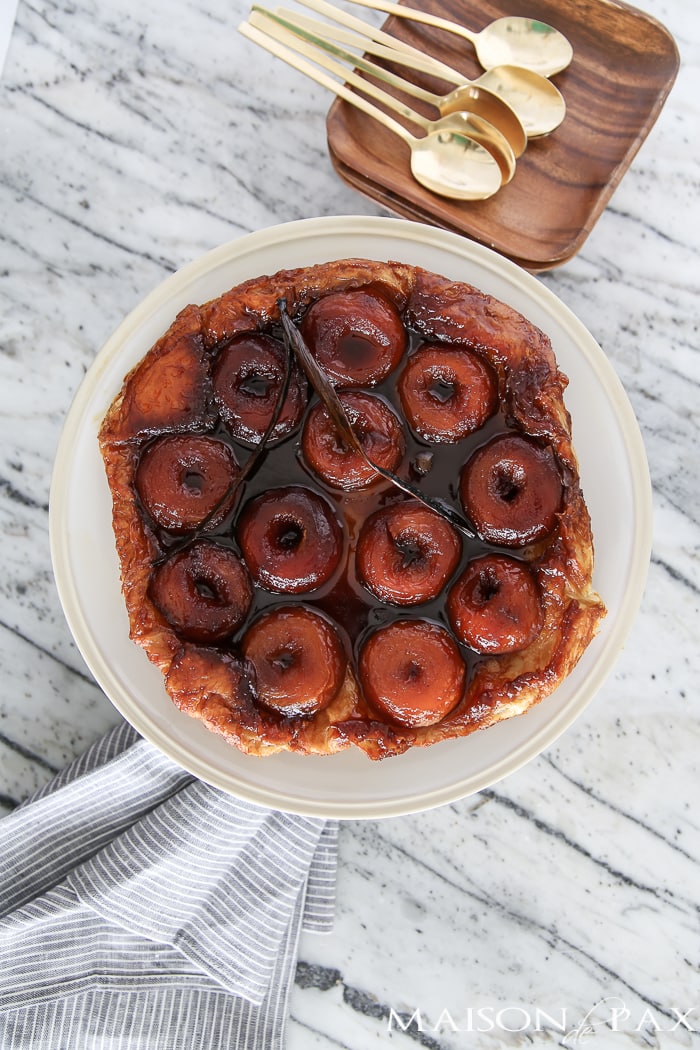
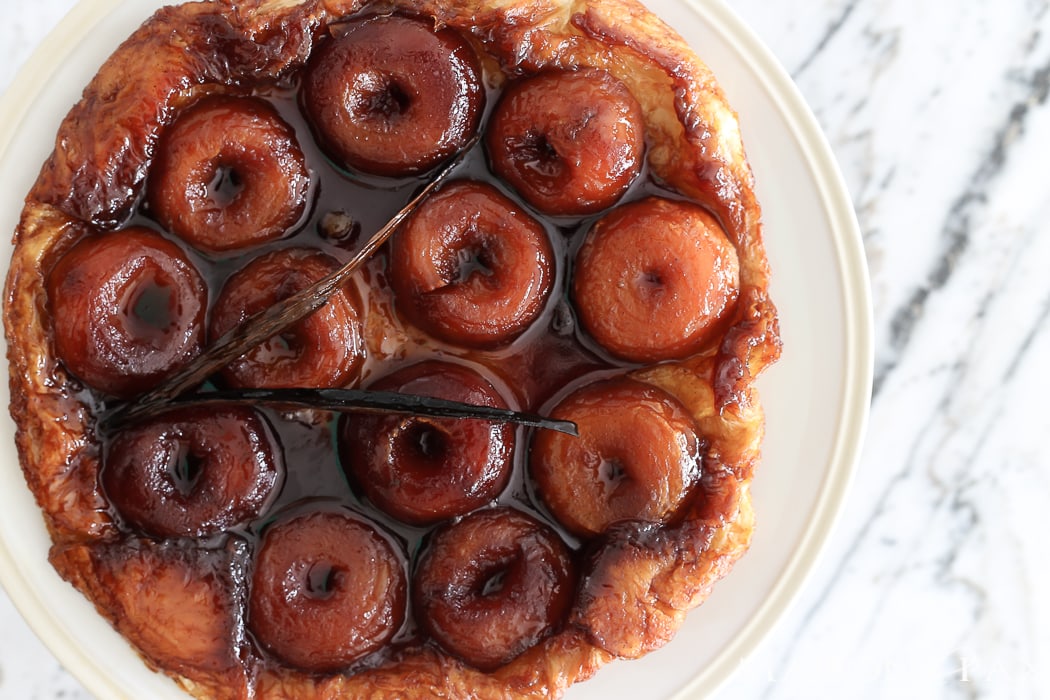
Tarte Tatin is a traditional French dessert incorporating caramelized sugar, apples, and a puff pastry crust. This tarte tatin recipe uses vanilla bean and halved apples for a gorgeous, rustic dessert perfect for fall.
A few blocks from our apartment in Paris was this little bakery.
In the shadow of an old church, near a picturesque metro sign, around the corner from a park where we picnicked on many a warm afternoon…
And while I admit that I never ate tarte tatin at that cafe, I could think of nothing else as I made this warm, caramelized dessert.
I don’t even know if they serve it there, but everything about this dessert reminds me of that place: buttery flaky crust, perfectly baked fruit, sweet and warm gooey goodness.
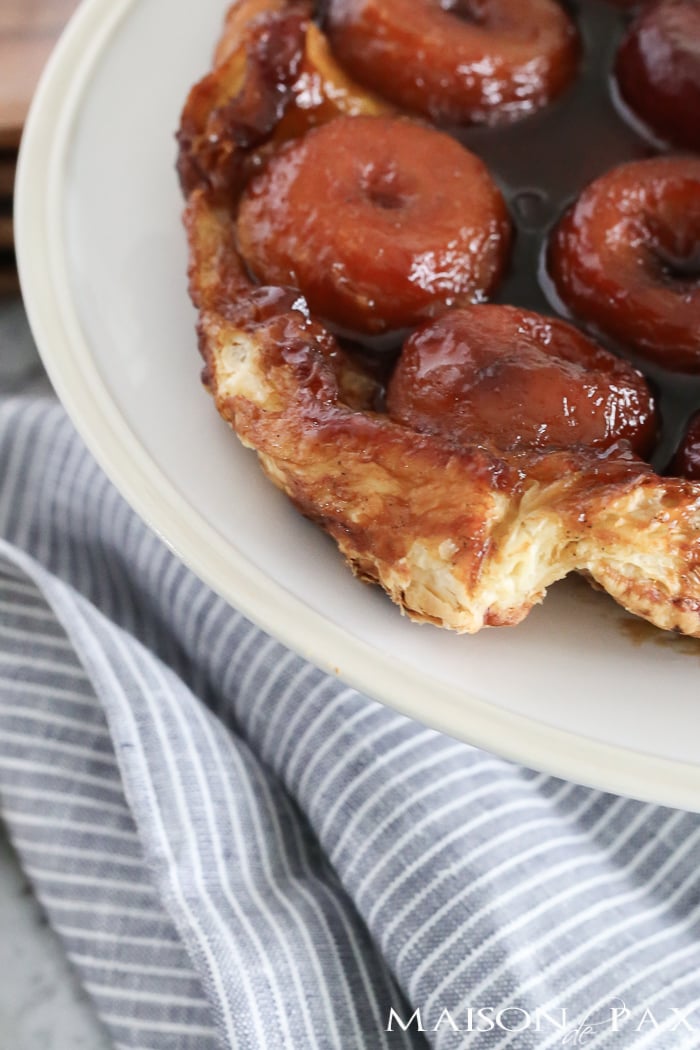
I confess that cooked apples are not my favorite food. My brother has even dubbed me “un-American,” since I don’t really like apple pie much as a result. But even I enjoy a good tarte tatin: the sweet little apples bathed in caramelized sugar which oozes around the puff pastry… yummm….
Ingredients needed for apple tarte tatin:
- all metal skillet (such as cast iron)
- puff pastry sheet (just larger than your skillet)
- 1 cup sugar
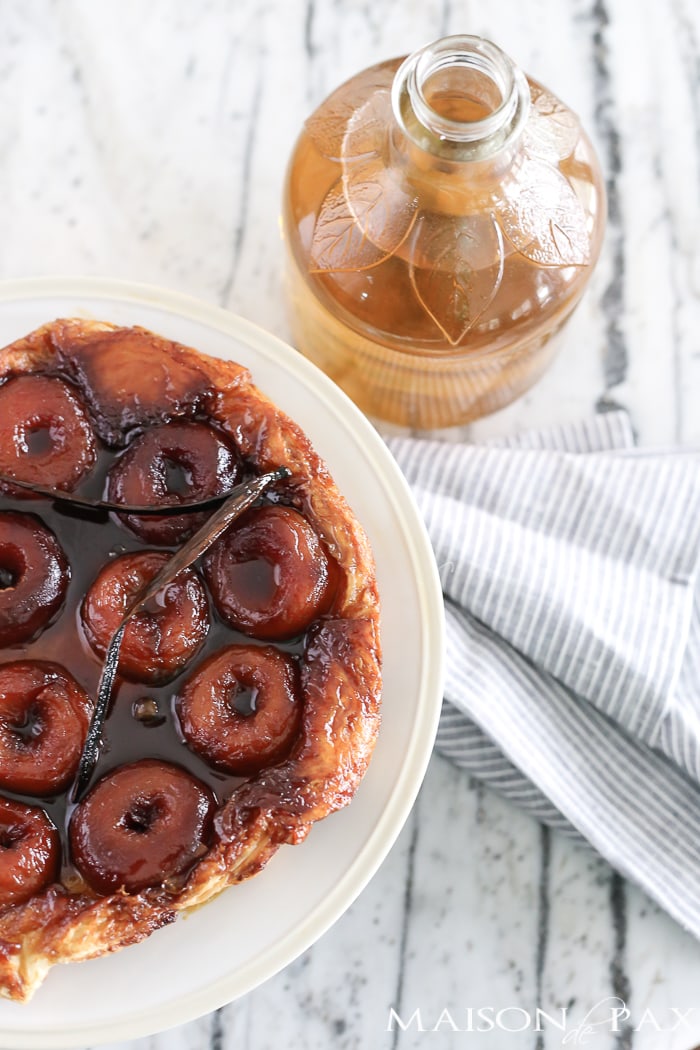
- 1/4 cup apple cider
- 2 T lemon juice (divided)
- 1 vanilla bean
- 4 T butter cut into pieces
- 6 small eating apples
How to make apple tarte tatin:
- Peel your apples, cut them in half, and use a spoon to dig out the core. As you go, put the apple halves into a bowl of water with 1 T lemon juice to keep them from browning.
- Heat sugar, apple cider, and 1 T lemon juice in skillet over medium heat.
- Half the vanilla bean length wise and scrape out the seeds, adding them and the bean casing into the skillet.
- As sugar begins to caramelize (turning brown and getting thick), add the apples.
Note: sugar caramelizes at a VERY high temperature… Be careful when doing this! Also, just as you think your caramel might be about to burn, the apples should add a significant amount of liquid as they begin to cook. It saves the caramel. - Carefully coat the apples with the caramel and then arrange them flat side up in the skillet. Cook for approximately 5 minutes, until the caramel begins to thicken again as the water from the apples cooks away.
- Add the butter and remove from heat.
- Quickly cover the apple mixture with the puff pastry and tuck the pastry down into the sides of the pan around the apples and caramel (use a smooth so you don’t burn yourself!).
- Put the skillet into the oven and cook for 25-30 minutes, until the pastry is a nice, golden brown.
- When you remove the tarte from the oven, allow it to cool for 5-10 minutes.
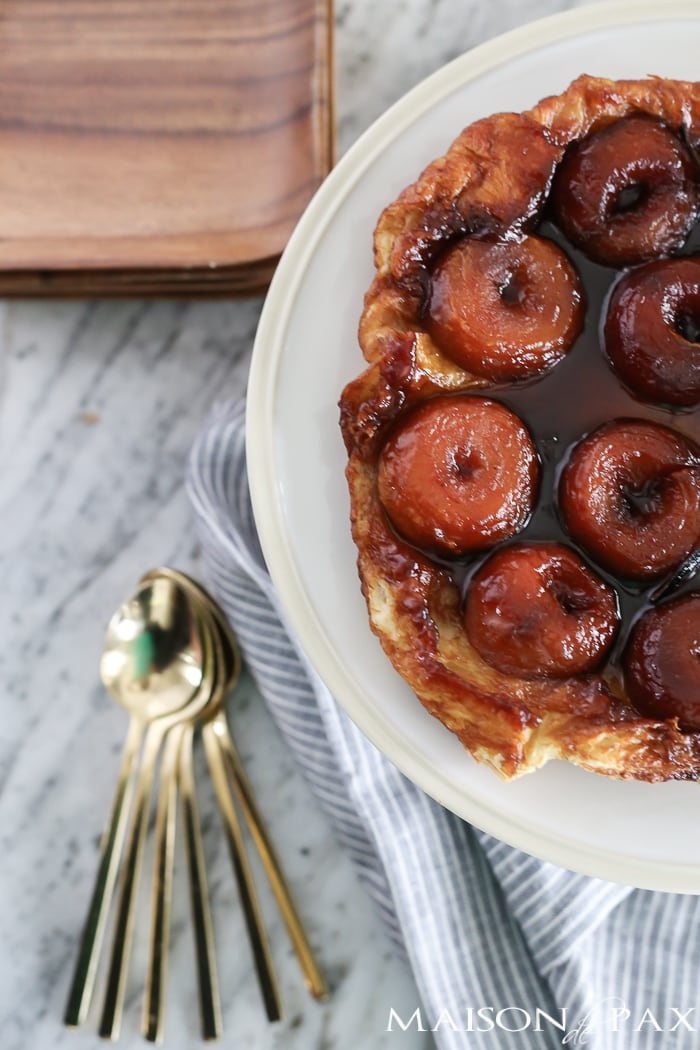
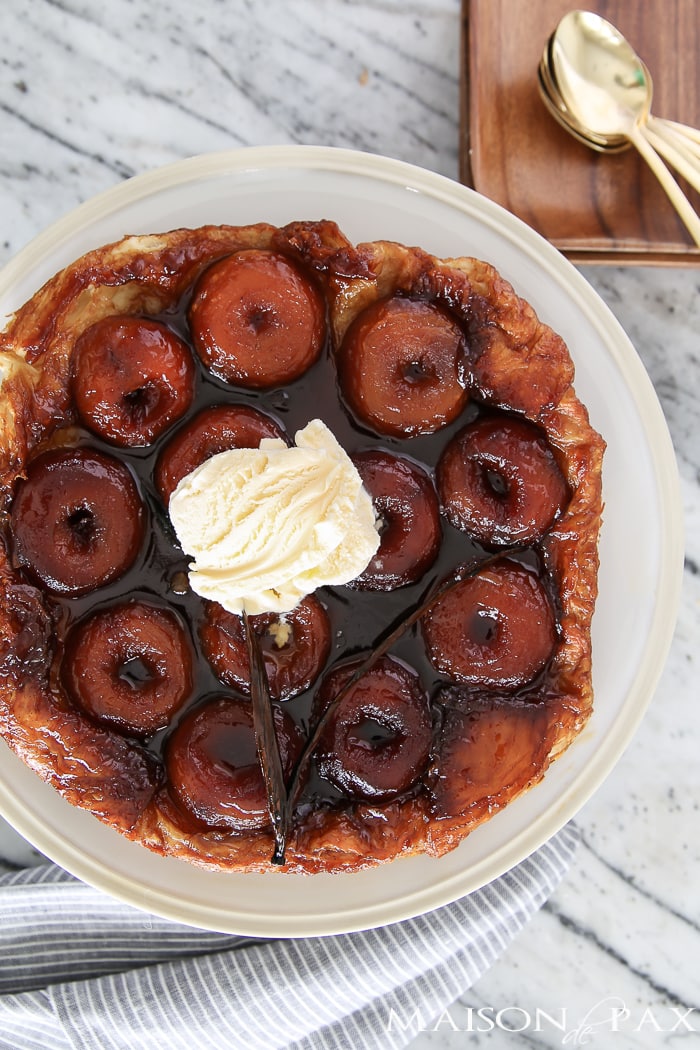
- Using a plate, platter, or cake stand that is slightly larger than your skillet, cover the skillet with the plate and carefully flip them so the tarte is apple side up.
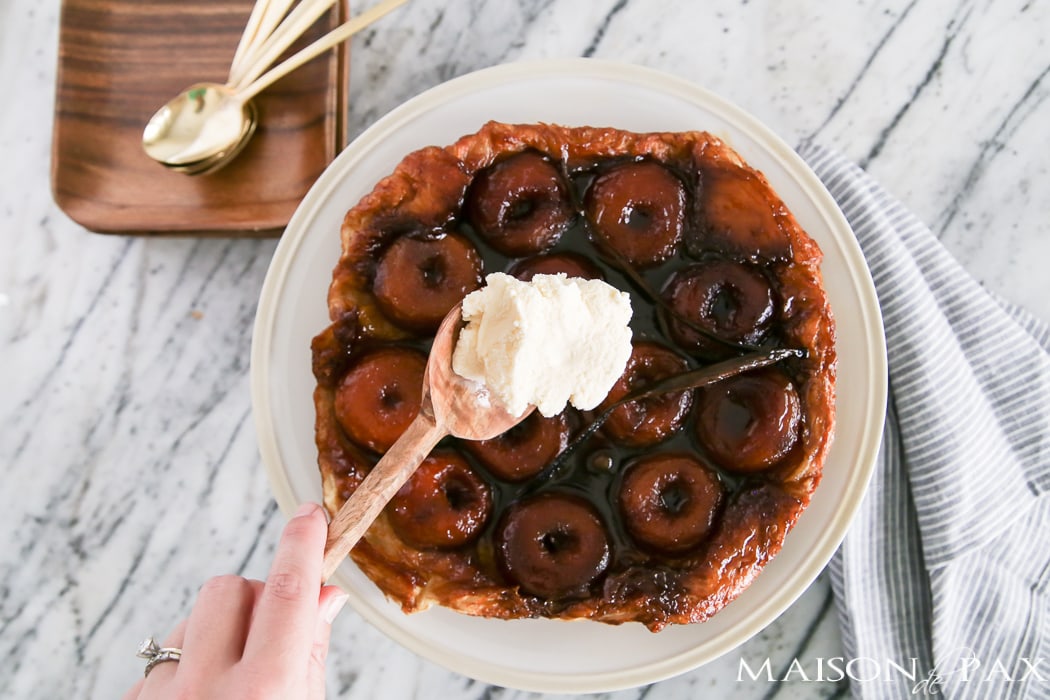
- Serve in slices with a scoop of marscapone or vanilla ice cream.
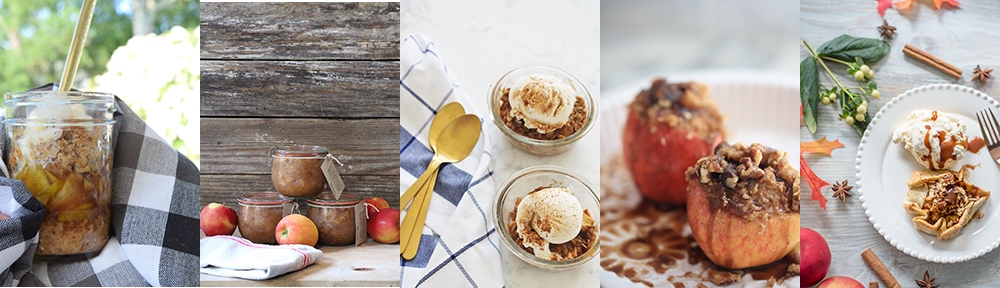
Now for more fall apple recipes, go visit all my friends below!

Apple Pie Cinnamon Rolls by Ella Claire | Rustic Apple Cranberry Pie by Anderson and Grant |
Apple-Cranberry Slab Pie by Inspired by Charm | Apple Donuts by A Burst of Beautiful |
Caramel Apple Tart by Julie Blanner

Easy Apple Dumplings by Craftberry Bush | Apple Crisp by House 214 Design |
Apple Cider Scones by Everyday Occasions | Apple Fritter Skillet Bake by Nest of Posies |
Rustic Apple Tarte Tatin by Maison de Pax
Paleo Apple Crisp by Nesting with Grace | Crock Pot Applesauce by My Sweet Savannah |
Gluten Free Apple Crisp by City Farmhouse |
Baked Breakfast Apples with Oatmeal by French Country Cottage |
Apple Blossom with Salted Caramel Sauce by Nina Hendrick Design

No Churn Apple Pie Ice Cream by Boxwood Avenue | Bird’s Nest Apple Pie by Zevy Joy |
Apple Upside Down Spice Cake by Love Grows Wild
This tops the cake – er, pie – for most beautiful dessert ever! Here’s to dreaming of Paris ;). xo
Thank you Chloe! 🙂 I’m ready to head back to Paris!
Wow. This looks like heaven in a slice! Pass a piece my way please. Love your presentation too!
xo Michael
Thank you Michael…It was so fun to make too!
This looks like a wonderful treat! And your pictures are perfectly lovely!
Thank you, Randi! It was scrumptious!
I can practically taste how delicious this dessert is through your beautiful pictures!
Thank you, sweet Jamie! xo
Your recipe is purely yummy and so is your description of Paris! I have been to Frace several times, but haven’t been to Paris yet. Someday……
Would you please provide a ‘printable’ for your recipes? It’s such a pain having to cut and paste when I coud be cooking! ;o)
By the way, I would have given you a 5-star rating, but your stars were’t clickable.
Thanks for your feedback, Ruth Ann! I’ll look into that. I hope you enjoy the French recipe! 🙂