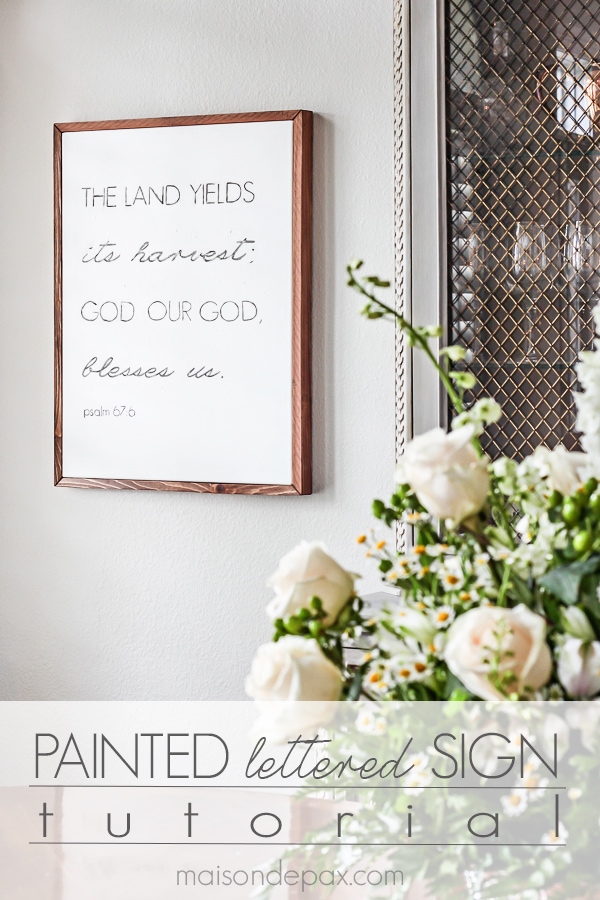
DIY Painted Lettered Sign Tutorial
Learn how to make your own hand painted canvas and wood sign with this simple step-by-step tutorial!
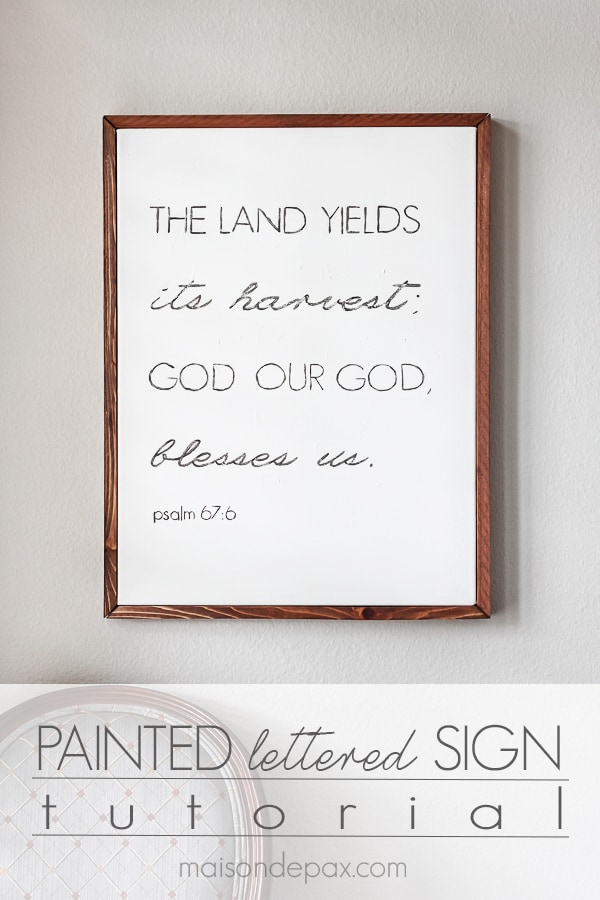
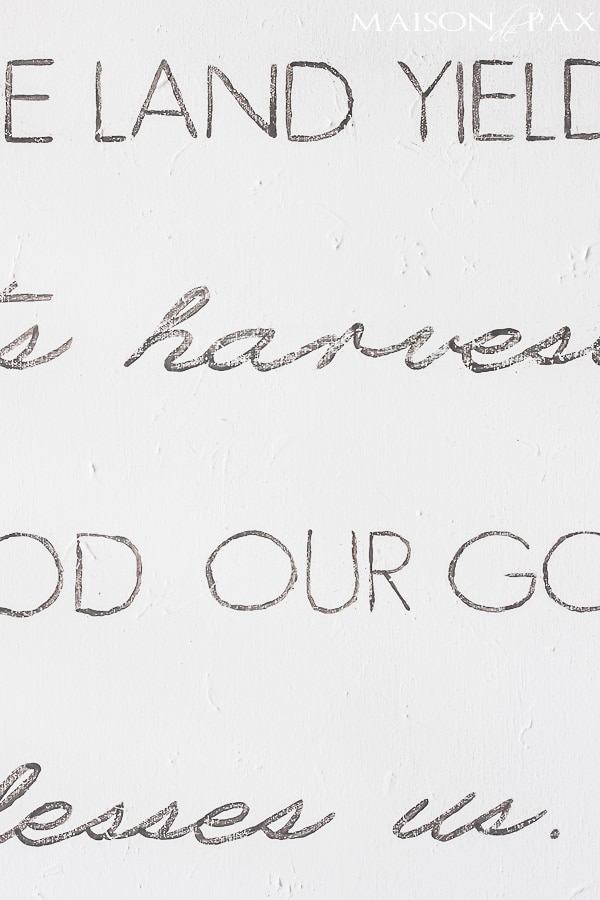
I have been admiring painted lettered signs like this for some time.
I love the neutral colors, the simplicity, the petite wood frame, and the endless options of text.
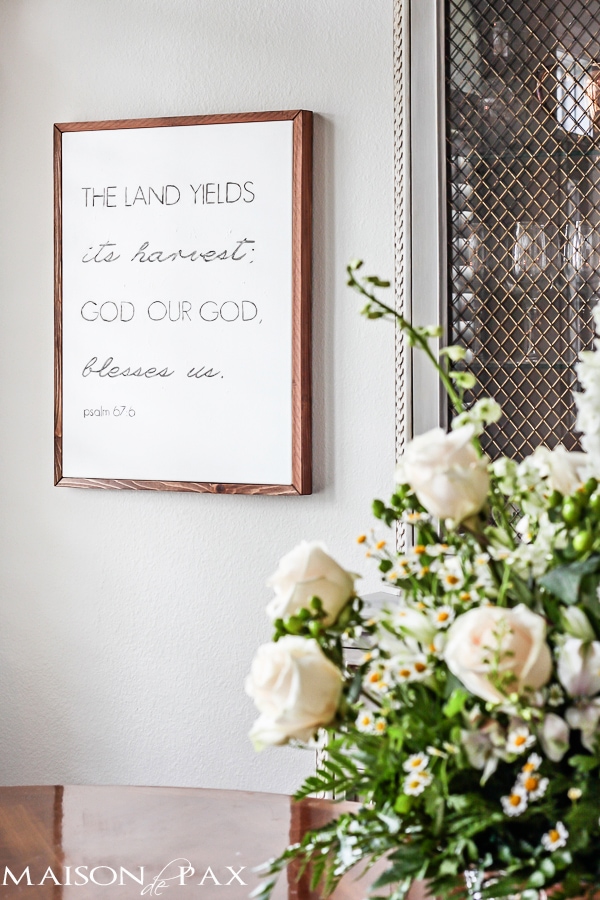
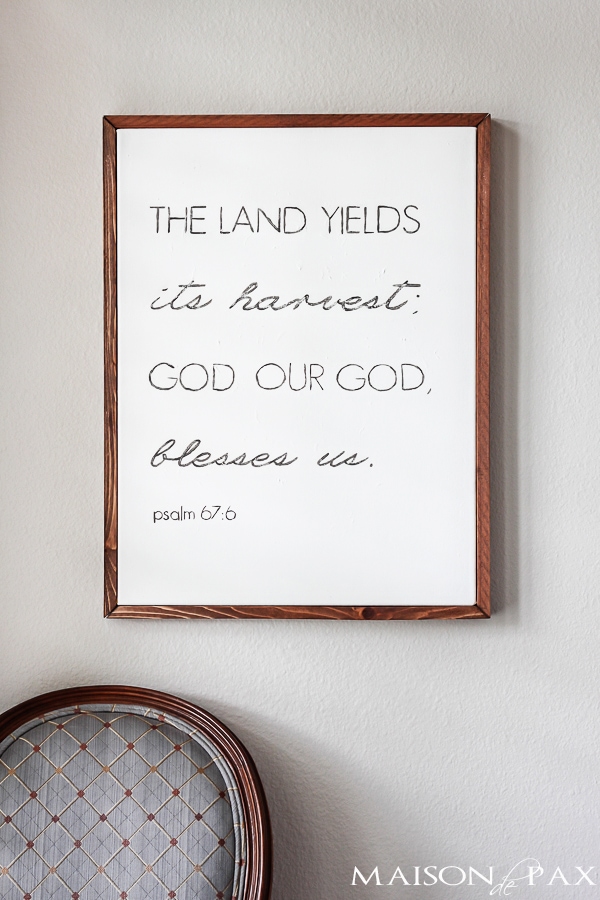
And since I am still in denial about it being fall (it is, after all, still over 100 degrees here most days and we can’t stay out of the pool…), I thought this verse would be a lovely, subtle nod to the season and a perfectly apt statement in our new dining room.

And how gorgeous are these flowers from my in-laws for my birthday?! But I digress.
Here’s how you can make one from an old canvas and some scrap 1×2 boards…
Supplies:
- canvas (any size or shape and it CAN already have something on it… like a random cherry blossom you tried to paint years ago 😉 )
- white and gray paint
- computer and printer
- pencil
- fine tipped paintbrush
- 1×2 boards (enough for the perimeter of the canvas)
- stain in color of choice (I used Mixwax special walnut)
- wood glue
- finishing nails (with hammer or nail gun – I use and love this one)
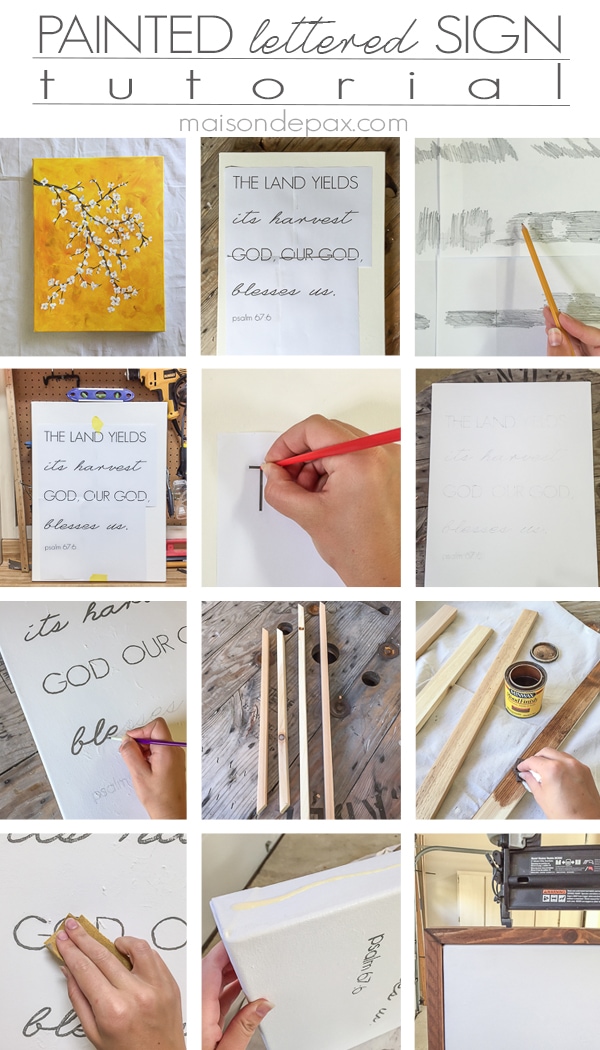
Instructions (each corresponds to an image above):
- cover any previous artwork with white paint (I used three coats of Behr Ivory Keys in Satin)
- design your text in Word or Photoshop and print in the size you want
- using your best kindergarten scribble, lightly cover the BACK of printed papers with graphite
- align your printed pages carefully on your canvas and hold in place with delicate tape
- using the end of your paintbrush or a ball point pen or some other small-tipped, blunt object, trace your printed letters
tip: put something under your canvas (I used scrap wood) where you are tracing so you don’t accidentally poke through the canvas - make sure your graphite transferred enough to see your letters – this is what you’re going to paint
- using your gray paint (I used Country Chic CobbleStone – the chalky finish made a nice contrast to the satin white background), hand paint your letters where your graphite transferred
- while your letters dry, cut your 1×2’s to fit your canvas – you can miter the ends like I did or simply use straight cuts, just remember to account for the overlap of the frame pieces
- stain your wood pieces in your color of choice (I used Minwax special walnut – probably my favorite medium brown)
- once dry, lightly sand your letters to soften the effect and hide imperfections
- run a thin bead of wood glue along the sides (one at a time!)
- align your frame pieces and secure with finishing nails (by hand or with a nail gun, it doesn’t matter)
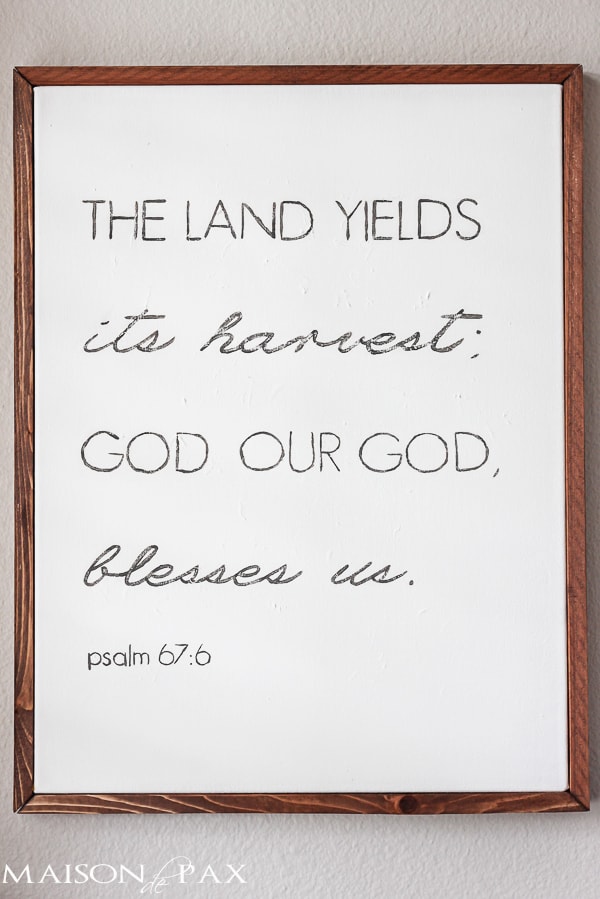
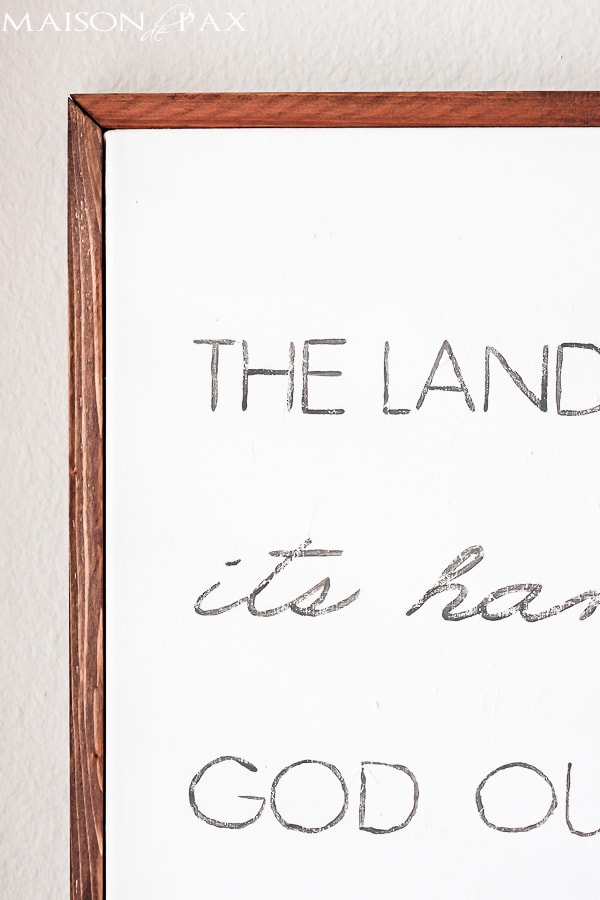
It’s not perfect, especially because the painting I covered up left some texture on my canvas.
But I like the imperfections. It gives it a lovely, rustic balance to the simple, modern design.
You could also make the entire thing from wood (using thin plywood for the sign portion), but I love the mixed textures of the canvas and wood together, and I love how light it is with just the canvas and a simple frame.
Best part? It’s perfect for fall, but it won’t look out of place if I don’t get around to taking it down until next summer. 😉

MORE DIY DECOR:


Very nice. I particularly like the different textures.
Great idea and i love the different textures and writing.
A most beautiful sign and beautiful verse. Love it Rachel!
The most beautiful sign, Rachel! I think I’ll try this for fall! LOVE your styling!
what a beautiful reminder…and sign…and flowers.
Oh, I just love this sign! Perfect for the season! Thanks for the inspiration!
Perfect for Fall, Rachel and those flowers are stunning! Happy belated Birthday! I’m a Virgo too…I knew there was a reason I liked you so much. 🙂
Love the sign and yes, those flowers are gorgeous.
Love the DIY sign and the flowers are gorgeous!
This is so lovely Rachel!! I definitely want to make one for my home now!
Super sweet, love it!
Very beautiful reminder. That is a really neat technique too! Happy Fall Rachel!
Great tutorial on making the sign, but also thanks for sharing your birthday flowers – so pretty!
The sign in and of itself is absolutely beautiful but the Bible verse you chose is perfection (of course!).
Great looking sign…thanks for sharing it with all of us.
Blessings,
Linda
What a great tutorial! I never would have thought of using graphite. I have been admiring these kind for a while. Thanks for sharing!
You are welcome! Glad you enjoyed it.