Chalk Paint Chandeliers
Let’s call today Thrifty Thursday…

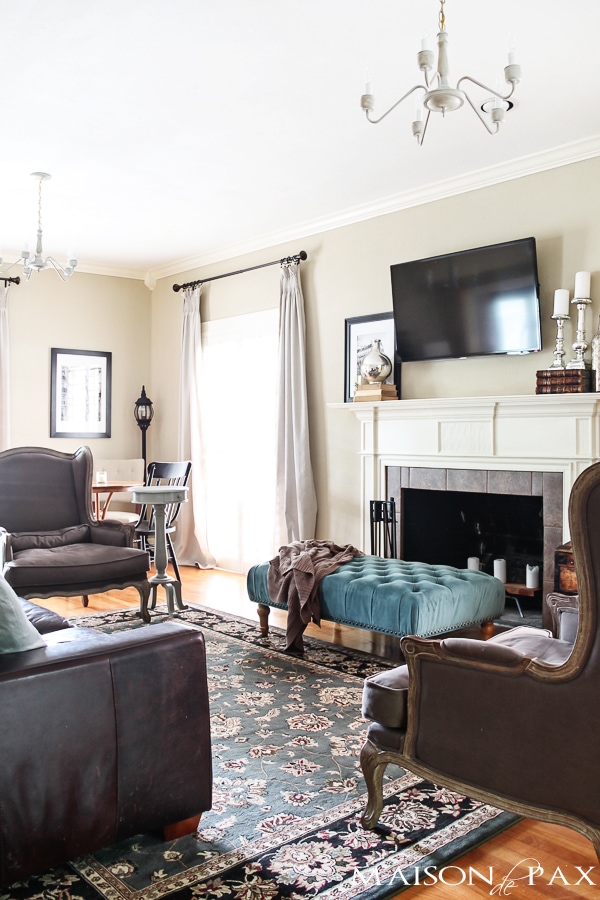
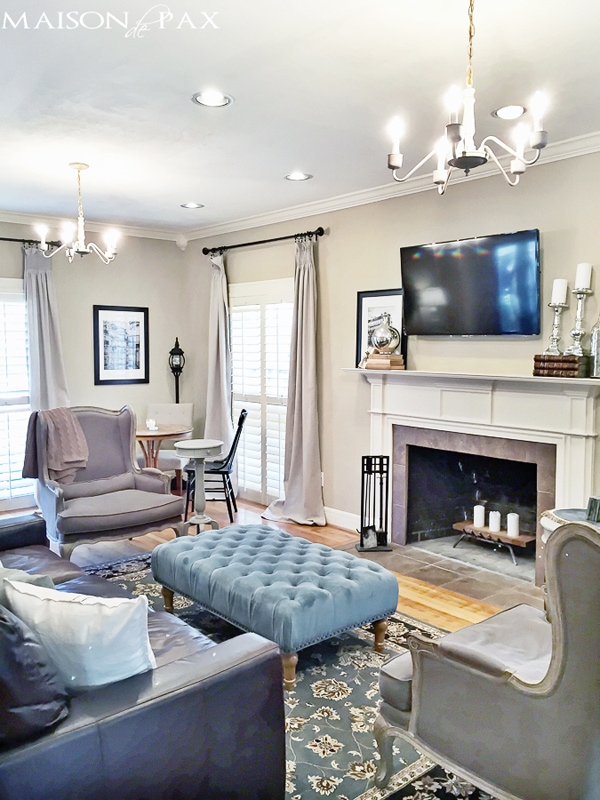
With some classic brass chandeliers (found at the Habitat Restore), some chalk paint, and some wax, we now have a gorgeous, finished living room.
I shared the full tour earlier this week, but suffice it to say that these babies were WAY better than the budget lights we affectionately refer to by the name of the female anatomy they resemble (you know what I mean…).
When we rewired the entire house three years ago and had plenty of lights installed (can you believe this giant room had only one small light bulb in the middle when we bought this house?!), we decided to put those budget lights up as place holders…
And they continued to “hold place” for three years… Until now.
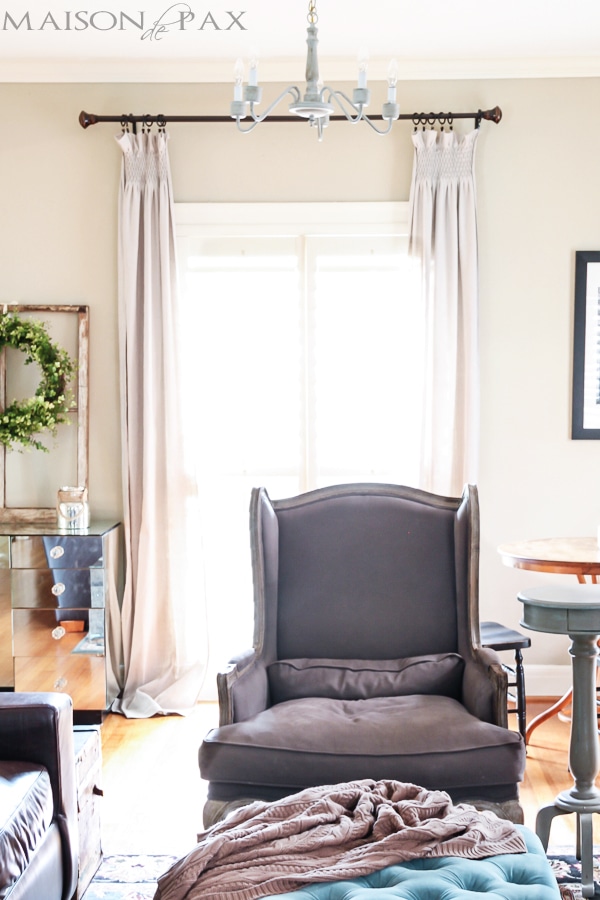
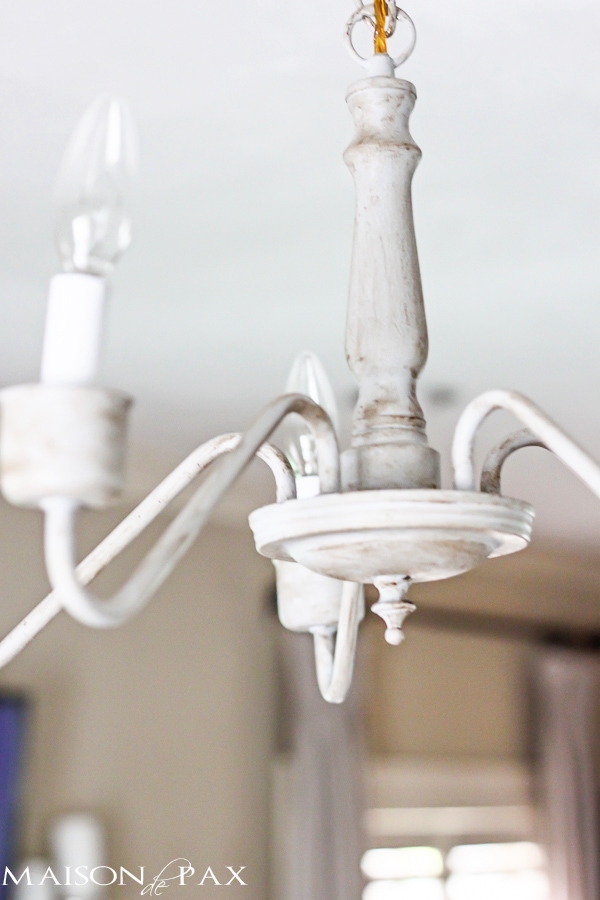
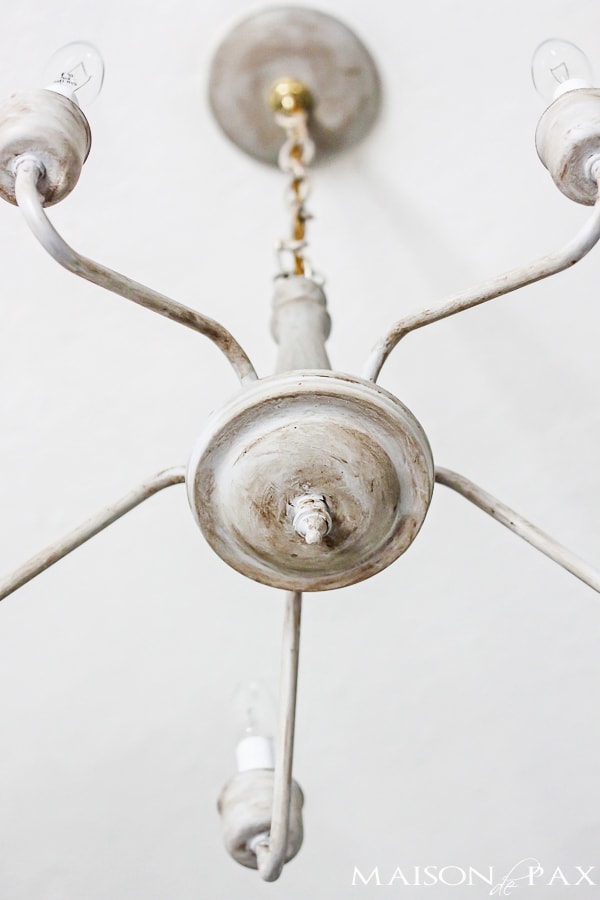
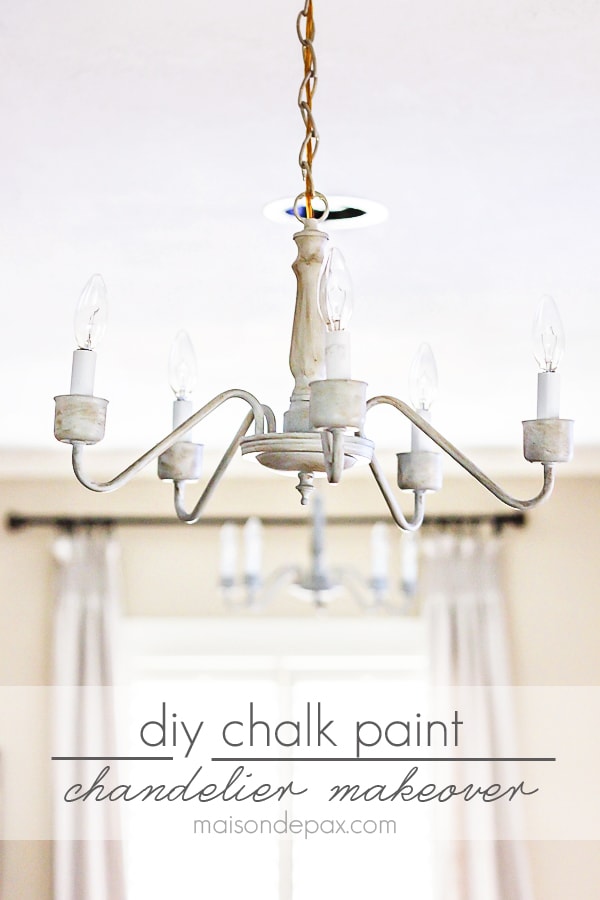
When I saw these simple brass chandeliers at the Habitat Restore for $15 each, I knew they were the perfect solution. I gave each two coats of Annie Sloan Chalk Paint in Paris Gray (base, chain, and ceiling cover – all but the wires and light sleeves). I then gave each a solid coat of clear wax and a lot of dark wax until I liked the look. Remember, you can always remove dark wax using light wax if you put a base of clear wax on first.
It gives them almost a wood look, and the warm gray tones are perfect in our living room. I posted a picture on instagram of our living room all ready for the open house a few weeks ago, and I was so overwhelmed by the encouraging responses. I think these bright shining lights had a lot to do with that.
What do you think? Have you thrifted anything lately? Please share!
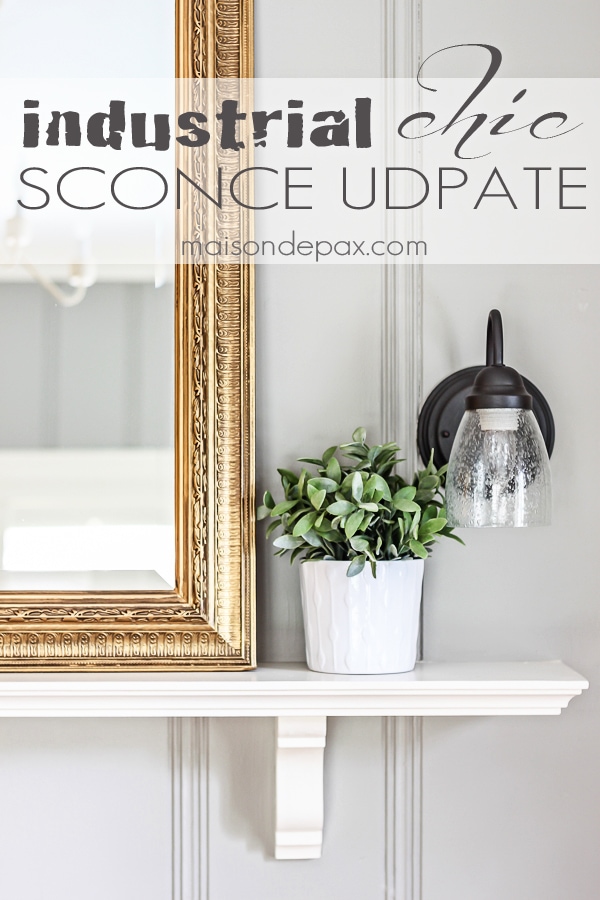
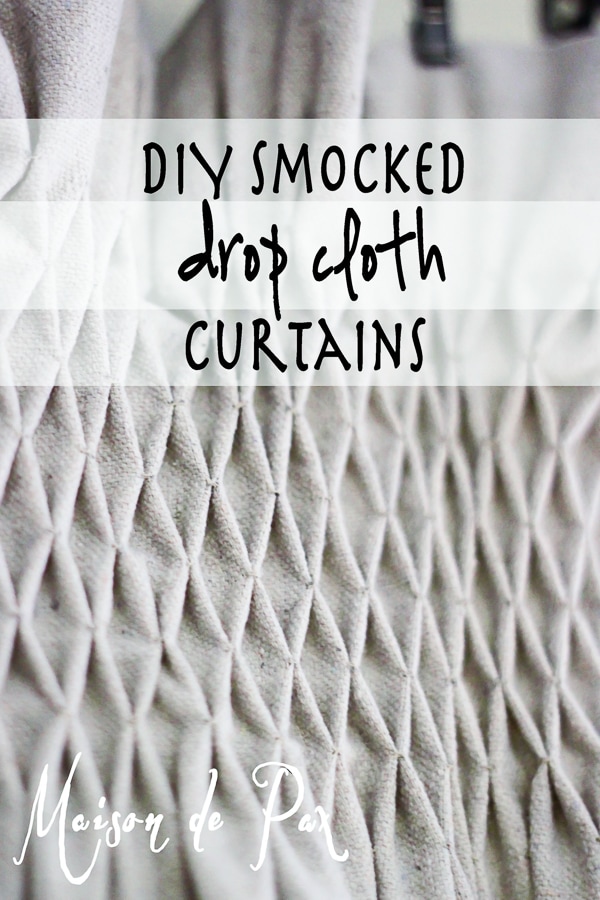
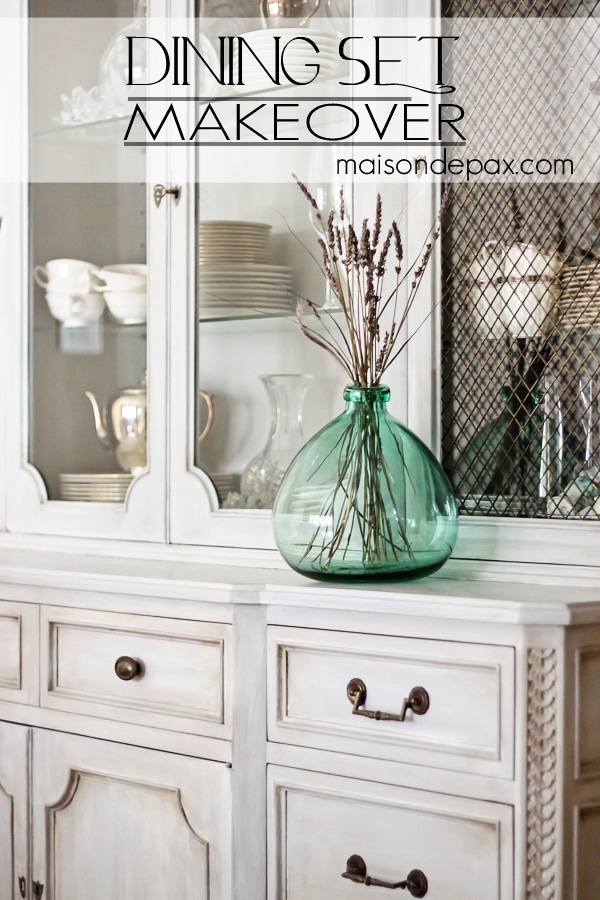
MORE DIY MAKEOVERS:


Dare I? I have been dying to update my brass dining room chandy, and this looks totally fabulous! Thanks for the courage Rachel!
I say go for it, Jenna! It was so easy and they really do look gorgeous. I hope you love it as much as I do!
These look fabulous! I love Habitat Restore!!!!! I go there ALL the time:) Thats where I found my dining room buffet and mirror! I’ll keep my fingers crossed that everything goes smoothly and quickly for the sale of your home;) Good Luck Girly!
Thank you thank you, Cindy!! I so appreciate that. And it was my first trip to Habitat Restore, but I’m definitely hooked now! 😉
Fun chandeliers! I’m always amazed at how much you manage to get done. Just one question…it seems like you also have can lights in one of the photos but not the other. Can you clear up my confusion? 🙂
Thank you, Tiffany!! So you’re going to laugh at me (you totally caught me!): we do have recessed lights in the room as well as the chandeliers, but I was missing some light bulbs in one of the photos and I thought it looked ugly, so I just photoshopped out the recessed lights. Then I decided it was too much work (and not as noticeable in the other photos for some reason), so I left the rest. 😉
I love them! Thrifting and rehabbing has been my passion for years and now my business. Previously loved items add so much character to a room and home, as well as being “green.”
I’ve been thinking of you, seeing that your posts are keeping in touch with us, but knowing you are as busy as anything in reality. Hang in there!! My parents have more floor space than boxes now, so I can finally breathe a bit. You will get there too!
Sending lots of prayers (I actually do, bc I have walked in your shoes) and lots of good juju everytime I see a post. 🙂
Take care
xo
You’re so kind, Terri. I cannot tell you how much I appreciate that!! It sounds like you’re making great progress… congratulations! And keep those prayers coming, friend; I’ll take all I can get. 😉 xx
what type of “wax” did you use? these are just what I am looking for in my dining room, beautiful!
You can get dark and light Annie Sloan wax is perfect for this use! Hope this helps.
Hi Rachel, love the chandeliers. They look great painted. Was wondering if you had to sand them at all before painting ? I had heard that you don’t need to sand first when painting with AS paints but since they are brass i didn’t know if the paint would stick. As always TFS. Sincerely, Diena
Thank you so much, Diena! Great question. Since they are chandeliers (and therefore rarely if ever actually “handled”), I did not sand at all. If it were a bar cart or some other metal piece that could be bumped, moved, grabbed, etc., it might be a different story. Thankfully, the paint worked perfectly without any prep work!! 😉
Rachel,
Where do you buy the wax that you refer to in this tutorial? I’m unfamiliar with the product. Thank you!
Best, Rachel from Rose Tinted Home
Hi Rachel! Both the paint and the wax I used were by Annie Sloan. I have most recently bought the products online from Royal Design Studios here (affiliate link), but you can also google Annie Sloan and search for a local stockist in your area. I hope this helps!
What did you use to apply the dark wax? Thanks!
I think it was just an old rag. I hope this helps!
Tips on painting chain on chandelier without touching the wire I’m using chalk paint and I am trying to figure out how not to paint the wire any tips ?
You can use a finer smaller paint brush for the chain and at that height, you won’t see imperfections as you are avoiding the wire. 🙂