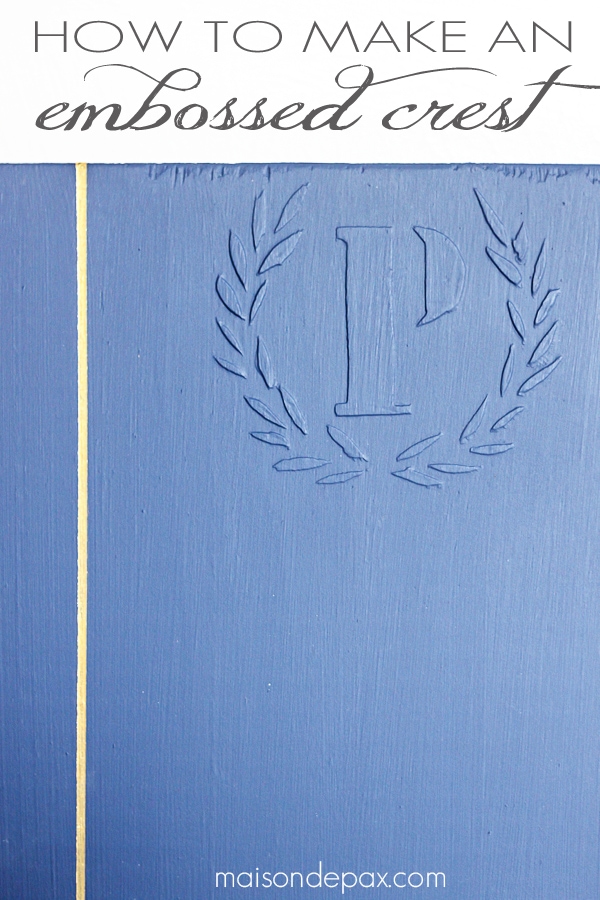
DIY Embossed Memo Board (and How to Use Embossing Plaster)
Do you ever have those times when the possibilities are SO endless that your mind whirls at about a million miles an hour?
You wake up in cold sweats?
You imagine yourself surrounded by 30 unfinished projects?
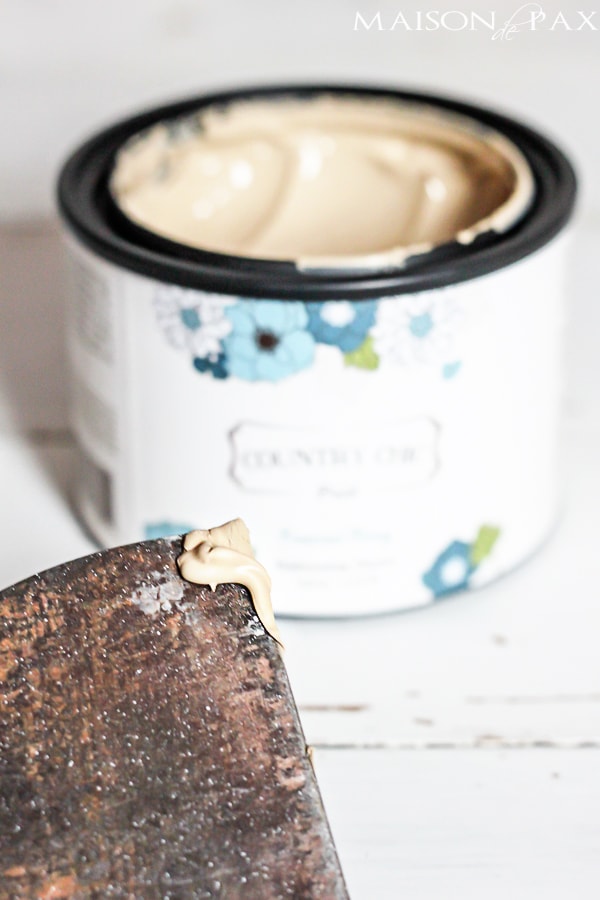
Ok, so maybe I’m exaggerating a little a lot. Everyone needs a little drama from time to time, right? 😉 The truth is, though, that I had the privilege of trying a new product from Country Chic Paint recently, and I. love. it.
It’s so easy to work with, and it really does have about a gazillion (which, no, is not a real word… but I’m using it anyway!) possibilities. And after imagining about 437 of them (dresser drawers, picture frames, vases, wall art, coasters, and signs, just to name a few), I decided that simple was best for my first time.
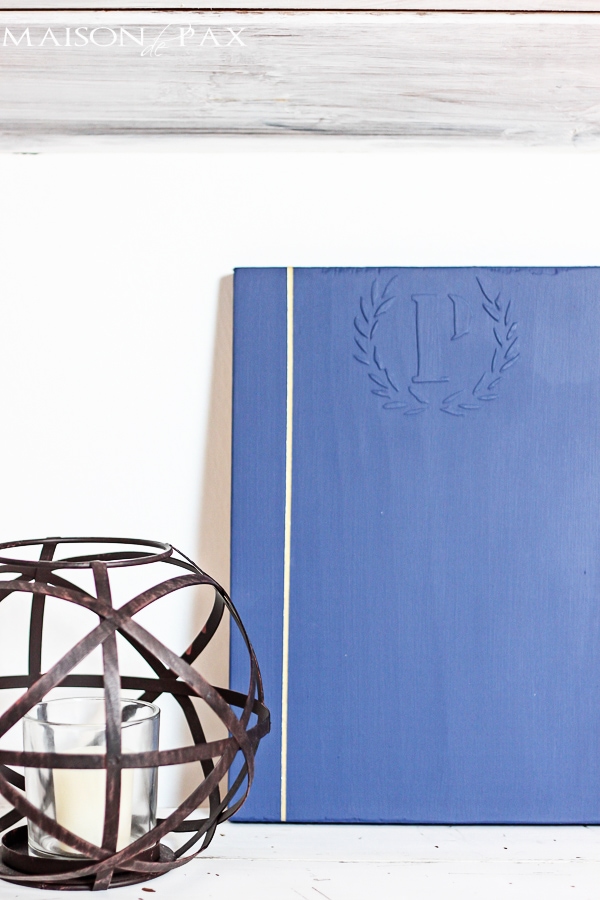
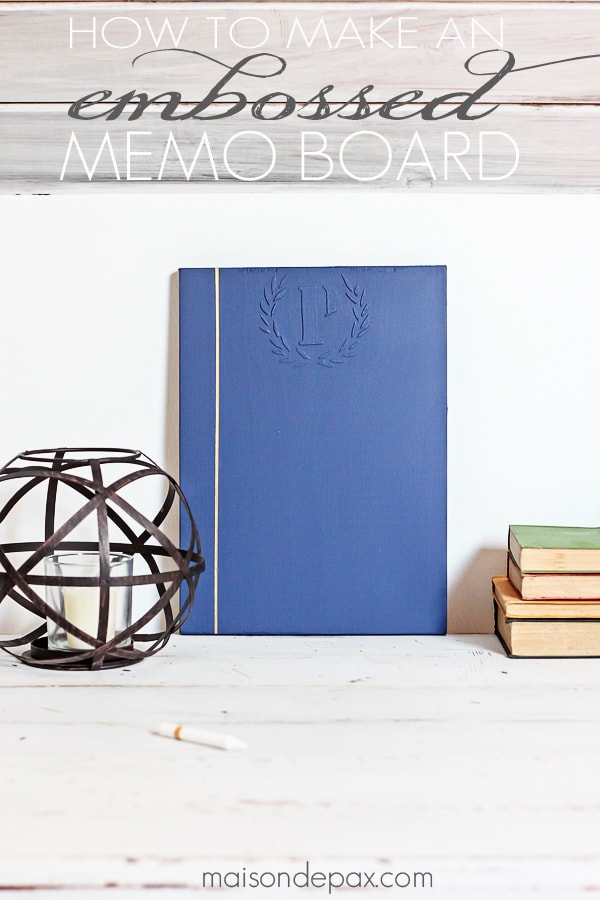
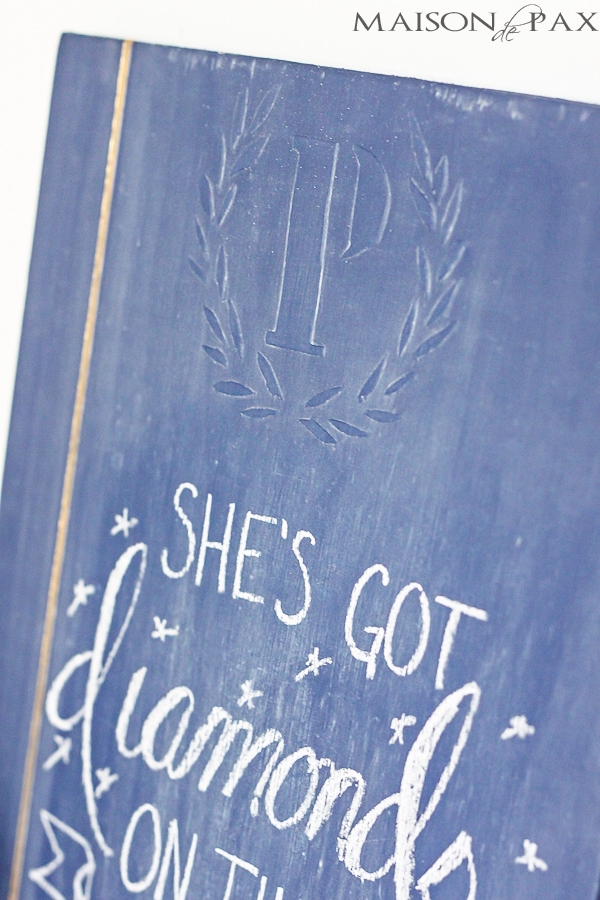
And simple it is. Here is how you can make your own embossed memo chalkboard (instructions follow images):
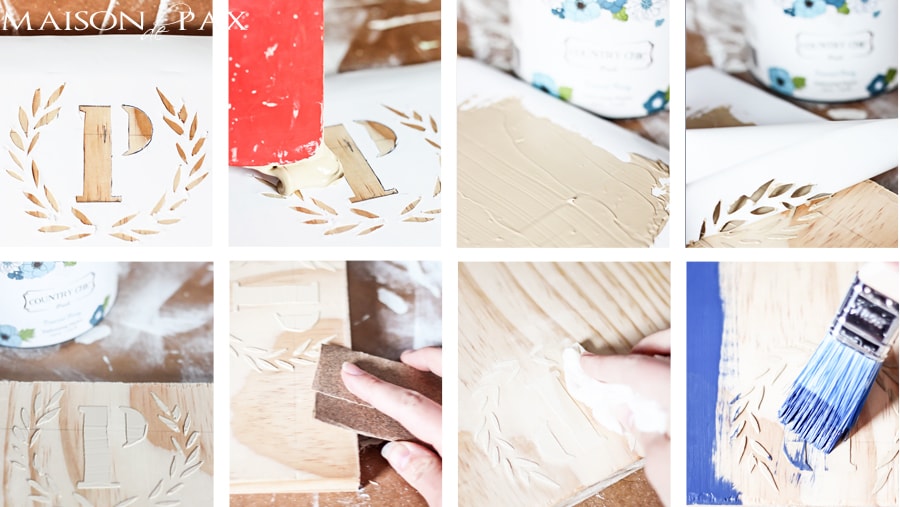
1. Using a board of your choice, align your stencil where desired. Though an adhesive stencil is not required, I think it is your easiest bet. If you have a plastic or metal stencil, I’d recommend taping it down while you apply the embossing plaster.
2. Spread embossing plaster in a thin layer (I tried several thicknesses – from as thin as the vinyl stencil to as much as 1/2 an inch; all worked great!). Remember, the thicker the layer, the longer the drying time.
3. Remove stencil carefully while plaster is still wet.
4. Once dry, sand plaster lightly if desired.
5. Wipe clean with a damp cloth.
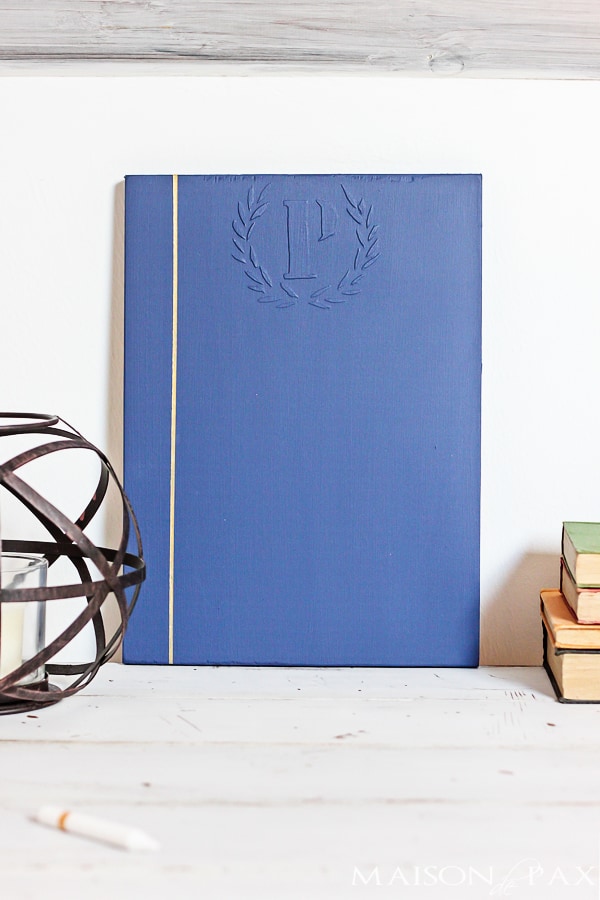
6. Paint.
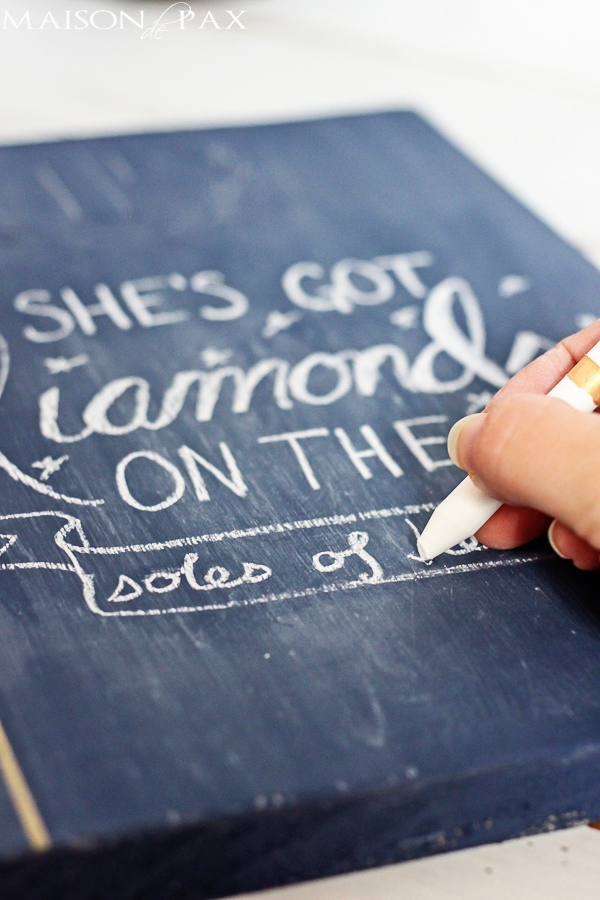
7. If you’d like to use it as a chalkboard, remember NOT to seal the paint with wax.
The embossing plaster really is so easy to use and so fun, but it doesn’t stop there…
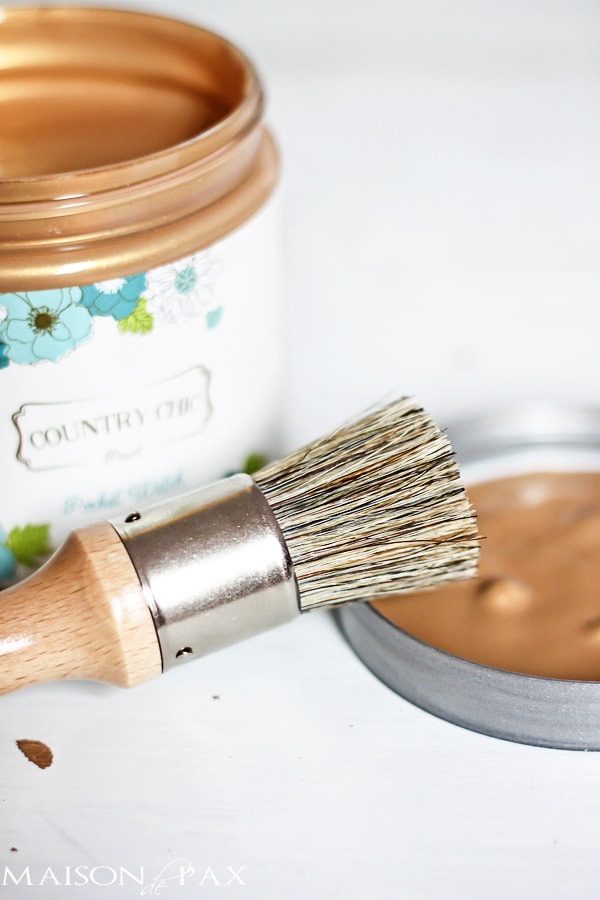
The metallic accent cream is another new option. It is almost a cross between paint and wax, allowing you to rub it on with a rag for a sheer metallic effect or paint it on thick for a bold sparkle. I used painter’s tape to create a clean line and painted it on with a little artist brush.
I even got a little carried away and gold cream-ed my chalk. How fun is that! This stuff dries quickly and seems to stick to most surfaces.
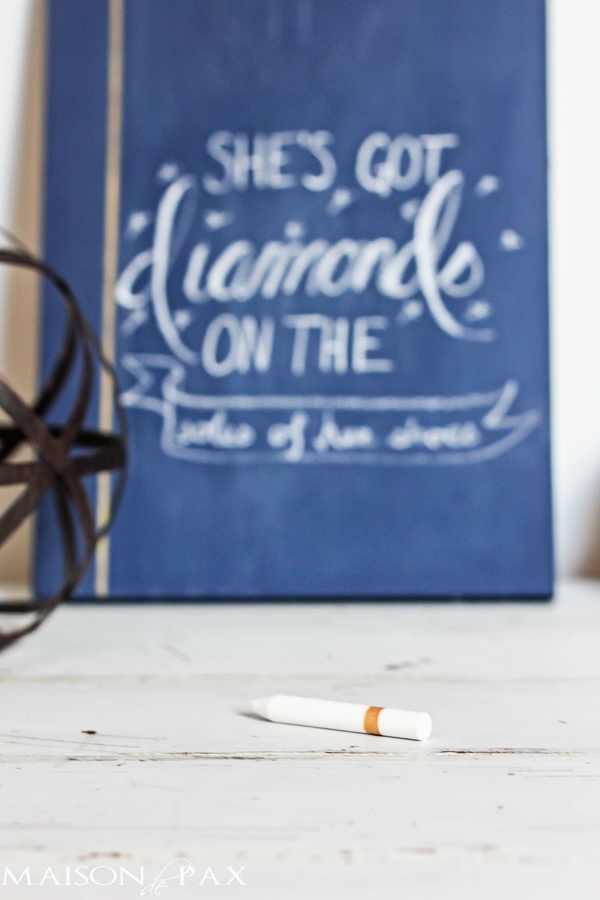
I just love the embossed crest; I think it adds a little sophisticated glamor to my little desk chalkboard.
A place where I can inspire myself daily. The sky’s the limit…
Disclosure: I did receive compensation for this product review, but as always, opinions are 100% my own. See my full disclosure policy here.
MORE DIY DECOR PROJECTS:
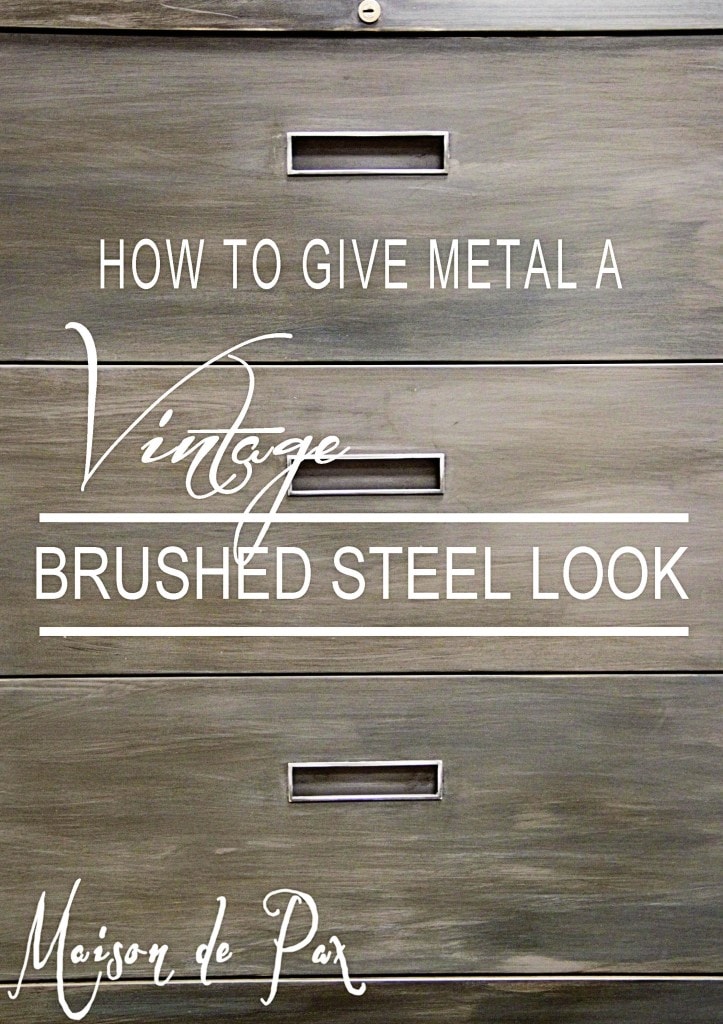
How to Give Metal an Industrial, Brushed Steel Look
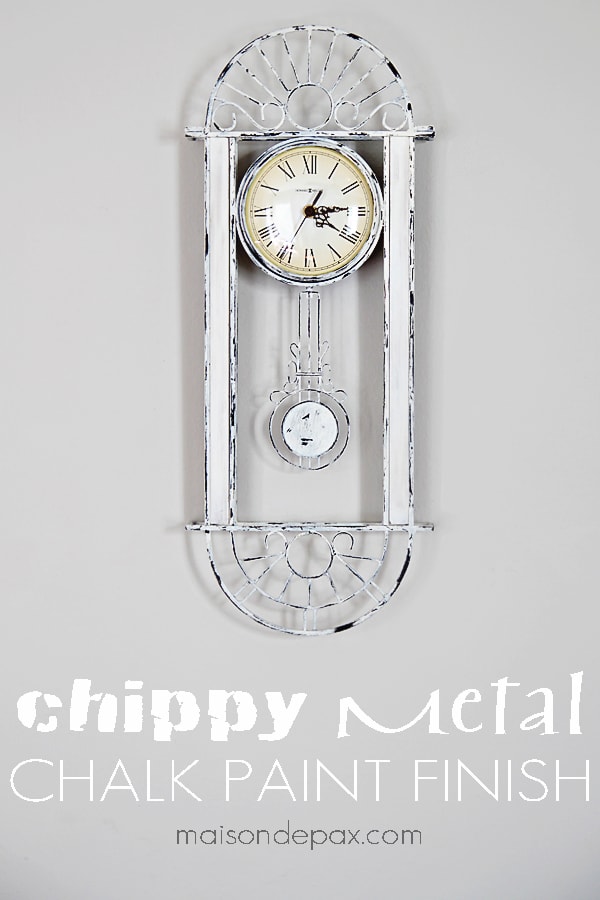
Chippy Metal Chalk Paint Finish
Love this,pined it to do later.
Well you realize that there will be some of us up til the wee hours thinking of all the fun applications!! We can start a new embossing movement!
Hehe. I’m so glad to know I’m not the only one, Mary Anne!! xo 😉