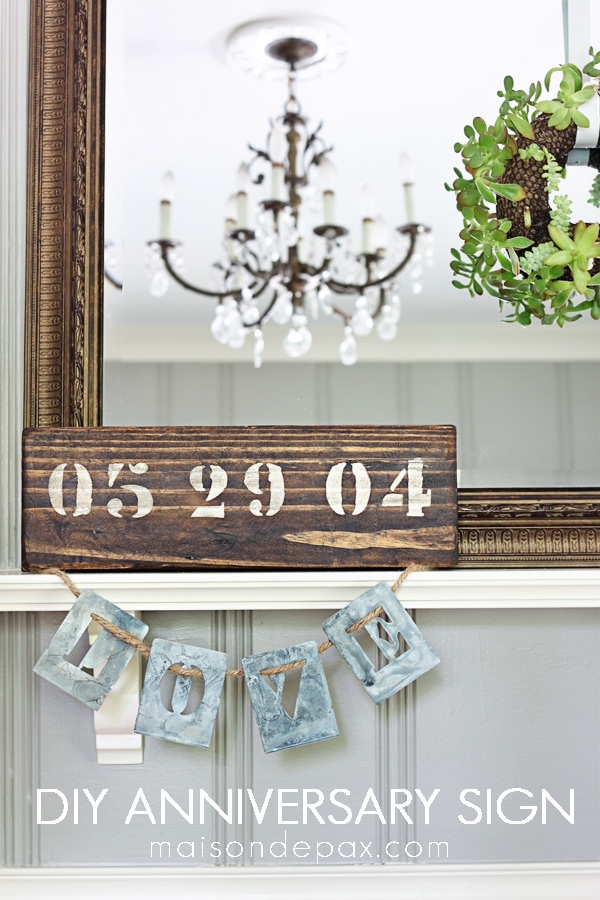
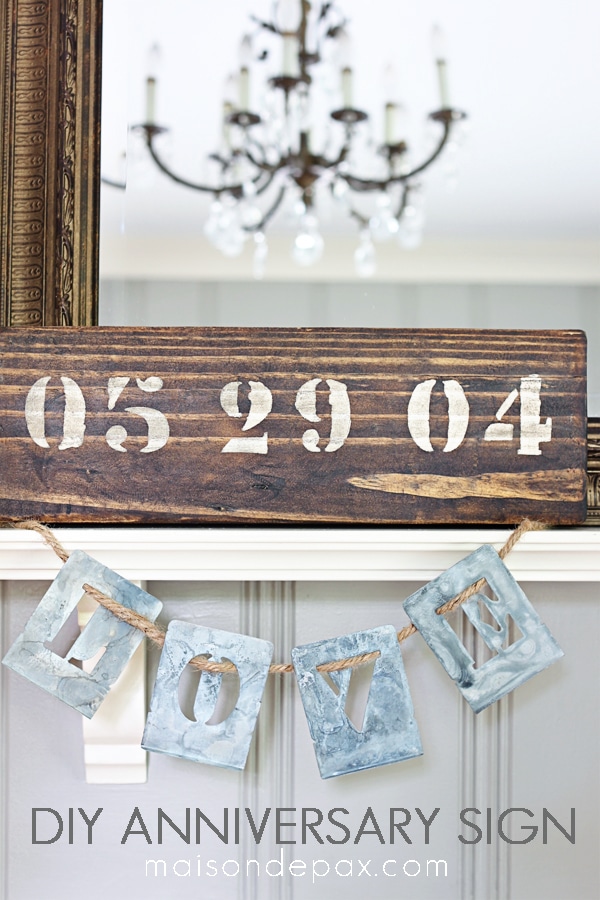
DIY Anniversary Sign
I still can’t believe how exciting this year has been for our family. Last month, our oldest son turned 4; two days later, our third child (and first girl!) was born; then, three days after that, we celebrated our 10th anniversary. Amazing.
I also can’t believe 10 years have gone by since I married my best friend. Life has changed (a lot) over those 10 years, but it keeps getting better, even when it’s harder… Am I right? Anyway, enough sappy reminiscing. Today I want to share with you how you can make your own sign for a loved one. You could use it to celebrate an anniversary, a birthday, or any other important date!
Not only is this rustic sign adorable, sentimental, and super easy to make, it was free! Can’t get much better than that, right? 😉 Here’s what you’ll need:
- scrap wood (I used a 2×6 that’s ~18″ long)
- sander
- stain of your choice (I used dark walnut by Minwax)
- number stencils
- paint of your choice (I used Simplicity by Country Chic Paint: a chalk-based paint)
- wax or polyurethane to seal it (I used Country Chic Paint wax)
Your scrap wood can start as ugly and dirty as you want. Give it a good sanding (I used 60 grit) to remove any loose splinters and be sure to really work hard on the edges. One of the quickest ways to give wood a rustic, aged look is to sand down the edges as if they’ve been worn over time.
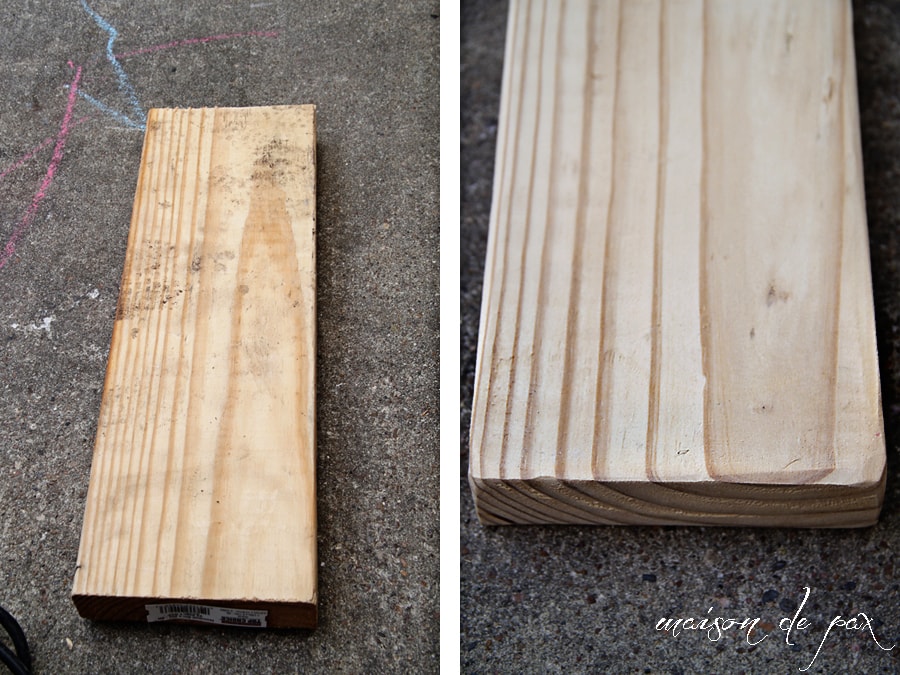
Once you’ve cleaned off the sanding dust, give it one (or two) coats of stain. I just wiped it on with a paper towel. You can see what an impact the dark stain made.
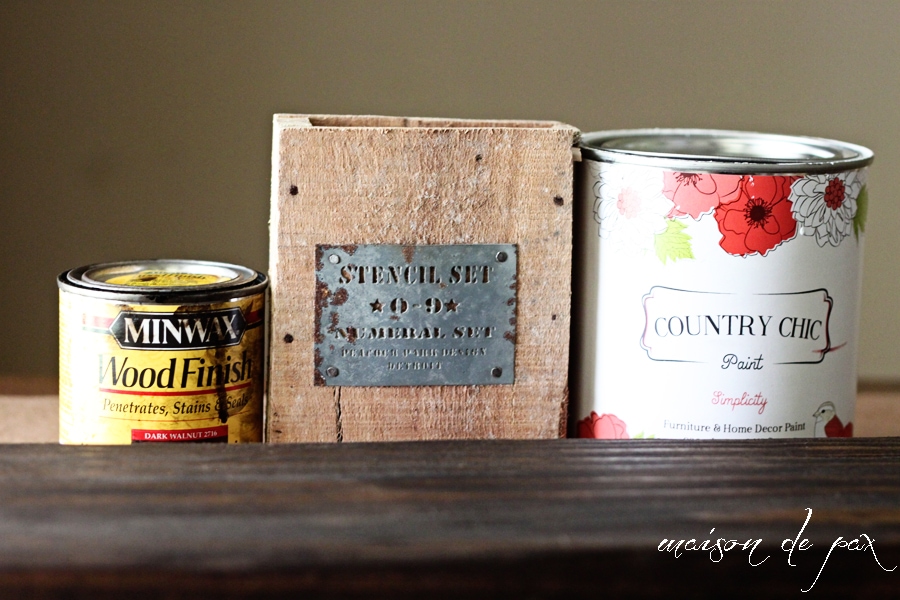
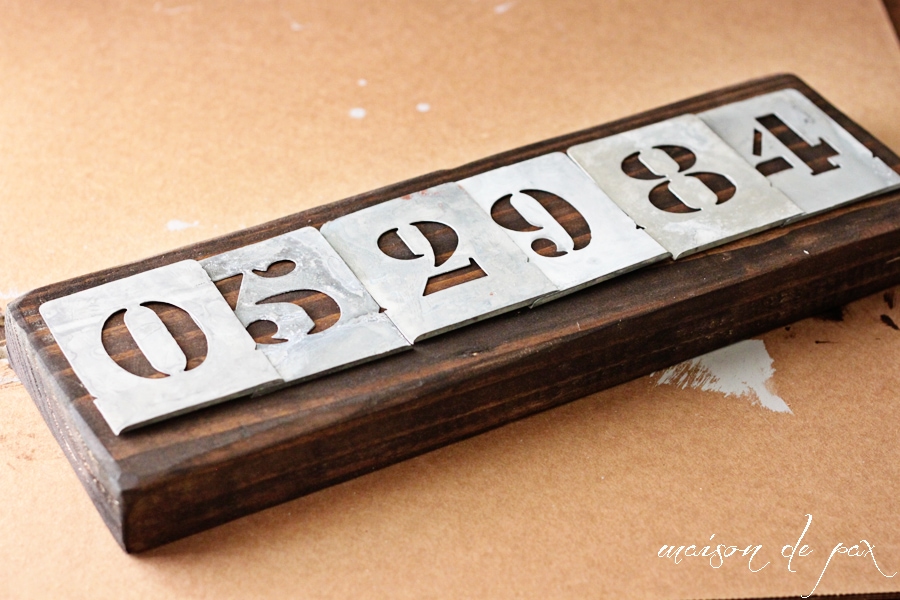
Next, lay out your stencils. I found these incredible metal number stencils through Decor Steals recently, and as you may have noticed, I have a letter set, too. They work for so many little projects! Side note: I was not married in ’84 (not actually possible, to be exact!); I just used it as a place holder since I only have one of each number.
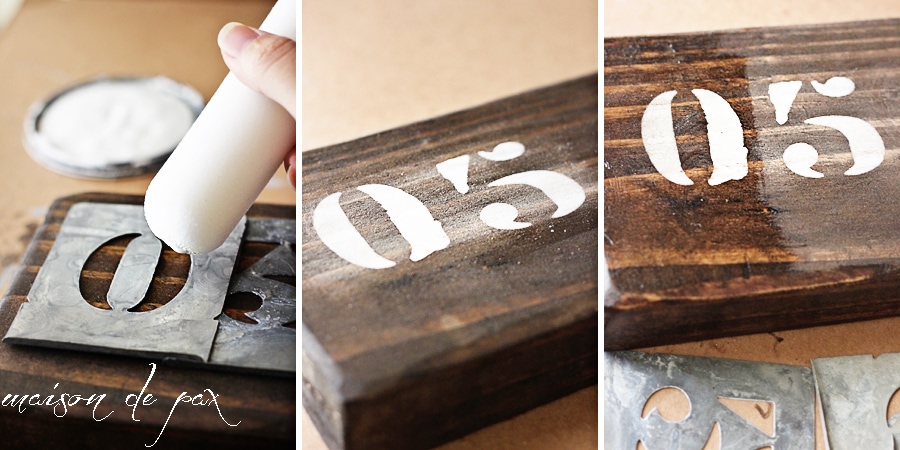
Next, using a sponge brush or (in my case because I was out of sponge brushes!) the end of a sponge roller, lightly paint your numbers. If you have awesome metal stencils like these, be sure to wash off the paint right away! After the paint has dried (which, if you use chalk-based paint like I did can be as soon as 30 minutes), sand lightly. I used 150 grit and sanded by hand. Finally, once you like the look of the distressing, clean your sign and wax or poly it for protection.
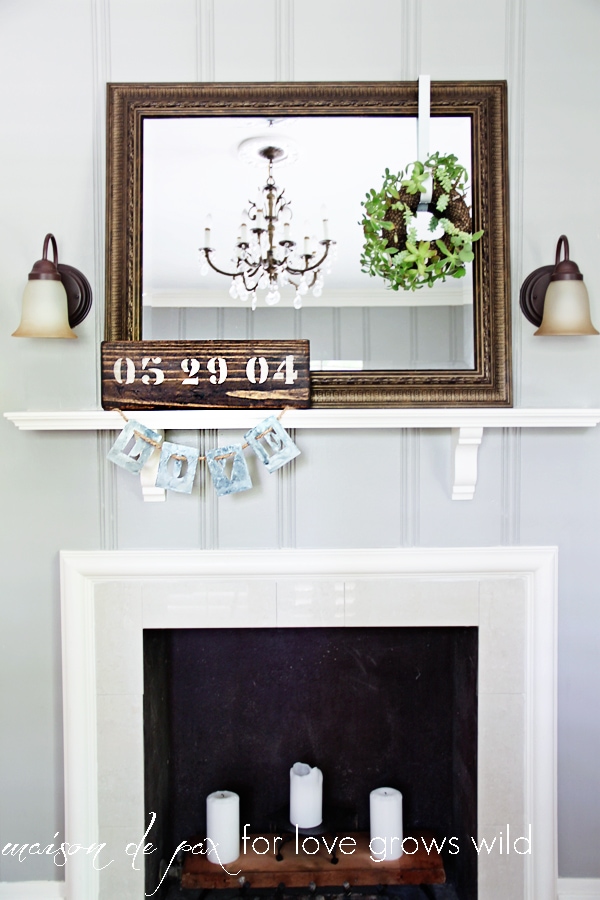
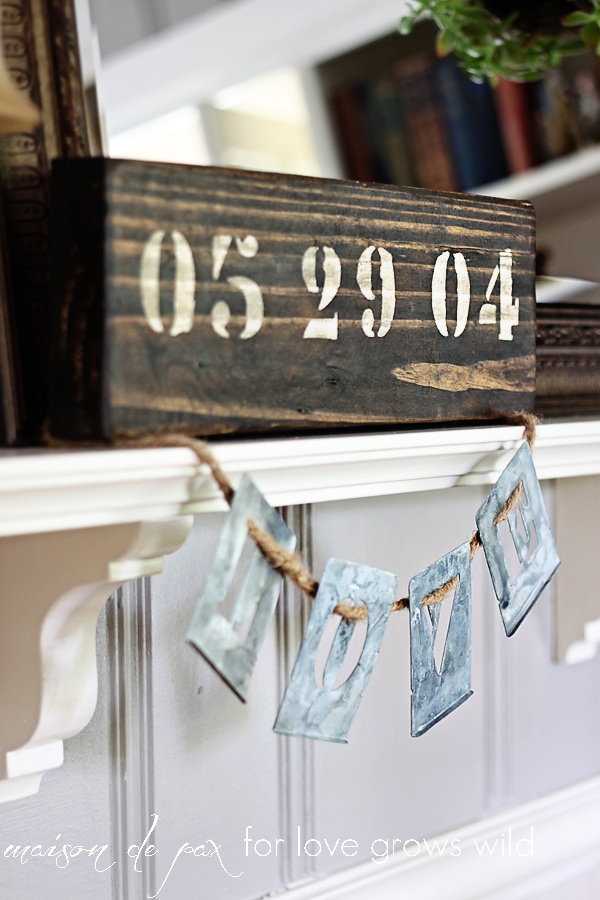
The nice thing about a 2×6 is that it will stand up on its own. It even held some twine so I could hang a sentiment beneath it. You could certainly put a sawtooth on the back, though, and hang it on a wall as part of a gallery collection or lean it against a bookshelf… so many possibilities.
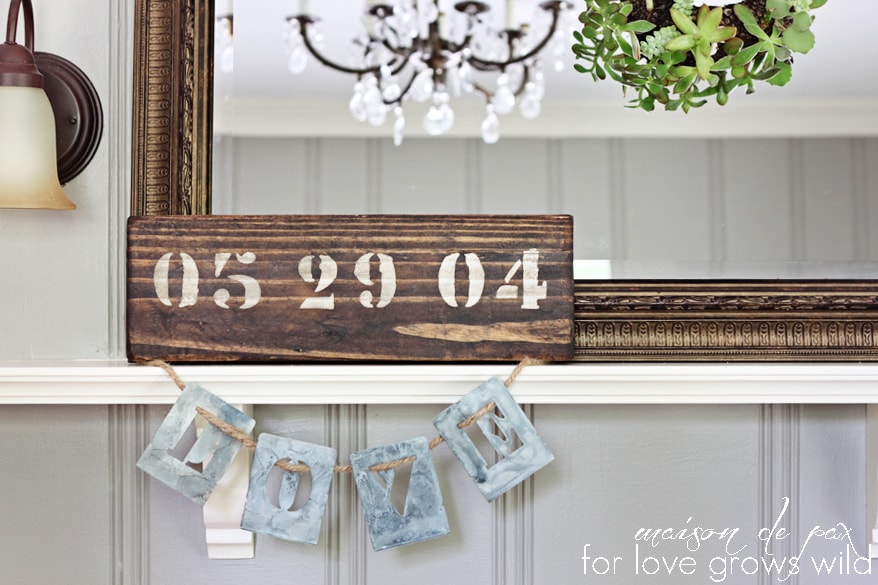
I love its rustic nature, the grain of the wood, and worn look (10 years is a long time, after all!), and the love that it celebrates.
And I love a good, handmade gift for someone you love. Don’t you?
Disclaimer: As a part of the Country Chic Paint blogger squad, I do receive compensation in the form of goods and products from Country Chic Paint, but, as always, all opinions are 100% my own!
MORE DIY GIFT IDEAS:
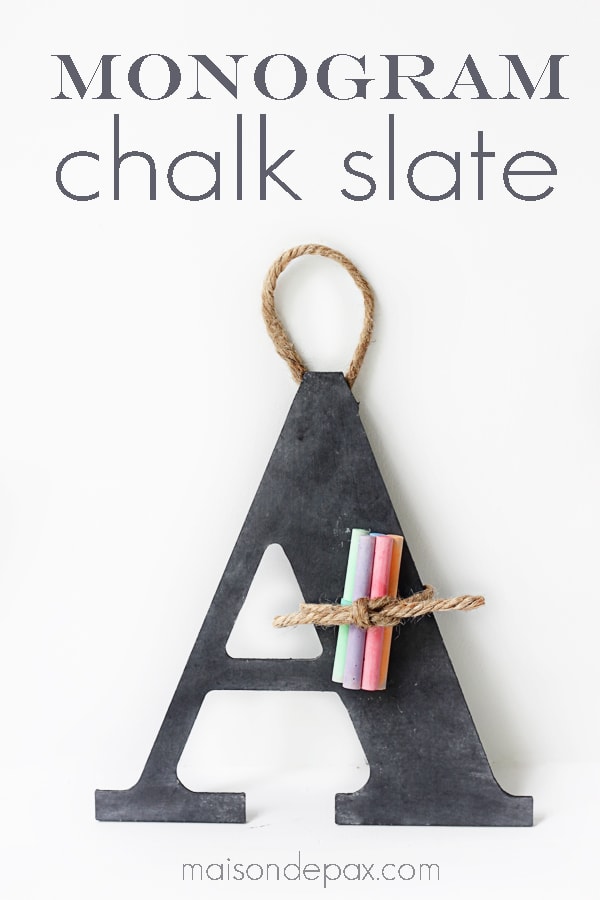 Monogram Chalk Slate
Hey, we have the same anniversary…eleven years apart! We just celebrated our 21st.
Congrats to you guys!
Kelly
Well happy anniversary to you, too, Kelly! It’s a great day to get married!! 🙂
This sign is so beautiful, Rachel! I’m a little (well, a lot) late, but happy anniversary! We’ll celebrate our 12th this year! They really are the best years of my life! Thanks so much for linking up with us on Mondays on my blog! Appreciate it so much and would love to have your back! (Btw, it’s been so fun to see your updates fr Haven!)
12 years – amazing! I’m so glad you like the sign, Kendra, and I hope you have an amazing anniversary… Thank you for featuring my sign and for all the insta-love this past weekend! xoxo
I just love this…where did you get the little stencils for painting and stringing the word love? I would “LoVe” to either make them or buy a set! Thanks!
Thank you so much, Missy! The stencils came from Decor Steals. I don’t think they’re offering them right now, but I’ve seen them come up a few times, so if you follow them, you might find the stencils soon. Hope this helps!