DIY Concrete Accent Letters
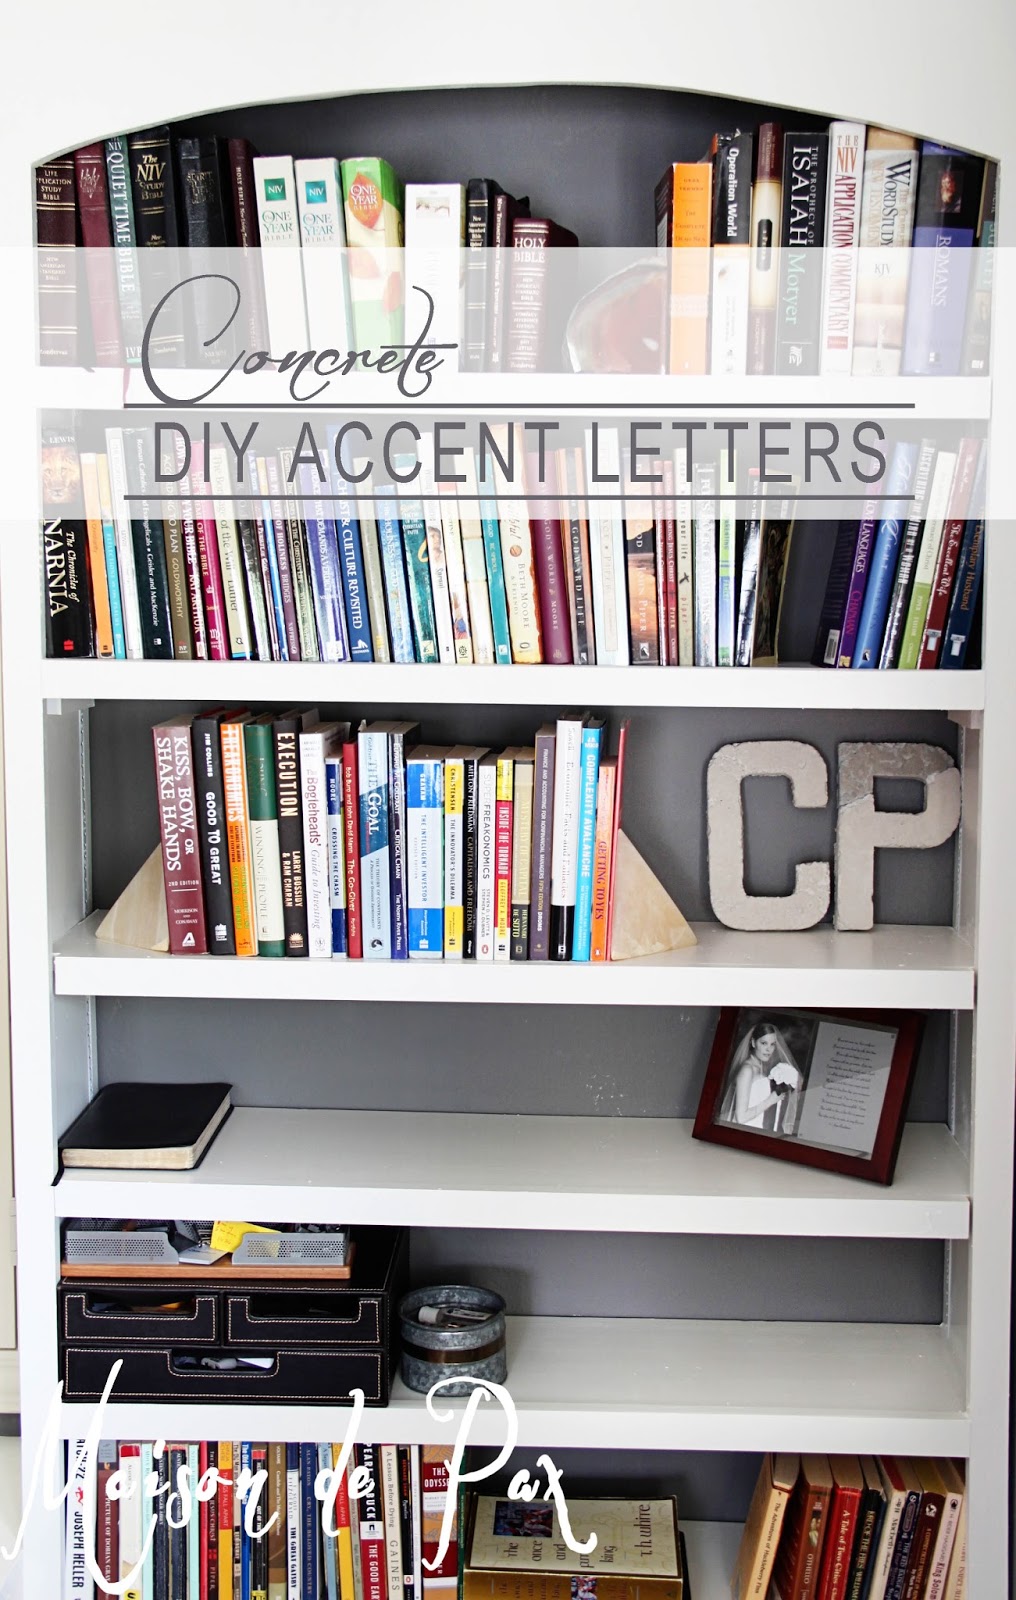
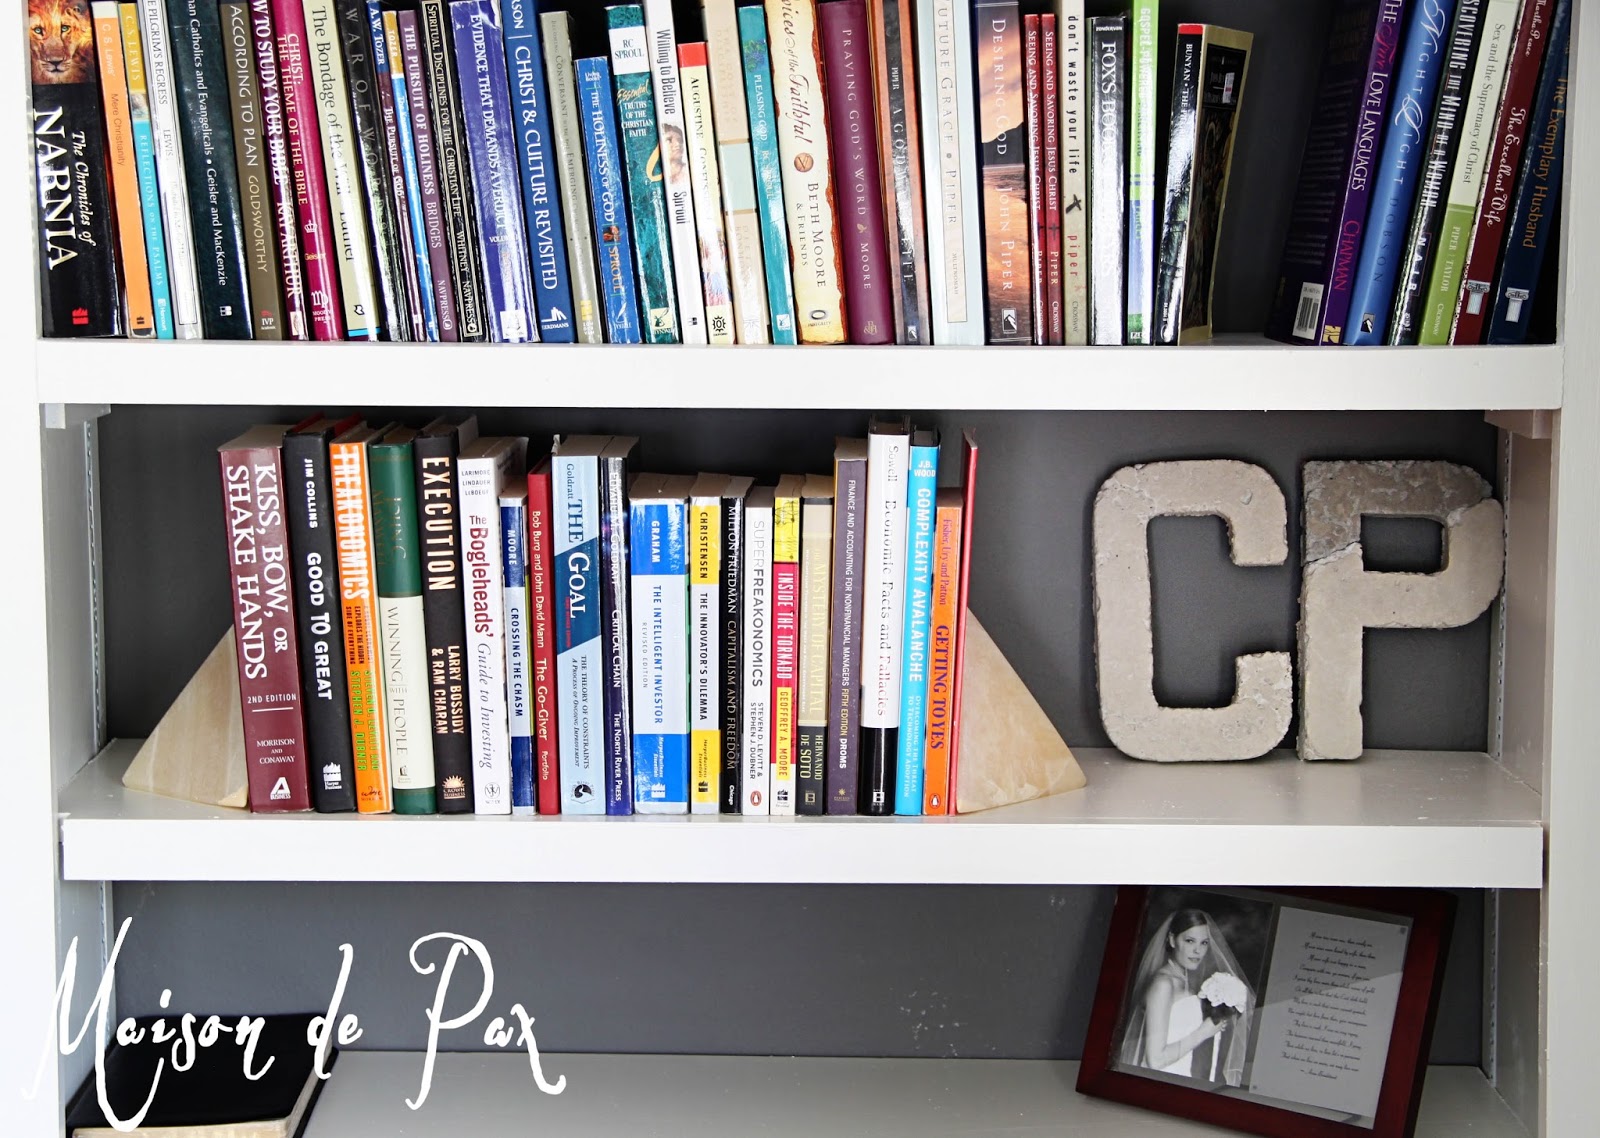
I shared Mr. Pax’s awesome DIY bookshelves a few weeks ago, and I wanted to share with you today a little masculine accent I made for him. Enter DIY concrete letters.
This summer, I had a ton of fun with friends and our random craft days, and this project was probably the most hectic and fun. And though they didn’t all turn out (we probably should have been more careful to follow the concrete directions!), the ones that did have such fabulous texture – I love them.
Here is what you need to make your own:
- Quickcrete (fast-drying concrete from hardware store)
- cardboard letter forms (mine came from Hobby Lobby)
- scissors or exacto knife
- acrylic paints
Here’s how to make your own concrete accent letters:
Step 1: Prepare your mold.
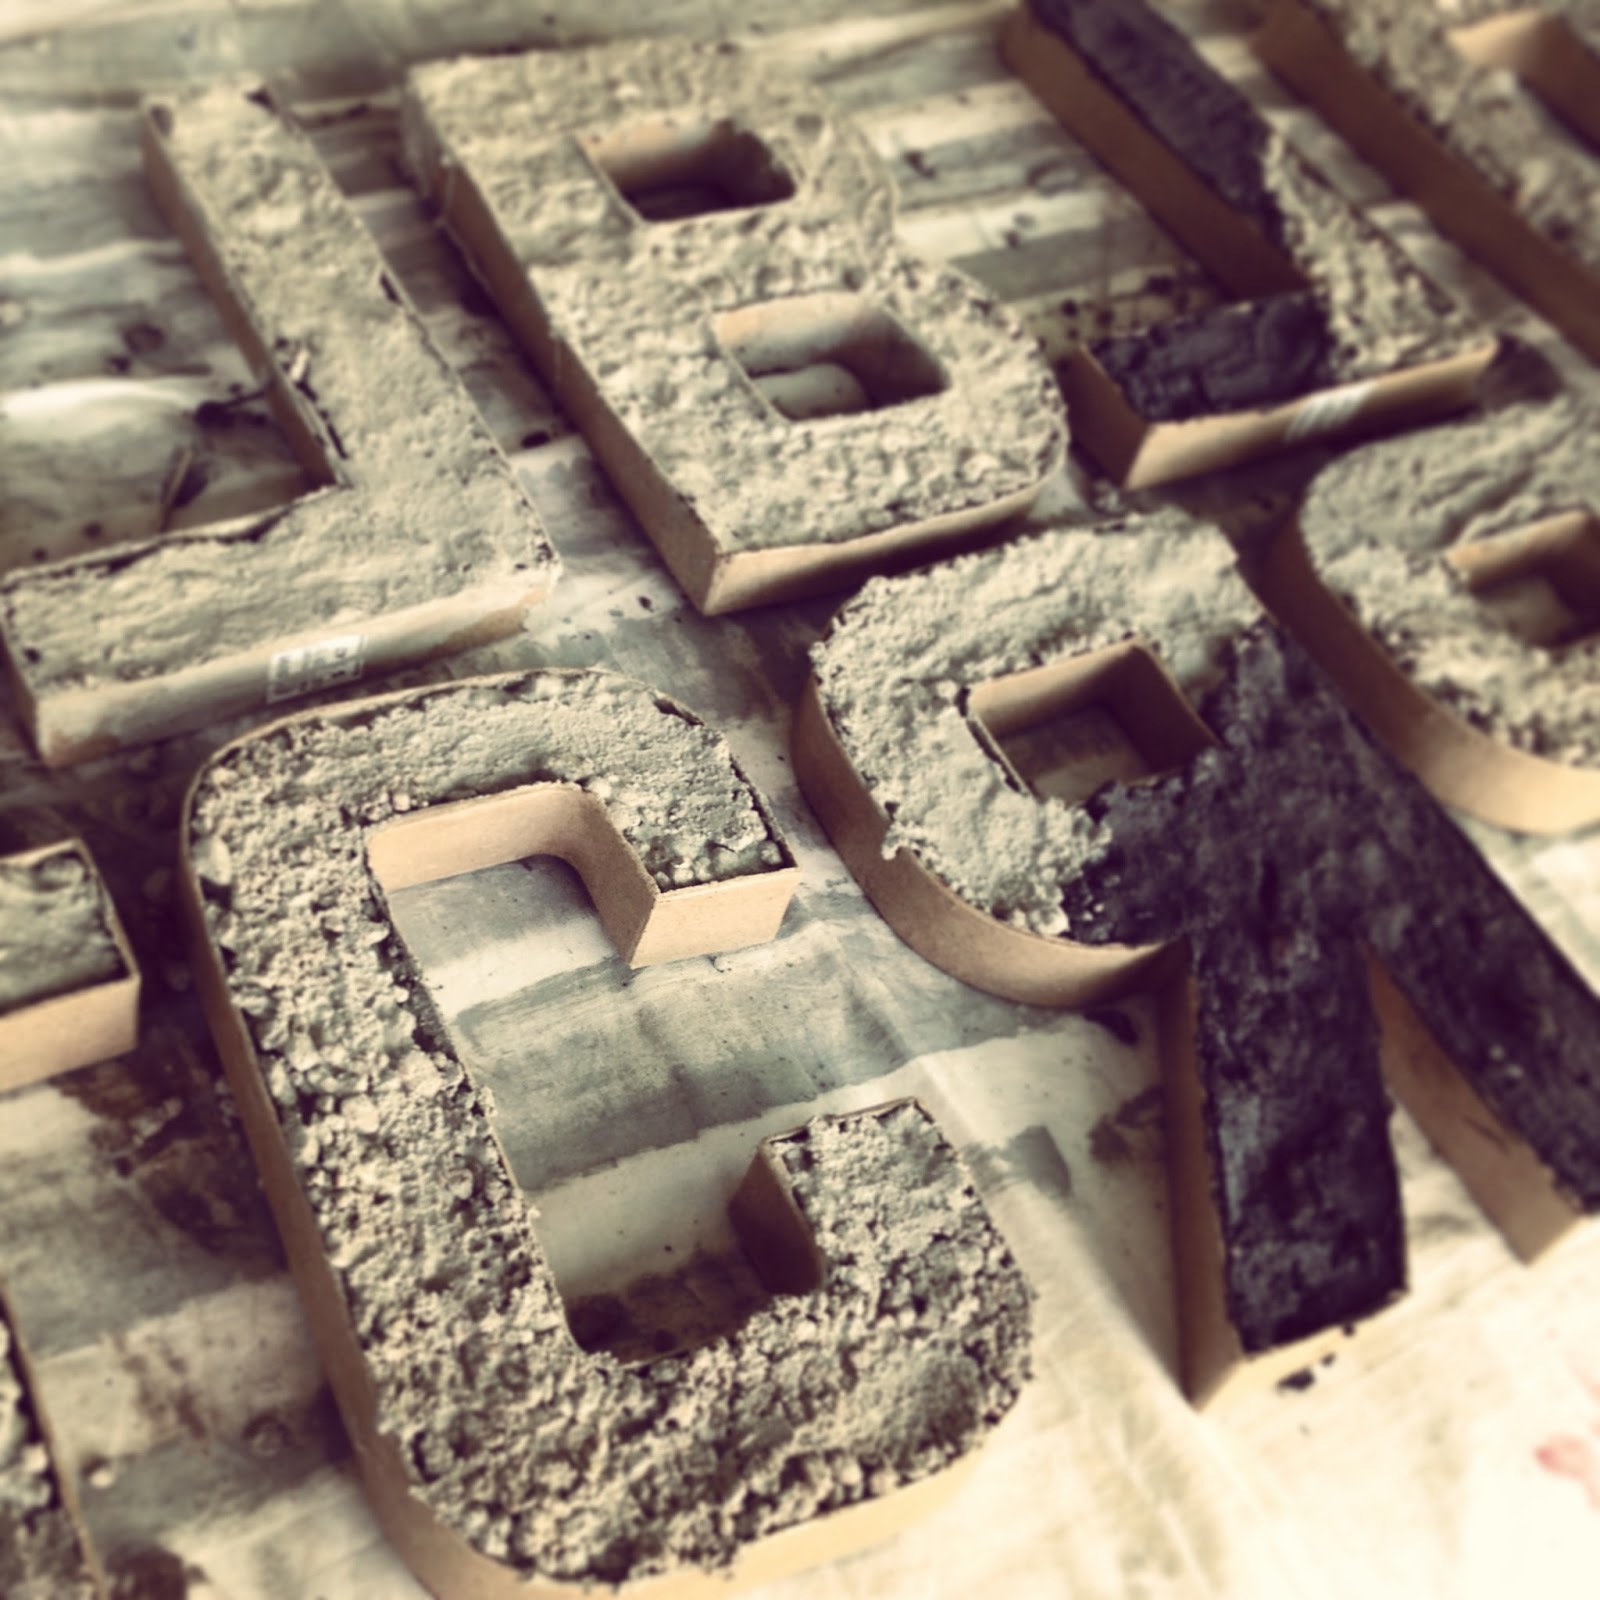
Turn your letter FACE DOWN (this doesn’t matter if your letter is a mirror-image, like a T, but it will with any asymmetrical letters) and then carefully cut off the back of the letter with your scissors or exacto knife. Unfortunately, I do not have a picture of this step, but here is my instagram of the letters drying in their molds so you can see what I mean (you can follow me here if you don’t already!).
Step 2: Mix your concrete.
Follow the directions on the bag! We just eyeballed the added water, and I think it came back to haunt us… As you can see below, the T’s didn’t have as much water, giving them a more textured effect; the B had a lot of water, giving it a smoother effect. Both are great, just different. However, the ones on the right…. Let’s just say we obviously didn’t have our proper proportions and mixing techniques; I believe they were too dry and (obviously) did not bond. Bummer.

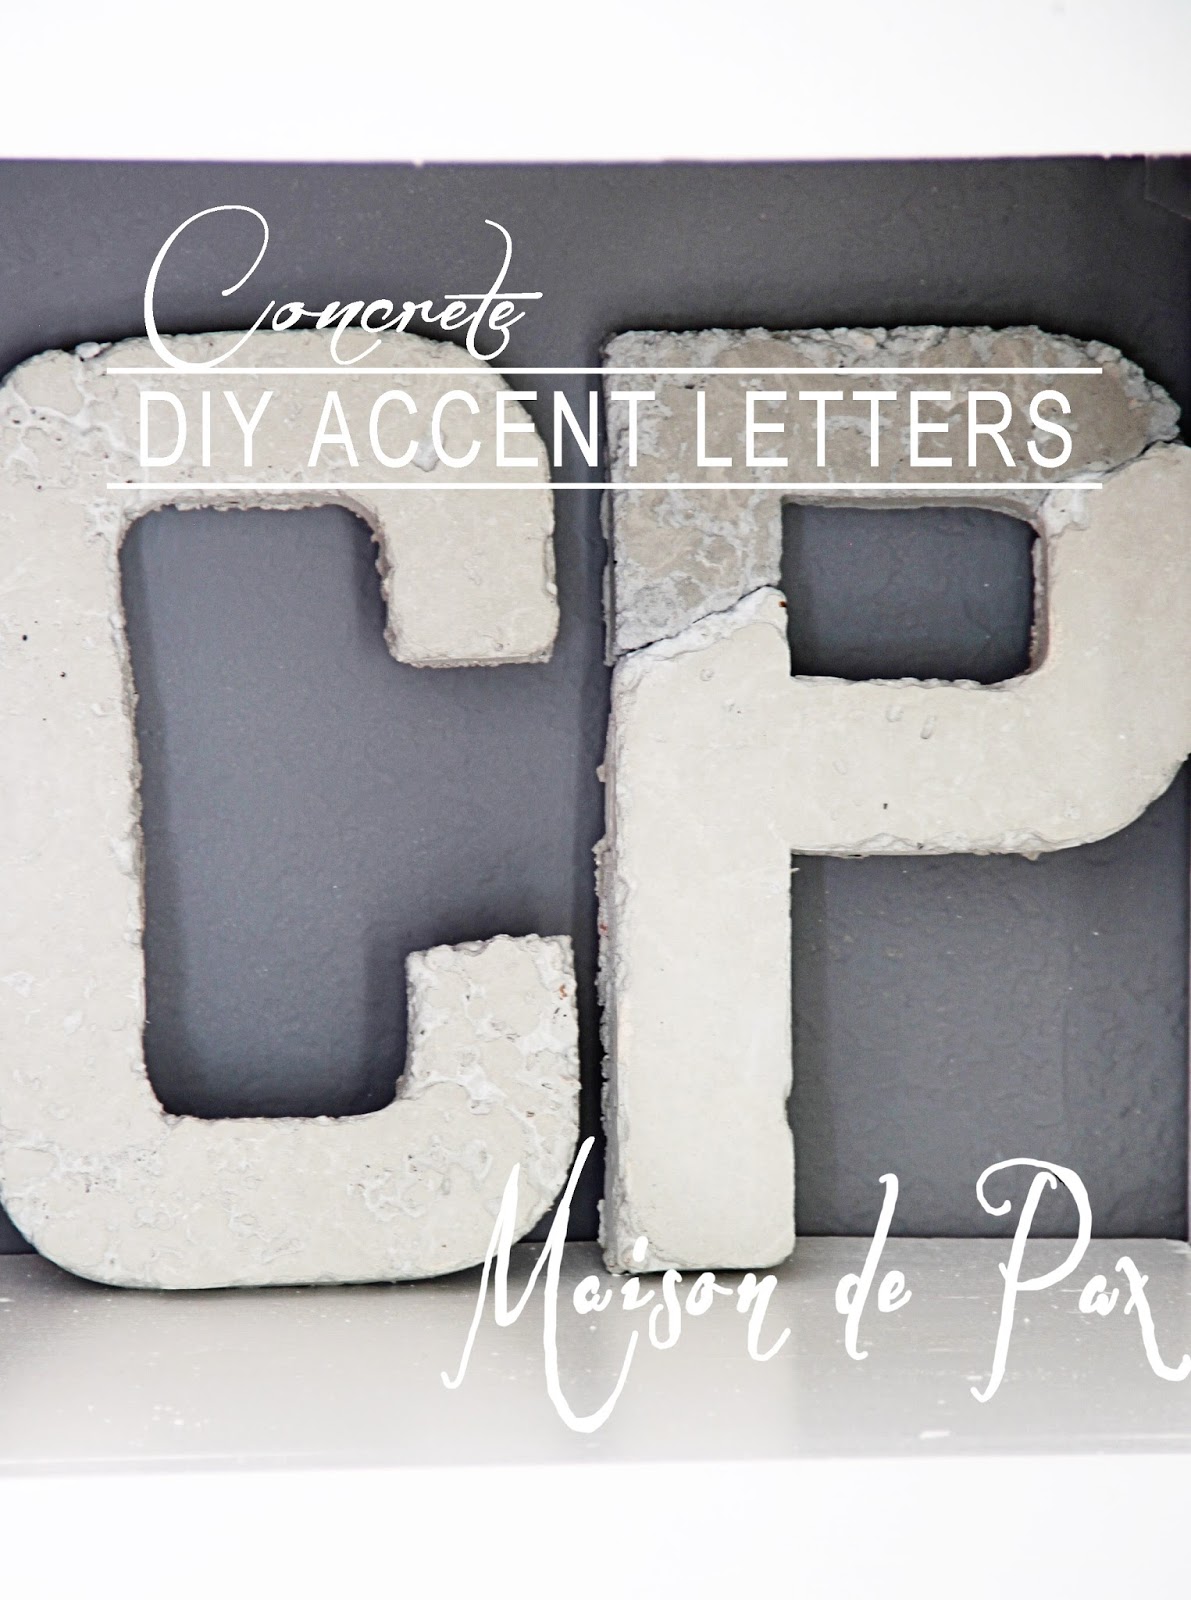
Step 3: Add a bit of craft paint to your concrete before you pour it if you want a two-toned effect.
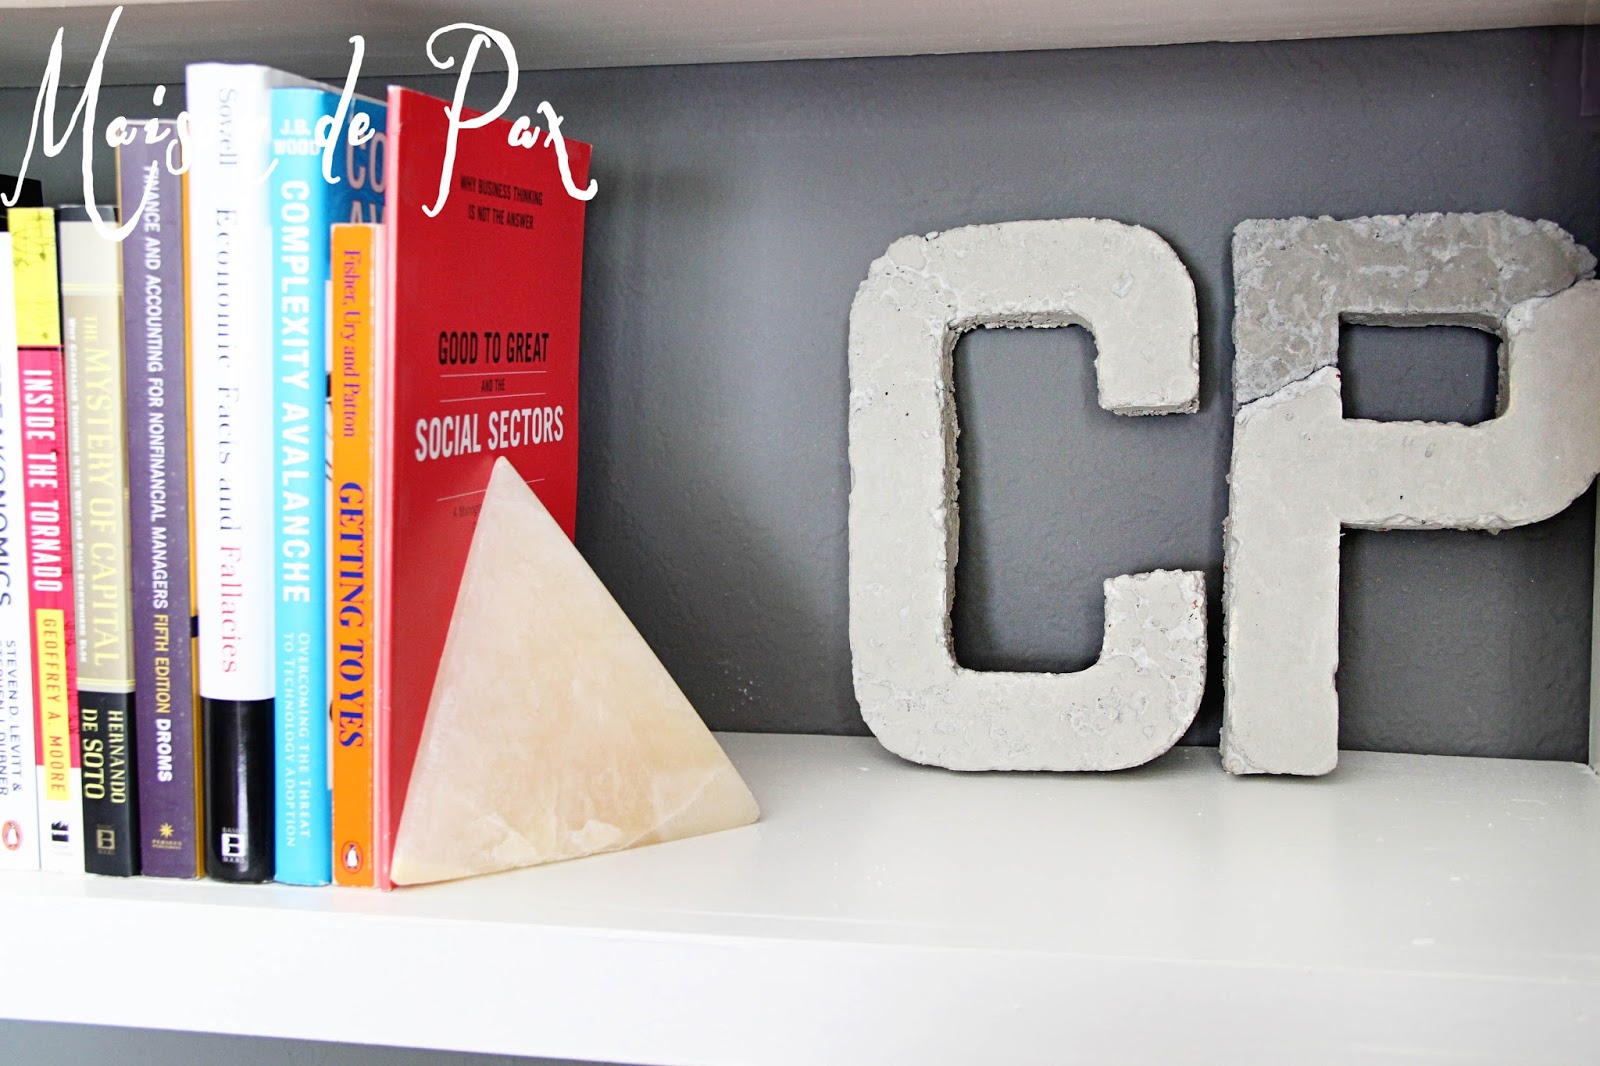
As you can see, I used uncolored concrete for the C and part of the P. I simply used a little piece of cardboard where I wanted the change and filled one side with regular concrete. I then quickly (don’t let the concrete begin to dry or it won’t bond to the colored section) removed the divider and poured in some that had been slightly darkened with black craft paint. I love the variation it provides.
Step 4: Let it dry forever.
Ok, not forever. But the quickcrete really does begin to set quickly. Don’t let that fool you! I recommend waiting until the next day before you try to peel off the cardboard. Mine ripped right off each letter (I wish I could say the letters popped off and the cardboard was reusable, but alas…).
Step 5: Put it on your bookshelf anywhere.
These would be great as a paper weight, on a bookshelf, on a mantle, in the garden, or in a pot… So many options!
I am dying to use more concrete to make orbs and other fun shapes, but the letters are all I’ve tried so far. How about you? Have you used concrete for decorative projects? Do share!