Kid-Proofing the Banister (from Incomplete Guide to Living)
Well, friends, you’re in for a treat today. Beth, from The Incomplete Guide to Living, is here. Originally from Alabama, Beth now lives in an old farmhouse in England (some of which dates back to the 13th century!!) with her husband and son. You may have seen my DIY baby gate that I shared over there last week, and I’m thrilled to have her here today to share their solution for baby proofing the stairs. Beth calls it an RIY, but I think it’s brilliant – thrifty, practical, and safe!
I’m Beth from The Incomplete Guide to Living, and I am thrilled to be here at Maison de Pax sharing a little bit about a recent baby proofing project we did! I’m a little embarrassed, actually, since this project didn’t quite go the way I planned/expected. In fact, Rachel is probably regretting asking me to do a guest post right this very minute…
Thanks for having me, Rach! 😉
Recently, Rachel posted about RIY (Ruin it Yourself) projects, and this DIY banister guard probably falls into that category! There a million and one things I would do differently if I was to do it over again. Having said that, I’m calling it a success, since the whole aim was to create a safer environment for our little boy– and that is the one thing that I would say we did well! (Make sure that any baby proofing you do in your home is safe. This was a good solution for us, but it doesn’t necessarily mean it would be the best solution for your home.)

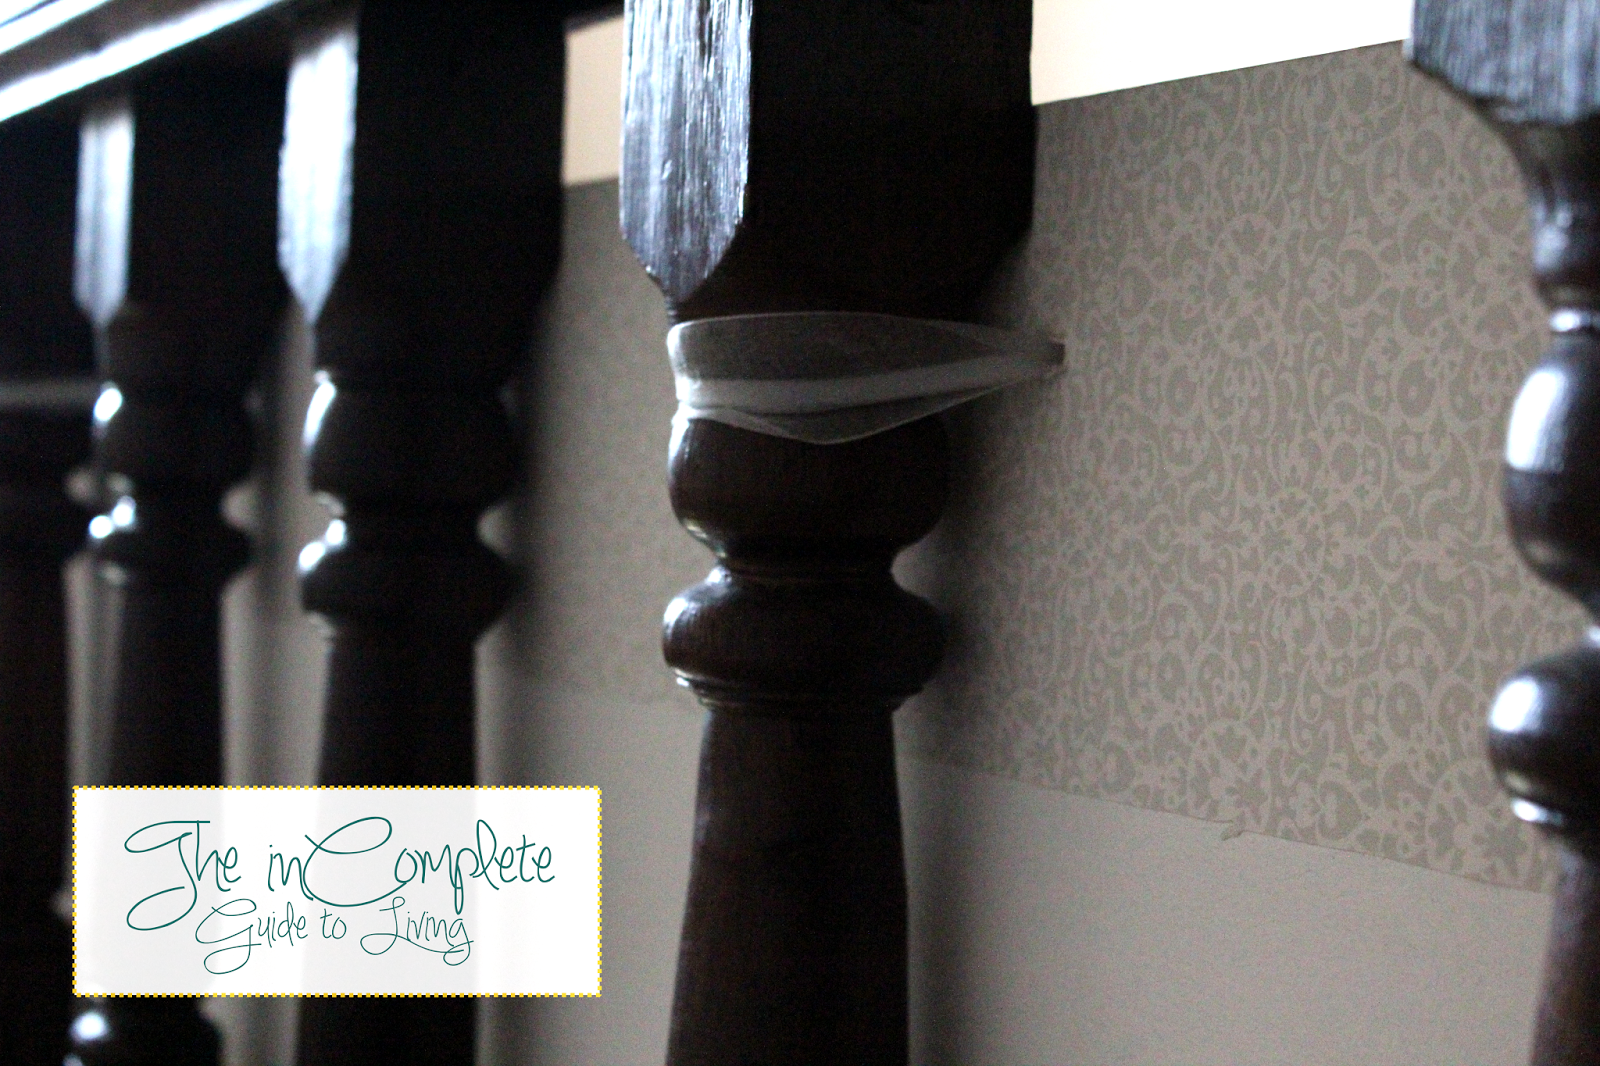
Allow me to introduce you to our wooden, Jacobean banister (from the 1600’s). It has been adapted by previous owners (Jim’s grandparents) to fit the staircase as it is now, since the staircase used to be in a different part of the house. Pretty cool, right? Like I said, it’s one of my favourite features of our home.
There’s just one problem…..There’s about a 9- 10″gap between the bars around the top… Plenty of space for an inquisitive little boy to crawl right through if he got the chance! Yikes!

We looked into putting perspex (plexiglass) all the way around the top, but it was going to be too expensive. So, I got to thinking. Why not just use some pieces of wood, cover them in some nice wallpaper and attach them to the banister? And that’s just what we did! That is not really what we did at all, because nothing about this project went according to plan. I didn’t really take many pictures of the process, because I just wanted to get it done so I didn’t have to deal with it anymore!

Here’s how it all basically went down.
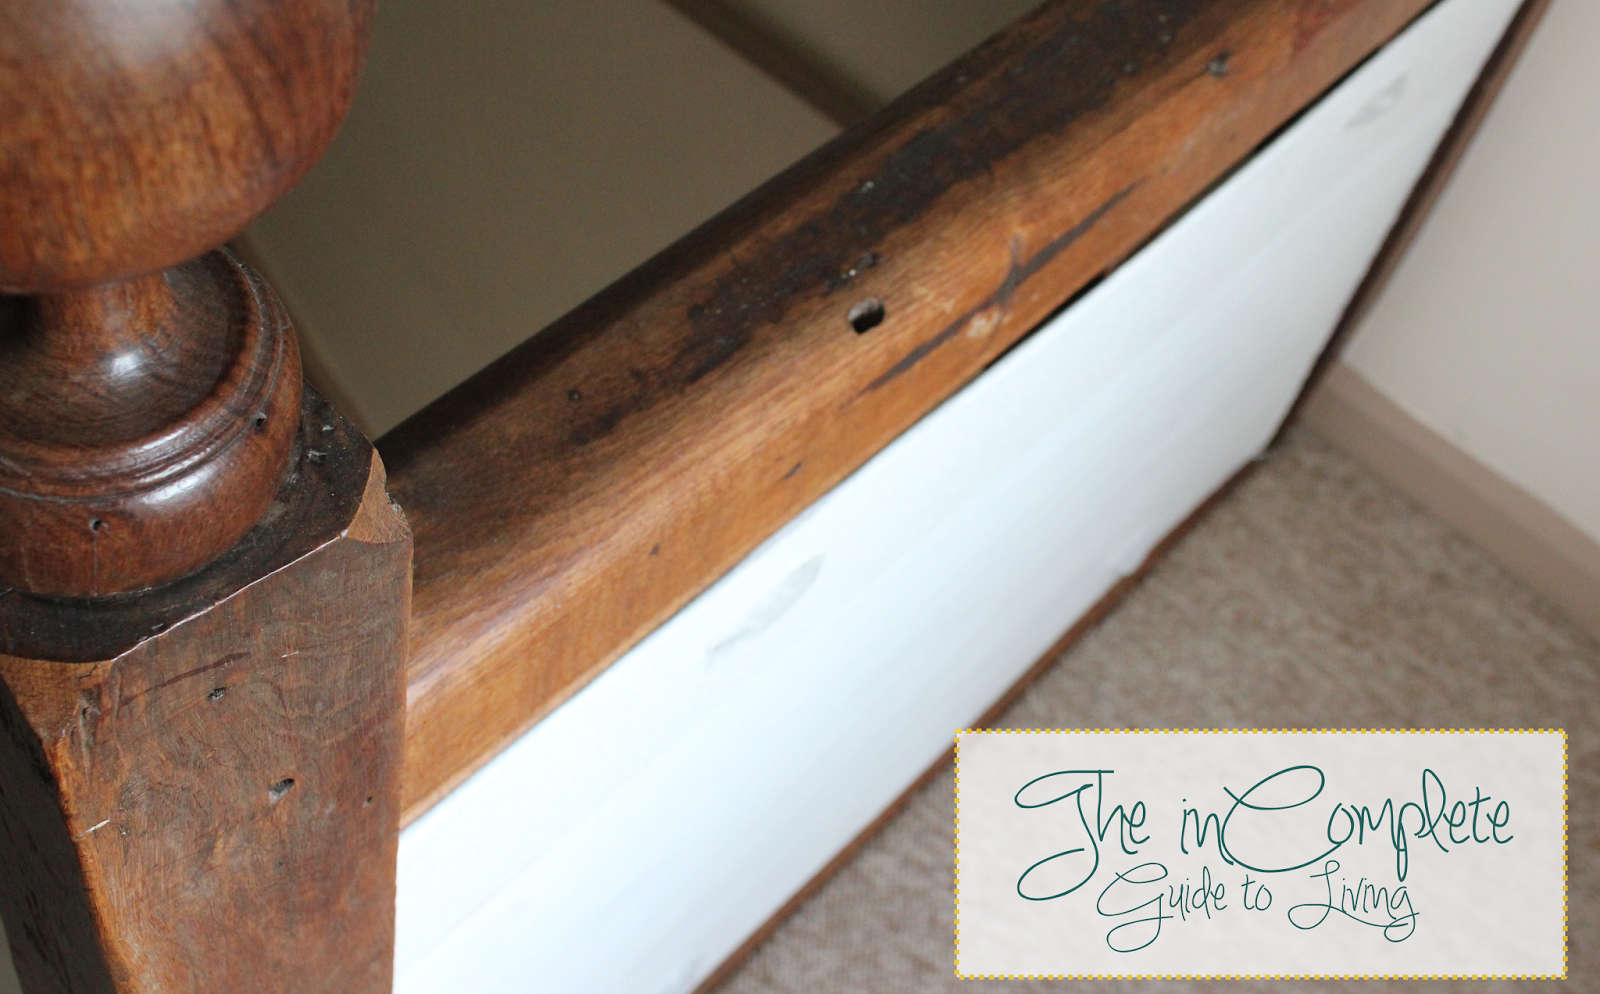
- Jim measured the length of the wood we would need, and cut it to size.
- I painted the wood white.
- I cut a long strip of wallpaper about 10″ wide, folded it in half over the top edge of the wood, and attached it with wallpaper adhesive to avoid tiny hands getting splinters.
- Jim drilled some holes (without measuring…and at indiscriminate lengths apart) through the guard where we would attach the wood to the railing.
- Using ribbon/cable ties, we attached this monstrosity to the banister railing.

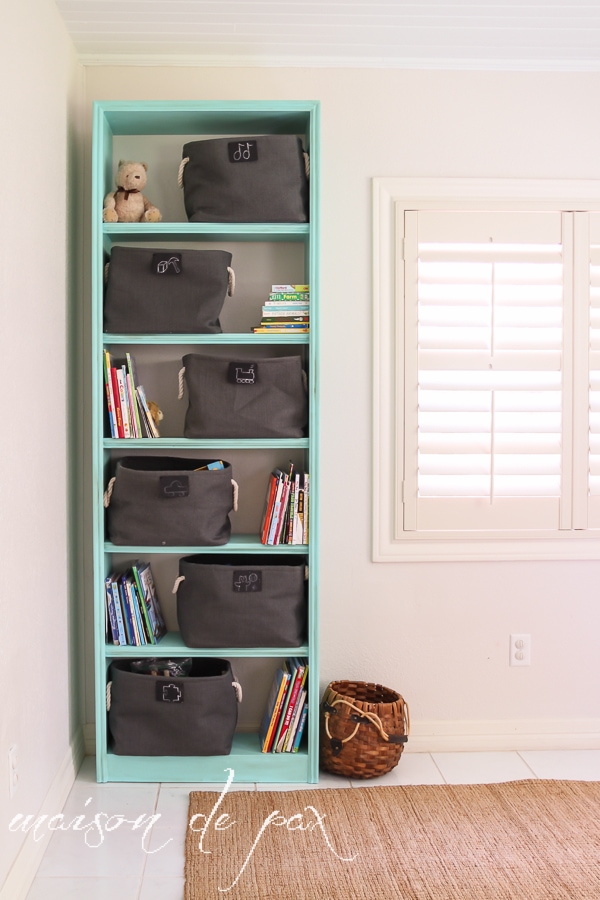
What sort of DIY baby proofing solutions have you come up with?? Did you save a lot of money by using creative solutions to make your home safer for little ones?