Painted Mat Tutorial
Sorry for the late post today, friends! It’s amazing how much harder it is to accomplish things when Mr. Pax is traveling! 😉 But I do have a great tip for you all today:
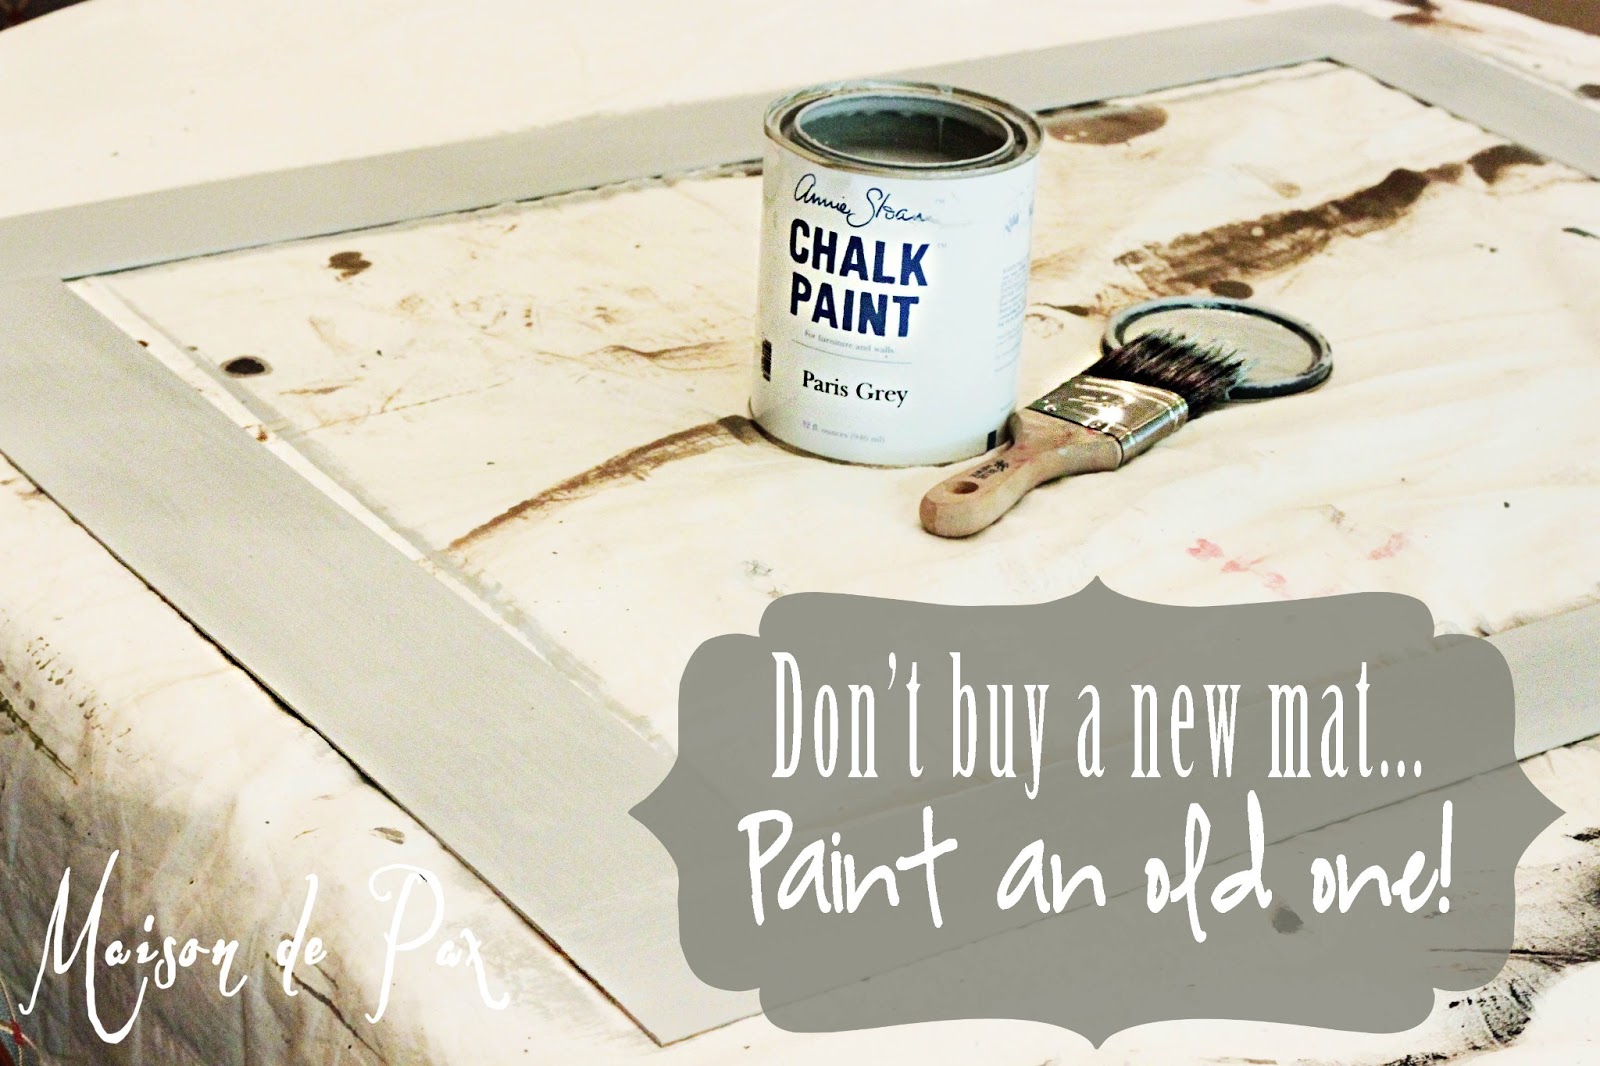
I recently wanted to update a very large (and therefore VERY expensive to reframe, especially since it is not a standard size) frame. It’s mat had faded after 40+ years to an awful and uneven orangey brown.

The room for which it is destined is a slightly blue gray with lots of deep, warm wood tones… Needless to say, the orangey brown wasn’t going to work. Rather than buy a new frame, I decided that a new mat would suffice. But before I paid for a new mat, I figured it couldn’t hurt to try a little paint. I recently splurged and bought some ASCP in Paris Gray (a furniture makeover using that to come soon!), so I gave it a try. I figured that the quick-drying nature of chalk paint was probably a good match for a mat as it is paper, technically, and we don’t want it to get so wet that it buckles. Long story short… success!!
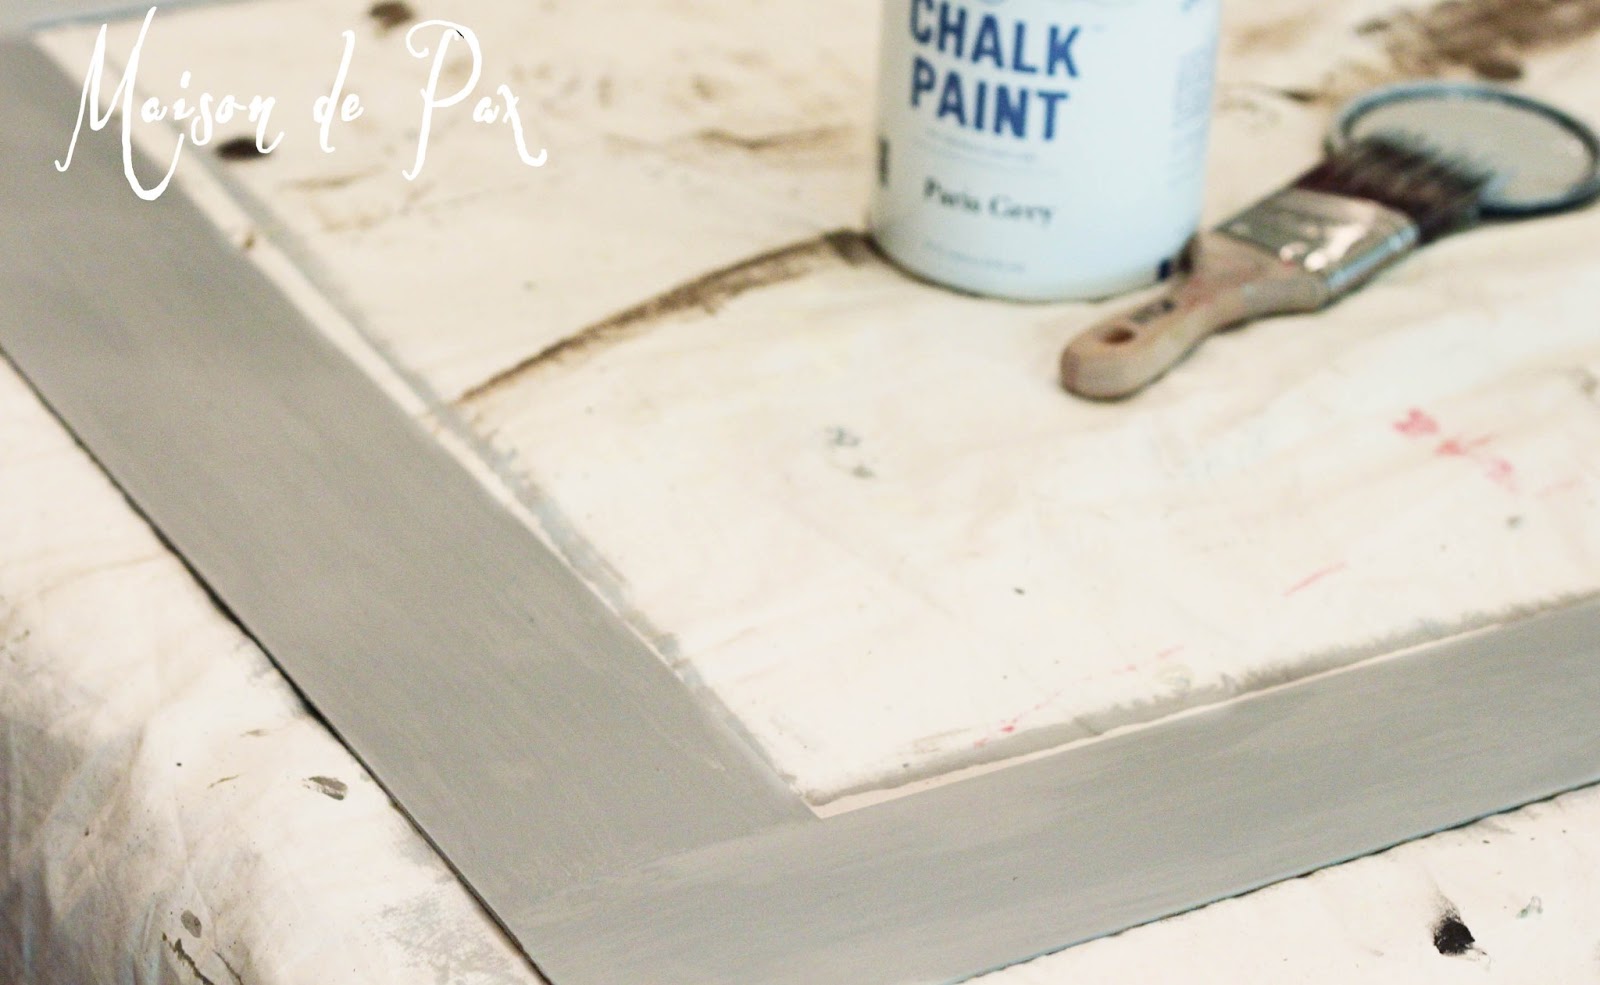
Here are just a few tips:
- Make sure your brush is completely dry.
- Do 2 (or more) very thin coats rather than one thick one.
- Use soft brush strokes so as not to damage the surface of the mat.
![The [Master Closet’s] Messy Truth](https://www.maisondepax.com/wp-content/uploads/2013/04/closet-sweaters-mess.jpg)
![My OCD [and our master closet]](https://www.maisondepax.com/wp-content/uploads/2013/04/empty-painted-master-closet-window.jpg)