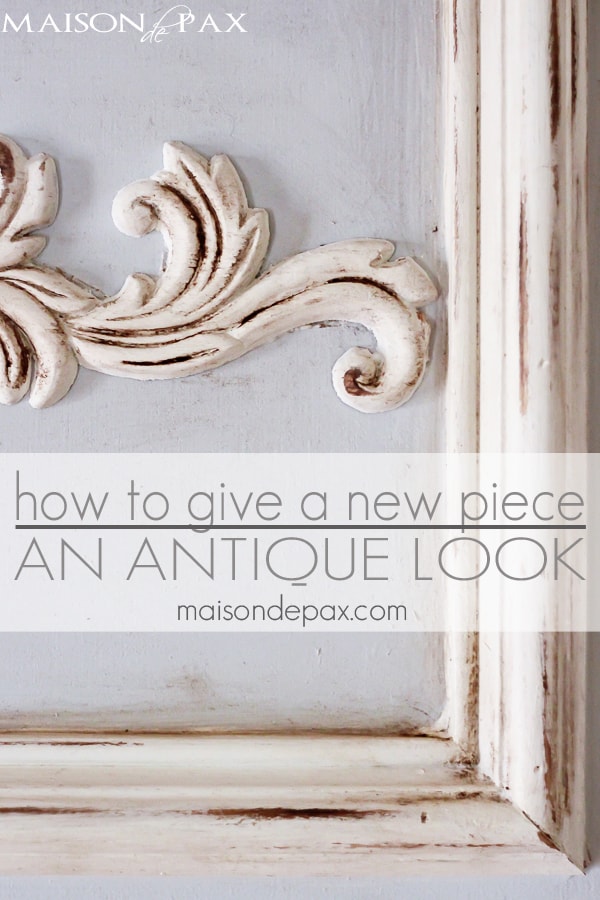
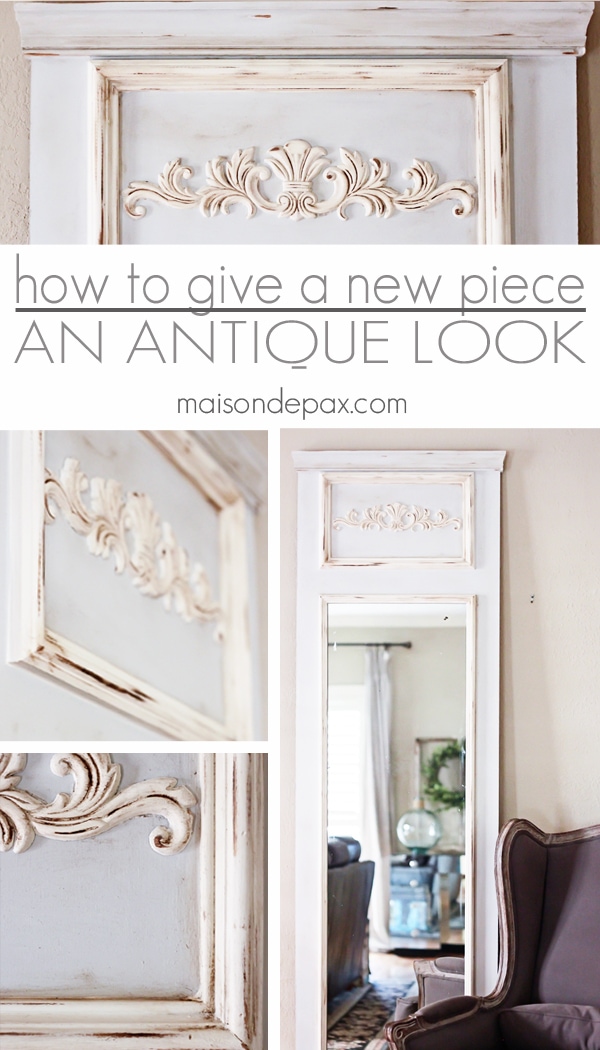
How to Give a New Piece an Antique Look
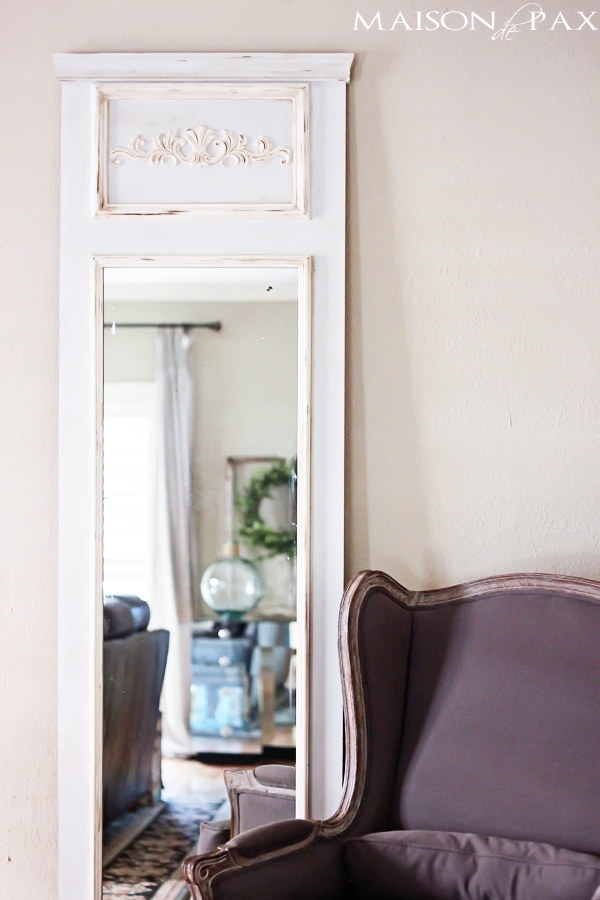
I am humbled and honored by all the encouraging responses from my DIY Trumeau Mirror (tutorial here) I shared last week. You all are the best! As promised, here is the tutorial on how I gave this new piece an antique look.
This antique paint technique could obviously be used on almost any piece, but I’ll be sharing specifically for this project so that you can recreate your own Trumeau mirror if you so desire.
Materials needed to give a new piece a painted antique look:
This post contains affiliate links for your convenience. Click here to read my full disclosure policy.
- (remember, the piece was glued, nailed, and caulked before these steps began! see mirror building tutorial here)
- chalk paint in two colors (I used Country Chic Paint in Lazy Linen and Vanilla Frosting), medium paint brush
- medium grit sand paper
- stain (I used Mixwax Dark Walnut), fine tipped artist brush, old rag
- clear wax (I used Country Chic Paint clear wax, but any clear furniture wax will do, including paste wax if you’re looking for a budget option… just know that paste wax takes a little more effort to put on and buff because it is not as soft as furniture waxes), wax brush
- dark wax (I used Annie Sloan dark wax), old rag
How to give a new piece an antique look:
Note: I began with a combination of raw wood (for the trim) and raw MDF board (for the main body).
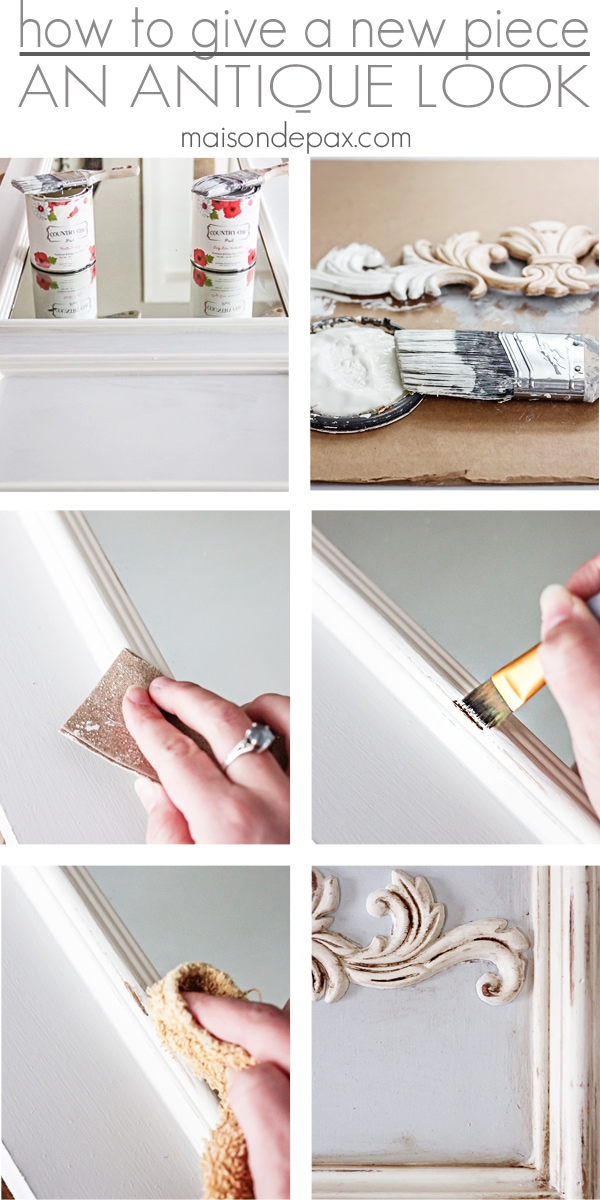
- Give the entire piece 1-2 coats of paint (working to achieve full coverage). I used Lazy Linen on the body and Vanilla Frosting on the trim.
- Paint any decorative pieces before you glue them on, if possible. It’s so much easier!
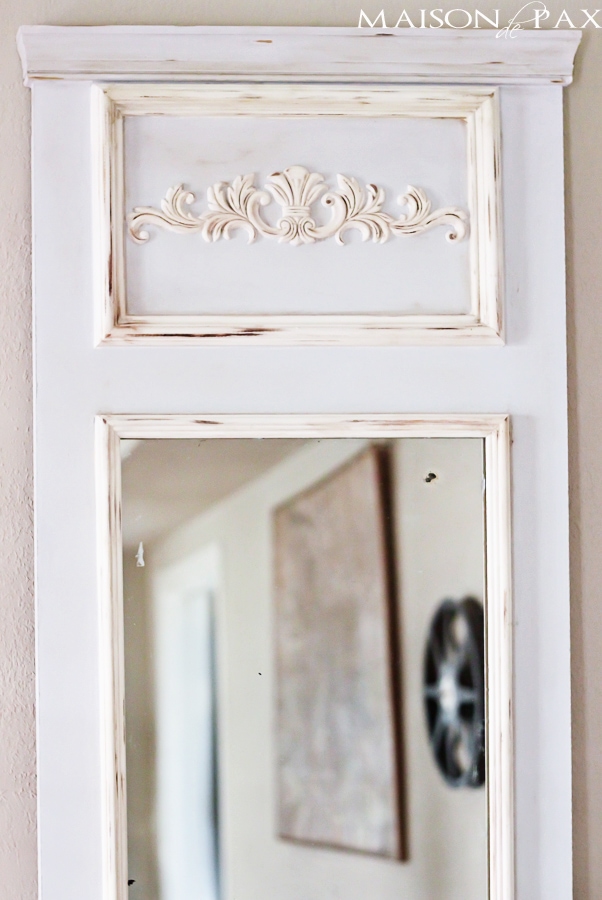
- Use your medium grit sandpaper on the trim (not the mdf!) to reveal the raw wood.
- Use your stain and artist brush to darken the raw wood you revealed with the sandpaper.
- Use your old rag to soften the look of the stain, making it look like natural wear to the wood underneath.
- (not pictured) Give the entire piece a coat of clear wax, using your wax brush or a rag.
- Using an old rag, rub dark wax all over – concentrating especially in the creases and corners.
There are about a million and a half ways to achieve antique painted looks… I could have stained the whole thing dark and then painted and distressed it… But that sounded like a lot of work, I confess! This process still gave the effect of an old piece whose paint is wearing off, but I only had to stain the portions I revealed.
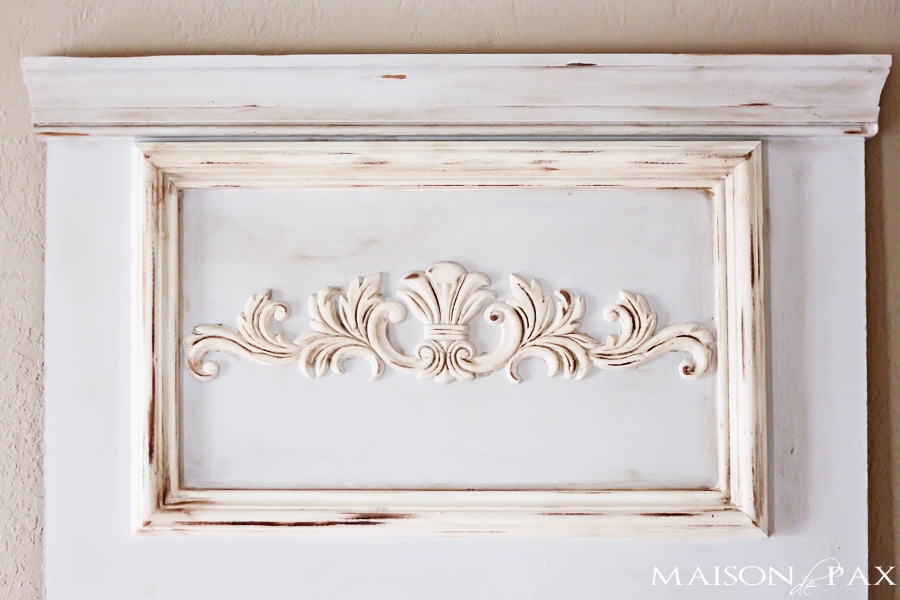
This would also work well on a piece that was already painted. You can simply sand off a few spots (make sure it’s real wood underneath!), add your stain, and then add some dark wax over the entire piece. I was inspired by this gorgeous Trumeau mirror by Horchow, and I’d say the overall effect was achieved.
Any questions? Don’t hesitate to ask!

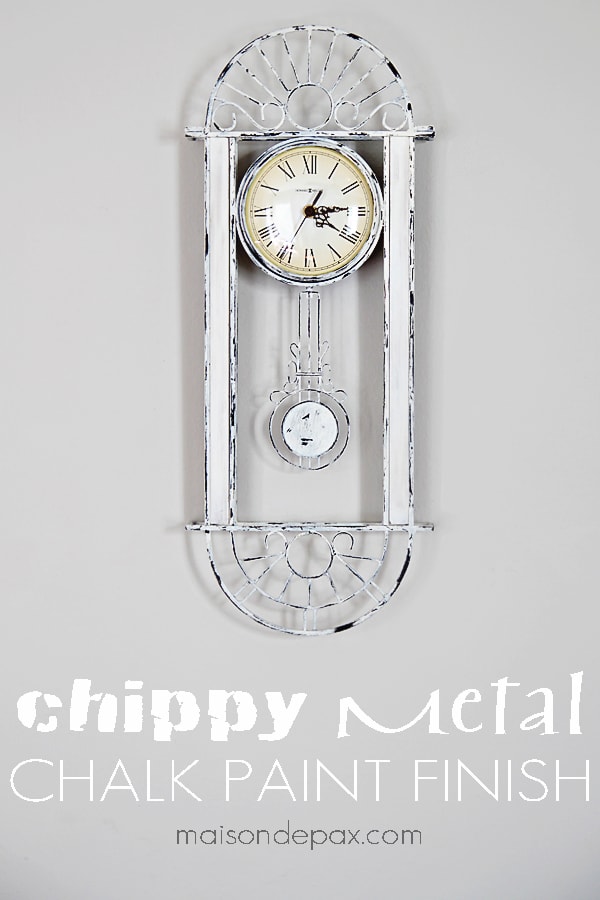
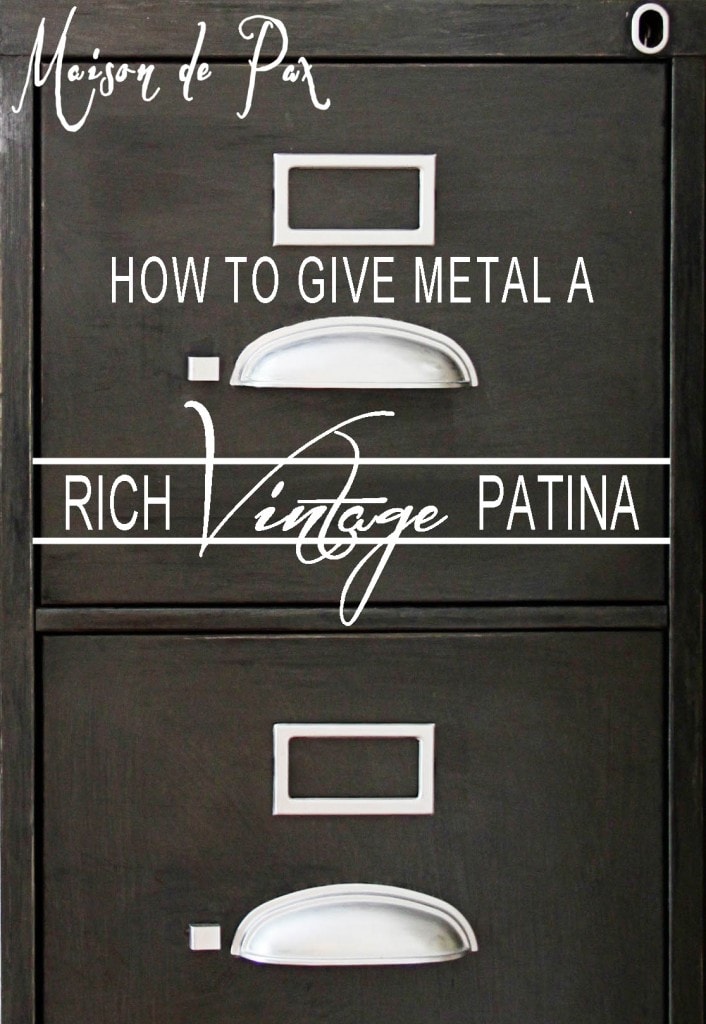
MORE CREATIVE PAINT TECHNIQUES:
How to Give Metal a Rich, Vintage Patina
Love the transformations of the mirror and the stool…beautiful and amazing job!
Thank you so much, Shirley!! xx
Again Rachel, you did a wonderful job! Love, love, love this mirror. Thanks so much for the painting tutorial. Have a beautiful and Blessed day, Candy
You are so sweet, Candy. Thank you so much!! xx
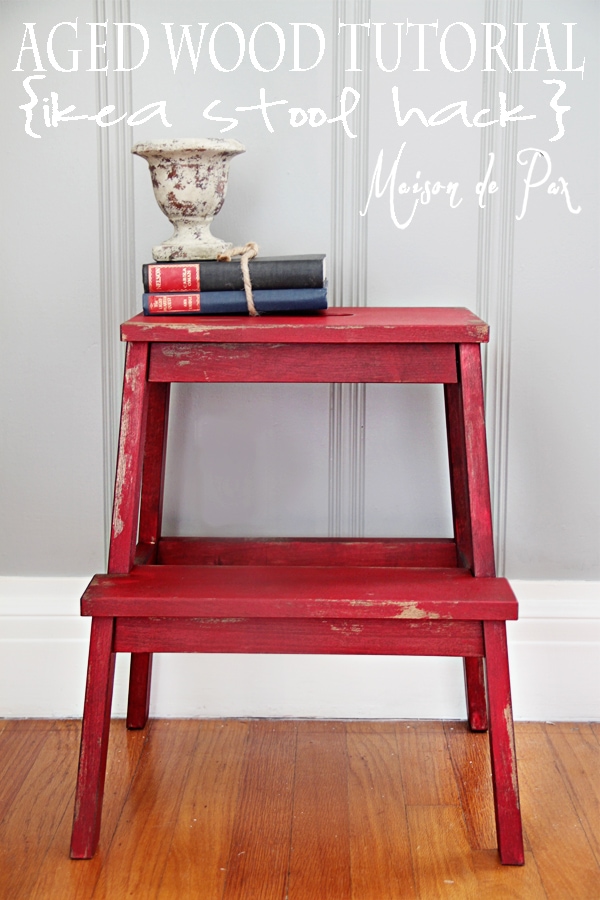
Love the red bench too, so much to try. Thank you Rachel.
I’m so glad, Diana. Hope you have fun with them! xx
You really did a great job on this mirror, and thanks so much for your tips:) I’ve been dreaming up my own Trumeau mirror since you posted this!
I’m so glad to hear it, Cindy! Thank you so much!!
I truly do love that mirror, Rachel.
Thank you so much, Kim! xx
You are a master painter Rachel! LOVE this technique. I’m itching to do another piece!
Oh, Yvonne, you are so kind! I think painting like this is therapeutic… I hope you get to soon! xx
I have wanted to give a piece of furniture an antique look for literally years but have been so afraid to even try ~ I love your tutorial! Pinning (so I don’t forget it) and hoping to do this very, very soon!
Thank you so much, Mary Beth! I hope you get to try it and love it. xx
Thanks for the tutorial. I really like that you give step-by-step instructions. This is a great antique looking mirror, you have done a wonderful job on it.
Thank you for the sweet comment, Tracy. I’m so glad you like the mirror!
I love these type mirrors and had no idea it could be done so easy…thanks a bunch for the demonstration… can’t wait to to make one!!! Awesome job!!
So glad you found it helpful, Darlene!
Hi i was trying to do a similar look on a headboard but its not wood .. Some sort of plastic im guessing .. I already sanded it lightly and painted it twice with a dark grey .. . I was gonna see if i couldnt apply a thin layer of a pastel teal color i have and then try to make the dark grey show thru in places and wondered how best to go about that …
I dont have any wax .. Not sure if that would even help since its not wood … I do have some cans of actual wood stain .. But again not sure if that would do the trick either…
The headboard has 3 square panels that have a raised curly pattern and i had put some black mixed with a lil gold down in the cracks of that so hopefully that will give some depth to it ..
This is probably the 4th artical ive read about antiquing something but in the comments you seemed very genuine and kind and i just thought maybe you would know a way to do thos and be willing to take the time to help..
I love the mirror its the perfect amount of distress lol.. Most of the time i feel like people over do it and its not the look im after.. But you did a beautiful job.. Love it.. Thanks so much for sharing !
jen🙏😊♥
Hi Jen, great questions, and thanks for your kind comment! It’s tough to give a piece an antique look when there’s no real wood to peek out from underneath. However, you could try a layered look for a similar effect. Check out this tutorial for ideas. And for what it’s worth, the wax coat is because the paint I was using is supposed to be given some kind of top coat to seal it. I used dark wax to add some color and antique effect, but the clear wax was to protect the piece. If you are using paint that doesn’t require a top coat, then you shouldn’t need a wax coat. I hope this helps!